Love this? Save it for later!
Share the inspiration with your friends
My six-year-old stared at me with chocolate smudged on her chin and asked for chocolate chip cookies three days in a row without being prompted. I was standing by the sink, scrubbing a mixing bowl that had seen better days, feeling that familiar mix of pride and mild exhaustion. She didn’t just want a cookie; she wanted *that* specific one. The one where the edges are crisp and the center is still slightly gooey when you pull it out of the oven.
Honestly, I wasn’t sure how many times I could bake these before my pantry ran out of chocolate chips. But watching her sit at the kitchen table, waiting for the second batch to cool, changed my perspective. It wasn’t about the effort. It was about the quiet joy of seeing her eyes light up over something simple. That moment stuck with me.
We had tried complicated recipes before. The ones that require creaming butter for ten minutes or chilling the dough overnight. Those are great for weekends, but Tuesday nights are different. Life gets busy. Kids get hungry. And sometimes, you just need a dessert that comes together in the time it takes to boil water for pasta.
This recipe changed our Tuesday routine. It’s not just about convenience, though that’s a huge bonus. It’s about the reliability. You know exactly what you’re getting. No failed batches due to over-whipped egg whites or butter that’s too soft. Just a simple mix, a scoop, and a warm treat.
I remember the first time I made it, I was skeptical. One bowl? Really? But then I watched the dough come together. It was smooth, rich, and smelled like heaven. My daughter took her first bite and didn’t even speak. She just nodded. That nod was all the validation I needed.
Now, it’s a staple in our house. We keep the ingredients on hand because we never know when she’ll ask. Or when my husband comes home stressed and needs a quick comfort food. It’s become a small ritual. A way to pause the chaos of the day and share something sweet.
The best part is that it doesn’t feel like a compromise. You know how some “easy” recipes taste flat or artificial? This one doesn’t. It tastes like a real, homemade cookie. Rich, buttery, and full of chocolate. It’s the kind of recipe that makes you forget you’re rushing.
I’ve made these for school bake sales, for last-minute playdates, and just for us on the couch. They hold up well. They freeze well. And they always get eaten. There’s something comforting about knowing you can create a moment of happiness with just a few ingredients and a single bowl.
It’s not fancy. It’s not Instagram-perfect in the making. But the result? That’s pure magic. And if my daughter’s relentless requests are any indication, it’s pretty hard to beat.
Why You’ll Love This One-Bowl Chocolate Chip Cookie Recipe
Let’s face it, most cookie recipes feel like they require a degree in chemistry. You need to weigh flour to the gram, soften butter to a specific temperature, and chill the dough for twelve hours. I get it. But this simple one-bowl chocolate chip cookie recipe strips away all that fuss. It’s built for real life, where things get messy and time is short.
I’ve tested this recipe dozens of times. Some batches came out flat. Some were too cakey. But after countless trials in my own kitchen, I landed on this exact ratio. It’s the sweet spot—pun intended—between chewy and crisp. The texture is consistent every single time, which is rare in baking.
Here is why this recipe stands out from the crowd:
- Quick & Easy: You can have these from bowl to oven in under 20 minutes. No chilling required. This makes it perfect for those sudden cravings or when you need a last-minute treat for unexpected guests.
- Simple Ingredients: You likely already have everything in your kitchen. Butter, sugar, eggs, flour, baking soda, salt, and chocolate chips. No obscure flours or expensive vanilla beans. Just pantry staples that deliver big flavor.
- Perfect for Busy Weeknights: If you’re trying to get dinner on the table and need a dessert that doesn’t keep you in the kitchen, this is it. It’s foolproof and fast, reducing the stress of cooking for your family.
- Crowd-Pleaser: Whether it’s kids or adults, everyone loves these. They remind people of classic bakery cookies but with a homemade touch. They are great for potlucks, lunchboxes, or just a snack with milk.
- Unbelievably Delicious: The combination of brown sugar and butter creates a deep, caramel-like flavor. The chocolate chips melt into pockets of gooeyness that make every bite satisfying. It’s comfort food at its finest.
What makes this different from other “easy” recipes is the attention to detail in the mixing method. We don’t overwork the dough. We mix just until combined. This ensures the cookies stay tender rather than tough. I learned this the hard way after a batch came out like hockey pucks. Now, I know exactly when to stop.
Also, using a mix of brown and white sugar gives you that perfect chew. Brown sugar adds moisture and depth, while white sugar helps with spreading and crisp edges. It’s a balance that’s hard to get wrong with this ratio.
This recipe isn’t just about speed. It’s about confidence. You don’t need to be a pro baker to make these. You just need to follow the steps. And the result? A cookie that feels special, even though it’s simple. It’s the kind of recipe that makes you feel capable in the kitchen.
It’s also great for meal prep. You can scoop the dough onto a baking sheet and freeze it. Then, when you want fresh cookies, just throw them in the oven. No thawing needed. It’s a game-changer for busy parents or anyone who loves having homemade treats on hand.
I’ve shared this with friends who are intimidated by baking. They all came back saying how easy it was. That’s the real win. Making baking accessible and enjoyable for everyone, without sacrificing taste or quality.
What Ingredients You Will Need
This recipe uses simple, wholesome ingredients to deliver bold flavor and satisfying texture without the fuss. You don’t need any specialty items or hard-to-find pantry staples. Everything here is standard, but the quality matters. I’ve found that using good quality butter and chocolate chips makes a huge difference in the final taste.
Here is what you need to gather before you start:
- Unsalted Butter: 1 cup (2 sticks), softened to room temperature. Using unsalted butter lets you control the salt level. Softened butter mixes easier and creates a smoother dough. Don’t melt it; just let it sit out for 30 minutes.
- Granulated White Sugar: 1 cup. This helps with spreading and creates those crispy edges. It balances the moisture from the brown sugar.
- Packed Brown Sugar: 1 cup, light or dark. Brown sugar adds moisture and a caramel-like flavor. Dark brown sugar will give you a deeper molasses taste, while light brown sugar is milder. I usually use light for a classic flavor.
- Large Eggs: 2 large eggs, room temperature. Room temperature eggs incorporate into the dough better. Cold eggs can cause the butter to seize up, leading to a grainy texture.
- Vanilla Extract: 2 teaspoons. Use pure vanilla extract, not imitation. It adds that classic cookie aroma. If you want a deeper flavor, try a mix of vanilla and almond extract.
- All-Purpose Flour: 3 1/4 cups. This is the structure of the cookie. Don’t use cake flour or bread flour unless you want a different texture. Spoon and level the flour to avoid dense cookies.
- Baking Soda: 1 teaspoon. This helps the cookies spread and brown. Make sure it’s fresh; old baking soda won’t work well.
- Salt: 1 teaspoon. Salt enhances the chocolate flavor. Don’t skip it, even if you like sweet cookies. It balances the sugar.
- Chocolate Chips: 2 cups. I recommend using high-quality semi-sweet chocolate chips. Brands like Guittard or Ghirardelli work well. You can also use chunks for larger pockets of chocolate.
For the best texture, I personally prefer stuffed cookies with fresh fruit, but for this classic version, sticking to chips is key. Look for chips that hold their shape but melt nicely.
If you need to substitute, you can use dairy-free butter if needed. However, the flavor might be slightly different. You can also use almond flour for a gluten-free option, but you’ll need to adjust the liquid content slightly.
In summer, you might want to chill the dough before baking to prevent excessive spreading. In winter, room temperature dough is usually fine. It’s all about adapting to your kitchen’s temperature.
Keep these ingredients simple. Don’t overcomplicate it with too many add-ins. The beauty of this recipe is its purity. Let the butter and chocolate shine.
Equipment Needed
You don’t need much to make these cookies. Just a few basic tools will do the job. Having the right equipment makes the process smoother and the results more consistent.
- Large Mixing Bowl: A 4-quart bowl is ideal. It gives you enough room to mix without splattering. Glass or ceramic bowls are great because you can see the dough consistency.
- Electric Hand Mixer or Stand Mixer: While you can mix by hand, a mixer makes it much faster and ensures the butter and sugar are creamed properly. A hand mixer is sufficient for this recipe.
- Spatula: A silicone spatula is best for scraping the bowl and folding in the chocolate chips. It helps you get all the dough out of the corners.
- Baking Sheets: Use standard half-sheet pans. Dark pans can cause cookies to brown too quickly, so you might need to lower the oven temperature by 25 degrees. Light-colored pans are safer.
- Parchment Paper or Silicone Baking Mats: These prevent sticking and make cleanup easier. They also promote even baking. I prefer parchment paper because it’s disposable and eco-friendly.
- Cooling Rack: Essential for cooling the cookies evenly. If you leave them on the hot pan, they might continue to cook and become dry.
If you don’t have a mixer, you can use a wooden spoon. It will take more effort, but it works. Just make sure the butter is soft enough to mix easily.
For budget-friendly options, any basic mixing bowl and spoon will work. You don’t need fancy gadgets. The key is consistency in your mixing and baking time.
Maintenance tip: Keep your baking sheets clean. Old residue can burn and affect the flavor of new batches. Wash them with warm soapy water after each use.
Preparation Method
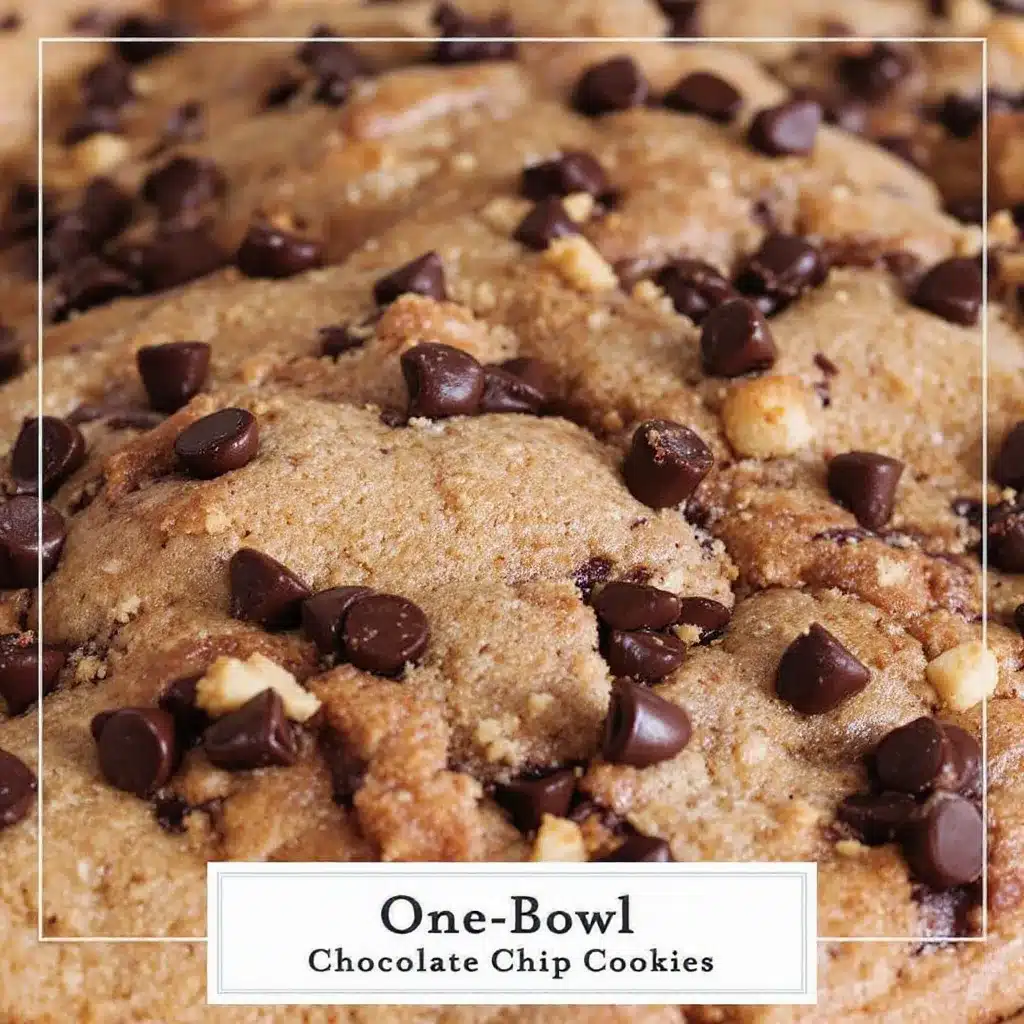
Making these cookies is straightforward. Follow these steps carefully for the best results. The process is quick, so have all your ingredients measured out before you start.
- Preheat and Prep: Preheat your oven to 375°F (190°C). Line your baking sheets with parchment paper. This step is crucial for even baking and easy removal. It takes about 5 minutes for the oven to heat up.
- Cream the Butter and Sugars: In a large mixing bowl, combine the softened butter, granulated sugar, and brown sugar. Beat on medium speed for about 2-3 minutes until the mixture is light and fluffy. This step incorporates air, which helps the cookies rise. If the butter is too cold, it won’t cream properly.
- Add Eggs and Vanilla: Add the eggs one at a time, beating well after each addition. Scrape down the sides of the bowl with a spatula. Add the vanilla extract and mix until combined. The mixture should look smooth and homogeneous. This takes about 1 minute.
- Mix Dry Ingredients: In a separate bowl, whisk together the flour, baking soda, and salt. This ensures the leavening agent is evenly distributed. It takes about 30 seconds. Whisking prevents clumps of baking soda in the final cookies.
- Combine Wet and Dry: Gradually add the dry ingredients to the wet mixture. Mix on low speed until just combined. Do not overmix! Overmixing develops gluten, which leads to tough cookies. Stop as soon as you see no streaks of flour. This takes about 1-2 minutes.
- Fold in Chocolate Chips: Add the chocolate chips and fold them in with a spatula. Use a gentle motion to distribute them evenly. You might need to add a few extra chips on top of each cookie for a pretty look. This takes about 1 minute.
- Scoop the Dough: Use a cookie scoop or a tablespoon to drop dough balls onto the prepared baking sheets. Space them about 2 inches apart. This allows room for spreading. Each cookie should be about 2 tablespoons of dough. This step takes about 5 minutes.
- Bake: Bake for 9-11 minutes. The edges should be golden brown, but the centers should still look slightly underbaked. They will continue to cook on the hot pan. Do not overbake! This is the most critical step. Watch them closely after the 9-minute mark.
- Cool: Let the cookies cool on the baking sheet for 5 minutes. Then, transfer them to a wire rack to cool completely. This prevents them from breaking apart. The residual heat finishes the cooking process. This takes about 10 minutes.
If your dough is too sticky, chill it in the fridge for 15 minutes. If it’s too dry, add a teaspoon of milk. Trust your eyes. The dough should be soft but hold its shape.
Cooking Tips & Techniques
Baking cookies might seem simple, but there are a few tricks that separate good cookies from great ones. I’ve made my fair share of mistakes, so you don’t have to.
- Room Temperature Ingredients: This is non-negotiable. Cold butter and eggs won’t blend properly. Plan ahead and let them sit out for 30 minutes before you start.
- Don’t Overmix: Once you add the flour, mix until just combined. Overmixing makes cookies tough. I once made a batch that was hard as rocks. Don’t let that happen to you.
- Underbake Slightly: Pull the cookies out when the edges are set but the centers are still soft. They will firm up as they cool. This ensures a chewy texture.
- Use Parchment Paper: It promotes even baking and prevents sticking. It’s a small step that makes a big difference in consistency.
- Check Your Oven: Ovens can vary. Use an oven thermometer to ensure your temperature is accurate. If your cookies spread too much, your oven might be too hot.
Timing is everything. Keep an eye on the cookies after 8 minutes. Every oven is different. If you like crispy cookies, bake them for 12-13 minutes. For chewy, stick to 9-10 minutes.
Multitasking tip: While the cookies bake, you can clean your mixing bowl. By the time they are done, you’ll have a clean workspace ready for the next batch.
Consistency comes with practice. Once you find your oven’s sweet spot, you’ll never need to adjust the recipe again.
Variations & Adaptations
While the classic chocolate chip version is my favorite, there are many ways to customize these cookies. You can adapt them to suit different tastes or dietary needs.
- Double Chocolate: Add 2 tablespoons of cocoa powder to the dry ingredients. Use dark chocolate chips for a rich, intense chocolate flavor. This is great for chocolate lovers.
- White Chocolate Macadamia: Swap the chocolate chips for white chocolate chips and macadamia nuts. It’s a tropical twist that is equally delicious. The nuts add a nice crunch.
- Gluten-Free: Use a 1:1 gluten-free flour blend. Make sure it contains xanthan gum. The texture might be slightly more crumbly, but the flavor will be the same.
- Vegan: Use vegan butter and a flax egg (1 tablespoon ground flaxseed mixed with 3 tablespoons water). The cookies might spread more, so chill the dough first.
- Add-Ins: Try adding dried cranberries, chopped nuts, or even a pinch of sea salt on top before baking. These add texture and extra flavor layers.
I once tried adding orange zest to the dough. It was a surprising and refreshing twist. It paired well with the chocolate.
If you are baking for someone with allergies, always check ingredient labels. Many chocolate chips contain milk or soy. Look for certified allergen-free brands if needed.
These variations keep the recipe interesting. You can rotate them based on the season or your mood.
Serving & Storage Suggestions
These cookies are best enjoyed warm, right out of the oven. Serve them with a cold glass of milk or a cup of coffee. They pair well with fruit salads or sorbet for a light dessert.
For storage, keep them in an airtight container at room temperature. They will stay fresh for up to 5 days. If you live in a humid climate, add a piece of bread to the container to keep them soft.
To freeze the dough, scoop it onto a baking sheet and freeze until solid. Then transfer the dough balls to a freezer bag. Bake directly from frozen, adding 1-2 minutes to the baking time. This is perfect for meal prep.
To freeze baked cookies, let them cool completely. Store them in a single layer in an airtight container. They will last for up to 3 months. Thaw at room temperature before serving.
Flavors often develop over time. These cookies taste even better on day 2, as the flavors meld together.
Nutritional Information & Benefits
These cookies are a treat, but they also have some nutritional benefits. Butter provides fat-soluble vitamins, and eggs are a good source of protein. Chocolate chips contain antioxidants, especially if you use dark chocolate.
Each cookie contains approximately 150 calories. They are gluten-free if you use gluten-free flour. They are also nut-free, making them safe for most schools and workplaces.
However, they are high in sugar and fat, so enjoy in moderation. Balance them with a healthy meal or activity.
I like to think of these as a mindful treat. Enjoy them slowly, savoring each bite. It’s about pleasure, not just filling up.
Conclusion
This simple one-bowl chocolate chip cookie recipe is a game-changer. It’s easy, delicious, and reliable. You don’t need to be a pro baker to make these. Just follow the steps and trust the process.
I love this recipe because it brings joy to simple moments. Whether it’s for my daughter or for myself, it’s a small pleasure that makes life sweeter.
I encourage you to try it. Customize it with your favorite add-ins. Share it with friends and family. And don’t forget to leave a comment with your results. I’d love to hear how they turned out.
Happy baking!
FAQs
Can I use margarine instead of butter?
Yes, you can use margarine, but the flavor and texture might be slightly different. Butter provides a richer taste and better structure. Margarine has a higher water content, which can lead to flatter cookies.
Why did my cookies spread too much?
This usually happens if the butter was too soft or the oven was too hot. Make sure your butter is softened, not melted. Also, check your oven temperature with a thermometer. Chilling the dough before baking can also help.
Can I freeze the cookie dough?
Yes, absolutely. Scoop the dough onto a baking sheet and freeze until solid. Then transfer to a freezer bag. You can bake them directly from frozen, adding a minute or two to the baking time.
How do I store leftover cookies?
Store them in an airtight container at room temperature for up to 5 days. If you want them soft, add a piece of bread to the container. For longer storage, freeze them in an airtight container.
Can I make these cookies gluten-free?
Yes, use a 1:1 gluten-free flour blend. Make sure it contains xanthan gum for structure. The cookies might be slightly more crumbly, but they will still be delicious.
Pin This Recipe!
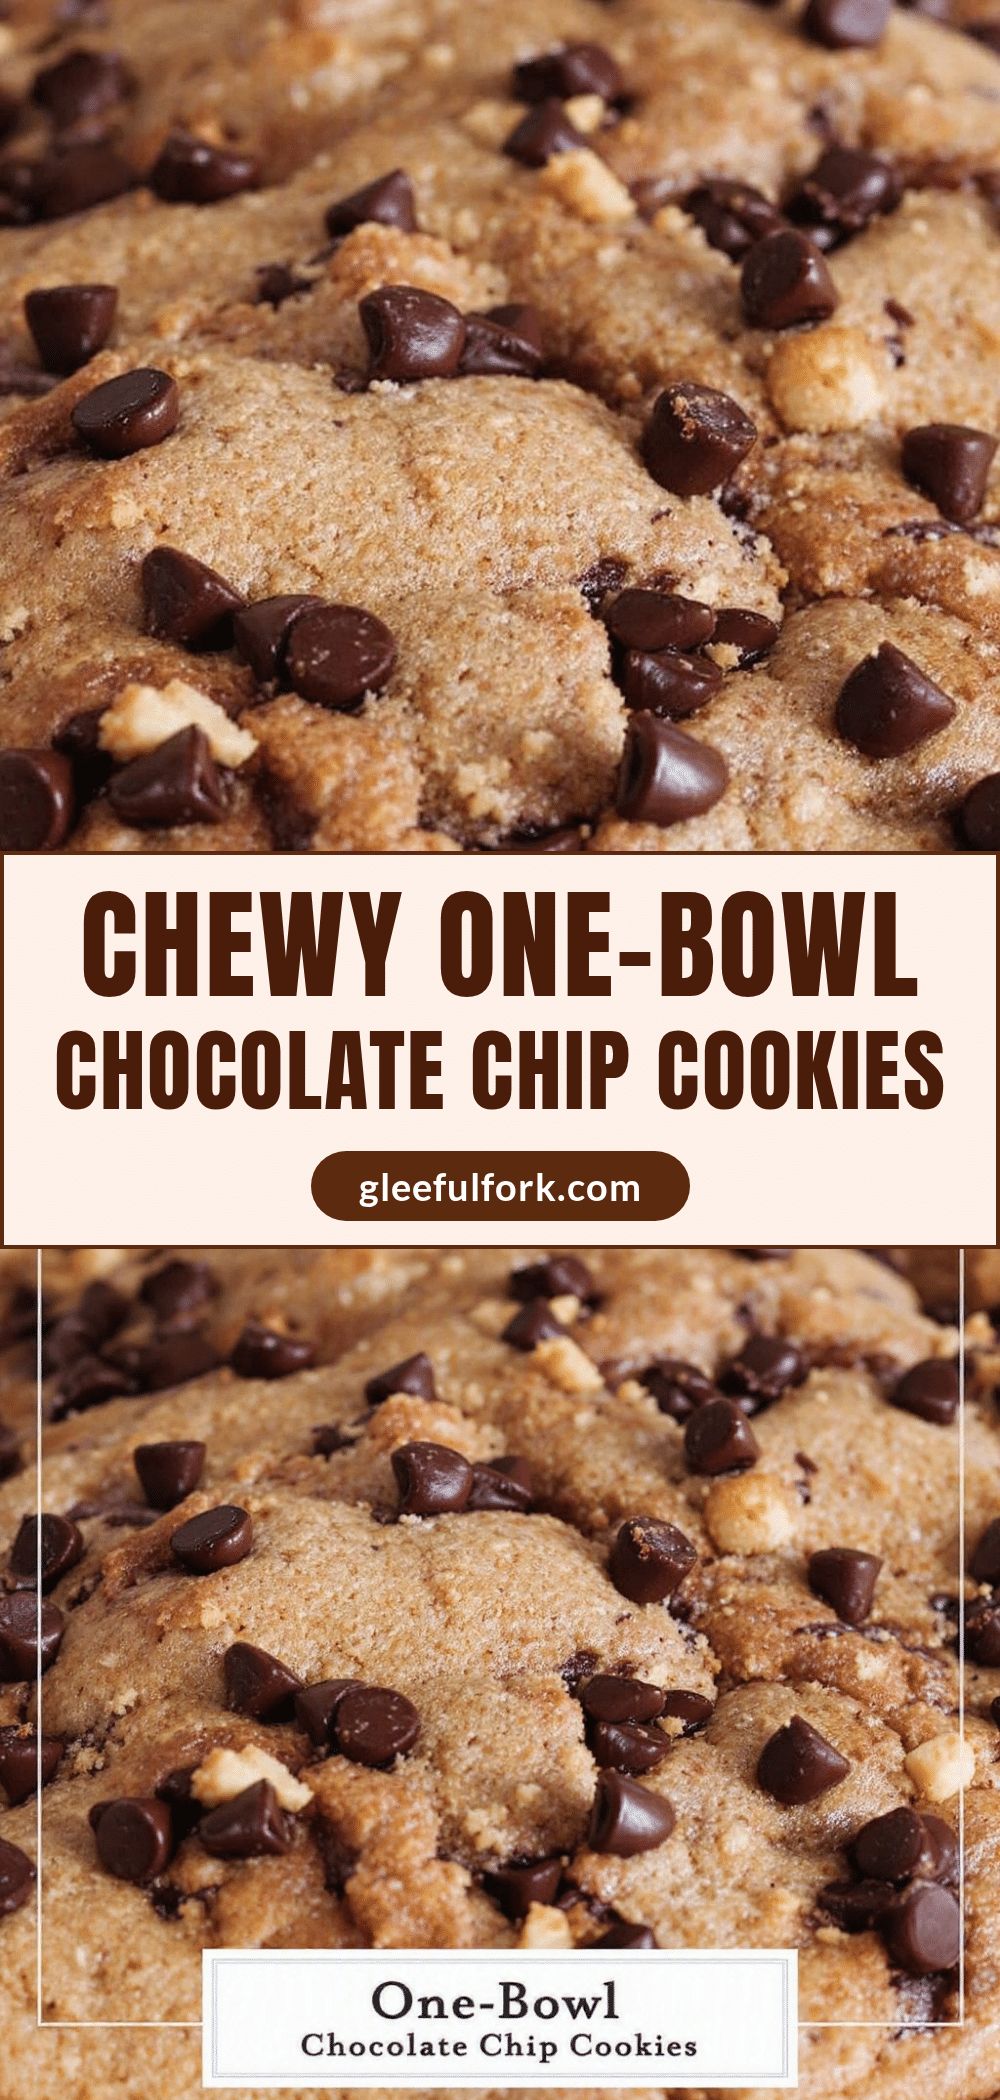
Simple One-Bowl Chocolate Chip Cookies

A reliable, easy-to-make chocolate chip cookie recipe that requires only one bowl and no chilling time. These cookies feature crisp edges and a slightly gooey center, perfect for busy weeknights.
- Prep Time: 15 minutes
- Cook Time: 10 minutes
- Total Time: 25 minutes
- Yield: Approximately 24 cookies 1x
- Category: Dessert
- Cuisine: American
Ingredients
- 1 cup (2 sticks) unsalted butter, softened to room temperature
- 1 cup granulated white sugar
- 1 cup packed brown sugar (light or dark)
- 2 large eggs, room temperature
- 2 teaspoons pure vanilla extract
- 3 1/4 cups all-purpose flour
- 1 teaspoon baking soda
- 1 teaspoon salt
- 2 cups semi-sweet chocolate chips
Instructions
- Preheat oven to 375°F (190°C) and line baking sheets with parchment paper.
- In a large mixing bowl, cream together the softened butter, granulated sugar, and brown sugar on medium speed for 2-3 minutes until light and fluffy.
- Add eggs one at a time, beating well after each addition. Scrape down the sides of the bowl. Add vanilla extract and mix until combined.
- In a separate bowl, whisk together the flour, baking soda, and salt.
- Gradually add the dry ingredients to the wet mixture on low speed, mixing only until just combined. Do not overmix.
- Fold in the chocolate chips with a spatula until evenly distributed.
- Scoop dough balls (about 2 tablespoons each) onto prepared baking sheets, spacing them 2 inches apart.
- Bake for 9-11 minutes, or until edges are golden brown but centers still look slightly underbaked.
- Let cookies cool on the baking sheet for 5 minutes, then transfer to a wire rack to cool completely.
Notes
Ensure butter and eggs are at room temperature for best results. Do not overmix the dough to avoid tough cookies. For chewy cookies, underbake slightly; for crispy cookies, bake for 12-13 minutes. Dough can be frozen for later use.
Nutrition
- Serving Size: 1 cookie
- Calories: 150
- Sugar: 14
- Sodium: 120
- Fat: 8
- Saturated Fat: 5
- Carbohydrates: 20
- Fiber: 1
- Protein: 2
Keywords: chocolate chip cookies, one bowl recipe, easy cookies, quick dessert, homemade cookies, chewy cookies, family favorite