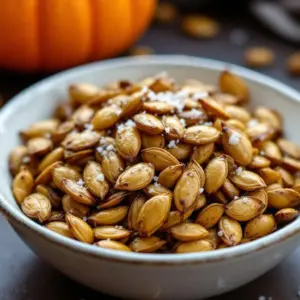
Love this? Save it for later!
Share the inspiration with your friends
Flour dusted my apron in a thick, white cloud when the oven timer decided to take a nap. It was supposed to be a simple Tuesday evening—just me, a pot of boiling water, and a bag of pasta that was currently sticking together in a hopeless knot. Then I remembered the half-empty bag of pumpkin seeds sitting on the counter, staring at me like a silent judgment. They were the ones I’d bought three weeks ago, promised myself I’d roast, and then completely ignored while I reached for the chips again. So, there I was, standing in a flour storm, scraping slimy, stringy pumpkin guts off the seeds with a spoon that was slipping in my sweaty palm. Honestly, it was messy. It was loud. And it smelled faintly of raw vegetable and regret.
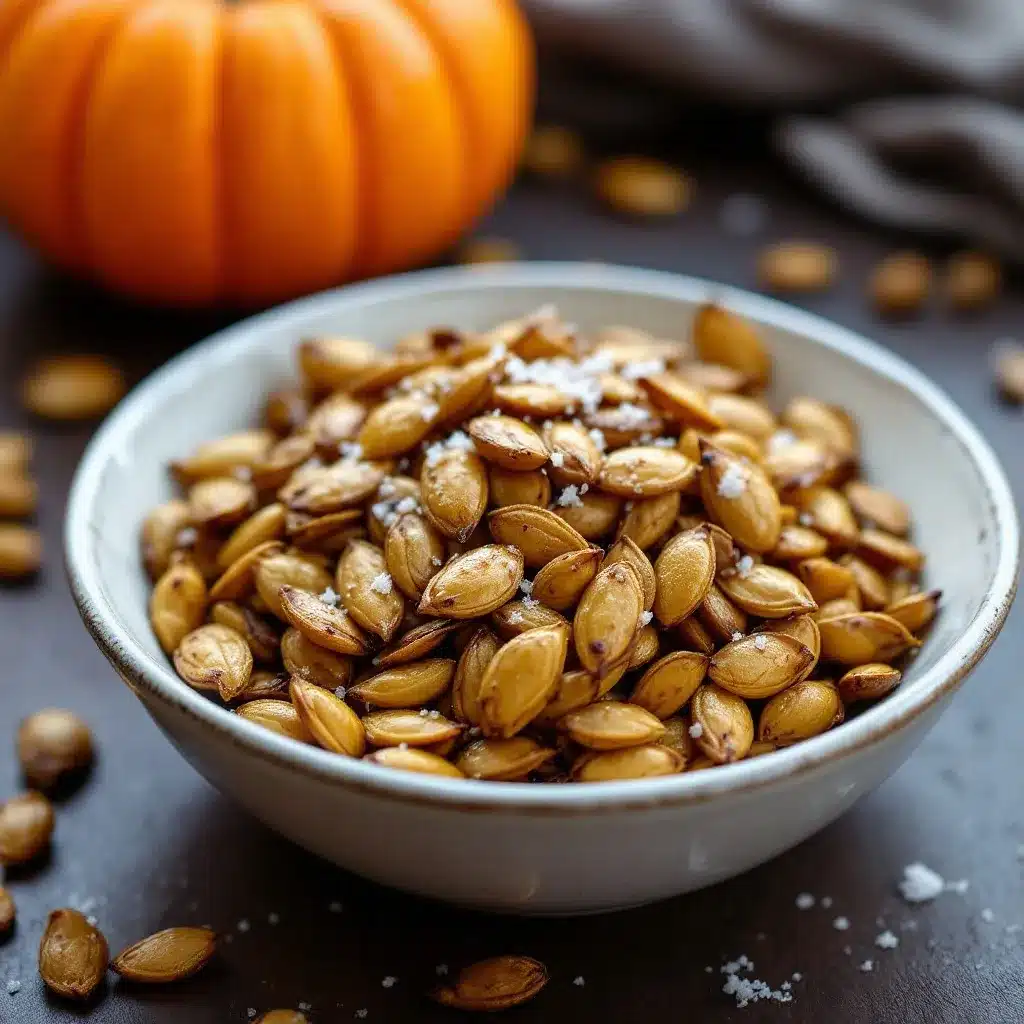
I dumped the wet, slippery seeds into a colander and rinsed them under the tap, trying to get every last bit of fibrous webbing off. My husband walked in, saw the disaster zone, and asked if we were making a science experiment or dinner. I told him it was a snack, but it felt more like damage control. I tossed the seeds into a bowl, drizzled them with olive oil, and sprinkled them with sea salt. Not a lot of it, just enough to make them taste like something I didn’t buy in a factory. Into the oven they went, right next to the burning pasta. I checked on them every two minutes, watching them turn from pale and sad to golden and crisp. When they finally popped and crackled, the kitchen smelled like autumn, not disaster.
That night, I ate them straight out of the pan, burning my fingers and laughing at the irony. They were better than chips. They were better than anything I’d made all week. I didn’t know it then, but that messy, flour-covered evening was the start of my obsession with crispy roasted pumpkin seeds with sea salt. It’s not about perfection. It’s about taking something that’s usually thrown away and turning it into the best part of the meal. Now, every time I carve a pumpkin or buy a can of pepitas, I don’t see waste. I see crunch. I see a quick, healthy fix that requires almost no effort but tastes like I spent hours on it. It’s the snack that saved my sanity that Tuesday, and it’s been my go-to ever since.
Why You’ll Love This Recipe
There is a specific kind of magic in roasting your own seeds. You know how store-bought versions often taste a bit like cardboard or are drowned in sugar? This recipe flips that script entirely. It’s about texture—real, audible crunch that shatters between your teeth—and flavor that is clean, savory, and deeply satisfying. I’ve tested this method dozens of times, from using a dehydrator to blasting them in a convection oven, and this simple stovetop-then-oven hybrid is the winner. It prevents the seeds from burning while ensuring they dry out enough to stay crispy for days.
- Quick & Easy: The prep is minimal, and the roast time flies by. It’s perfect for those moments when you need a snack but don’t want to cook a whole meal.
- Simple Ingredients: You likely have everything you need right now. Pumpkin seeds, oil, and salt. No fancy pantry items required.
- Perfect for Movie Nights: These are the ultimate low-mess snack. No sticky fingers like with popcorn, just clean, crunchy bites.
- Crowd-Pleaser: Kids love the crunch, and adults appreciate the health boost. It’s a safe bet for any gathering.
- Unbelievably Delicious: The Maillard reaction kicks in beautifully here, creating a nutty, toasted flavor that is addictive.
What makes this recipe different from the rest is the attention to detail in the cleaning and drying phase. Most people skip rinsing off the pulp, which leads to soggy seeds. By taking the extra minute to scrub them clean and pat them dry, you guarantee that crunch. It’s the difference between a sad, chewy seed and a gourmet snack. Plus, roasting them at home lets you control the salt level, which is a huge win for anyone watching their sodium intake. It’s comfort food, but the kind that makes you feel good about eating it.
What Ingredients You Will Need
This recipe relies on the quality of just three ingredients. Since there’s so little going on, each one needs to do its job perfectly. The pumpkin seeds are the star, the oil is the conductor that helps the heat distribute evenly, and the salt is the finisher that brings out the natural nuttiness. You don’t need fancy oils or exotic spices for this basic version, though I’ll mention some swaps later if you want to get creative.
- Pumpkin Seeds (Pepitas): Use about 2 cups of raw, shelled pumpkin seeds. If you’re using seeds straight from a pumpkin, you’ll need about 1 cup of raw seeds after cleaning. Look for seeds that are plump and green, not shriveled or yellowish. I prefer buying raw, unsalted pepitas from a bulk bin because they’re often fresher than the pre-packaged bags.
- Extra Virgin Olive Oil: About 1 to 2 tablespoons. Olive oil adds a rich, fruity note that complements the earthiness of the seeds. You can use avocado oil or melted coconut oil if you prefer a neutral flavor, but olive oil is my go-to for its robust taste.
- Sea Salt: 1/2 teaspoon of fine sea salt or 1 teaspoon of flaky sea salt. Fine salt adheres better during the mixing process, while flaky salt adds a nice textural contrast on top. I recommend using a high-quality salt like Maldon for the best flavor profile.
- Water: For rinsing the seeds to remove any remaining pulp or stringy bits. Fresh, cold water works best.
If you’re buying pre-shelled seeds, check the expiration date to ensure they haven’t gone rancid. Pumpkin seeds have a high oil content, so they can spoil if stored improperly. Always store them in an airtight container in a cool, dark place. For the best results, use organic seeds if you can find them, as they often have a cleaner, more vibrant flavor. Remember, less is more here. You don’t want to mask the natural taste of the seed with too much oil or salt.
Can I use salted seeds?
It’s best to start with raw, unsalted seeds. If you only have pre-roasted or salted seeds on hand, you can still use them, but you’ll need to adjust the oil and salt accordingly. Toss them in a tiny bit of oil just to warm them through, and skip the added salt entirely.
What if I don’t have pumpkin seeds?
You can substitute these with sunflower seeds or squash seeds. The roasting time and method remain largely the same, though sunflower seeds are smaller and may roast slightly faster. Keep a close eye on them to prevent burning.
Equipment Needed
You don’t need a fancy kitchen to make these seeds. A few basic tools will get the job done without any fuss. The most important piece of equipment is a large mixing bowl. You need enough surface area to toss the seeds with oil and salt so they coat evenly. A wide, shallow bowl works best because it allows you to spread the seeds out slightly while mixing.
A fine-mesh strainer or colander is essential for rinsing the seeds. If you’re cleaning seeds from a fresh pumpkin, this is where you’ll scrub off the pulp. A silicone spatula is also helpful for scraping the insides of the pumpkin or for stirring the seeds in the pan if you’re doing a stovetop finish. If you’re using pre-shelled seeds, you can skip the strainer, but it’s good to have just in case.
For roasting, a large baking sheet is ideal. Use one with a rim to catch any stray seeds or oil spills. Parchment paper is optional but recommended for easy cleanup. If you don’t have parchment, a light greasing of the pan will work, but parchment ensures the seeds don’t stick and helps them roast evenly. A timer is also crucial. These seeds can go from golden to burnt in a matter of seconds, so don’t walk away.
I’ve tried using a food processor to dry the seeds, but it’s overkill and often results in broken pieces. A simple oven or even a skillet is all you need. If you’re short on counter space, a large skillet on the stovetop can work, but you’ll need to stir constantly. For most people, the oven method is the most hands-off approach.
Do I need a dehydrator?
No, a dehydrator is not necessary. While it can produce very crispy seeds with less oil, an oven or stovetop method is faster and requires no special equipment. The results are nearly identical if you monitor the heat closely.
What kind of baking sheet should I use?
A heavy-gauge aluminum baking sheet is best for even heat distribution. Dark non-stick sheets can cause the seeds to brown too quickly on the bottom, so keep an eye on them if you’re using one. Light-colored sheets are generally safer for beginners.
Preparation Method
Getting your crispy roasted pumpkin seeds with sea salt right starts with the prep. If you’re using raw pepitas from a bag, you can skip to step 3. If you’re cleaning them from a fresh pumpkin, you’ll need to put in a little extra effort to remove the pulp. This step is critical because any leftover moisture or fibrous material will prevent the seeds from becoming truly crispy.
- Rinse and Clean (5 minutes): If using fresh seeds, place them in a fine-mesh strainer. Run cold water over them while using your fingers to gently rub the seeds together. This helps separate the seeds from the stringy pulp. Keep rubbing until the water runs clear and the seeds are smooth. If you’re using pre-shelled seeds, give them a quick rinse to remove any dust, then drain well.
- Remove Excess Moisture (2 minutes): Spread the rinsed seeds out on a clean kitchen towel or several layers of paper towels. Pat them dry gently but thoroughly. You want them as dry as possible before adding oil. Any remaining water will turn to steam in the oven, which can lead to soggy seeds. Let them sit for a few minutes to air dry further if you have time.
- Season the Seeds (1 minute): Transfer the dry seeds to a large mixing bowl. Drizzle with olive oil. Start with 1 tablespoon and add more if needed. Sprinkle with sea salt. Use your hands or a spatula to toss the seeds until they are evenly coated. You want a light sheen of oil on each seed, not a pool of oil at the bottom of the bowl. Too much oil will make them greasy rather than crispy.
- Spread on Baking Sheet (1 minute): Line a large baking sheet with parchment paper. Spread the seeds out in a single, even layer. It’s important that they don’t overlap. If they’re piled on top of each other, they’ll steam instead of roast. You may need to use two baking sheets if you have a large batch.
- Roast (15-20 minutes): Preheat your oven to 325°F (160°C). Place the baking sheet in the center rack. Roast for 15 to 20 minutes, stirring every 5 minutes to ensure even browning. The seeds are done when they are golden brown and fragrant. They will continue to crisp up as they cool, so don’t wait until they look dark brown in the oven.
- Cool and Store (30 minutes): Remove the seeds from the oven and let them cool completely on the baking sheet. This cooling process is where the crunch develops. Once cool, transfer them to an airtight container. They will keep at room temperature for up to a week.
One common mistake is turning up the heat too high. Pumpkin seeds have a high oil content, so they burn easily. Keeping the temperature low and slow ensures they dry out and toast evenly without scorching. If you notice them browning too quickly, lower the temperature by 25 degrees. Trust your nose—if they start to smell bitter, they’re burning.
How do I know when they are done?
They should be a light golden color, not dark brown. They will also make a slight clicking sound when stirred. The smell should be nutty and toasted, not acrid. Remember, they will continue to cook slightly after being removed from the oven due to residual heat.
Can I roast them in batches?
Yes, but make sure to rotate the pans if you’re using two racks. Also, keep in mind that the oven temperature may drop slightly when you open the door, so you might need to add a minute or two to the total roast time for the second batch.
Cooking Tips & Techniques
Roasting seeds might seem simple, but there are a few tricks to ensure consistent results every time. The biggest factor is moisture. Even a small amount of leftover water from rinsing can ruin the crunch. That’s why patting them dry is non-negotiable. If you’re in a hurry, you can spread them out on a towel and let them air dry for 15 minutes before roasting. This extra step makes a huge difference in the final texture.
Another tip is to stir frequently. Seeds vary in size and shape, so some will cook faster than others. Stirring every 5 minutes ensures that all seeds get equal exposure to the heat. If you leave them unattended, you’ll end up with a mix of burnt and raw seeds, which is a frustrating outcome. Set a timer on your phone to remind you to check on them.
Don’t be afraid to taste as you go. After roasting, let one seed cool for a minute and taste it. If it lacks flavor, you can sprinkle a little more salt while they’re still warm. The warm oil will help the salt adhere better. If they taste bland, it might be because the seeds were old or low quality. Always start with fresh, vibrant seeds for the best flavor.
I once tried roasting seeds at 400°F to save time, and they burned in under 10 minutes. It was a waste of good seeds. Low and slow is the way to go. It’s more patient, but the reward is a perfectly toasted snack that doesn’t require constant babysitting. Also, consider the humidity in your kitchen. On rainy days, seeds may take a few extra minutes to dry out. Adjust your timing accordingly.
What if my seeds are still chewy after cooling?
If they’re still soft after cooling, they likely didn’t dry out enough. You can return them to the oven for another 5 minutes at a lower temperature (300°F) to crisp them up. Just make sure to stir them well to prevent burning.
Can I add spices before roasting?
Yes, but be careful with wet spices like garlic powder or paprika. They can burn easily at high temperatures. If you want to add spices, use dry herbs or spices that are less prone to burning, and keep a close eye on the seeds. Alternatively, you can toss them with spices after they’ve cooled to preserve the flavor.
Variations & Adaptations
While the classic sea salt version is my favorite, these seeds are a blank canvas for flavor. You can experiment with different oils, spices, and sweeteners to create a snack that fits your mood. Here are a few variations I’ve tried and loved.
- Spicy Chili Lime: Toss the seeds with lime juice and chili powder before roasting. The acidity from the lime adds a bright zing that pairs perfectly with the heat. This is great for taco night or as a topping for soups.
- Sweet Cinnamon Sugar: Mix a teaspoon of cinnamon with a tablespoon of maple syrup or honey. Toss the seeds in this mixture before roasting. They’ll become sweet and crunchy, like a dessert snack. These are perfect for pairing with coffee or tea.
- Garlic Parmesan: Sprinkle grated parmesan cheese and garlic powder over the seeds after they’ve been roasted. The residual heat will melt the cheese slightly, creating a savory crust. This is a fantastic alternative to popcorn for movie nights.
- Herb Rosemary: Add finely chopped fresh rosemary and a pinch of black pepper. The herbal notes are sophisticated and pair well with cheese boards or charcuterie.
If you’re looking for a gluten-free or vegan option, this recipe is already naturally compliant. Just ensure that any added spices or cheeses are certified gluten-free if you have celiac disease. For a lower-fat version, you can skip the oil and simply toast the seeds in a dry skillet over medium heat. They won’t be as rich, but they’ll still be crunchy.
Can I make these in an air fryer?
Yes, air frying is a great option for smaller batches. Cook at 300°F for 8-10 minutes, shaking the basket every 2 minutes. Keep a close eye on them as air fryers can vary in intensity.
Are these seeds safe for nut allergies?
Yes, pumpkin seeds are not tree nuts or peanuts, so they are generally safe for those with nut allergies. However, always check with your healthcare provider if you have specific concerns.
Serving & Storage Suggestions
These seeds are incredibly versatile. Serve them warm from the oven as a standalone snack, or use them as a topping for salads, soups, and avocado toast. They add a delightful crunch to grain bowls and can replace croutons for a healthier twist. I often keep a jar of them on my desk for a mid-afternoon pick-me-up.
For storage, let the seeds cool completely before placing them in an airtight container. Glass jars with tight-fitting lids work best. Store them in a cool, dry place away from direct sunlight. They will stay crispy for up to a week. If you live in a humid climate, you might want to store them in the refrigerator to extend their shelf life. Just let them come to room temperature before eating for the best texture.
Reheating is optional, but if they lose their crunch, you can pop them back in the oven at 300°F for 3-5 minutes to crisp them up. Avoid microwaving, as it can make them chewy. These seeds also freeze well. Place them in a freezer-safe bag and store for up to 3 months. Thaw at room temperature before eating.
How do I know if they have gone bad?
If they smell rancid or have an off taste, they have gone bad. Pumpkin seeds have a high oil content, so they can spoil if stored improperly. Always trust your nose and taste buds.
Can I freeze them raw?
Yes, you can freeze raw pumpkin seeds for up to 6 months. Just make sure to dry them thoroughly before freezing to prevent ice crystals from forming.
Nutritional Information & Benefits
Pumpkin seeds are a nutritional powerhouse. They are packed with magnesium, which supports heart health and muscle function. They are also a great source of zinc, which boosts the immune system. Additionally, they contain healthy fats and protein, making them a satisfying snack that keeps you full longer than chips or crackers. One serving (about 1/4 cup) contains approximately 150 calories, 8g of fat, 8g of protein, and 5g of fiber.
Incorporating these seeds into your diet can help improve sleep quality, as they contain tryptophan, an amino acid that helps regulate sleep. They are also gluten-free and vegan, making them accessible to a wide range of dietary needs. While they are healthy, they are calorie-dense, so moderation is key. Enjoy them as a snack, not a meal replacement.
Are pumpkin seeds good for heart health?
Yes, the magnesium and healthy fats in pumpkin seeds contribute to cardiovascular health. They help regulate blood pressure and cholesterol levels.
Can I eat the shells?
The shells are edible but tough and hard to digest. It’s best to remove them before eating. The nutritional benefits are concentrated in the green seed inside.
Conclusion
Crispy roasted pumpkin seeds with sea salt are more than just a snack; they are a celebration of simplicity and resourcefulness. By taking the time to roast your own seeds, you transform a humble ingredient into something extraordinary. The process is easy, the ingredients are basic, and the result is addictive. Whether you’re making them from scratch after carving a pumpkin or using store-bought pepitas, the effort is worth it.
I encourage you to experiment with different flavors and find your favorite combination. Don’t be afraid to tweak the recipe to suit your taste. And if you try this recipe, I’d love to hear how it turns out. Leave a comment below with your favorite variation or share a photo of your crunchy creation. Let’s inspire each other to cook smarter and waste less. Happy roasting!
FAQs
How long do roasted pumpkin seeds last?
They last up to one week in an airtight container at room temperature. For longer storage, keep them in the refrigerator for up to a month.
Can I use a microwave to roast them?
It’s not recommended. Microwaving can make the seeds chewy and unevenly cooked. An oven or stovetop method is much more reliable for achieving crispiness.
Why are my seeds still soft after roasting?
They may not have been dry enough before roasting, or they may need more time in the oven. Let them cool completely, as they continue to crisp up as they lose heat.
What is the best oil to use for roasting?
Olive oil is my preference for its flavor, but avocado oil or coconut oil work well too. Use a neutral oil if you don’t want to add extra flavor.
Can I make these seeds spicy?
Absolutely! Add cayenne pepper, chili powder, or hot sauce to the oil mixture before roasting. Adjust the heat level to your preference.
Pin This Recipe!
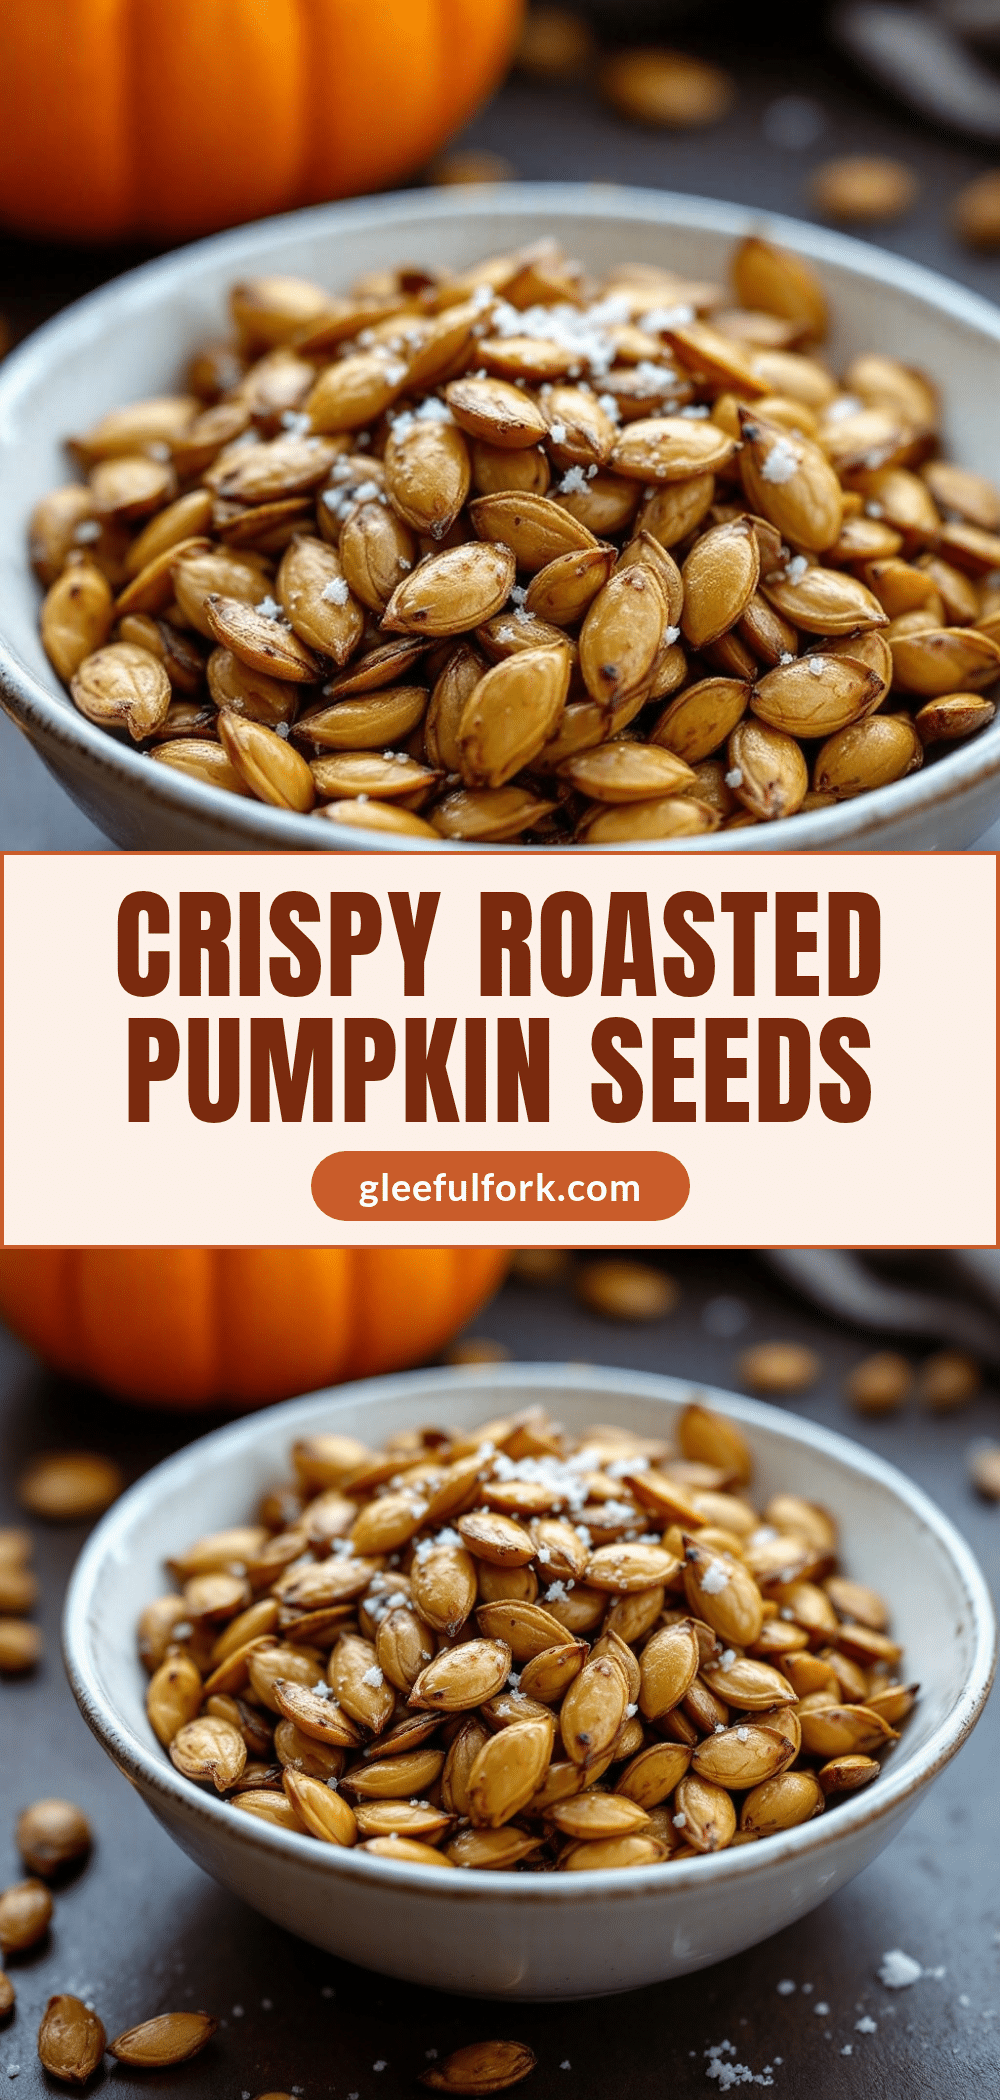
Crispy Roasted Pumpkin Seeds with Sea Salt
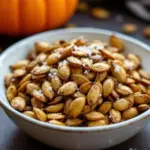
A simple, healthy, and addictive snack made by roasting raw pumpkin seeds with olive oil and sea salt until golden and crunchy. This recipe transforms a humble ingredient into a gourmet treat with minimal effort.
- Prep Time: 8 minutes
- Cook Time: 20 minutes
- Total Time: 28 minutes
- Yield: 4 servings 1x
- Category: Snack
- Cuisine: American
Ingredients
- 2 cups raw, shelled pumpkin seeds (pepitas)
- 1 to 2 tablespoons extra virgin olive oil
- 1/2 teaspoon fine sea salt (or 1 teaspoon flaky sea salt)
- Water for rinsing
Instructions
- Rinse the pumpkin seeds in a fine-mesh strainer under cold water, rubbing them gently to remove any stringy pulp. Drain well.
- Spread the rinsed seeds on a clean kitchen towel or paper towels and pat them dry thoroughly to remove excess moisture.
- Transfer the dry seeds to a large mixing bowl. Drizzle with olive oil and sprinkle with sea salt.
- Toss the seeds with your hands or a spatula until they are evenly coated with a light sheen of oil.
- Line a large baking sheet with parchment paper and spread the seeds in a single, even layer, ensuring they do not overlap.
- Preheat the oven to 325°F (160°C).
- Roast the seeds for 15 to 20 minutes, stirring every 5 minutes to ensure even browning.
- Remove from the oven when the seeds are golden brown and fragrant.
- Let the seeds cool completely on the baking sheet to allow them to crisp up.
- Store in an airtight container at room temperature for up to one week.
Notes
Ensure seeds are completely dry before roasting to achieve maximum crispiness. Do not overcrowd the baking sheet; use two sheets if necessary. Seeds will continue to crisp as they cool. If seeds are still chewy after cooling, return to the oven at 300°F for 5 minutes.
Nutrition
- Serving Size: 1/4 cup
- Calories: 150
- Sodium: 150
- Fat: 8
- Saturated Fat: 1.5
- Carbohydrates: 5
- Fiber: 5
- Protein: 8
Keywords: pumpkin seeds, pepitas, roasted seeds, healthy snack, gluten-free, vegan, sea salt, crispy snack, low calorie snack