Love this? Save it for later!
Share the inspiration with your friends
The smell of garlic and lemon sizzling together in one pan—that’s the kind of kitchen magic that makes you feel like you’ve got it all figured out. This Easy One-Pan Lemon Garlic Chicken and Rice is the dinner I make when I want something that feels special but doesn’t require a sink full of dishes. Honestly, the first time I made it, I was shocked at how much flavor came out of just one skillet.
Here’s why this one’s a keeper:
- Quick & Easy : From start to table in about 40 minutes. No complicated steps, no weird techniques—just simple, honest cooking.
- Simple Ingredients : Chicken, rice, lemon, garlic, broth. You probably have most of this stuff in your kitchen right now. No fancy grocery runs required.
- Perfect for Busy Weeknights : This is the kind of meal you can throw together after a long day when you’re tired but still want something homemade. It’s comfort food without the fuss.
- Crowd-Pleaser : My kids devour it. My husband asks for seconds. Even my picky aunt (you know the one) went back for more.
- Unbelievably Delicious : The rice soaks up all that lemony garlicky broth while the chicken gets golden and tender on top. It’s the kind of dish that makes you close your eyes after the first bite.
What makes this different from every other chicken and rice recipe out there? It’s the way the flavors layer. You sear the chicken first to build that deep golden crust, then let it finish cooking right on top of the rice so all those juices drip down and flavor every single grain. The lemon brightens everything up, the garlic adds that savory punch, and the whole thing comes together in one pan. No juggling multiple pots. No stress. Just really good food.
This is the recipe I turn to when I need a win in the kitchen. It’s reliable, forgiving, and always delivers. And honestly? That’s exactly what dinner should be.
What Ingredients You Will Need
This recipe keeps things simple—just a handful of everyday ingredients that work together to create something genuinely delicious. Most of these are pantry staples, which is exactly why I love making this on a Tuesday night when I haven’t planned ahead.
- Chicken thighs (bone-in, skin-on) — 4 to 6 pieces (about 1.5 pounds). The skin gets beautifully crispy, and the bones keep the meat juicy. If you prefer, boneless skinless thighs work too, but you’ll lose some of that golden crunch.
- Olive oil — 2 tablespoons. Use a good quality extra virgin here. It’s what you’ll sear the chicken in, so it matters.
- Salt and black pepper — to taste. Don’t be shy with the salt—it’s what brings out all the other flavors.
- Garlic — 5 cloves, minced. Fresh garlic is non-negotiable here. The jarred stuff just won’t give you that same punch.
- Long-grain white rice — 1 cup. Basmati or jasmine work beautifully. I’ve tried brown rice, and it takes longer and needs more liquid, so stick with white for this one.
- Chicken broth — 2 cups. Low-sodium is best so you can control the salt level. Homemade is amazing if you have it, but boxed works perfectly fine.
- Fresh lemon — 1 large lemon. You’ll need both the zest and the juice. That bright, citrusy pop is what makes this dish sing.
- Dried thyme — 1 teaspoon. It’s subtle but adds that earthy, herbal note that balances the lemon.
- Paprika — 1 teaspoon. Smoked paprika if you have it—it adds a gentle warmth that’s just lovely.
- Fresh parsley — a handful, chopped. For garnish and that fresh finish.
I’ve made this with chicken breasts before, and honestly, thighs are better. They stay moist and don’t dry out while the rice cooks. If you’re in a pinch, boneless skinless chicken breasts will work, just keep an eye on them so they don’t overcook. Also, I really recommend using a good quality broth here—it makes a difference. I like Pacific Foods or Swanson for store-bought options.
Equipment Needed
One of the best things about this recipe? You barely need any equipment. Here’s what you’ll need:
- Large oven-safe skillet or Dutch oven — A 12-inch skillet with a lid is ideal. Cast iron works great, and so does stainless steel. I use my trusty Lodge cast iron skillet for this—it holds heat beautifully and gives the chicken that perfect golden crust.
- Wooden spoon or spatula — For stirring the rice and scraping up those browned bits from the bottom of the pan. Those bits are pure flavor.
- Microplane or zester — For getting the lemon zest without the bitter white pith. A regular grater works too.
- Measuring cups and spoons — For the rice, broth, and seasonings.
- Knife and cutting board — For mincing garlic and chopping parsley.
If you don’t have an oven-safe skillet, you can transfer everything to a baking dish after searing the chicken. It’s an extra step, but it works. And honestly, a good cast iron skillet is worth the investment—it’ll last you forever and makes one-pan meals like this so much easier.
Preparation Method
Let’s get cooking. This comes together in layers, and each step builds on the last. Trust the process—it’s simple but intentional.
- Preheat your oven to 375°F (190°C). While it’s heating up, pat the chicken thighs dry with paper towels. This is crucial—dry skin means crispy skin. Season them generously on both sides with salt, pepper, and paprika.
- Heat the olive oil in your oven-safe skillet over medium-high heat. Once it’s shimmering (you’ll see it ripple), place the chicken thighs skin-side down. Don’t crowd the pan—work in batches if needed. Let them cook undisturbed for 5-6 minutes until the skin is deep golden brown and crispy. Flip and cook for another 3 minutes. Transfer the chicken to a plate and set aside.
- Lower the heat to medium. Add the minced garlic to the pan and stir for about 30 seconds until it’s fragrant. Be careful not to burn it—burnt garlic turns bitter fast. Then add the rice and stir it around for a minute, letting it toast slightly in the remaining fat.
- Pour in the chicken broth and use your wooden spoon to scrape up all those browned bits from the bottom of the pan. That’s where so much flavor lives. Add the lemon zest, lemon juice, and dried thyme. Stir everything together.
- Nestle the chicken thighs back into the pan, skin-side up, on top of the rice. Don’t push them down—just let them sit on top. Bring the liquid to a gentle simmer.
- Cover the skillet with a tight-fitting lid (or foil if your lid isn’t oven-safe) and transfer it to the preheated oven. Bake for 25-30 minutes, until the rice is tender and has absorbed most of the liquid, and the chicken is cooked through (internal temperature of 165°F/74°C).
- Remove from the oven and let it rest, covered, for 5 minutes. This lets the rice finish steaming and everything settle. Uncover, sprinkle with fresh parsley, and give it a gentle fluff with a fork.
A few things I’ve learned the hard way: Don’t peek too much while it’s baking. Every time you lift that lid, steam escapes and your rice might end up unevenly cooked. Also, if the rice looks a little wet when you take it out, just let it sit covered for a few extra minutes—it’ll absorb the rest of the liquid.
The first time I made this, I got impatient and lifted the lid three times. The rice was still good, but it wasn’t as fluffy as it could have been. Learn from my mistake. Trust the oven.
Cooking Tips & Techniques
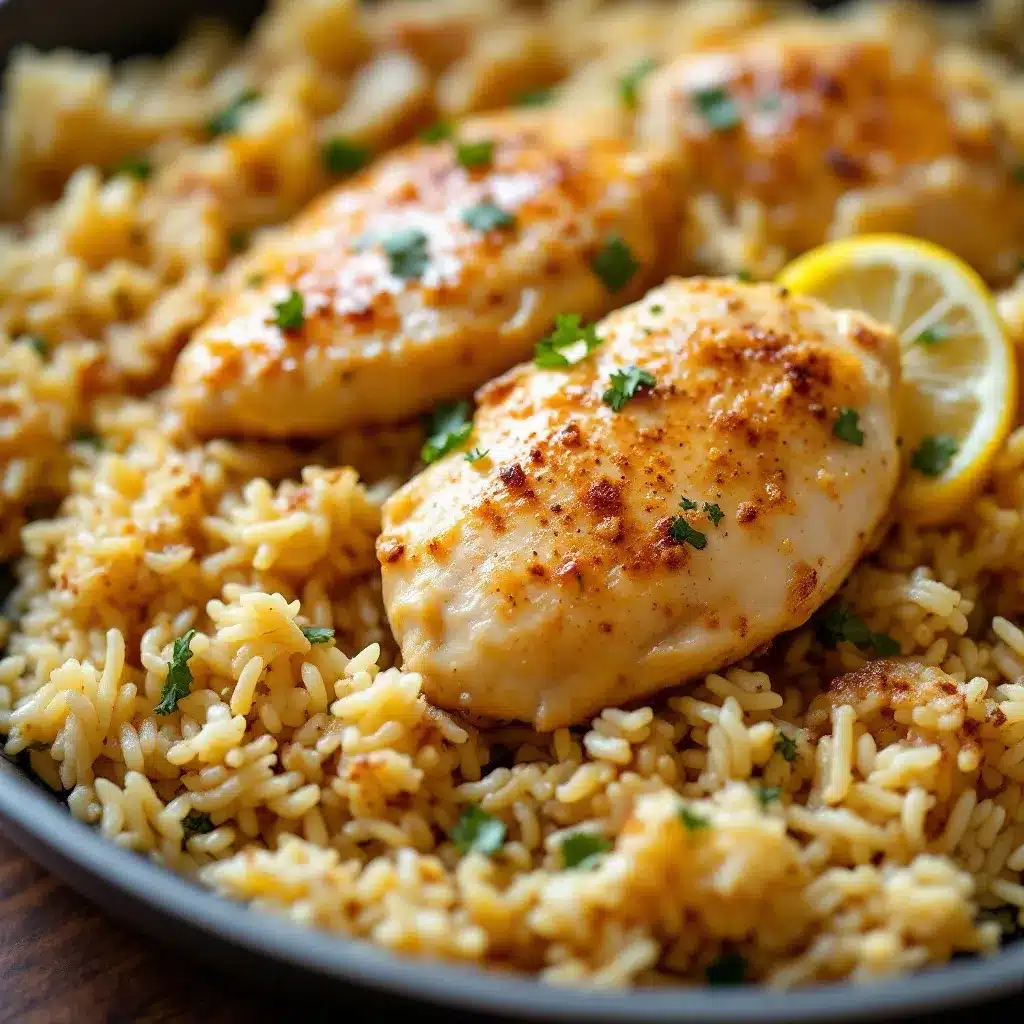
After making this dish more times than I can count, here are the things I wish someone had told me from the start:
Get that crust right. The golden skin on the chicken isn’t just for looks—it adds texture and flavor to the whole dish. Make sure your pan is hot enough before you add the chicken. If it’s not sizzling when the skin hits the pan, wait another minute. And please, don’t move the chicken around once it’s in the pan. Let it sit and develop that crust.
Don’t skip the toasting step. When you stir the rice in the pan before adding the broth, you’re toasting the grains. This takes maybe a minute, but it adds a subtle nuttiness that makes the final dish taste more complex. It’s a small step with big payoff.
Watch your liquid ratio. Different rice varieties absorb liquid differently. If you’re using jasmine rice, 2 cups of broth to 1 cup of rice is perfect. Basmati is similar. But if you’re using a different type, you might need to adjust. Always check the package directions as a guide.
Let it rest. I know it’s tempting to dig in right away, but that 5-minute rest at the end is important. The rice finishes absorbing the liquid, the chicken relaxes, and everything comes together. I once skipped this step because I was starving, and the rice was noticeably wetter. Patience pays off.
Season as you go. Don’t just season the chicken and call it done. Taste the broth after you add it and adjust the salt. Remember, the rice is going to absorb all that liquid, so it needs to be properly seasoned from the start.
I’ve definitely had my share of kitchen failures with this one. There was a time I used too much lemon and the whole thing was puckeringly sour. Another time, I forgot to cover the pan and the rice came out crunchy. But that’s how you learn, right? Now I know better, and I’m sharing all my hard-won wisdom with you.
Variations & Adaptations
This recipe is wonderfully flexible. Here are some ways I’ve adapted it over the years:
Make it dairy-free: It already is! This recipe doesn’t use any dairy, so it’s perfect if you’re avoiding milk or butter. Just double-check your chicken broth—some brands add cream or milk.
Add vegetables: Throw in some sliced mushrooms, bell peppers, or zucchini when you add the garlic. They’ll cook down and add color and nutrients. I’ve also added a handful of spinach right at the end—just stir it in before serving and let it wilt.
Try different herbs: Thyme is classic, but rosemary or oregano work beautifully too. I’ve made this with fresh dill and lemon, and it was fantastic—especially in spring. Play around with what you have on hand.
Make it spicy: Add a pinch of red pepper flakes or a chopped jalapeño when you cook the garlic. The heat pairs surprisingly well with the lemon.
Use chicken thighs or drumsticks: Both work great. Drumsticks might need a few extra minutes in the oven, so check for doneness with a meat thermometer.
Go low-carb: Swap the rice for cauliflower rice. You’ll need to reduce the liquid and cooking time significantly—about 10-15 minutes covered in the oven should do it.
I once made this with leftover Thanksgiving turkey instead of chicken, and it was honestly amazing. The turkey was already cooked, so I just seared it briefly and let it warm through in the oven. Desperate times, delicious results.
Serving & Storage Suggestions
This dish is best served warm, straight from the skillet. I like to bring the whole pan to the table and let everyone help themselves—it feels cozy and communal. A sprinkle of fresh parsley and maybe a few extra lemon wedges on the side for squeezing, and you’re set.
It pairs beautifully with a simple green salad dressed with lemon vinaigrette. The brightness of the salad cuts through the richness of the chicken and rice. I also love serving it with roasted asparagus or steamed green beans—something green to round out the plate.
For leftovers, let everything cool completely before transferring to an airtight container. It will keep in the refrigerator for up to 4 days. The flavors actually meld and deepen overnight, so leftovers might be even better the next day.
To reheat, I recommend using a skillet over medium-low heat with a splash of chicken broth or water to loosen the rice. Cover and let it steam for 5-7 minutes. You can also use the microwave, but the rice tends to dry out a bit. If you go that route, cover the bowl with a damp paper towel to add moisture.
This recipe freezes surprisingly well. Portion it into freezer-safe containers and freeze for up to 3 months. Thaw overnight in the refrigerator and reheat as directed above. The rice might be slightly softer after freezing, but the flavor is still fantastic.
One thing I’ve noticed: the lemon flavor fades a bit over time. If you’re reheating leftovers, a fresh squeeze of lemon juice right before serving brings it back to life.
Nutritional Information & Benefits
Here’s an approximate nutritional breakdown per serving (based on 4 servings):
| Nutrient | Amount |
|---|---|
| Calories | 485 |
| Protein | 32g |
| Carbohydrates | 42g |
| Fat | 18g |
| Saturated Fat | 4g |
| Fiber | 1g |
| Sugar | 2g |
| Sodium | 680mg |
Pin This Recipe!
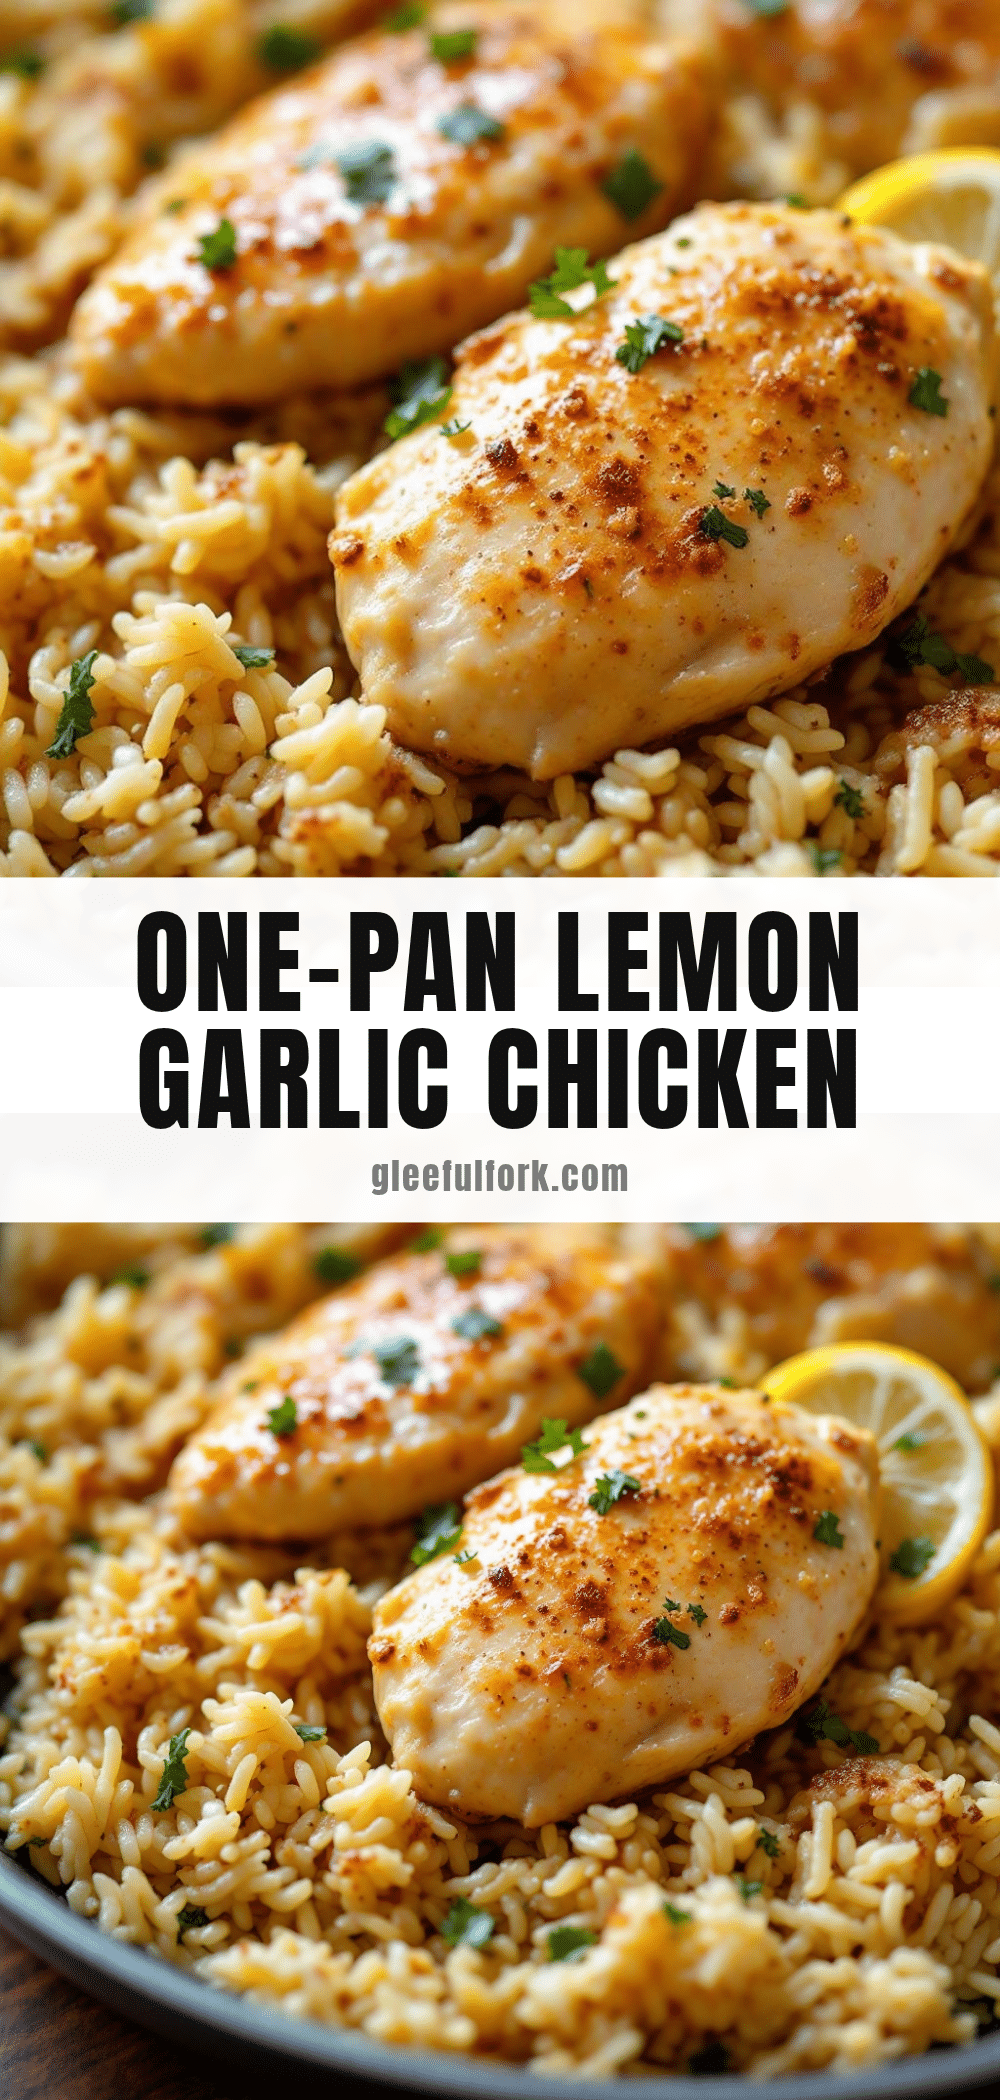
Easy One-Pan Lemon Garlic Chicken and Rice

A simple, flavorful one-pan meal featuring crispy-skinned chicken thighs and lemony garlic rice, perfect for busy weeknights.
- Prep Time: 10 minutes
- Cook Time: 30 minutes
- Total Time: 40 minutes
- Yield: 4 servings 1x
- Category: Main Course
- Cuisine: American
Ingredients
- 4 to 6 bone-in, skin-on chicken thighs (about 1.5 pounds)
- 2 tablespoons olive oil
- Salt and black pepper to taste
- 5 cloves garlic, minced
- 1 cup long-grain white rice (basmati or jasmine)
- 2 cups low-sodium chicken broth
- 1 large lemon (zest and juice)
- 1 teaspoon dried thyme
- 1 teaspoon paprika (smoked preferred)
- Fresh parsley, chopped (for garnish)
Instructions
- Preheat oven to 375°F (190°C). Pat chicken thighs dry with paper towels. Season generously on both sides with salt, pepper, and paprika.
- Heat olive oil in a large oven-safe skillet over medium-high heat. Place chicken skin-side down and cook undisturbed for 5-6 minutes until deep golden brown. Flip and cook for another 3 minutes. Transfer chicken to a plate.
- Reduce heat to medium. Add minced garlic and stir for 30 seconds until fragrant. Add rice and stir for 1 minute to toast slightly.
- Pour in chicken broth, scraping up browned bits from the bottom. Add lemon zest, lemon juice, and dried thyme. Stir to combine.
- Nestle chicken thighs back into the pan, skin-side up, on top of the rice. Bring liquid to a gentle simmer.
- Cover skillet with a tight-fitting lid or foil. Transfer to oven and bake for 25-30 minutes, until rice is tender and chicken reaches an internal temperature of 165°F (74°C).
- Remove from oven and let rest, covered, for 5 minutes. Uncover, sprinkle with fresh parsley, and fluff rice gently with a fork.
Notes
Pat chicken dry for crispy skin. Don’t lift the lid while baking to ensure fluffy rice. Let rest 5 minutes before serving. For leftovers, reheat in a skillet with a splash of broth.
Nutrition
- Serving Size: 1 serving
- Calories: 485
- Sugar: 2
- Sodium: 680
- Fat: 18
- Saturated Fat: 4
- Carbohydrates: 42
- Fiber: 1
- Protein: 32
Keywords: one-pan chicken and rice, lemon garlic chicken, easy weeknight dinner, skillet chicken, gluten-free dinner


