Love this? Save it for later!
Share the inspiration with your friends
My cousin Mark asked this while staring at the bowl on the table. He was holding a spoon like it was evidence in a court case. He looked skeptical. Honestly, I didn’t blame him. The last time I made gravy, it had lumps the size of marbles and tasted like burnt rubber. It was a disaster. But this time was different. This was the creamy homemade turkey gravy no drippings version that saved Thanksgiving.
We were all gathered around, waiting for the main event. The turkey was resting, but the table felt empty without that rich, savory sauce. Mark wanted to know if I had cheated. I told him no. I said I used a simple trick that doesn’t need the pan drippings at all. He took a bite. He chewed slowly. Then he asked for seconds. That was the moment I knew this recipe was a winner. It’s smooth, it’s rich, and it’s surprisingly easy.
I’ve made this for years now. It started because I was tired of buying stock cubes and trying to salvage leftover juices. Sometimes, you just don’t have them. Maybe you cooked the turkey in a roasting bag. Maybe you grilled it outside. Whatever the reason, having a backup plan is smart. This gravy tastes like it took hours, but it really only takes minutes. It’s the kind of comfort food that brings people together. And honestly, it beats the boxed stuff every single time.
Why You’ll Love This Recipe
This isn’t just another sauce to pour over your dinner. It is the backbone of a perfect holiday meal. I have tested this recipe dozens of times. I have burned butter. I have clumpy flour. I have even used the wrong milk once (do not do that). Through all those mistakes, I found the perfect balance. Here is why you need to add this to your rotation:
- Quick & Easy: It comes together in under 10 minutes. You don’t need to roast a turkey for hours just to get the drippings. It is perfect for busy weeknights or last-minute guests who show up unannounced.
- Simple Ingredients: You likely already have everything in your kitchen. Flour, butter, broth, and milk are staples. No fancy grocery trips needed. This saves you time and money.
- Perfect for Any Occasion: Great for Sunday brunch with biscuits, potlucks, or cozy weeknight dinners. It pairs well with crispy bacon wrapped asparagus bundles or roasted vegetables.
- Crowd-Pleaser: It gets rave reviews from kids and adults alike. Even the picky eaters who usually refuse brown sauce will ask for more. It has a mild, savory flavor that everyone enjoys.
- Unbelievably Delicious: The texture is next-level comfort food. It coats the spoon perfectly. It is not thin or watery. It is velvety and rich. It makes simple chicken taste gourmet.
What makes this different is the technique. Many people think you need turkey fat to make good gravy. You don’t. By using a roux made with butter and whisking in warm broth slowly, you create an emulsion that is incredibly smooth. It is my best version because it is foolproof. You can’t mess it up if you follow the steps. It is the kind of recipe that makes you feel like a professional chef, even if you are just starting out. It brings a soul-soothing satisfaction to any meal.
What Ingredients You Will Need
This recipe uses simple, wholesome ingredients to deliver bold flavor and satisfying texture without the fuss. You do not need exotic spices or hard-to-find items. The magic is in the ratio of fat to flour to liquid. Here is what you need to get started:
- Unsalted butter: Use 1/2 cup (1 stick). I recommend a high-quality brand like Kerrygold or Plugra for the best flavor. Salted butter can work, but you will need to reduce the added salt later. Butter provides the rich, creamy base that defines the gravy.
- All-purpose flour: Use 1/2 cup. This is the thickening agent. Do not try to use cornstarch here unless you want a gelatinous texture. Flour gives it that classic, comforting mouthfeel. Whole wheat flour can be used for a nuttier taste, but it changes the color.
- Chicken or turkey broth: Use 2 cups. I prefer low-sodium broth so you can control the saltiness. Look for brands like Swanson or Kitchen Basics. Homemade broth is great, but store-bought is convenient and reliable. Warm the broth before adding it to prevent lumps.
- Whole milk: Use 1 cup. This adds the creaminess that makes it “creamy homemade turkey gravy no drippings.” You can use half-and-half for an even richer version. Avoid skim milk if you want a luxurious texture.
- Garlic powder: Use 1/2 teaspoon. This adds a subtle depth of flavor without chunks of garlic. It is a pantry staple that elevates the savory notes.
- Onion powder: Use 1/2 teaspoon. Similar to garlic, this adds a sweet, savory background note. It balances the richness of the butter and milk.
- Dried thyme: Use 1/2 teaspoon. Thyme is the classic herb for poultry gravies. It adds an earthy, herbal aroma. Crush it slightly between your fingers before adding to release the oils.
- Salt and black pepper: To taste. Start with 1/2 teaspoon of salt and a generous crack of pepper. Adjust at the end based on your preference.
- Nutmeg: A pinch (optional). This is the secret weapon. Just a tiny pinch adds warmth and complexity. It is common in white sauces and béchamel.
If you need substitutions, you can use olive oil instead of butter for a dairy-free fat base, though the flavor will be lighter. For a gluten-free option, use a 1:1 gluten-free flour blend, but whisk it very well to avoid clumps. These swaps keep the recipe accessible for everyone.
What equipment do I need to make this gravy?
You don’t need fancy gadgets to make this. A medium-sized saucepan or a heavy-bottomed skillet is essential. I prefer a saucepan because the sloped sides make whisking easier. A whisk is your best friend here. A silicone spatula works too, but a wire whisk incorporates air and breaks up lumps better. A measuring cup for the liquids and dry ingredients is necessary for accuracy. A ladle for serving is helpful. If you don’t have a whisk, a fork will work in a pinch, but it takes more effort. Keep your tools simple and clean. This makes cleanup faster. I always keep a good whisk in my drawer because it lasts forever. Avoid non-stick pans if you can, as they don’t brown the flour as nicely, but they are fine for this recipe.
Preparation Method

Let’s get cooking. This process is straightforward, but timing is key. Follow these steps closely for the best results.
- Melt the butter (2 minutes): Place your medium saucepan over medium heat. Add the 1/2 cup of butter. Let it melt completely. Do not let it brown or burn. You want it to be foamy and liquid. This usually takes about two minutes. Swirl the pan gently to coat the bottom evenly.
- Make the roux (3 minutes): Sprinkle the 1/2 cup of flour over the melted butter. Immediately start whisking. You need to combine the fat and flour thoroughly. Cook this mixture for about 2-3 minutes. You will smell a raw flour scent at first, but it will change to a nutty, toasted aroma. This step cooks out the raw flour taste. The mixture should look like thick peanut butter. Do not skip this step, or your gravy will taste like paste.
- Add the broth slowly (5 minutes): This is the most important step. Pour in about 1/2 cup of the warm broth while whisking constantly. The mixture will look lumpy and scary at first. Keep whisking! It will smooth out. Add another 1/2 cup and whisk. Continue adding the broth in small increments. Whisking prevents lumps from forming. If you dump it all in at once, you will get giant lumps that are hard to fix. Take your time here. The gravy will start to thicken as you add the liquid.
- Incorporate the milk (2 minutes): Once all the broth is added and the mixture is smooth, pour in the 1 cup of whole milk. Whisk vigorously. The gravy will become lighter in color and creamier. Let it come to a gentle simmer. You will see small bubbles breaking the surface. Do not let it boil vigorously, or it might separate.
- Season and simmer (2 minutes): Stir in the garlic powder, onion powder, thyme, nutmeg, salt, and pepper. Whisk to combine. Let the gravy simmer for another minute or two. It should coat the back of a spoon. If it is too thick, add a splash more milk or broth. If it is too thin, let it simmer a bit longer. Taste it now. Adjust salt if needed. The flavor should be savory and balanced.
- Final polish: Remove from heat. If you want it super smooth, you can strain it through a fine-mesh sieve, but it is usually not necessary if you whisked well. Serve immediately while hot. It will thicken further as it cools.
Keep an eye on the heat. Medium heat is your friend. High heat will burn the butter and flour mixture. If you see smoke, start over. It happens to the best of us, but it ruins the flavor. Patience pays off here.
Cooking Tips & Techniques
I have learned a few things the hard way. Here are some pro tips to ensure your creamy homemade turkey gravy no drippings turns out perfect every time.
First, warm your liquids. Cold broth and cold milk hitting hot butter and flour can cause shock and clumping. Warm the broth in the microwave or a separate pot before adding. This helps the roux incorporate it smoothly. Second, never stop whisking. Especially when adding the liquids. Your arm might get tired, but it is worth it. Consistent motion is what creates that silky texture. Third, taste as you go. Broths vary in saltiness. Some brands are very salty, while others are bland. Add salt gradually so you don’t overdo it.
A common mistake is adding the flour too fast. Sprinkle it in slowly while whisking. This ensures there are no dry pockets of flour. Another tip is to use a heavy-bottomed pan. It distributes heat evenly and prevents hot spots that can burn the roux. If you are making this ahead of time, let it cool completely, then refrigerate. Reheat it slowly on low heat, adding a splash of milk to loosen it up. Gravy can separate if reheated too quickly. Low and slow is the way to go. Also, don’t be afraid to add a splash of lemon juice at the end if the gravy tastes too heavy. The acidity cuts through the richness and brightens the flavor.
Variations & Adaptations
This recipe is flexible. You can tweak it to fit your dietary needs or taste preferences. Here are some ideas:
Dairy-Free Version: Swap the butter for olive oil or a dairy-free butter alternative. Use unsweetened almond milk or oat milk instead of dairy milk. The texture might be slightly thinner, so you can add a bit more flour. The flavor will be different but still delicious.
Herb-Infused: Add fresh herbs for a brighter taste. Try adding chopped fresh parsley or chives at the end. Rosemary is also excellent if you want a piney, woody flavor. Just mince them finely so they distribute well.
Spicy Gravy: For those who like a kick, add a pinch of cayenne pepper or a dash of hot sauce. This pairs well with fried chicken or biscuits. It adds a nice warmth that complements the creaminess.
Mushroom Gravy: Sauté sliced mushrooms in the butter before adding the flour. This adds an earthy, umami flavor that is incredible. It mimics the taste of drippings even more closely. I tried this once and my family loved it.
Gluten-Free: As mentioned, use a gluten-free flour blend. Arrowroot powder can also be used as a thickener, but it makes the gravy glossy. Use half the amount of arrowroot compared to flour.
Serving & Storage Suggestions
Serve this gravy hot. It is best poured directly from the saucepan or kept warm in a gravy boat. It pairs perfectly with roasted potatoes, mashed potatoes, green beans, or creamy loaded bacon ranch pasta salad. It is also great with crispy bbq bacon wrapped jalapeño poppers for a party appetizer.
To store leftovers, let the gravy cool to room temperature. Transfer it to an airtight container. It will keep in the refrigerator for up to 4 days. Do not leave it out for more than two hours. To reheat, place it in a saucepan over low heat. Add a little milk or broth to thin it out. Stir constantly until warm. You can also freeze it for up to 3 months. Thaw it in the fridge overnight before reheating. The texture might change slightly after freezing, but it will still taste good. Gravy flavors often develop and deepen over time, so it might taste even better the next day.
Nutritional Information & Benefits
This gravy is rich in calories due to the butter and milk, but it provides a good source of energy. It contains protein from the milk and broth. It is not particularly low in sodium unless you use low-sodium broth. For those watching their carb intake, the flour adds some carbohydrates. However, the portion size is usually small, so it fits into most diets. The use of whole milk adds calcium and vitamin D. Using low-sodium broth helps reduce sodium intake. It is a comforting treat rather than a health food, but it can be part of a balanced meal. Always check your specific ingredient labels for accurate nutritional data.
Conclusion
Making creamy homemade turkey gravy no drippings is easier than you think. It transforms a simple meal into something special. You don’t need fancy techniques or expensive ingredients. Just butter, flour, broth, and milk. The result is a smooth, savory sauce that everyone will love. I encourage you to try this recipe. Customize it with your favorite herbs or spices. Make it for your next dinner party or holiday. It is a recipe that builds confidence in the kitchen. Don’t be afraid to experiment. Share your results with me. Leave a comment below and let me know how it turned out. Tag me on social media if you make it. I love seeing your creations. Enjoy every bite of this delicious gravy. It is worth the effort.
Frequently Asked Questions
Can I make this gravy ahead of time?
Yes, you can. Make it completely, let it cool, and store it in the fridge. Reheat it gently on the stove, adding a splash of milk to loosen it up. It may thicken in the fridge, which is normal.
What if my gravy is too thick?
If it is too thick, whisk in more warm broth or milk, one tablespoon at a time, until you reach your desired consistency. Heat it through after adding the liquid.
Can I use vegetable broth instead of chicken broth?
Absolutely. Vegetable broth works well and gives a slightly different flavor profile. It is great for vegetarian versions. Just ensure it is a robust, savory broth.
Why did my gravy get lumps?
Lumps usually happen if you add the liquid too quickly or don’t whisk enough. To fix it, strain the gravy through a fine-mesh sieve. For next time, add liquids slowly and whisk constantly.
Can I freeze this gravy?
Yes, you can freeze it for up to 3 months. Use an airtight container or freezer bag. Thaw in the fridge and reheat slowly. The texture might be slightly different, but it will still be tasty.
Pin This Recipe!
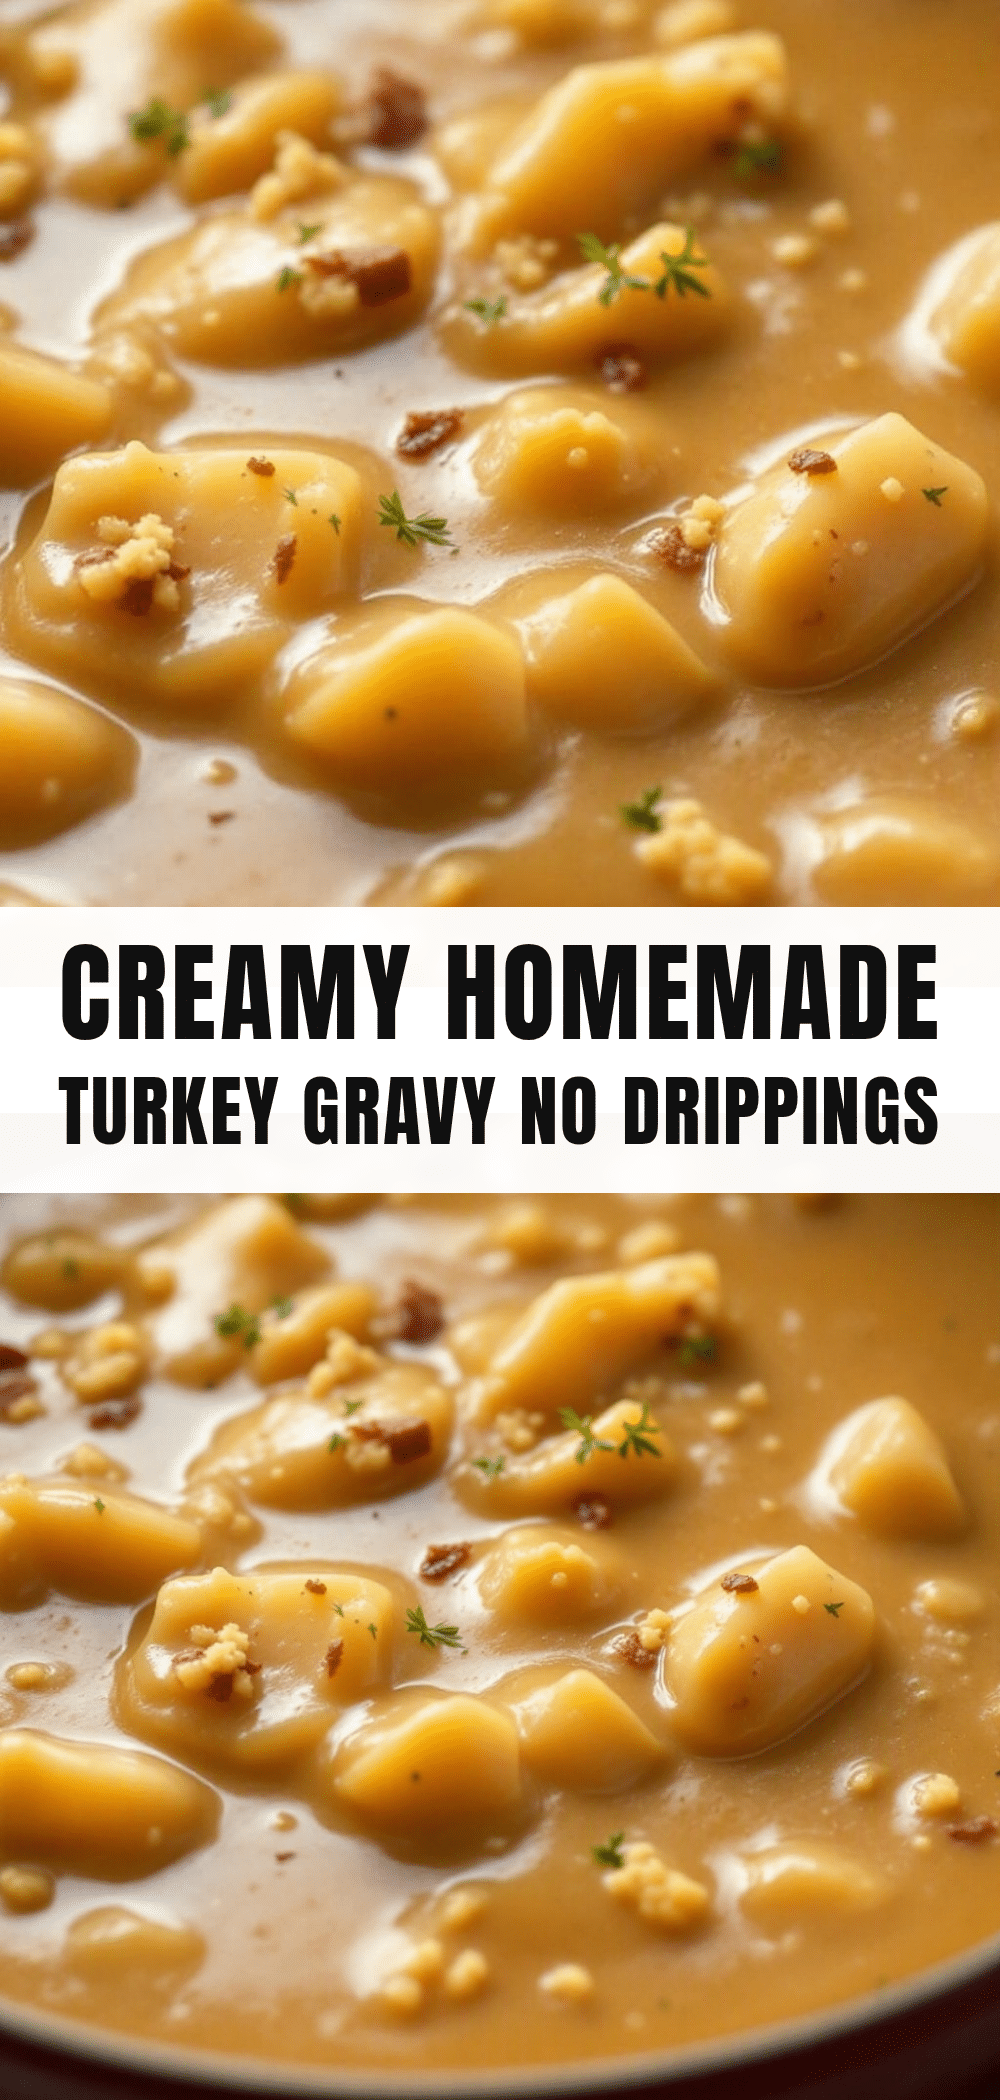
Creamy Homemade Turkey Gravy No Drippings: Easy 10-Minute Recipe

A smooth, rich, and velvety turkey gravy made without pan drippings. This foolproof recipe uses a simple roux technique with butter, flour, broth, and milk to create a crowd-pleasing sauce in under 10 minutes.
- Prep Time: 5 minutes
- Cook Time: 5 minutes
- Total Time: 10 minutes
- Yield: 4 servings 1x
- Category: Side Dish
- Cuisine: American
Ingredients
- 1/2 cup unsalted butter
- 1/2 cup all-purpose flour
- 2 cups chicken or turkey broth (low-sodium, warmed)
- 1 cup whole milk
- 1/2 teaspoon garlic powder
- 1/2 teaspoon onion powder
- 1/2 teaspoon dried thyme
- 1/2 teaspoon salt (or to taste)
- 1/4 teaspoon black pepper (or to taste)
- 1 pinch nutmeg (optional)
Instructions
- Melt the butter in a medium saucepan over medium heat until foamy and liquid, about 2 minutes.
- Sprinkle the flour over the melted butter and whisk constantly to form a roux. Cook for 2-3 minutes until it smells nutty and resembles thick peanut butter.
- Slowly add the warm broth in small increments (about 1/2 cup at a time), whisking vigorously after each addition to prevent lumps.
- Once the broth is incorporated and the mixture is smooth, pour in the whole milk and whisk until combined.
- Bring the mixture to a gentle simmer. Stir in garlic powder, onion powder, thyme, nutmeg, salt, and pepper.
- Simmer for 1-2 minutes until the gravy coats the back of a spoon. Adjust seasoning and consistency as needed.
- Remove from heat and serve immediately. Strain through a fine-mesh sieve if a super-smooth texture is desired.
Notes
Warm the broth and milk before adding to the roux to prevent lumps. Use low-sodium broth to control salt levels. If the gravy is too thick, whisk in more warm broth or milk. If too thin, simmer longer. For a dairy-free version, substitute butter with olive oil and milk with unsweetened almond or oat milk.
Nutrition
- Serving Size: Approximately 1/2 cu
- Calories: 280
- Sugar: 2
- Sodium: 650
- Fat: 22
- Saturated Fat: 13
- Carbohydrates: 14
- Fiber: 0.5
- Protein: 5
Keywords: turkey gravy, homemade gravy, no drippings, creamy gravy, holiday sides, thanksgiving recipe, easy gravy, gluten-free gravy option


