Love this? Save it for later!
Share the inspiration with your friends
Introduction
“The neighborhood block party was in less than two hours, and honestly, I had completely blanked on what to bring. Everyone else had these fancy, multi-layered desserts I’d never have time to whip up. I had exactly five ingredients on hand—and a tiny popsicle mold that I’d never even used before. You know that jittery feeling when the clock’s ticking and you’re scrambling? That was me, stirring together what I had, hoping it wouldn’t be a total flop.
The creamy homemade strawberry cheesecake popsicles came out of sheer panic, but somehow, they stole the show. I remember the way the strawberries swirled through the rich cream cheese mixture, the coolness of the popsicles on a warm summer evening, and that slightly cracked popsicle mold I forgot to oil properly (oops!). Maybe you’ve been there—last minute, under pressure, with nothing but a fridge full of basics and a crowd to impress.
What’s funny is I keep making these popsicles long after that day because they’re just that good—easy, creamy, and with a fresh strawberry punch that feels like summer in every bite. Let me tell you, simple can win, and this recipe keeps me coming back when I want a sweet treat without the fuss.”
Why You’ll Love This Recipe
Honestly, these creamy homemade strawberry cheesecake popsicles have a special place in my kitchen rotation. They’re a lifesaver when you need a quick, delicious dessert that doesn’t require hours of prep. I’ve tested this recipe through a few summer gatherings and always get the same reaction: “Wow, these are really good!” Here’s why you’ll want to make them too:
- Quick & Easy: Ready in under 10 minutes of prep time, perfect for last-minute cravings or unexpected guests.
- Simple Ingredients: Just five pantry staples—you probably already have cream cheese, strawberries, and a touch of sweetness.
- Perfect for Summer Parties: These popsicles are refreshing, creamy, and just the right size for pool days, picnics, or casual barbecues.
- Crowd-Pleaser: Kids love them, adults can’t stop reaching for seconds, and they’re a fun alternative to traditional desserts.
- Unbelievably Delicious: The combination of tangy cream cheese with sweet strawberries is exactly like cheesecake on a stick, but cooler and lighter.
What sets this recipe apart is the balance between creaminess and freshness. Instead of a heavy cheesecake filling, we blend the cream cheese with a little milk and honey to keep it smooth and sweet without being overpowering. Plus, I use juicy, ripe strawberries that give the popsicles a natural brightness. The best part? No complicated baking or crust to fuss over. Just mix, freeze, and enjoy.
What Ingredients You Will Need
This recipe uses simple, wholesome ingredients that come together to deliver bold flavor and that signature creamy texture without any complicated steps. You can find these in most grocery stores, and I’ll share a few tips on picking the best ones.
- Cream Cheese (8 oz / 225 g), softened: The star of the popsicles—use full-fat for the creamiest texture. I usually grab Philadelphia brand because it blends so smoothly.
- Fresh Strawberries (1 ½ cups / 225 g), hulled and chopped: Ripe and fragrant berries pack the best flavor. In winter, frozen strawberries work just fine—just thaw and drain excess liquid.
- Honey (2 tablespoons / 30 ml): Adds natural sweetness and a mild floral note. Maple syrup or agave can be used as alternatives.
- Milk (½ cup / 120 ml): Helps thin the cream cheese for a smooth blend. Whole milk works best, but almond or oat milk are great dairy-free swaps.
- Vanilla Extract (1 teaspoon / 5 ml): Adds depth and warmth to the flavor profile. Use pure vanilla extract for best results.
If you want to switch things up, you can swap the strawberries for fresh raspberries or blueberries—both work beautifully. And, if you’re avoiding dairy, swap cream cheese with a vegan cream cheese brand and use plant-based milk.
Equipment Needed
- Blender or Food Processor: Essential to get a smooth, creamy mixture. A high-speed blender like a NutriBullet or standard food processor works perfectly.
- Popsicle Molds: You’ll need molds to shape your popsicles. I use silicone molds because they’re flexible and make pops removal easier, but plastic molds with sticks work too.
- Mixing Bowl and Spatula: For stirring and folding ingredients together.
- Measuring Cups and Spoons: Accurate measurements keep the texture just right.
If you don’t have popsicle molds, you can use small paper cups and wooden sticks. Just freeze a bit longer and peel the paper off before serving. Also, cleaning the blender right after blending cream cheese helps avoid any sticky messes later—I learned that the hard way!
Preparation Method
- Prep the Strawberries (5 minutes): Wash, hull, and chop fresh strawberries into small pieces. If using frozen berries, thaw and drain well to avoid excess water diluting the mixture.
- Blend Cream Cheese and Milk (2 minutes): In your blender or food processor, combine softened cream cheese and milk. Blend until smooth and creamy, scraping down the sides as needed. The mixture should be pourable but still thick.
- Add Honey and Vanilla (1 minute): Pour in honey and vanilla extract. Blend again until everything is fully incorporated. Taste the mixture here—adjust honey if you prefer it sweeter.
- Fold in Strawberries (1 minute): Remove the blade attachment (if using a food processor) and gently fold the strawberries into the cream cheese mixture with a spatula. You want some strawberry pieces intact for texture.
- Fill the Popsicle Molds (3 minutes): Spoon the mixture evenly into your popsicle molds, leaving a little space at the top for expansion. Tap the molds gently on the counter to release any air bubbles.
- Insert Sticks and Freeze (at least 4 hours or overnight): Place the sticks in position and freeze until solid. If your molds don’t have built-in sticks, insert wooden sticks about an hour after freezing to help them stand upright.
- Unmold and Serve: To release the popsicles easily, run warm water over the outside of the molds for 10-15 seconds. Pull gently on the sticks and enjoy immediately.
Tip: If the popsicles are too hard to bite into, let them sit at room temperature for a few minutes before serving. This softens them just enough without melting.
Cooking Tips & Techniques
Let me share a few tricks I picked up while making these creamy homemade strawberry cheesecake popsicles:
- Softening Cream Cheese: Make sure your cream cheese is softened to room temperature. Cold cream cheese will make blending difficult and leave lumps.
- Controlling Sweetness: Honey sweetness can vary, so taste the mixture before freezing. You can add a little more if your strawberries aren’t very ripe.
- Preventing Ice Crystals: Using cream cheese and milk creates a creamy texture that resists icy crystals. Avoid adding too much water-based fruit juice or liquid.
- Folding in Fruit: Gently fold fruit pieces to keep their shape. If you over-blend, the popsicles will turn pink and lose that pretty speckled look.
- Freezing Time: Plan ahead—these popsicles need several hours to set fully. Overnight freezing is ideal.
Once, I forgot to soften the cream cheese and ended up with a grainy texture. Lesson learned: patience pays off. Also, when you’re in a hurry, mix everything in the blender and pour quickly—this recipe is forgiving, and imperfections won’t ruin the end result.
Variations & Adaptations
These popsicles are great as-is, but if you want to mix things up, here are some variations I love:
- Berry Mix: Swap strawberries for a mix of blueberries, raspberries, and blackberries for a vibrant, tangy twist.
- Chocolate Drizzle: After freezing, drizzle melted dark chocolate over the popsicles and return to the freezer for a crunchy chocolate shell.
- Vegan Version: Use vegan cream cheese and almond milk, and swap honey with maple syrup.
- Low-Sugar Option: Reduce the honey by half and add a splash of lemon juice to brighten the flavor.
- Crunchy Surprise: Add crushed graham crackers or chopped nuts mixed into the batter before freezing for a cheesecake crust effect.
One variation I tried was folding in finely chopped fresh mint with the strawberries—unexpected but refreshing! Also, if you’re short on time, freezing in small silicone muffin liners works well as a quick alternative.
Serving & Storage Suggestions
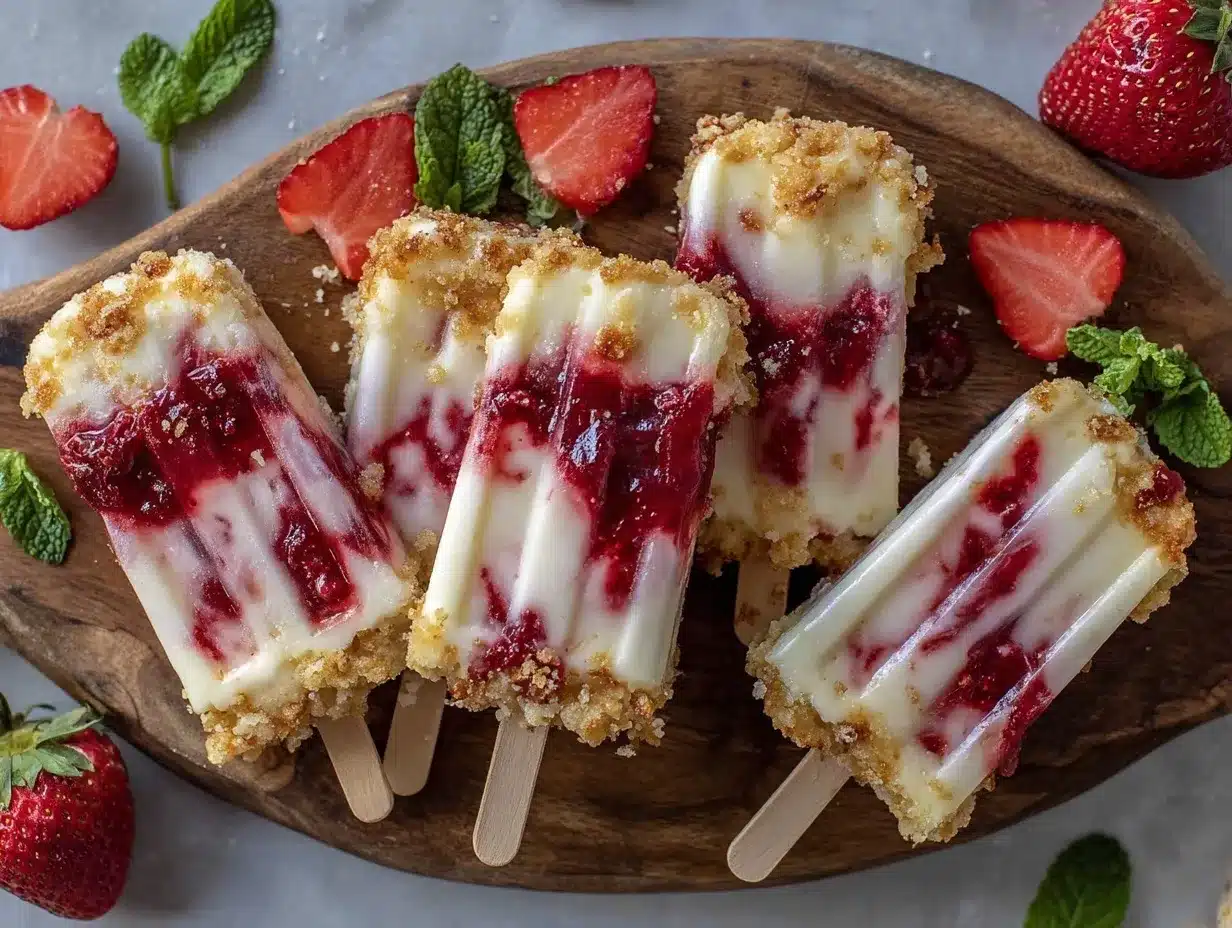
These creamy homemade strawberry cheesecake popsicles are best enjoyed straight from the freezer, nice and cold. Serve them on a pretty platter for summer gatherings or pack them for a picnic treat.
They pair beautifully with a light mint garnish or a small dollop of whipped cream if you want to dress them up. For drinks, a sparkling lemonade or iced tea complements their sweetness perfectly.
Store leftover popsicles in an airtight container or the molds in the freezer for up to 1 week. To keep them from absorbing freezer odors, wrapping them in plastic wrap before freezing is a good idea.
When reheating isn’t really an option here, just let them sit at room temperature for 3-5 minutes if too hard. This helps the flavors soften and the texture become more like a frozen cheesecake bar.
Nutritional Information & Benefits
Each popsicle (based on 6 servings) contains approximately:
- Calories: 120–140
- Fat: 7g (mostly from cream cheese)
- Carbohydrates: 15g (natural sugars from fruit and honey)
- Protein: 3g
Strawberries are packed with vitamin C and antioxidants, while cream cheese provides calcium and protein. This treat is a more wholesome alternative to typical sugary popsicles or ice cream bars.
For those watching carbs, you can reduce honey or use a sugar substitute. The recipe is naturally gluten-free and can be adapted for dairy-free diets as mentioned previously.
Conclusion
If you’re after a simple, creamy, and fresh dessert that doesn’t require a ton of work, these creamy homemade strawberry cheesecake popsicles are your new best friend. They’re easy enough to whip up at the last minute, but fancy enough to impress your family or friends. I love how the sweet strawberries and tangy cream cheese come together in a cool, refreshing treat that feels like summer happiness on a stick.
Feel free to tweak the sweetness or fruit choices to match your taste—this recipe is forgiving and fun to customize. Please leave a comment below if you try the recipe or have your own popsicle ideas to share. I’m always excited to hear how you make it your own!
Here’s to simple recipes that bring unexpected joy—and to more delicious summer memories.
Frequently Asked Questions
Can I make these popsicles without cream cheese?
You can substitute cream cheese with Greek yogurt for a lighter version, though the texture will be less rich and creamy.
How long do these popsicles last in the freezer?
They keep well for up to one week when stored in an airtight container or wrapped tightly to prevent freezer burn.
Can I use frozen strawberries instead of fresh?
Yes, just thaw and drain the strawberries well to avoid extra water that can cause ice crystals.
What if I don’t have popsicle molds?
You can use small paper cups and wooden sticks or silicone muffin liners as a makeshift mold.
Is there a way to make these popsicles less sweet?
Absolutely! Reduce the honey or swap it for a sugar-free sweetener. Adding a splash of lemon juice also balances sweetness nicely.
Pin This Recipe!
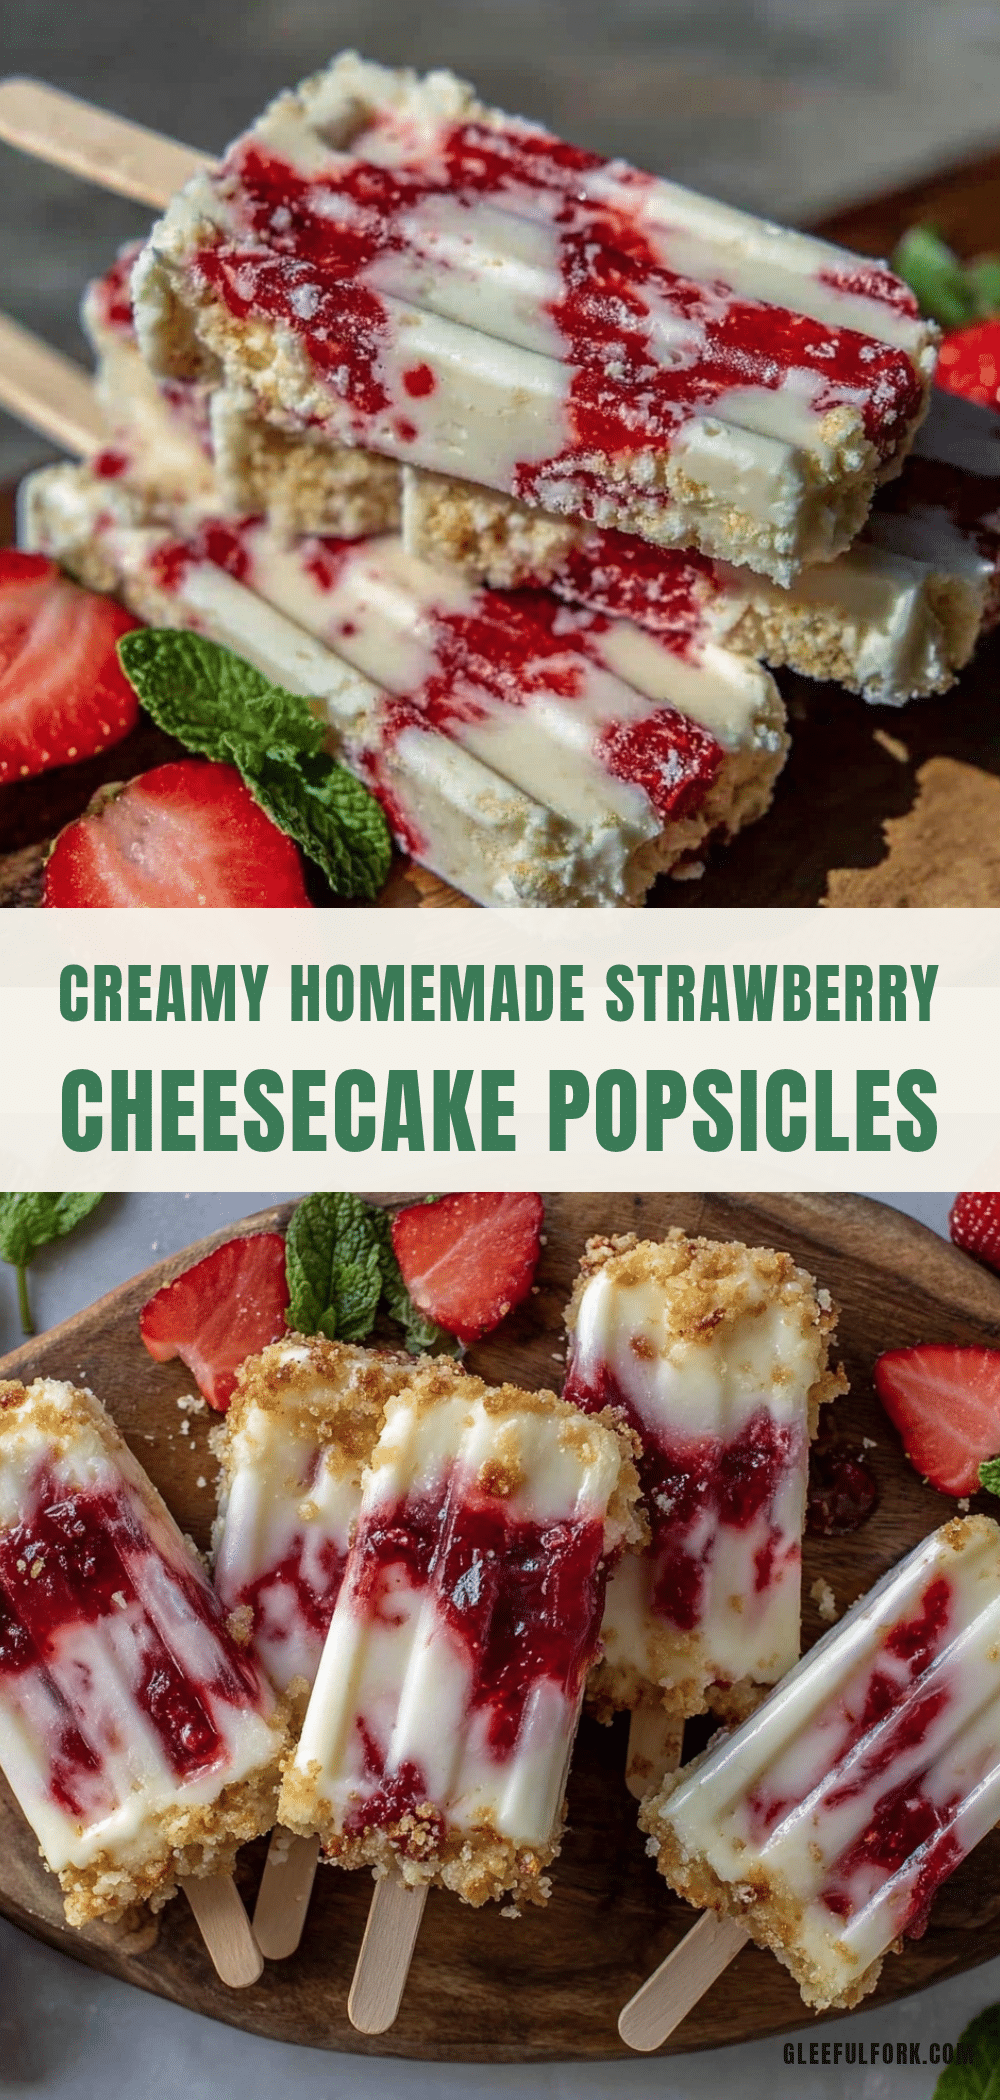
Creamy Homemade Strawberry Cheesecake Popsicles
These creamy homemade strawberry cheesecake popsicles are an easy, refreshing dessert made with just five simple ingredients. Perfect for summer parties, they combine tangy cream cheese with sweet strawberries for a delightful treat on a stick.
- Prep Time: 10 minutes
- Cook Time: 0 minutes
- Total Time: 4 hours 10 minutes
- Yield: 6 servings 1x
- Category: Dessert
- Cuisine: American
Ingredients
- 8 oz (225 g) cream cheese, softened
- 1 ½ cups (225 g) fresh strawberries, hulled and chopped
- 2 tablespoons (30 ml) honey
- ½ cup (120 ml) milk
- 1 teaspoon (5 ml) vanilla extract
Instructions
- Wash, hull, and chop fresh strawberries into small pieces. If using frozen berries, thaw and drain well to avoid excess water.
- In a blender or food processor, combine softened cream cheese and milk. Blend until smooth and creamy, scraping down the sides as needed.
- Add honey and vanilla extract to the mixture. Blend again until fully incorporated. Taste and adjust honey if desired.
- Remove the blade attachment if using a food processor and gently fold in the chopped strawberries with a spatula, keeping some pieces intact.
- Spoon the mixture evenly into popsicle molds, leaving a little space at the top for expansion. Tap molds gently to release air bubbles.
- Insert sticks into the molds and freeze for at least 4 hours or overnight until solid. If molds don’t have built-in sticks, insert wooden sticks about an hour after freezing.
- To unmold, run warm water over the outside of the molds for 10-15 seconds and gently pull on the sticks. Serve immediately.
Notes
Make sure cream cheese is softened to room temperature for smooth blending. Taste mixture before freezing to adjust sweetness. Gently fold in strawberries to keep pieces intact and avoid over-blending. If popsicles are too hard, let sit at room temperature for a few minutes before serving. Use silicone molds for easier removal or small paper cups with wooden sticks as alternatives.
Nutrition
- Serving Size: 1 popsicle
- Calories: 130
- Fat: 7
- Carbohydrates: 15
- Protein: 3
Keywords: strawberry cheesecake popsicles, creamy popsicles, summer dessert, easy popsicle recipe, 5-ingredient dessert


