Love this? Save it for later!
Share the inspiration with your friends
For a while, I just accepted that iced pumpkin scones weren’t going to taste like something you’d buy at a fancy bakery. You know how it is. You try the recipes online, and they come out dense as bricks, or the glaze slides right off because the scone is too dry. I spent years buying those sad, dry little triangles from the grocery store aisle, hoping one of them would have a hint of maple flavor. It never happened. Honestly, let’s face it, the store-bought versions are mostly just sugar and preservatives with a dusting of pumpkin spice.
I had been looking for a scone that actually felt like a hug in food form. Not a heavy, flour-dough brick, but something tender with a crumb that melted on your tongue. I wanted the warmth of fall spices without the oven heat, especially since I was craving something iced and refreshing for a late autumn afternoon. The gap was real. There was a missing piece in my kitchen routine for years. I just assumed I’d have to keep settling for mediocre pastries or spend my entire Saturday morning wrestling with complicated doughs.
Then I figured out the ratio. It wasn’t magic, just patience. Using cold butter and not overmixing the dough changed everything. Suddenly, the scones were light, airy, and held that maple glaze perfectly without getting soggy. It wasn’t a triumphant moment, really. Just a quiet realization that I didn’t need to buy them anymore. I could make them. And now, every time I pull these Cozy Iced Pumpkin Scones with Maple Glaze out of the fridge, I’m just glad the search is over.
Why You’ll Love This Recipe
There is a specific kind of comfort that comes from biting into a scone that is both crisp on the outside and soft on the inside. I’ve tested dozens of pumpkin scone recipes over the years, and most of them fall flat. They are either too sweet, too dry, or lack that distinct pumpkin flavor. This version is different. It relies on simple, pantry-friendly ingredients but uses a technique that ensures a tender crumb every single time. It’s not just another pumpkin recipe; it’s the one that actually works.
- Quick & Easy: These come together in under 30 minutes. Perfect for busy weeknights or when you need a last-minute treat for guests. You don’t need to spend hours in the kitchen.
- Simple Ingredients: No fancy grocery trips needed. You likely already have flour, butter, pumpkin puree, and maple syrup in your kitchen. It’s wholesome and straightforward.
- Perfect for Autumn: Great for cozy dinners, morning coffee breaks, or holiday mornings. The maple glaze ties the whole thing together beautifully.
- Crowd-Pleaser: Always gets rave reviews from kids and adults alike. Even people who usually hate pumpkin will ask for seconds.
- Unbelievably Delicious: The texture and flavor combo is next-level comfort food. The glaze adds a sweet crunch that contrasts with the soft scone.
What makes this recipe stand out is the balance. Too many pumpkin recipes drown the spice in sugar. This one lets the pumpkin and maple shine. It’s the kind of recipe that makes you close your eyes after the first bite. It’s comfort food reimagined—healthier, faster, but with the same soul-soothing satisfaction. It’s perfect for impressing guests without stress, or turning a simple meal into something memorable.
What Ingredients You Will Need
This recipe uses simple, wholesome ingredients to deliver bold flavor and satisfying texture without the fuss. The beauty of these Cozy Iced Pumpkin Scones with Maple Glaze is that you don’t need specialty items. Most of what you need is probably already in your pantry. I’ve found that keeping high-quality staples on hand makes baking feel less like a chore and more like a habit.
- All-Purpose Flour: The base of the scone. I recommend King Arthur Brand for best texture, as it has a consistent protein content that helps with structure.
- Baking Powder: Essential for the rise. Make sure it’s fresh; old baking powder won’t give you that fluffy lift.
- Baking Soda: Helps neutralize the acidity in the pumpkin puree and adds browning.
- Salt: Just a pinch to balance the sweetness. Don’t skip it.
- Pumpkin Puree: Use 100% pure pumpkin, not pumpkin pie filling. Look for firm, small-curd puree for best texture. Canned is fine, but if you have leftover homemade huckleberry syrup or other fall flavors, you can experiment later.
- Unsalted Butter: Must be very cold. Cut into small cubes. This creates the flaky layers. I prefer European-style butter for richness, but standard salted butter works if you reduce the added salt.
- Granulated Sugar: Adds sweetness and helps with browning.
- Maple Syrup: For the glaze, use pure maple syrup, not pancake syrup. It makes all the difference in flavor.
- Milk or Cream: Helps bind the dough. Whole milk or heavy cream works best for richness.
- Vanilla Extract: A teaspoon to enhance the warm spices.
If you are gluten-free, you can use a 1:1 gluten-free flour blend, though the texture might be slightly denser. For a dairy-free option, swap the butter for a high-quality vegan butter stick and use oat milk. These substitutions keep the recipe accessible for everyone at the table.
For the Maple Glaze
- Powdered Sugar: Sifted to avoid lumps.
- Maple Syrup: Adds the signature flavor.
- Milk: Adjust for consistency.
Equipment Needed
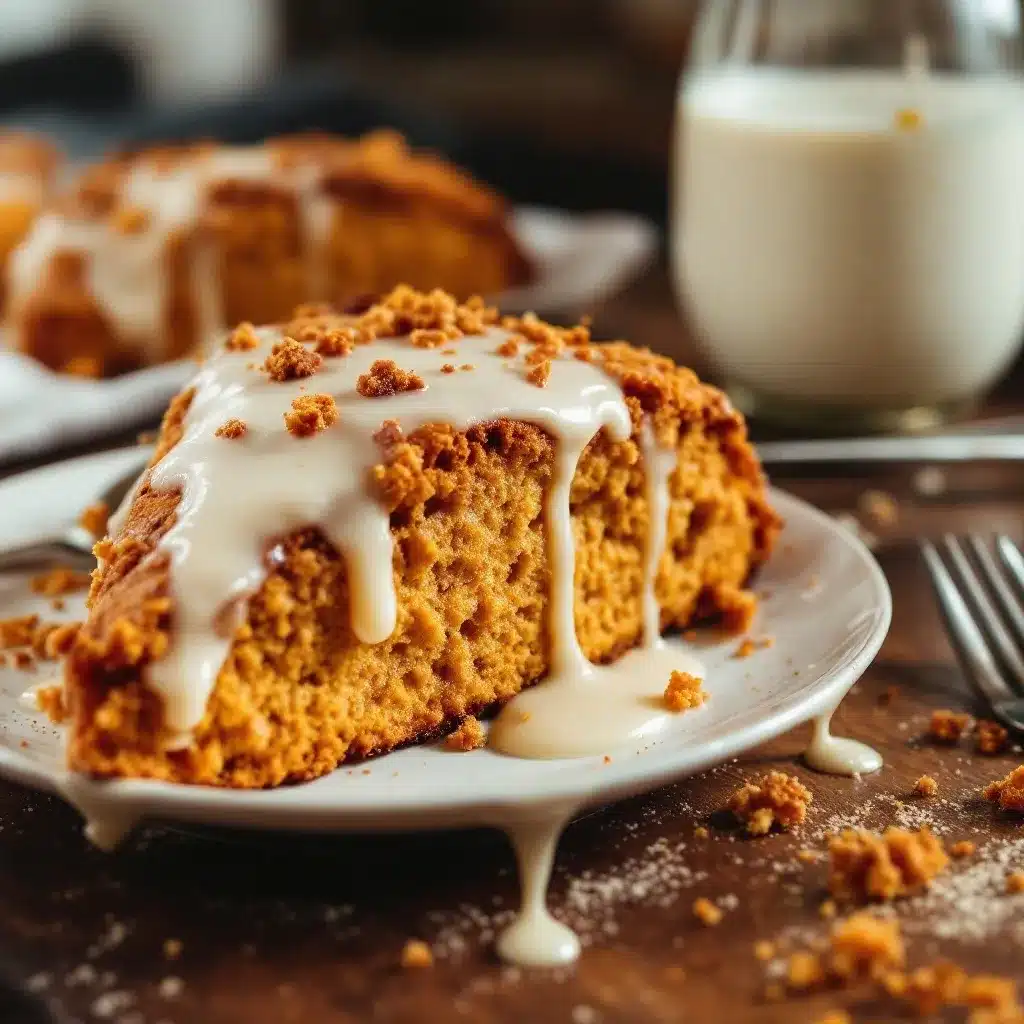
You don’t need much to make these Cozy Iced Pumpkin Scones with Maple Glaze. A large mixing bowl is essential. I use a ceramic one because it doesn’t slip around on the counter. A pastry cutter or two forks are great for cutting in the butter. If you don’t have a pastry cutter, your clean hands work too, but be quick so the butter doesn’t melt. A baking sheet lined with parchment paper is key for easy cleanup and even baking. I also recommend a whisk for combining the dry ingredients. It’s faster and more thorough than a fork. A small saucepan or microwave-safe bowl is needed for warming the maple syrup slightly if it’s too thick. Budget-friendly options include using a regular knife to cut the butter and a standard mixing bowl. The most important tool is a reliable oven thermometer. Ovens often run hot or cold, and this little device ensures your scones bake evenly every time.
Preparation Method
Getting these scones right is all about technique. Here is how you do it, step by step.
- Preheat and Prep: Preheat your oven to 400°F (200°C). Line a baking sheet with parchment paper. This takes about 2 minutes.
- Mix Dry Ingredients: In a large bowl, whisk together the flour, baking powder, baking soda, salt, and cinnamon. Whisk for about 1 minute to ensure everything is evenly distributed. This step is crucial for a uniform rise.
- Cut in the Butter: Add the cold, cubed butter to the dry ingredients. Use a pastry cutter or your fingers to work the butter into the flour. You want the mixture to look like coarse crumbs with some pea-sized bits of butter remaining. This takes about 3-4 minutes. Those butter bits create steam in the oven, which makes the scones flaky.
- Add Wet Ingredients: Make a well in the center. Pour in the pumpkin puree, sugar, vanilla, and milk. Gently stir with a spatula or wooden spoon until the dough just comes together. Do not overmix. It will look shaggy and messy. That is okay. Overmixing leads to tough scones.
- Shape the Dough: Turn the dough out onto a lightly floured surface. Gently press it into a disk about 1 inch thick. Fold the edges into the center once or twice to create layers. This is a simple technique that adds flakiness. Then, cut the disk into 8 wedges.
- Bake: Place the wedges on the prepared baking sheet, leaving space between them. Bake for 15-18 minutes, or until the edges are golden brown. The tops should spring back when lightly touched.
- Cool: Let the scones cool on the pan for 5 minutes, then transfer to a wire rack to cool completely. This is important so the glaze doesn’t melt off.
- Make the Glaze: While the scones cool, whisk together the powdered sugar, maple syrup, and a splash of milk. Add milk one teaspoon at a time until you reach a drizzling consistency.
- Glaze: Drizzle the glaze over the cooled scones. Let it set for 10 minutes before serving.
Common Issues and Fixes
If the dough is too sticky, add a tablespoon of flour. If it’s too dry, add a teaspoon of milk. The consistency should be like thick cookie dough. Also, ensure your butter is cold. If it gets warm while you’re cutting it in, pop the bowl in the fridge for 10 minutes.
Cooking Tips & Techniques
I’ve made my fair share of dense, sad scones in the past. The biggest mistake people make is overworking the dough. When you mix the wet and dry ingredients, stop as soon as you see no dry flour. The dough should look shaggy. Also, keep your butter cold. If your kitchen is warm, you can chill the bowl before you start. Another tip is to not press down on the dough when you cut the wedges. Pressing seals the edges and prevents the scones from rising properly. Just cut straight down with a sharp knife. I also recommend using a cookie scoop for the glaze. It gives you more control over the thickness. If you want a stronger maple flavor, add a teaspoon of maple extract to the glaze. It’s subtle but makes a big difference. Finally, let the scones cool completely before glazing. Warm scones will absorb the glaze, making them soggy. Patience is key here.
Variations & Adaptations
Once you master the base recipe, you can play around with flavors. Here are a few variations I’ve tried.
- Spiced Pecan: Add 1/2 cup of chopped pecans to the dough. Toast them first for extra flavor.
- White Chocolate Chip: Fold in 1/2 cup of white chocolate chips for a sweeter treat.
- Orange Glaze: Swap the maple syrup in the glaze for orange juice and zest. It pairs beautifully with the pumpkin.
- Vegan: Use vegan butter and oat milk. The texture might be slightly less flaky, but it’s still delicious.
- Gluten-Free: Use a 1:1 gluten-free flour blend. Add an extra teaspoon of baking powder for lift.
These adaptations keep the recipe fresh and exciting. You can rotate them based on what you have on hand. I often make the spiced pecan version for holiday gatherings. It’s a hit every time. If you want to get creative, try adding a pinch of nutmeg or cardamom to the dough. The possibilities are endless.
Serving & Storage Suggestions
These Cozy Iced Pumpkin Scones with Maple Glaze are best served at room temperature. They make a perfect accompaniment to a cup of coffee or tea. I also like to serve them with a side of easy lazy morning breakfast board ideas for a complete brunch spread. For storage, keep them in an airtight container at room temperature for up to 2 days. If you need to keep them longer, freeze them. Wrap them tightly in plastic wrap and foil. They will last for up to 3 months. To reheat, thaw them at room temperature and warm them in the oven at 350°F for 5 minutes. The flavors develop over time, so they taste even better the next day. Just be careful not to store them in the fridge, as it can make the dough stale. Freezing is the best option for long-term storage.
Nutritional Information & Benefits
While these scones are a treat, they aren’t entirely devoid of nutrition. Pumpkin is rich in Vitamin A and fiber, which is a nice bonus. The maple syrup provides some minerals like zinc and manganese, though it is still a sugar. Each scone has approximately 250 calories, with 10g of fat and 35g of carbohydrates. They are not gluten-free or dairy-free by default, but adaptations exist. For those with dietary restrictions, the vegan and gluten-free options are great. I always enjoy these as a weekend treat, not a daily staple. Balance is key. They pair well with a protein-rich coffee or a glass of milk to balance the sweetness.
Conclusion
Making Cozy Iced Pumpkin Scones with Maple Glaze at home is easier than you think. It’s a recipe that rewards patience and simple techniques. I hope you try it and enjoy it as much as I do. Feel free to customize it with your favorite add-ins or glazes. If you make it, I’d love to hear how it turned out. Leave a comment below or share a photo on social media. Thanks for reading, and happy baking!
FAQs
Can I use pumpkin pie filling instead of pure pumpkin?
No. Pumpkin pie filling has added sugar and spices that will throw off the balance of the recipe. Always use 100% pure pumpkin puree.
How do I keep the scones from being too dry?
Don’t overbake them. Check them at 15 minutes. They should be golden but still soft in the center. Also, ensure your butter is cold and you don’t overmix the dough.
Can I freeze the glaze separately?
Yes, but it’s easier to glaze them right before serving. If you must, store the glaze in an airtight container in the fridge. Whisk it well before using.
What is the best flour to use?
All-purpose flour is standard and works best. Cake flour can make them even more tender, but all-purpose is fine for most bakers.
Can I make these ahead of time?
Yes. You can make the dough, cut the scones, and freeze them raw. Bake them straight from the freezer, adding a couple of minutes to the bake time.
Pin This Recipe!
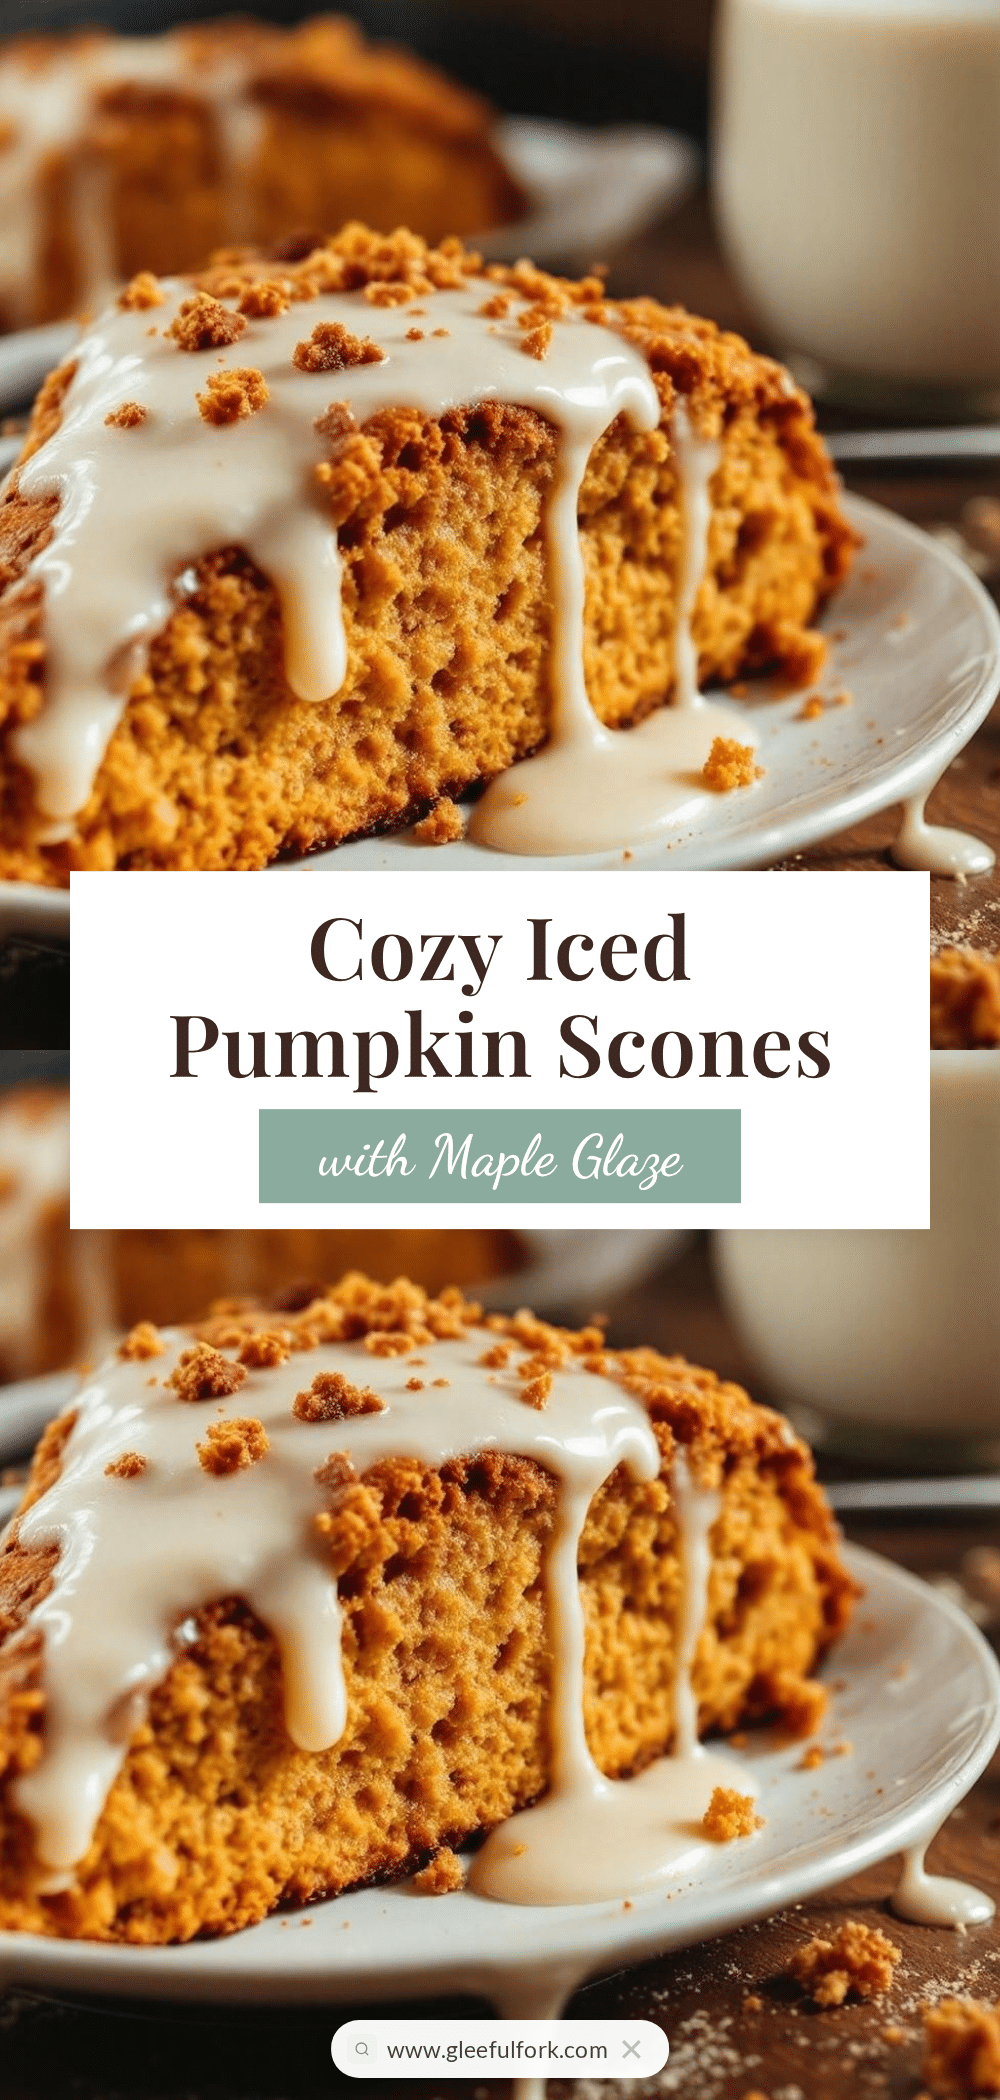
Cozy Iced Pumpkin Scones with Maple Glaze
Light, airy pumpkin scones with a tender crumb, topped with a sweet and refreshing maple glaze. These easy 6-ingredient treats are perfect for autumn mornings or cozy afternoons.
- Prep Time: 15 minutes
- Cook Time: 18 minutes
- Total Time: 33 minutes
- Yield: 8 servings 1x
- Category: Breakfast
- Cuisine: American
Ingredients
- 2 cups All-Purpose Flour
- 1 tablespoon Baking Powder
- 1/2 teaspoon Baking Soda
- 1/2 teaspoon Salt
- 1 teaspoon Cinnamon
- 1/2 cup Unsalted Butter (very cold, cubed)
- 1/2 cup Granulated Sugar
- 1/2 cup Pumpkin Puree (100% pure)
- 1 teaspoon Vanilla Extract
- 1/4 cup Milk or Heavy Cream
- 1 cup Powdered Sugar (for glaze)
- 2–3 tablespoons Maple Syrup (for glaze)
- 1–2 tablespoons Milk (for glaze consistency)
Instructions
- Preheat oven to 400°F (200°C) and line a baking sheet with parchment paper.
- In a large bowl, whisk together flour, baking powder, baking soda, salt, and cinnamon.
- Add cold, cubed butter to the dry ingredients. Use a pastry cutter or fingers to work butter into flour until mixture resembles coarse crumbs with pea-sized butter bits.
- Make a well in the center and pour in pumpkin puree, sugar, vanilla, and milk. Gently stir with a spatula until dough just comes together; do not overmix.
- Turn dough onto a lightly floured surface and press into a 1-inch thick disk. Fold edges into center once or twice, then cut into 8 wedges.
- Place wedges on the prepared baking sheet, leaving space between them.
- Bake for 15-18 minutes until edges are golden brown and tops spring back when touched.
- Let scones cool on the pan for 5 minutes, then transfer to a wire rack to cool completely.
- While scones cool, whisk powdered sugar, maple syrup, and milk together until a drizzling consistency is reached.
- Drizzle glaze over cooled scones and let set for 10 minutes before serving.
Notes
Ensure butter is very cold to create flaky layers. Do not overmix the dough to avoid tough scones. Cool scones completely before glazing to prevent sogginess. For gluten-free, use a 1:1 gluten-free flour blend. For dairy-free, use vegan butter and oat milk.
Nutrition
- Serving Size: 1 scone
- Calories: 250
- Sugar: 22
- Sodium: 200
- Fat: 10
- Saturated Fat: 6
- Carbohydrates: 35
- Fiber: 1
- Protein: 3
Keywords: pumpkin scones, maple glaze, autumn baking, easy scones, fall recipes, iced pumpkin scones, breakfast pastries


