Love this? Save it for later!
Share the inspiration with your friends
The second batch disappeared before halftime. My brother-in-law, who swears by fried wings, had buffalo sauce dripping down his chin and he was already reaching for another one. That’s when I knew these crispy baked chicken wings were something special. I’d been tinkering with the method for weeks, trying to get that perfect crunch without the mess of a deep fryer, and honestly, I wasn’t sure it would work for a crowd of picky football fans.
It started because I was tired of being stuck in the kitchen during games. Every Sunday, I’d miss the big plays because I was hovering over a pot of hot oil, and my kitchen smelled like a fast-food joint for days. There had to be a better way. So I started testing—lower temps, higher temps, baking powder, cornstarch, different rack positions. My family ate a lot of mediocre wings that month. But when I finally pulled that tray out of the oven and heard the crackle when I bit into one, I knew I’d cracked it.
These wings are the result of all that trial and error. They’re the ones that get requested now, the ones that make people forget they’re not fried. And honestly, that’s the best compliment a baked wing can get.
Why You’ll Love This Recipe
Let me tell you why these crispy baked chicken wings have become my go-to for every game day gathering. I’ve tested this method more times than I can count, and it delivers every single time.
- No Deep Frying Required: You get all the crunch without the mess, the smell, or the danger of hot oil. Your kitchen stays clean, and you can actually watch the game.
- Ready in 30 Minutes: From fridge to table in half an hour. That means you can start these when the pre-game show starts and have them hot for kickoff.
- Simple Pantry Ingredients: Nothing fancy here. You probably have everything you need right now, except maybe the chicken itself.
- Perfect for a Crowd: These wings scale up beautifully. I’ve made them for Super Bowl parties with six dozen wings and they came out perfect.
- Customizable Heat Level: The base recipe is mild, so everyone can eat them. But you can crank up the heat with your favorite sauce or dry rub.
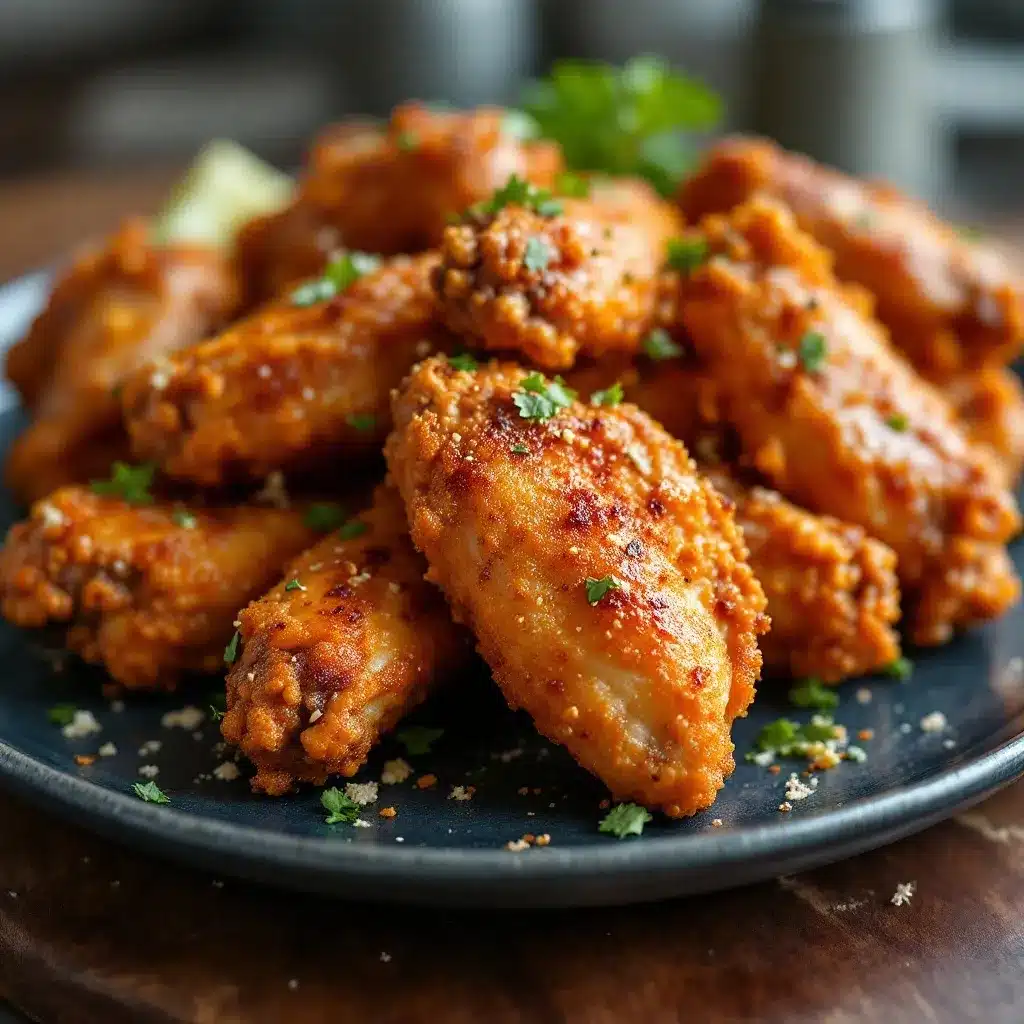
What sets these wings apart is the technique. It’s not just one trick—it’s a combination of drying the skin, using the right temperature, and a clever coating that creates that shatteringly crisp exterior. I’ve tried every method out there, and this is the one that works consistently, even on humid days when wings usually turn out soggy.
These are the wings that make people close their eyes after the first bite. They’re game-day perfection without the stress, and that’s exactly what you need when the score is tight.
What Ingredients You Will Need
This recipe uses simple, everyday ingredients to create something extraordinary. The magic isn’t in fancy components—it’s in how you use them.
For the Wings
- 2 pounds chicken wings, separated into drumettes and flats (about 12-16 pieces total)
- 1 tablespoon baking powder (NOT baking soda—this is crucial for crispiness)
- 1 teaspoon kosher salt
- 1/2 teaspoon black pepper
- 1/2 teaspoon garlic powder
- 1/2 teaspoon smoked paprika
- 1 tablespoon cornstarch (adds extra crunch)
For the Buffalo Sauce (Optional but Recommended)
- 1/3 cup hot sauce (Frank’s RedHot is my go-to)
- 3 tablespoons unsalted butter, melted
- 1 tablespoon honey (balances the heat)
- 1 teaspoon Worcestershire sauce
For Serving
- Celery sticks
- Carrot sticks
- Blue cheese or ranch dressing
The baking powder is non-negotiable here. It raises the skin’s pH and helps it break down, creating that crispy texture without frying. I use Rumford brand because it’s aluminum-free and doesn’t leave a metallic aftertaste. For the hot sauce, I’m loyal to Frank’s—it has the perfect balance of heat and vinegar that makes buffalo wings taste like buffalo wings.
If you’re watching your salt intake, you can reduce the kosher salt to 1/2 teaspoon, but don’t skip it entirely. The salt draws moisture out of the skin, which is essential for crispiness. And please don’t substitute baking soda for baking powder—they’re not the same thing, and baking soda will make your wings taste bitter and weird. I learned that one the hard way.
Equipment Needed
You don’t need much for this recipe, and I’ve included alternatives for everything.
- Baking sheet: A rimmed baking sheet works best. I use a half-sheet pan (18×13 inches) because it fits a standard oven rack perfectly.
- Wire rack: This is important. A wire rack set inside the baking sheet allows air to circulate under the wings, so they crisp up evenly. No rack? You can use a cooling rack if it’s oven-safe, or even crumple up some aluminum foil into a makeshift rack. It’s not ideal, but it works.
- Paper towels: For drying the wings thoroughly. This step matters more than you think.
- Mixing bowl: A large bowl for tossing the wings with the seasoning mixture.
- Tongs: For flipping the wings halfway through cooking.
- Small saucepan: For making the buffalo sauce, if you’re going that route.
- Instant-read thermometer: Optional but helpful. Wings are done when they reach 165°F internally, but honestly, the visual cues work too.
If you don’t have a wire rack, don’t stress. I’ve made these wings without one and they still came out pretty good—just a little less crispy on the bottom. You can also try lining the baking sheet with parchment paper, but the wings won’t get as brown underneath. The rack really is worth the investment if you make wings often.
Preparation Method
This is where the magic happens. Follow these steps carefully, and you’ll have wings that rival any fried version.
- Preheat your oven to 425°F (220°C). Place one rack in the upper third of the oven and another in the lower third. You’ll be rotating the pans halfway through.
- Dry the wings thoroughly. Pat each wing piece with paper towels until there’s no visible moisture. This is the single most important step. Wet skin = soggy wings. Take your time here—I usually go through 4-5 paper towels for 2 pounds of wings.
- Mix the dry ingredients. In a small bowl, combine the baking powder, salt, pepper, garlic powder, smoked paprika, and cornstarch. Whisk them together so the baking powder is evenly distributed.
- Season the wings. Place the dried wings in a large mixing bowl. Sprinkle the seasoning mixture over them and toss well with your hands. Make sure every piece is coated evenly. The mixture should look like a dry rub, not a paste.
- Arrange on the rack. Place the wire rack inside the baking sheet. Arrange the wings in a single layer, skin-side up, with space between each piece. Crowding them will steam them instead of crisping them. If you’re making a large batch, use two baking sheets.
- Bake for 15 minutes. Place the baking sheet on the upper rack. After 15 minutes, remove the pan from the oven and use tongs to flip each wing over. Return the pan to the lower rack and bake for another 10 minutes.
- Flip again and finish. After that 10 minutes, flip the wings once more so they’re skin-side up again. Move the pan back to the upper rack and bake for a final 5-8 minutes, until the skin is golden brown and crispy. The total cooking time is about 30-33 minutes.
- Check for doneness. The wings should be golden brown and the skin should look tight and crackled. If you’re using a thermometer, the internal temperature should read 165°F (74°C) at the thickest part of the drumette. But honestly, at this temperature and time, they’ll be done.
- Make the sauce (if using). While the wings bake, combine the hot sauce, melted butter, honey, and Worcestershire sauce in a small saucepan. Warm over low heat, stirring occasionally, until the butter is melted and everything is combined. Keep it warm until the wings are ready.
- Toss and serve. Transfer the hot wings to a large bowl. Pour the sauce over them and toss gently until each wing is coated. Serve immediately with celery, carrots, and your favorite dipping sauce.
A few things I’ve learned along the way: Don’t skip the flipping. It seems fussy, but it’s what ensures even cooking and maximum crispiness. Also, if you’re making a double batch, don’t try to cram everything onto one pan. Use two pans and rotate them between racks halfway through. The wings need their space.
One time I forgot to flip them at the 25-minute mark and the bottoms were a little soft. Still tasty, but not as crispy. So set a timer if you need to—your future self will thank you.
Cooking Tips & Techniques
I’ve made a lot of mistakes with wings over the years, so you don’t have to. Here’s what I’ve learned.
The drying step is everything. I cannot stress this enough. Moisture is the enemy of crispy skin. After you pat the wings dry, let them sit uncovered in the fridge for 30 minutes if you have time. This dries the skin even further and makes the baking powder work better. I do this whenever I remember, and the results are noticeably better.
Don’t skip the resting time after seasoning. Let the seasoned wings sit at room temperature for about 10 minutes before baking. This allows the baking powder to start working on the skin. You’ll see the skin start to look slightly dry and puffy—that’s a good sign.
Use a high oven temperature. 425°F is the sweet spot. Any lower and the wings will take too long to cook, drying out the meat before the skin crisps. Any higher and the baking powder can burn, leaving a bitter taste. Trust me on this one—I tried 450°F once and the wings looked great but tasted slightly off.
Let the wings rest after baking. If you’re tossing them in sauce, do it right away while they’re hot. But if you’re serving them plain, let them rest on the wire rack for 2-3 minutes. This allows the skin to set and stay crispy longer. If you pile them on a plate immediately, the steam will soften the bottoms.
My biggest failure? I once tried to rush the process by not drying the wings properly. I was in a hurry and thought “it’ll be fine.” It wasn’t fine. The skin was chewy and the coating slid right off. I ended up ordering pizza. Learn from my mistakes—take the extra 2 minutes to dry those wings.
Variations & Adaptations
One of the best things about this recipe is how flexible it is. Here are some of my favorite variations.
Spicy Honey Garlic Wings
Skip the buffalo sauce and make a glaze with 1/4 cup honey, 3 tablespoons soy sauce, 2 minced garlic cloves, and 1 teaspoon red pepper flakes. Simmer until slightly thickened, then toss with the hot wings. These are sweet, sticky, and just a little spicy—perfect for folks who don’t love traditional buffalo sauce.
Lemon Pepper Wings
Add 1 tablespoon of lemon zest to the dry seasoning mixture and increase the black pepper to 1 teaspoon. After baking, toss the wings with a little melted butter and extra lemon zest. This is my go-to when I want something lighter and brighter. It pairs perfectly with a cold beer and some fresh honey mustard coleslaw on the side.
Smoky BBQ Wings
Swap the garlic powder and paprika for 1 teaspoon of smoked paprika and 1 teaspoon of chipotle powder. After baking, toss the wings with your favorite BBQ sauce. I like using a Kansas City-style sauce for sweetness, but a Texas-style vinegar sauce works great too. These are perfect for summer cookouts and pair beautifully with fresh cowboy caviar for a complete spread.
Keto-Friendly Version
Skip the cornstarch and increase the baking powder to 1 1/2 tablespoons. Use a sugar-free hot sauce for the buffalo sauce. These wings are naturally low-carb and perfect for anyone watching their carbs. They’re also Whole30-compliant if you use a compliant hot sauce and ghee instead of butter.
Air Fryer Adaptation
If you have an air fryer, you can make these wings in about 20 minutes. Preheat the air fryer to 400°F (200°C). Arrange the seasoned wings in a single layer in the basket (don’t overcrowd). Cook for 10 minutes, flip, then cook for another 8-10 minutes until crispy. The air fryer version is even crispier than the oven version, if you can believe it. I’ve used this method for crispy air fryer firecracker shrimp with great results, so I knew it would work for wings too.
Serving & Storage Suggestions
These wings are best served hot and fresh, right after they come out of the oven. But here’s how to handle them if you’re planning ahead or have leftovers.
Serving temperature: Serve the wings immediately after tossing in sauce. They’re at their crispiest within the first 10 minutes. If you’re serving them at a party, consider making them in batches so they’re always fresh. I like to set up a wing station with different sauces so guests can choose their own adventure.
What to serve with them: Celery and carrot sticks are classic for a reason—they provide a cool, crunchy contrast to the spicy wings. Blue cheese dressing is my personal favorite for dipping, but ranch is equally popular. For a full game-day spread, add some spicy beer cheese pretzel bites and crispy BBQ bacon-wrapped jalapeño poppers for an unbeatable lineup.
Storage: Leftover wings can be stored in an airtight container in the refrigerator for up to 4 days. The key is to let them cool completely before storing, or the condensation will make them soggy. I usually spread them on a baking sheet to cool for about 20 minutes before transferring to a container.
Reheating: The oven is your best friend here. Preheat to 400°F (200°C) and spread the wings on a wire rack over a baking sheet. Reheat for 5-7 minutes until hot and crispy. The microwave will make them rubbery, so avoid it if you can. If you’re in a hurry, an air fryer at 375°F (190°C) for 3-4 minutes works beautifully.
Freezing: You can freeze the baked (but unsauced) wings for up to 3 months. Let them cool completely, then arrange in a single layer on a baking sheet and freeze until solid. Transfer to a freezer bag. To serve, reheat directly from frozen at 400°F for 12-15 minutes, then toss with sauce.
One thing I’ve noticed is that these wings actually taste even better the next day if you reheat them properly. The flavors have time to meld, and the skin gets even crispier on the second reheat. Just don’t tell anyone I said that—I like to pretend they’re always eaten fresh.
Nutritional Information & Benefits
Here’s the nutritional breakdown for a serving of about 4-5 wing pieces (without sauce).
| Nutrient | Amount per Serving |
|---|---|
| Calories | 320 |
| Protein | 26g |
| Fat | 22g |
| Saturated Fat | 6g |
| Carbohydrates | 2g |
| Fiber | 0g |
| Sugar | 0g |
| Sodium | 680mg |
Chicken wings are a good source of protein, which helps keep you full and supports muscle health. The skin contains some fat, but baking instead of frying significantly reduces the overall fat content. If you’re watching your sodium, you can reduce the salt in the dry rub and use a low-sodium hot sauce.
This recipe is naturally gluten-free, keto-friendly, and low-carb. If you’re dairy-free, use a dairy-free butter alternative in the sauce or skip the sauce entirely. The wings themselves contain no dairy. For a Whole30-compliant version, use ghee instead of butter and a compliant hot sauce.
I’m not a nutritionist, just someone who loves good food and tries to make smart choices. These wings fit into a balanced diet pretty well, especially if you pair them with plenty of veggies and skip the heavy dipping sauces. But honestly, game day is about enjoying yourself, and these wings are worth every bite.
Conclusion
These crispy baked chicken wings have become a staple in my house for a reason. They deliver everything you want from a game-day snack—crunchy skin, juicy meat, and bold flavor—without the hassle of deep frying. Whether you’re hosting a Super Bowl party, a Sunday football gathering, or just craving wings on a random Tuesday, this recipe has you covered.
I love how forgiving this recipe is. It works with any sauce, any spice level, and any occasion. You can dress them up for a party or keep them simple for a weeknight dinner. And the best part? You get to actually enjoy the game instead of standing over a fryer.
Try these wings for your next football Sunday and let me know how they turn out. Did you try a different sauce? Add more heat? Serve them with something unexpected? Drop a comment below and share your version. I read every single one, and I love hearing how you make these wings your own. Until next time, happy cooking and go team!
Frequently Asked Questions
Can I use frozen chicken wings?
Yes, but you need to thaw them completely first. Pat them very dry after thawing, as frozen wings release a lot of moisture. I recommend thawing them in the refrigerator overnight for best results. Don’t try to cook them from frozen—the skin won’t crisp properly.
Why are my wings not crispy?
Most likely, the wings weren’t dried thoroughly enough, or they were crowded on the baking sheet. Make sure you pat each piece dry with paper towels and leave space between them on the rack. Also, check that your oven is at the right temperature—an oven thermometer can help if yours runs cool.
Can I make these wings ahead of time?
You can bake them up to a day ahead, but don’t add the sauce until you’re ready to serve. Reheat them on a wire rack in a 400°F oven for 5-7 minutes, then toss with sauce. They won’t be quite as crispy as fresh, but they’ll still be delicious.
What’s the best way to separate chicken wings?
Place the wing on a cutting board with the drumette pointing up. Feel for the joint between the drumette and the flat, then cut through it with a sharp knife. Then cut through the joint between the two flat pieces. Save the wing tips for making stock—they freeze well and add great flavor to soups.
Can I use this method for other cuts of chicken?
Absolutely! This same technique works beautifully for chicken thighs, drumsticks, and even chicken breasts (adjust cooking time as needed). The key is always the same: dry the skin thoroughly, use baking powder, and cook at a high temperature on a wire rack. It’s my go-to method for any crispy baked chicken.
Pin This Recipe!
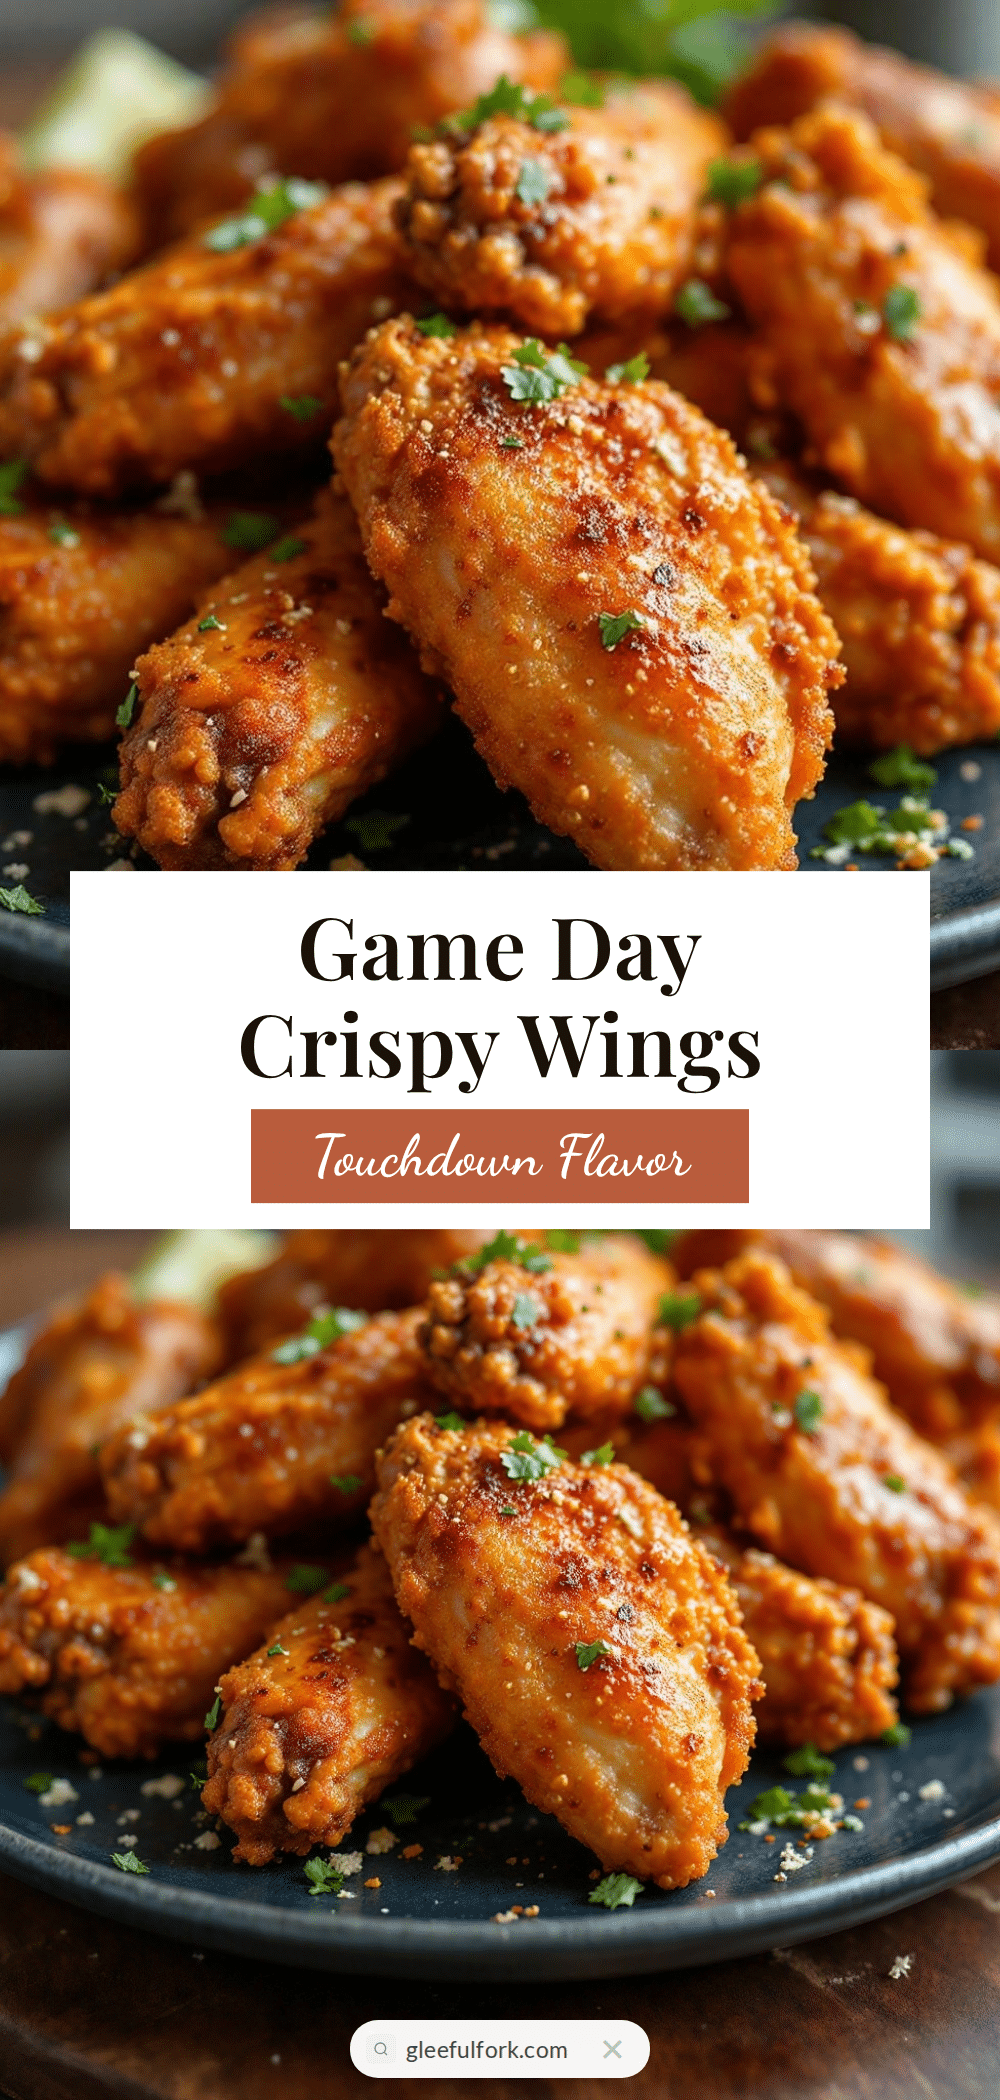
30-Minute Crispy Baked Chicken Wings for Game Day

These crispy baked chicken wings deliver all the crunch of fried wings without the mess. Perfect for game day, they’re ready in 30 minutes and use simple pantry ingredients.
- Prep Time: 10 minutes
- Cook Time: 30 minutes
- Total Time: 40 minutes
- Yield: 4 servings 1x
- Category: Appetizer
- Cuisine: American
Ingredients
- 2 pounds chicken wings, separated into drumettes and flats (about 12–16 pieces total)
- 1 tablespoon baking powder (NOT baking soda)
- 1 teaspoon kosher salt
- 1/2 teaspoon black pepper
- 1/2 teaspoon garlic powder
- 1/2 teaspoon smoked paprika
- 1 tablespoon cornstarch
- 1/3 cup hot sauce (Frank’s RedHot recommended)
- 3 tablespoons unsalted butter, melted
- 1 tablespoon honey
- 1 teaspoon Worcestershire sauce
- Celery sticks for serving
- Carrot sticks for serving
- Blue cheese or ranch dressing for serving
Instructions
- Preheat your oven to 425°F (220°C). Place one rack in the upper third of the oven and another in the lower third.
- Dry the wings thoroughly with paper towels until no visible moisture remains.
- In a small bowl, combine the baking powder, salt, pepper, garlic powder, smoked paprika, and cornstarch. Whisk together.
- Place the dried wings in a large mixing bowl. Sprinkle the seasoning mixture over them and toss well with your hands until evenly coated.
- Place a wire rack inside a rimmed baking sheet. Arrange the wings in a single layer, skin-side up, with space between each piece.
- Bake for 15 minutes on the upper rack. Remove from oven, flip each wing, and return to the lower rack. Bake for another 10 minutes.
- Flip the wings once more so they are skin-side up. Move the pan back to the upper rack and bake for a final 5-8 minutes until golden brown and crispy (total time about 30-33 minutes).
- Check for doneness: internal temperature should read 165°F (74°C) at the thickest part of the drumette.
- While wings bake, combine hot sauce, melted butter, honey, and Worcestershire sauce in a small saucepan. Warm over low heat, stirring occasionally, until combined. Keep warm.
- Transfer hot wings to a large bowl. Pour sauce over them and toss gently until each wing is coated. Serve immediately with celery, carrots, and dipping sauce.
Notes
The baking powder is non-negotiable for crispiness. Do not substitute baking soda. Drying the wings thoroughly is the most important step. For extra crispiness, let seasoned wings rest at room temperature for 10 minutes before baking. Leftover wings can be stored in an airtight container in the refrigerator for up to 4 days. Reheat in a 400°F oven for 5-7 minutes.
Nutrition
- Serving Size: 4-5 wing pieces
- Calories: 320
- Sodium: 680
- Fat: 22
- Saturated Fat: 6
- Carbohydrates: 2
- Protein: 26
Keywords: crispy baked chicken wings, game day wings, buffalo wings, baked wings, 30-minute wings


