Love this? Save it for later!
Share the inspiration with your friends
I had been looking for a pumpkin scone that actually tasted like pumpkin, not just a spice delivery vehicle with orange coloring. For a while, I just accepted that bakery versions—while pretty—were mostly butter and sugar pretending to be seasonal. The pumpkin was always an afterthought, something that got lost in the flour. So I started tinkering at home, trying to figure out how to get that real squash flavor to come through without making the dough too wet to handle. It took a few batches that were either gummy or dry (sometimes both in the same scone, which is honestly impressive), but eventually, I found a balance that worked. The trick, it turns out, is roasting the pumpkin puree just a little to concentrate the flavor before you even think about adding it to the bowl. That one step changed everything. Now I can’t go back to those pale imitations.
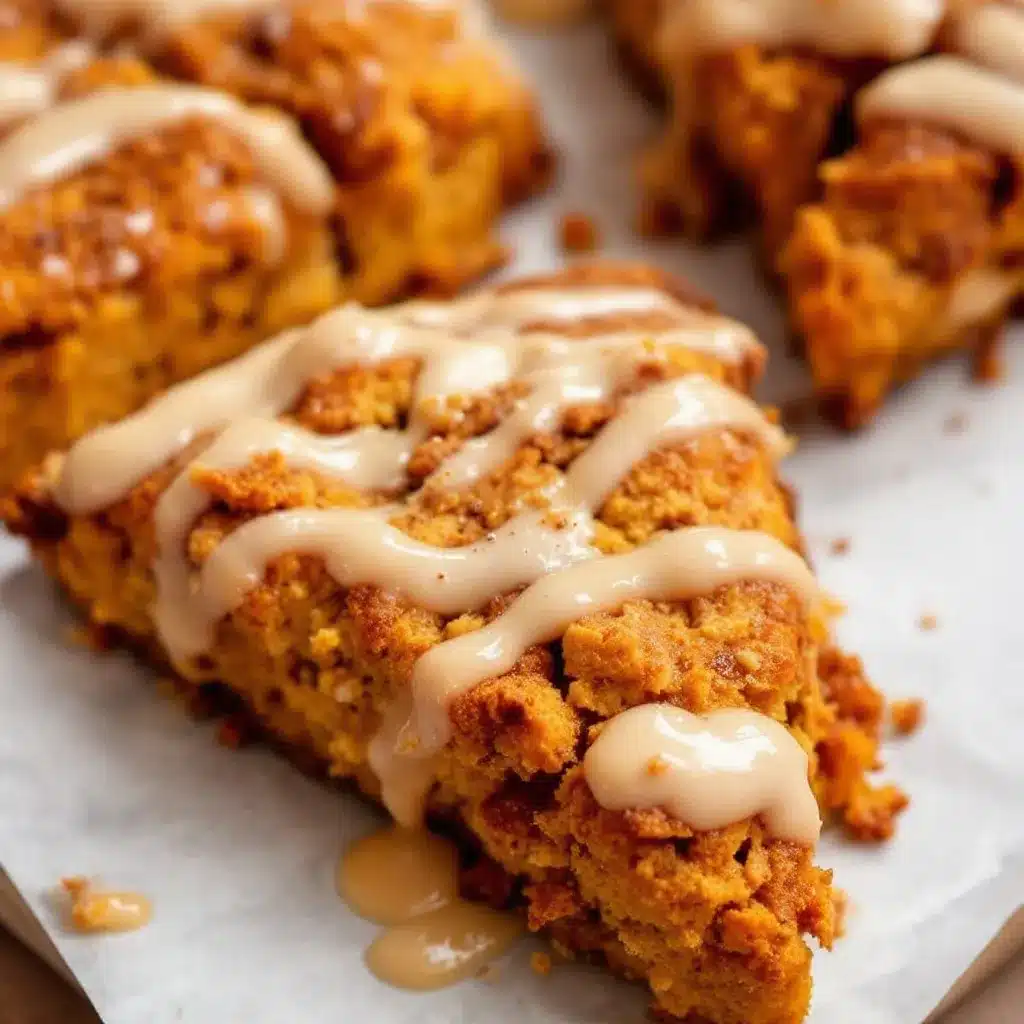
These scones have that tender, flaky edge you want, but the inside stays soft and almost creamy from the pumpkin. The maple cinnamon glaze is the real star here—it soaks into the warm scone just enough to make each bite feel like a proper fall morning. I make these every Sunday once the weather turns cool, and honestly, they’ve become my little ritual. The house smells like cinnamon and maple syrup for hours, and that’s worth turning the oven on for. If you’ve been searching for a pumpkin scone that doesn’t disappoint, this is the one.
Why You’ll Love This Recipe
These pumpkin scones are different from the dry, crumbly versions you’ve probably had before. I tested this recipe six times to get the texture exactly right—not too cakey, not too dense, just that perfect tender crumb that holds together without falling apart in your hands.
- Real Pumpkin Flavor : I use a simple roasting trick to concentrate the pumpkin puree, so you actually taste squash, not just cinnamon and nutmeg.
- Simple Ingredients : No weird stabilizers or hard-to-find extracts. You probably have most of this in your pantry right now.
- Perfect for Fall Mornings : These freeze beautifully, so you can bake a batch and have them ready for busy weekdays or lazy weekends.
- Crowd-Pleaser : Every time I bring these to a gathering, someone asks for the recipe. Kids love the glaze, adults love the spice balance.
- Unbelievably Delicious : The maple cinnamon glaze is the kind of thing you’ll want to put on everything—pancakes, waffles, maybe even a spoon.
What makes this version different from the rest is the technique. Instead of just dumping in pumpkin puree, I reduce it slightly on the stove to remove excess moisture. This gives you a concentrated pumpkin flavor without making the dough sticky or heavy. Plus, the cold butter method ensures those flaky layers you’d expect from a proper scone. It’s comfort food reimagined—familiar but better, with that soul-soothing satisfaction you crave when the leaves start turning.
What Ingredients You Will Need
This recipe uses simple, wholesome ingredients to deliver bold flavor and satisfying texture without the fuss. Most of these are pantry staples, which makes these scones perfect for spontaneous baking when the craving hits.
- Pumpkin Puree (1 cup / 240g) – Not pumpkin pie filling. Look for 100% pure pumpkin puree. I prefer Libby’s for consistent texture, but any brand works. You’ll want to reduce this on the stove for about 5 minutes to concentrate the flavor.
- All-Purpose Flour (2 ½ cups / 315g) – Spoon and level your flour for accurate measuring. Too much flour makes dense scones.
- Granulated Sugar (½ cup / 100g) – Adds just enough sweetness without overwhelming the pumpkin.
- Light Brown Sugar (¼ cup / 50g, packed) – Adds moisture and a hint of molasses that pairs beautifully with the maple glaze.
- Cold Unsalted Butter (½ cup / 113g, cubed) – Keep this cold until the very last second. Cold butter equals flaky layers.
- Baking Powder (2 teaspoons) – Make sure it’s fresh. Expired baking powder is the #1 reason scones don’t rise.
- Baking Soda (½ teaspoon) – Helps with browning and rise.
- Salt (½ teaspoon) – Don’t skip this. Salt balances the sweetness and enhances the pumpkin flavor.
- Ground Cinnamon (1 ½ teaspoons) – I use Vietnamese cinnamon for a stronger, sweeter flavor.
- Ground Ginger (½ teaspoon) – Adds warmth without being spicy.
- Ground Nutmeg (¼ teaspoon) – Freshly grated if you have it.
- Ground Cloves (⅛ teaspoon) – A little goes a long way.
- Heavy Cream (⅓ cup / 80ml) – Adds richness and tenderness. You can substitute whole milk, but the texture won’t be as luxurious.
- Large Egg (1) – Binds everything together.
- Vanilla Extract (1 teaspoon) – Pure, not imitation.
For the Maple Cinnamon Glaze
- Powdered Sugar (1 ½ cups / 180g) – Sift this to avoid lumps.
- Pure Maple Syrup (3 tablespoons) – Use the real stuff, not pancake syrup. Grade A dark amber works best.
- Ground Cinnamon (½ teaspoon) – For that warm spice kick.
- Heavy Cream (2-3 tablespoons) – Adjust for your desired consistency.
- Pinch of Salt – Balances the sweetness.
Equipment Needed
You don’t need much fancy gear for these scones, which is part of what makes them so approachable.
- Large Mixing Bowl – For combining dry ingredients.
- Pastry Cutter or Two Forks – For cutting butter into flour. I actually prefer using my fingers—the warmth helps you feel when the butter is properly incorporated.
- Baking Sheet – Line it with parchment paper for easy cleanup.
- Parchment Paper – Prevents sticking and makes transferring scones a breeze.
- Bench Scraper – Great for cutting the dough into triangles without smashing the edges.
- Small Saucepan – For reducing the pumpkin puree.
- Whisk – For the glaze.
- Cooling Rack – Essential for letting the glaze set without getting soggy.
- Pastry Brush (optional) – For applying cream wash.
If you don’t have a pastry cutter, two knives work just fine. I’ve also used a food processor in a pinch—just pulse a few times until the butter looks like pea-sized crumbs. Don’t overdo it, or you’ll end up with tough scones.
Preparation Method
Let’s get baking. This recipe takes about 40 minutes total, with 15 minutes of hands-on work.
- Reduce the Pumpkin Puree : In a small saucepan over medium heat, add your pumpkin puree. Cook for 5-6 minutes, stirring constantly, until it thickens and darkens slightly. You should have about ¾ cup left. Spread it on a plate to cool completely. This step is non-negotiable—it concentrates the flavor and removes excess moisture that would make your scones gummy.
- Preheat Your Oven : Set it to 400°F (200°C). Line your baking sheet with parchment paper.
- Mix the Dry Ingredients : In a large bowl, whisk together the flour, granulated sugar, brown sugar, baking powder, baking soda, salt, cinnamon, ginger, nutmeg, and cloves. Make sure everything is evenly distributed—you don’t want a pocket of baking powder in one scone.
- Cut in the Butter : Add your cold butter cubes to the flour mixture. Using a pastry cutter or your fingertips, work the butter into the flour until it resembles coarse meal with pea-sized butter pieces. Work quickly—warm butter is the enemy of flaky scones. If your hands get too warm, pop the bowl in the fridge for 5 minutes.
- Combine the Wet Ingredients : In a separate small bowl, whisk together the cooled pumpkin puree, heavy cream, egg, and vanilla extract until smooth.
- Bring It Together : Make a well in the center of your flour-butter mixture. Pour in the wet ingredients. Use a fork to stir until just combined. The dough will look shaggy and a bit dry—that’s exactly what you want. Overmixing develops gluten and makes tough scones.
- Shape the Dough : Turn the dough out onto a lightly floured surface. Gently bring it together with your hands, patting it into a ¾-inch thick circle, about 8 inches across. Don’t use a rolling pin—your hands give you better control and prevent overworking.
- Cut the Scones : Using a bench scraper or sharp knife, cut the circle into 8 equal wedges like a pizza. Transfer each wedge to your prepared baking sheet, spacing them about 2 inches apart.
- Chill (Optional but Recommended) : Pop the baking sheet in the freezer for 10 minutes. This re-chills the butter, which guarantees those flaky layers. I do this every time.
- Bake : Bake for 14-16 minutes, until the edges are golden brown and the tops are set. The centers should feel firm but spring back when lightly touched. Let them cool on the baking sheet for 5 minutes, then transfer to a cooling rack.
- Make the Glaze : While the scones cool, whisk together the powdered sugar, maple syrup, cinnamon, and 2 tablespoons of heavy cream. Add more cream a teaspoon at a time until you reach a pourable consistency. It should be thick enough to coat the back of a spoon but thin enough to drizzle.
- Glaze the Scones : Drizzle the glaze over the warm scones using a spoon or a piping bag with the tip snipped off. Let the glaze set for about 10 minutes before serving. The warmth of the scone will help the glaze soak in slightly, creating that perfect crust.
Cooking Tips & Techniques
I learned most of these the hard way, so you don’t have to.
Don’t skip the chilling step. I know it adds 10 minutes, but I promise it makes a difference. Warm butter melts into the flour before the scone hits the oven, and you end up with flat, greasy discs instead of tall, flaky wedges. One time I was in a hurry and skipped it—the scones spread into sad little puddles. Never again.
Handle the dough as little as possible. Scone dough is not bread dough. You’re not trying to develop gluten here. Mix until it just comes together, then stop. If you see streaks of flour, that’s okay. Those streaks will bake out.
Use a bench scraper to cut. A knife can drag and seal the edges, preventing the scones from rising properly. A bench scraper cuts cleanly through, giving you those craggy edges that bake up crisp and beautiful.
Bake from frozen for best results. You can freeze the unbaked scones on the baking sheet, then transfer them to a freezer bag. Bake straight from frozen, adding 2-3 minutes to the baking time. This means you can have fresh scones whenever the mood strikes.
Test your baking powder. If you’re not sure how old yours is, drop a teaspoon into hot water. If it bubbles vigorously, you’re good. If it fizzes weakly or not at all, buy a new can. Flat scones are almost always a baking powder problem.
Let the glaze set before stacking. I made this mistake once and ended up with a sticky, glaze-less mess. Give it at least 10 minutes on the cooling rack before you move them anywhere.
Variations & Adaptations
These scones are forgiving, so feel free to play around.
Vegan Version : Substitute the butter with cold coconut oil or vegan butter. Use a flax egg (1 tablespoon ground flaxseed mixed with 3 tablespoons water) and full-fat coconut milk instead of heavy cream. The texture will be slightly different—a bit more crumbly—but still delicious.
Gluten-Free Option : Swap the all-purpose flour for a 1:1 gluten-free baking blend that contains xanthan gum. Cup4Cup and King Arthur’s measure-for-measure blends work well. Don’t overmix, and add an extra tablespoon of cream if the dough feels too dry.
Add-Ins : Fold in ½ cup of chopped pecans, walnuts, or dried cranberries after you’ve combined the wet and dry ingredients. White chocolate chips are also incredible here—the sweetness balances the pumpkin spice perfectly.
Spice It Up : If you like things warm, add ¼ teaspoon of cayenne pepper or chipotle powder to the dry ingredients. The heat plays beautifully with the maple glaze.
Pumpkin Cream Cheese Glaze : For an extra decadent twist, beat 2 ounces of softened cream cheese with 1 cup of powdered sugar, 2 tablespoons of maple syrup, and a splash of cream. Drizzle over the scones for a tangy-sweet finish.
I personally love the pecan version. I toast the pecans first for about 5 minutes in a dry skillet, then fold them in. The crunch against the soft scone and the creamy glaze is just perfect.
Serving & Storage Suggestions
These scones are best served warm, with the glaze still slightly soft. I like to pop them in a 300°F oven for 5 minutes if they’ve been sitting out for a while. The warmth wakes up the spices and makes the glaze gooey again.
For a complete fall breakfast, serve them alongside a hot cup of coffee or chai latte. They also pair beautifully with a fresh cowboy caviar for a sweet-savory brunch spread—don’t knock it until you try it. The contrast is surprisingly good.
Storage : Keep glazed scones in an airtight container at room temperature for up to 2 days. After that, the glaze starts to get sticky. Unglazed scones freeze beautifully for up to 3 months. Just wrap them individually in plastic wrap, then pop them in a freezer bag.
Reheating : For a single scone, microwave for 15 seconds. For a batch, reheat in a 300°F oven for 8-10 minutes. If you’re reheating frozen scones, bake them straight from frozen at 350°F for 12-15 minutes, then glaze while warm.
The flavors actually develop overnight. I sometimes make the dough, cut the scones, and refrigerate them unbaked overnight. The next morning, I bake them fresh and glaze them. The spices meld together beautifully, and the texture is even better.
Nutritional Information & Benefits
Per scone (with glaze): approximately 380 calories, 18g fat, 52g carbohydrates, 5g protein, 2g fiber, 28g sugar. These numbers are estimates and will vary based on your specific ingredients.
Pumpkin is packed with vitamin A (from beta-carotene), which supports eye health and immune function. It’s also a good source of fiber and potassium. The maple syrup provides trace minerals like zinc and manganese, though let’s be honest—we’re eating these for the taste, not the health benefits.
If you’re watching your sugar intake, you can reduce the glaze by half or skip it entirely. The scones are still delicious on their own, especially with a pat of butter. For a lower-carb option, try a keto-friendly burger lettuce wrap approach to your meal planning, but these scones are definitely a treat, not an everyday food.
Potential allergens include wheat, dairy, and eggs. For allergen-friendly versions, see the variations section above.
Conclusion
These pumpkin scones have become my go-to fall bake, and for good reason. They’re simple enough for a Tuesday morning but impressive enough for a holiday brunch. The real pumpkin flavor, the flaky texture, that maple cinnamon glaze—everything works together in a way that feels both familiar and special.
Don’t be afraid to make these your own. Add nuts, swap the glaze, double the cinnamon. Baking should be fun, not stressful. If your first batch isn’t perfect, that’s okay. Mine wasn’t either. But once you get that balance right—the tender crumb, the sweet glaze, the warm spices—you’ll understand why I keep coming back to this recipe.
I’d love to hear how yours turn out. Drop a comment below and tell me about your favorite fall baking memory, or share a photo of your scones. And if you try a variation I haven’t thought of, definitely let me know. Happy baking, friends.
Frequently Asked Questions
Can I use pumpkin pie filling instead of pumpkin puree?
No, please don’t. Pumpkin pie filling has added sugar and spices, which will throw off the balance of this recipe. Stick with 100% pure pumpkin puree for the best results.
Why did my scones turn out dry?
Overmixing is usually the culprit. Mix until the dough just comes together, and don’t be tempted to add more flour. Also, make sure you’re measuring your flour correctly—spoon it into the measuring cup and level it off, rather than scooping directly from the bag.
Can I make these scones ahead of time?
Absolutely. You can prepare the dough, cut the scones, and freeze them unbaked for up to 3 months. Bake straight from frozen, adding 2-3 minutes to the baking time. You can also bake them fully and freeze them unglazed for up to 2 months.
How do I get my scones to rise taller?
Make sure your baking powder is fresh, and don’t skip the chilling step. Cold butter creates steam pockets as it melts, which lifts the scones. Also, cut the scones with a sharp bench scraper rather than a knife—dull edges can seal the sides and prevent rising.
Can I use a different glaze?
Of course. A simple vanilla glaze (powdered sugar, milk, vanilla) works great. Cream cheese glaze is also amazing. Or skip the glaze entirely and brush the warm scones with melted butter and a sprinkle of cinnamon sugar.
Pin This Recipe!
Perfect Pumpkin Scones with Maple Cinnamon Glaze

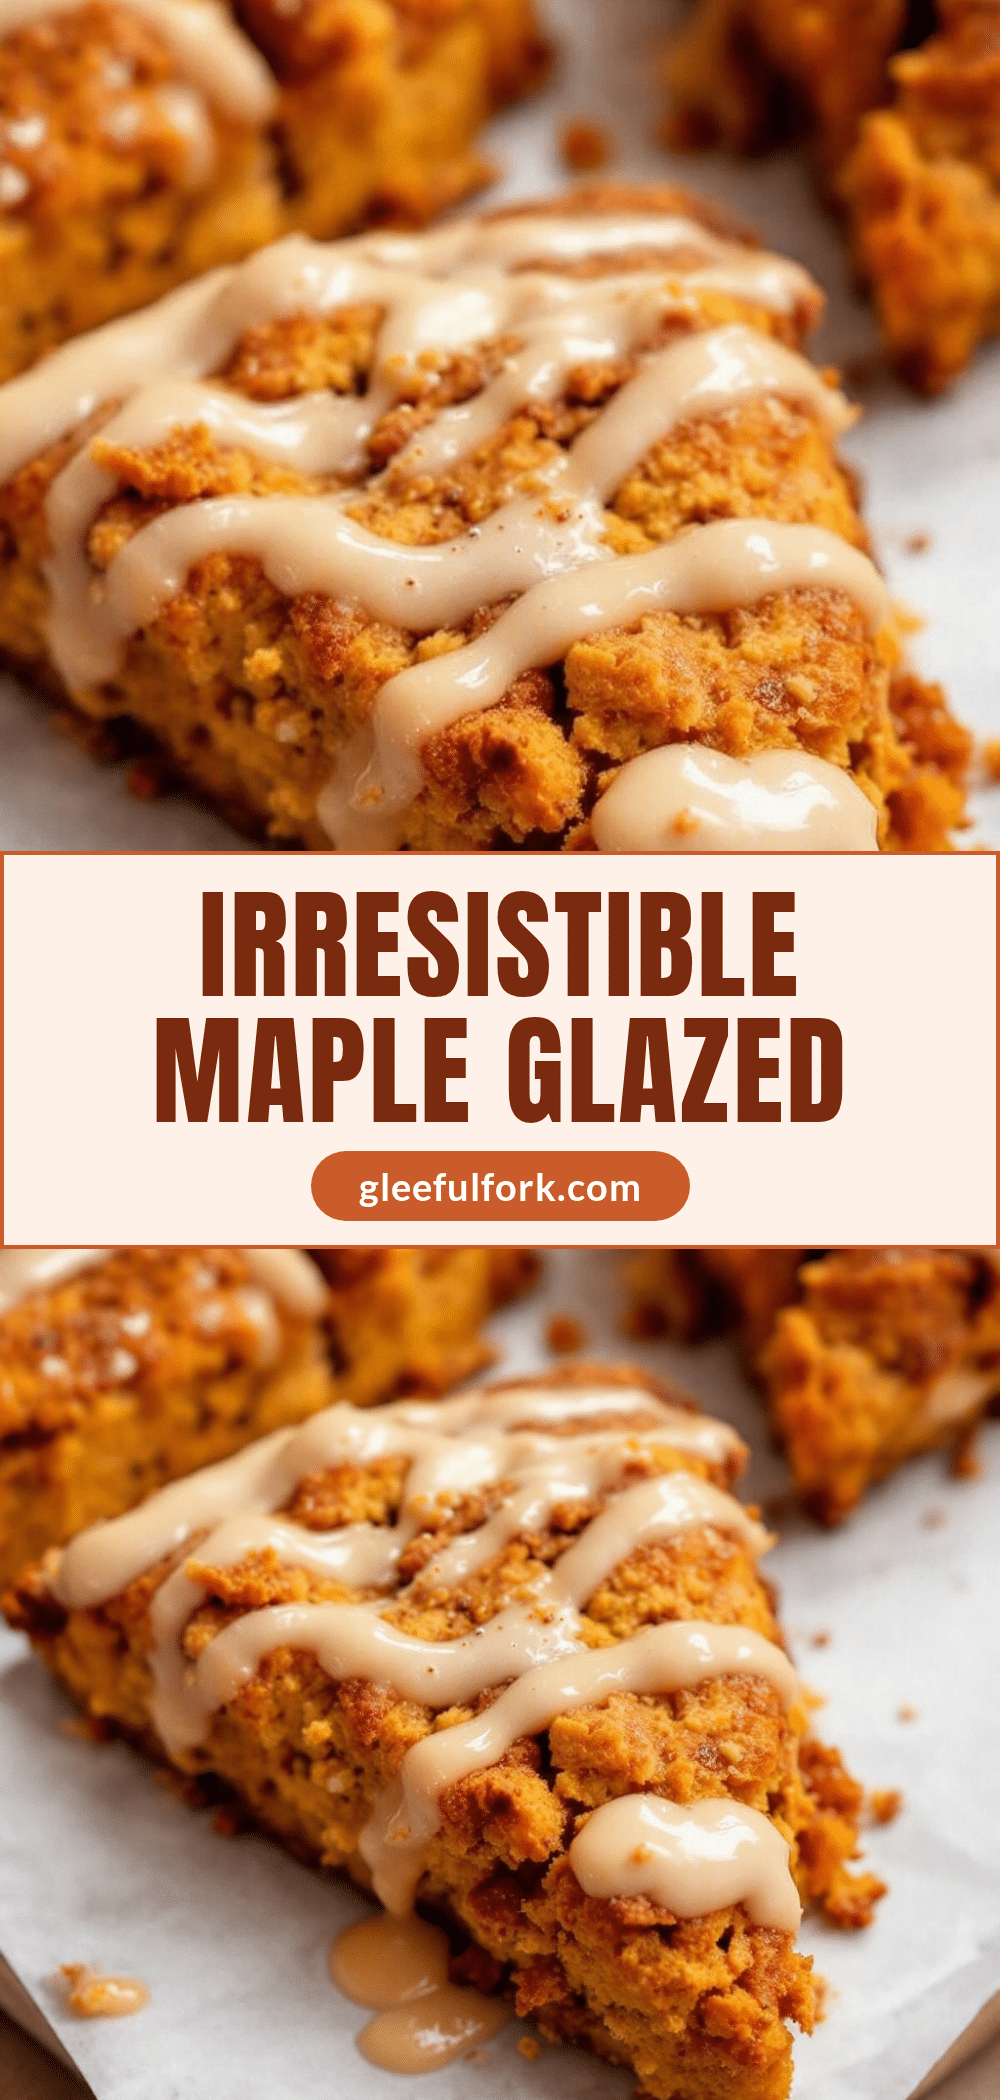
These pumpkin scones have a tender, flaky edge and a soft, creamy inside from real roasted pumpkin puree. The maple cinnamon glaze soaks into the warm scone, making each bite taste like a proper fall morning.
- Prep Time: 15 minutes
- Cook Time: 16 minutes
- Total Time: 40 minutes
- Yield: 8 servings 1x
- Category: Breakfast
- Cuisine: American
Ingredients
- 1 cup (240g) pumpkin puree
- 2 ½ cups (315g) all-purpose flour
- ½ cup (100g) granulated sugar
- ¼ cup (50g) light brown sugar, packed
- ½ cup (113g) cold unsalted butter, cubed
- 2 teaspoons baking powder
- ½ teaspoon baking soda
- ½ teaspoon salt
- 1 ½ teaspoons ground cinnamon
- ½ teaspoon ground ginger
- ¼ teaspoon ground nutmeg
- ⅛ teaspoon ground cloves
- ⅓ cup (80ml) heavy cream
- 1 large egg
- 1 teaspoon vanilla extract
- 1 ½ cups (180g) powdered sugar
- 3 tablespoons pure maple syrup
- ½ teaspoon ground cinnamon (for glaze)
- 2–3 tablespoons heavy cream (for glaze)
- Pinch of salt (for glaze)
Instructions
- Reduce the pumpkin puree: In a small saucepan over medium heat, cook the pumpkin puree for 5-6 minutes, stirring constantly, until it thickens and darkens slightly. You should have about ¾ cup left. Spread it on a plate to cool completely.
- Preheat your oven to 400°F (200°C). Line a baking sheet with parchment paper.
- Mix the dry ingredients: In a large bowl, whisk together the flour, granulated sugar, brown sugar, baking powder, baking soda, salt, cinnamon, ginger, nutmeg, and cloves.
- Cut in the butter: Add the cold butter cubes to the flour mixture. Using a pastry cutter or your fingertips, work the butter into the flour until it resembles coarse meal with pea-sized butter pieces.
- Combine the wet ingredients: In a separate small bowl, whisk together the cooled pumpkin puree, heavy cream, egg, and vanilla extract until smooth.
- Bring it together: Make a well in the center of the flour-butter mixture. Pour in the wet ingredients. Use a fork to stir until just combined. The dough will look shaggy and a bit dry.
- Shape the dough: Turn the dough out onto a lightly floured surface. Gently bring it together with your hands, patting it into a ¾-inch thick circle, about 8 inches across.
- Cut the scones: Using a bench scraper or sharp knife, cut the circle into 8 equal wedges. Transfer each wedge to the prepared baking sheet, spacing them about 2 inches apart.
- Chill (optional but recommended): Place the baking sheet in the freezer for 10 minutes.
- Bake: Bake for 14-16 minutes, until the edges are golden brown and the tops are set. Let cool on the baking sheet for 5 minutes, then transfer to a cooling rack.
- Make the glaze: While the scones cool, whisk together the powdered sugar, maple syrup, cinnamon, and 2 tablespoons of heavy cream. Add more cream a teaspoon at a time until you reach a pourable consistency.
- Glaze the scones: Drizzle the glaze over the warm scones. Let the glaze set for about 10 minutes before serving.
Notes
Don’t skip the chilling step—it guarantees flaky layers. Handle the dough as little as possible to avoid tough scones. Use a bench scraper to cut the scones for better rise. Bake from frozen for best results. Test your baking powder if unsure of freshness. Let the glaze set before stacking.
Nutrition
- Serving Size: 1 scone
- Calories: 380
- Sugar: 28
- Sodium: 320
- Fat: 18
- Saturated Fat: 11
- Carbohydrates: 52
- Fiber: 2
- Protein: 5
Keywords: pumpkin scones, maple cinnamon glaze, fall breakfast, pumpkin recipe, scone recipe


