Love this? Save it for later!
Share the inspiration with your friends
Last summer, I found myself wandering through a bustling farmers market on a lazy Saturday afternoon. The sun was warm, the air buzzed with chatter, and everywhere I looked, tables overflowed with fresh fruit and homemade goodies. That’s when I stumbled upon a tiny stall tucked between giant sunflowers and jars of honey, offering fresh huckleberries still dusted with morning dew. I wasn’t planning to buy anything sweet that day—honestly, I was just there for some herbs—but those berries caught my eye. The vendor, a cheerful gentleman with a crooked smile, insisted I try a sample of his huckleberry lemon cheesecake bars. I was skeptical at first; cheesecake bars with huckleberries? Sounds fancy, right?
Well, let me tell you, the first bite was like a summer memory wrapped in tangy sweetness and creamy bliss. The crust had this perfect crumbly snap, the lemon zest brightened every mouthful, and those little bursts of huckleberry made it uniquely refreshing. I came home with a box, determined to recreate that magic in my own kitchen. It took a few tries—okay, maybe a few too many late-night experiments and a bit of a mess with flour on the counter—but now, these Perfect Huckleberry Lemon Cheesecake Bars have become my go-to treat for every occasion.
Maybe you’ve been there too—wanting a dessert that’s simple enough for a weeknight but special enough for a summer party. These bars hit that sweet spot, honestly. Plus, they’re a fantastic way to showcase seasonal fruit without fuss. So, whether you’re planning a backyard barbecue, a picnic, or just craving a slice of something bright and creamy, this recipe has your name on it.
Why You’ll Love This Recipe
After countless kitchen trials and feedback from friends who happily volunteered as taste testers, I’m confident these cheesecake bars are a winner for many reasons:
- Quick & Easy: Ready in under an hour, including baking time. Perfect when you need a dessert fast but want to impress.
- Simple Ingredients: Uses pantry staples and seasonal huckleberries (or frozen if fresh aren’t available).
- Perfect for Summer Parties: Light, tangy, and refreshing—ideal for warm weather gatherings or potlucks.
- Crowd-Pleaser: Kids and adults alike ask for seconds. The balance of creamy lemon and sweet berries just works!
- Unbelievably Delicious: The crust is buttery and crisp, contrasting beautifully with the smooth, zesty cheesecake layer.
What sets this recipe apart? It’s the subtle lemon zest in the filling, which I learned from a pastry chef friend, that really lifts the flavor. Plus, instead of traditional heavy cream, I use a touch of sour cream to add that silky texture without overpowering the berries. Honestly, it’s a little twist that makes a big difference. This isn’t just another cheesecake bar recipe—it’s the kind that makes you pause, savor, and maybe even close your eyes after the first bite.
What Ingredients You Will Need
This recipe calls for straightforward ingredients that come together to create big flavor without complicated steps. Most are pantry staples, with the star being fresh (or frozen) huckleberries that add that signature burst of tart sweetness.
- For the Crust:
- 1 ¾ cups (200 g) graham cracker crumbs (I like using Honey Maid for a nice sweetness)
- 6 tablespoons (85 g) unsalted butter, melted (adds richness and helps bind)
- 2 tablespoons granulated sugar (balances the tartness)
- For the Cheesecake Filling:
- 16 oz (450 g) cream cheese, softened (full-fat for best creaminess)
- ½ cup (100 g) granulated sugar
- 2 large eggs, room temperature
- 1 teaspoon pure vanilla extract
- 1 teaspoon lemon zest (freshly grated for vibrant flavor)
- 2 tablespoons fresh lemon juice
- ¼ cup (60 g) sour cream (this keeps the filling smooth and tangy)
- 1 cup (150 g) fresh or frozen huckleberries (if frozen, thaw and drain excess liquid)
- Optional Topping:
- Powdered sugar for dusting
- Extra huckleberries and lemon slices for garnish
If you don’t have huckleberries handy, blueberries make a fine substitute. For a gluten-free option, try almond flour in place of graham cracker crumbs—you’ll love the nutty twist. When picking cream cheese, I recommend brands like Philadelphia for consistent texture, but honestly, any good-quality block will work.
Equipment Needed
- 9×9-inch (23×23 cm) baking pan – I prefer glass pans because they bake evenly, but metal works too
- Mixing bowls – at least two (one for crust, one for filling)
- Electric mixer or stand mixer – for smooth, lump-free cheesecake filling
- Measuring cups and spoons – accuracy matters here!
- Rubber spatula – great for scraping down the bowl and folding in berries gently
- Zester or microplane – for fresh lemon zest
- Wire rack – for cooling the bars evenly
If you don’t own a stand mixer, a handheld electric mixer is just fine. My first batches were made with a trusty hand mixer, and they turned out just as good. Just be sure to soften your cream cheese well to avoid lumps. For zesting lemons, a fine microplane works best to get just the outer peel without the bitter pith.
Preparation Method
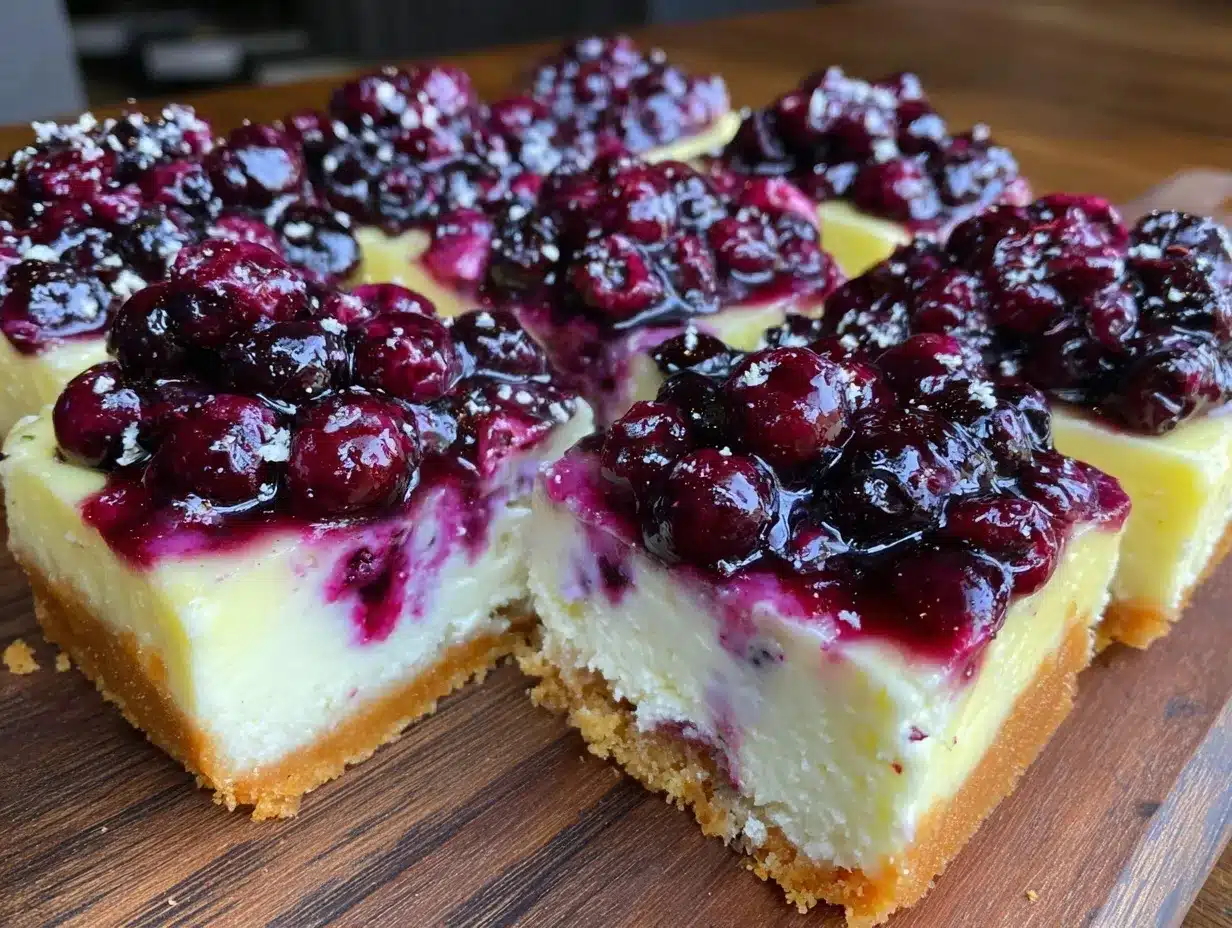
- Preheat your oven to 325°F (160°C). Line your 9×9-inch pan with parchment paper, leaving an overhang on two sides for easy removal later.
- Make the crust: In a medium bowl, combine 1 ¾ cups graham cracker crumbs, 6 tablespoons melted butter, and 2 tablespoons sugar. Stir until the mixture resembles wet sand.
- Press the crust firmly and evenly into the bottom of your prepared pan. I like to use the bottom of a glass to pack it down tightly.
- Bake the crust for 10 minutes, then remove from oven and let cool slightly while preparing the filling.
- Prepare the filling: In a large bowl, beat 16 oz softened cream cheese with ½ cup sugar until smooth and creamy—this usually takes about 2-3 minutes on medium speed.
- Add eggs one at a time, beating well after each addition. This keeps the texture silky and prevents curdling.
- Mix in 1 teaspoon vanilla extract, 1 teaspoon lemon zest, 2 tablespoons lemon juice, and ¼ cup sour cream. Beat until just combined. Don’t overmix here; you want air incorporated but no bubbles.
- Gently fold in the huckleberries using a rubber spatula. Be careful not to break them up too much; you want pretty bursts of berry in each bite.
- Pour the filling over the slightly cooled crust and smooth the top.
- Bake for 35-40 minutes, or until the edges are set but the center still jiggles slightly when you gently shake the pan.
- Turn off the oven, crack the door open, and let the bars cool inside for 30 minutes. This helps prevent cracking.
- Remove from oven and transfer to a wire rack. Chill for at least 4 hours, preferably overnight, before slicing.
- Use the parchment overhang to lift the bars from the pan. Dust with powdered sugar and garnish with extra huckleberries and lemon slices if you like.
Pro tip: If your cream cheese isn’t softened enough, you’ll see lumps in your filling. Patience here pays off! Also, keep your oven temperature steady—too hot and the bars might crack or brown unevenly. I learned this the hard way when my oven decided to overheat during a family barbecue.
Cooking Tips & Techniques
For the creamiest cheesecake bars, always start with room temperature cream cheese and eggs. Cold ingredients can cause a lumpy batter, and no one wants that texture.
When mixing, beat the cream cheese and sugar first until smooth before adding eggs. This little step helps prevent curdling and creates a velvety base.
Folding in the huckleberries rather than mixing vigorously keeps the fruit intact, giving you those delightful pockets of berry flavor. I’ve accidentally pulverized berries before—I’m sure you know that sad feeling when your beautiful purple streaks turn into a sad smear.
Don’t skip the cooling step in the oven. Sudden temperature changes can cause cheesecake to crack. Leaving the door cracked for 30 minutes lets the dessert cool gently.
And finally, chilling overnight is worth the wait; the flavors meld and texture firms up perfectly.
Variations & Adaptations
- Flavor Twist: Swap lemon zest and juice for orange or lime for a different citrus note. Orange zest pairs beautifully with huckleberries.
- Dietary Adaptation: Use a gluten-free graham cracker or almond flour crust to make this gluten-free. For dairy-free, try vegan cream cheese and coconut yogurt, though texture will vary.
- Seasonal Swap: Replace huckleberries with fresh raspberries or blackberries in late summer. Frozen berries work year-round but thaw and drain well.
Personally, I once tried adding a teaspoon of lavender to the crust—unexpected but quite lovely for a garden party. If you’re feeling adventurous, a drizzle of honey or a few chopped nuts on top adds crunch and sweetness.
Serving & Storage Suggestions
These cheesecake bars are best served chilled or slightly chilled, straight from the fridge. The lemon and huckleberry flavors really shine with that cool freshness.
They pair wonderfully with a cup of iced tea or a sparkling lemonade for summer events. If you want to dress them up for a party, a dollop of whipped cream or a scoop of vanilla ice cream on the side never hurts.
Store leftovers in an airtight container in the refrigerator for up to 4 days. They also freeze well: wrap tightly and freeze for up to 2 months. Thaw overnight in the fridge before serving.
Fun fact: the flavors actually deepen after a day or two, so these bars get better as they rest—if you can resist eating them right away!
Nutritional Information & Benefits
Each bar contains approximately 220 calories, 14 grams of fat, 18 grams of carbohydrates, and 3 grams of protein, making it a balanced indulgence.
Huckleberries, like blueberries, are rich in antioxidants and vitamin C, which support immune health. Lemon juice adds a refreshing dose of vitamin C and natural detoxifying properties.
This recipe is naturally gluten-containing unless you swap the crust, but it’s low in added preservatives and free from artificial ingredients. Perfect for those who want a real homemade treat without junk.
From a wellness perspective, I find this recipe strikes a nice balance—it satisfies sweet cravings without feeling heavy or overly rich.
Conclusion
Whether you’re after a dessert to impress at a summer party or just craving something bright and creamy, these Perfect Huckleberry Lemon Cheesecake Bars deliver every time. With their simple ingredients and straightforward method, they’re accessible for any home cook, yet special enough to make you feel like a dessert pro.
Honest to goodness, I keep coming back to this recipe because it never fails to bring smiles around the table—and that, to me, is what cooking is all about. Feel free to tweak the citrus or berry choice to suit your taste or season, and don’t be shy about adding your own personal touch.
If you give this recipe a try, I’d love to hear how it turns out—drop a comment below or share your adaptations. Here’s to many delicious moments ahead!
FAQs About Perfect Huckleberry Lemon Cheesecake Bars
Can I use frozen huckleberries for this recipe?
Yes! Just thaw and drain them well to avoid extra moisture in the batter, which could make the bars soggy.
How do I prevent the cheesecake bars from cracking?
Make sure to bake at a moderate temperature (325°F/160°C) and cool the bars slowly by leaving the oven door slightly open after baking.
Can I make these bars ahead of time?
Absolutely. They taste even better after chilling overnight, making them perfect for prepping a day ahead.
What’s the best way to store leftover bars?
Keep them in an airtight container in the fridge for up to 4 days or freeze for up to 2 months.
Can I substitute the graham cracker crust for something else?
Yes, a gluten-free crust or almond flour crust works well. You could also try crushed digestive biscuits or even shortbread crumbs.
Pin This Recipe!
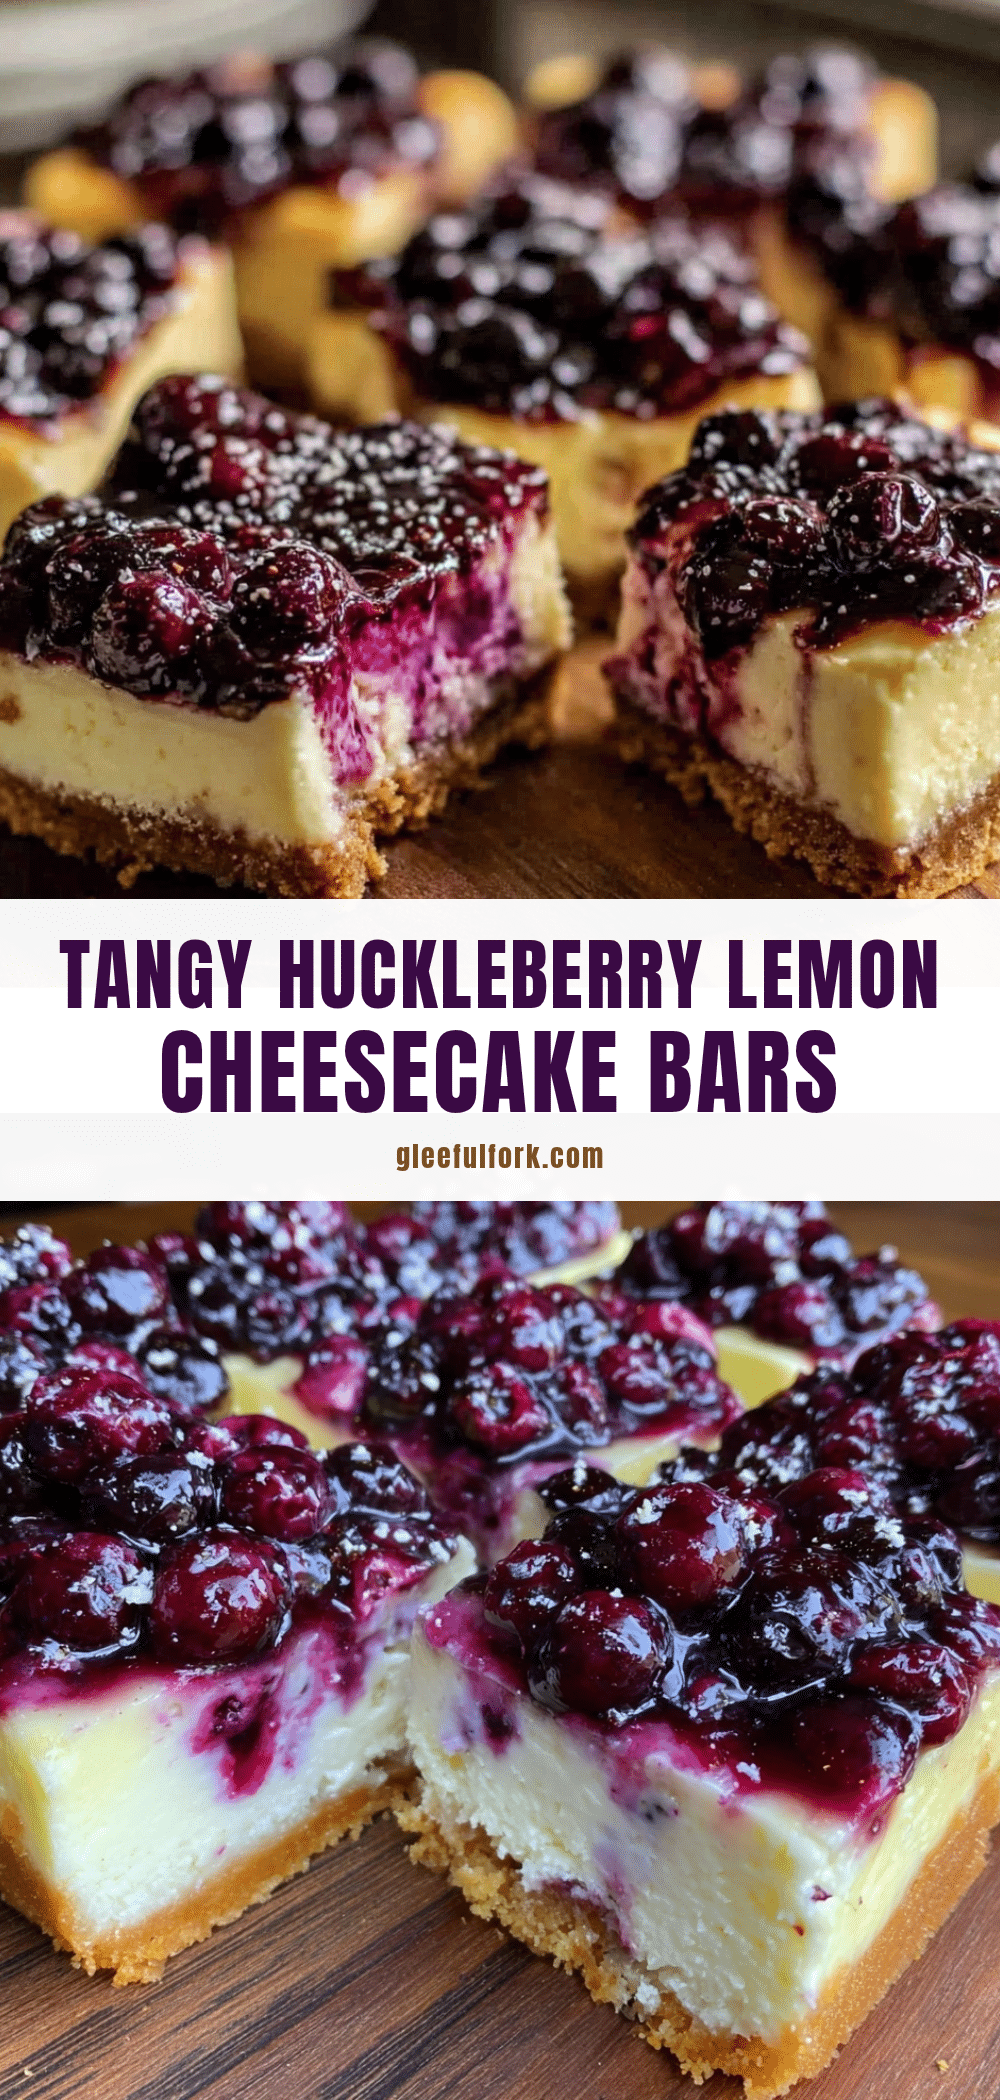
Perfect Huckleberry Lemon Cheesecake Bars

These cheesecake bars combine a buttery graham cracker crust with a creamy lemon-infused filling and bursts of fresh huckleberries, perfect for summer parties and easy to make.
- Prep Time: 15 minutes
- Cook Time: 50 minutes
- Total Time: 5 hours 5 minutes
- Yield: 16 bars 1x
- Category: Dessert
- Cuisine: American
Ingredients
- 1 ¾ cups graham cracker crumbs (about 200 g)
- 6 tablespoons unsalted butter, melted (about 85 g)
- 2 tablespoons granulated sugar
- 16 oz cream cheese, softened (full-fat)
- ½ cup granulated sugar
- 2 large eggs, room temperature
- 1 teaspoon pure vanilla extract
- 1 teaspoon lemon zest (freshly grated)
- 2 tablespoons fresh lemon juice
- ¼ cup sour cream (about 60 g)
- 1 cup fresh or frozen huckleberries (about 150 g)
- Powdered sugar for dusting (optional)
- Extra huckleberries and lemon slices for garnish (optional)
Instructions
- Preheat your oven to 325°F (160°C). Line a 9×9-inch baking pan with parchment paper, leaving an overhang on two sides for easy removal.
- In a medium bowl, combine graham cracker crumbs, melted butter, and granulated sugar. Stir until the mixture resembles wet sand.
- Press the crust firmly and evenly into the bottom of the prepared pan using the bottom of a glass to pack it down tightly.
- Bake the crust for 10 minutes, then remove from oven and let cool slightly.
- In a large bowl, beat softened cream cheese with sugar until smooth and creamy, about 2-3 minutes on medium speed.
- Add eggs one at a time, beating well after each addition to keep the texture silky.
- Mix in vanilla extract, lemon zest, lemon juice, and sour cream. Beat until just combined without overmixing.
- Gently fold in the huckleberries using a rubber spatula, being careful not to break them up.
- Pour the filling over the slightly cooled crust and smooth the top.
- Bake for 35-40 minutes, or until the edges are set but the center still jiggles slightly when shaken.
- Turn off the oven, crack the door open, and let the bars cool inside for 30 minutes to prevent cracking.
- Remove from oven and transfer to a wire rack. Chill for at least 4 hours, preferably overnight, before slicing.
- Use the parchment overhang to lift the bars from the pan. Dust with powdered sugar and garnish with extra huckleberries and lemon slices if desired.
Notes
Use room temperature cream cheese and eggs to avoid lumps. Gently fold in berries to keep them intact. Cool bars slowly in the oven with door cracked to prevent cracking. Chilling overnight improves flavor and texture. Frozen huckleberries can be used if thawed and drained well. For gluten-free, substitute crust with almond flour or gluten-free graham crackers.
Nutrition
- Serving Size: 1 bar (1/16 of recip
- Calories: 220
- Fat: 14
- Carbohydrates: 18
- Protein: 3
Keywords: huckleberry cheesecake bars, lemon cheesecake bars, summer dessert, easy cheesecake bars, berry cheesecake bars, party dessert


