Love this? Save it for later!
Share the inspiration with your friends
I figured putting together a charcuterie board was mostly about arranging things prettily on a wooden slab. It took about one overly-ambitious, structurally-collapsed tower of prosciutto roses for that assumption to fall apart completely. That first board was a mess—not in flavor, but in function. Everything slid. The cheese was too cold to spread, the crackers were buried, and the apples I’d sliced an hour ahead were already looking sad and brown.
That was a few years ago, and honestly, I’ve learned more from those wobbly piles of meat and cheese than from any perfectly-styled photo I’ve ever seen. The truth is, building a great board is less about artistry and more about strategy—knowing which textures balance each other, which ingredients need protection from air, and how to make a spread that actually feeds people without them having to dismantle it to reach the gouda.
This Perfect Fall Harvest Charcuterie Board with Honeycrisp Apples came from that place of trial and error. It’s the board I make now when the air turns crisp and the farmer’s market is overflowing with squash and late-season fruit. There’s a quiet satisfaction in watching guests pick at it naturally, no instruction needed. That’s when I knew I’d finally cracked the code.
Why You’ll Love This Recipe
This isn’t just another cheese board thrown together at the last minute. It’s a thoughtfully curated fall spread that balances sweet, savory, creamy, and crunchy in every single bite. Here’s why it works:
- Seasonal & Simple : Built around Honeycrisp apples and other fall produce, but you can find everything at any grocery store without a special trip.
- No Cooking Required : Zero stove time. Just slicing, arranging, and maybe a quick honey drizzle. Perfect for busy weekends or last-minute guests.
- Naturally Crowd-Pleasing : The combination of sharp cheddar, creamy brie, smoky meats, and sweet-tart apples hits every craving. Kids and adults both clean the board.
- Visually Stunning : The deep reds, golden yellows, and earthy greens make it the centerpiece of any fall gathering, from football watch parties to Thanksgiving appetizers.
- Endlessly Adaptable : Swap in what you have. Use pears instead of apples, try different cheeses, or go fully plant-based. The structure stays the same.
What makes this board different from every other charcuterie tutorial? It’s the little things—like tossing the apple slices in lemon juice so they stay bright, or pairing each cheese with a complementary texture so nothing feels one-note. I’ve tested this combination on picky eaters, cheese snobs, and my own tired self on a Wednesday night. It works every time.
This is the kind of board that makes you feel like you’ve got it together, even when you don’t. And honestly, that’s the best kind of recipe to have in your back pocket.
What Ingredients You Will Need
This recipe uses simple, wholesome ingredients that lean into fall flavors without overcomplicating things. Most of these are pantry staples or easy to find at any grocery store. Here’s what you’ll need and why each one matters.
- Honeycrisp apples (2 large) : The star of the show. Their crisp texture and balanced sweet-tart flavor hold up beautifully on a board. Slice them thin but not paper-thin, and toss in a little lemon juice to prevent browning.
- Sharp white cheddar (8 oz) : I prefer a block you slice yourself—it looks rustic and tastes fresher. The sharpness cuts through the richness of the meats and nuts.
- Brie or triple-cream cheese (8 oz) : Bring this to room temperature before serving. It gets lusciously spreadable and pairs perfectly with the apples and a drizzle of honey.
- Goat cheese log (4 oz) : Adds a tangy, creamy element that balances the sweetness of dried fruit and honey. Roll it in crushed pecans for extra fall flair.
- Prosciutto (4 oz, thinly sliced) : Salty, delicate, and easy to drape in ribbons. It’s the savory anchor of the board.
- Sopressata or genoa salami (4 oz) : Heartier than prosciutto, with a firmer bite. Fold these into small piles or cut into thin strips.
- Honey (for drizzling) : A warm, floral sweetness that ties everything together. I like a local wildflower honey or a mild orange blossom.
- Whole grain mustard (2 tbsp) : A little tangy and a little spicy. It cuts through the richness and brightens every bite.
- Roasted salted almonds (1/2 cup) : Crunchy, savory, and easy to grab by the handful.
- Candied pecans (1/2 cup) : Sweet and spiced—these are the treat everyone picks at first. You can buy them or make your own with a quick stovetop glaze.
- Dried figs or dates (1/2 cup) : Chewy, sweet, and slightly caramel-like. They add a sticky sweetness that contrasts the salty meats.
- Fresh grapes (1 cup, red or green) : A pop of juicy freshness. They also add a beautiful deep purple color to the board.
- Crackers and crostini (about 8 oz total) : Go for a mix—some buttery, some seedy, some plain. Water crackers, rosemary crackers, and thin baguette slices work well.
- Fresh rosemary or thyme sprigs : For garnish, not flavor. They make the board look intentional and seasonal.
Ingredient notes: I recommend using a block of cheddar from a quality brand like Cabot or Beecher’s for the best texture. For the brie, look for one that feels slightly soft when pressed at the store—it’s closer to room temperature ripeness. If you can’t find Honeycrisp apples, Fuji or Pink Lady work well as substitutes.
Equipment Needed
You don’t need much for this board, and I’ve learned the hard way that fancy tools aren’t the secret. Here’s what actually helps:
- Large wooden board or serving platter (at least 16 inches) : A cutting board works fine. I use a round acacia wood board, but any flat surface will do. In a pinch, a large baking sheet lined with parchment looks surprisingly good.
- Small bowls or ramekins (2-3) : For the honey, mustard, and any loose items like nuts or figs. This keeps things contained and prevents honey from soaking into the crackers.
- Sharp chef’s knife : A dull knife will crush your apples and tear your cheese. A good sharp blade makes clean slices and keeps everything looking neat.
- Cheese knife or small spreader : Not required, but nice for the brie and goat cheese. A butter knife works in a pinch.
- Cutting board for prep : Keep your main board clean until you’re ready to arrange. Prep everything on a separate surface.
- Tongs or small spoons : For serving. Guests appreciate not using their fingers for everything, especially the sticky stuff.
Budget tip: Don’t run out and buy a fancy charcuterie board. A clean wooden cutting board or even a large ceramic platter does the job. I used a thrifted cheese board for years before upgrading.
Preparation Method
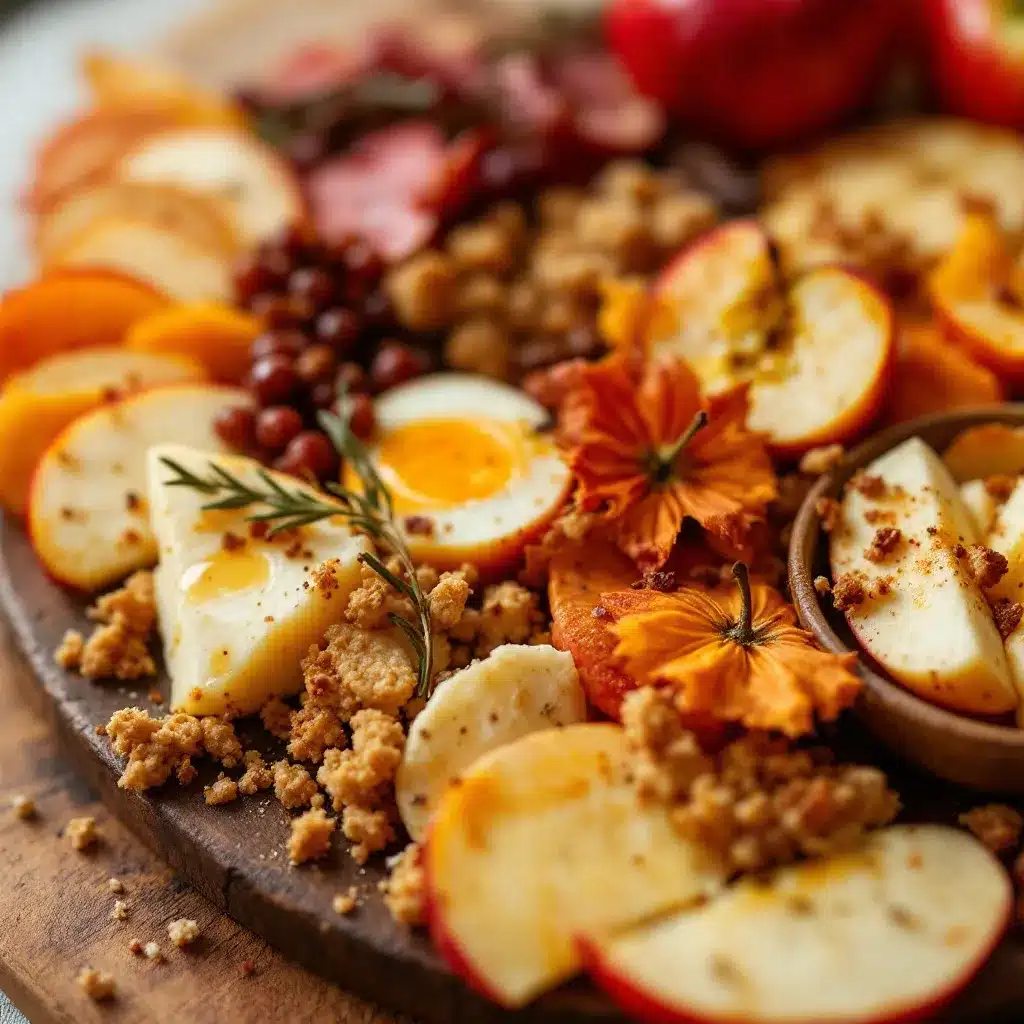
This is where the magic happens. Take your time, but don’t overthink it—the board should feel abundant, not perfect. Here’s how I build mine step by step.
- Prep the apples (5 minutes) : Core the apples and slice them into thin wedges, about 1/4 inch thick. Toss them in a bowl with 1 tablespoon of fresh lemon juice to prevent browning. Set aside.
- Bring cheese to room temperature (30 minutes before serving) : Take the brie and goat cheese out of the fridge about half an hour before you start assembling. Cold cheese doesn’t spread well, and the flavor is muted. Trust me on this one—I’ve served cold brie and watched everyone struggle.
- Slice the cheddar (2 minutes) : Cut the sharp cheddar into thin triangles or small cubes. Aim for bite-sized pieces that are easy to pick up with a cracker. I like leaving the rind on for visual contrast.
- Prepare the meats (3 minutes) : Lay out the prosciutto slices and gently fold each one into a loose ribbon or rosette. For the sopressata, fold each slice in half, then in half again, and arrange them in small piles. Don’t worry about perfection—rustic looks better.
- Set up the bowls (2 minutes) : Place your small bowls on the board first. Fill one with honey, one with whole grain mustard, and one with the candied pecans or dried figs. This anchors the board and gives you natural landing spots.
- Place the cheeses (2 minutes) : Position the brie, goat cheese, and cheddar in different spots around the board. Space them out so guests don’t have to reach across the whole board for cheese. I put the brie near the honey and the goat cheese near the almonds.
- Add the meats (3 minutes) : Arrange the prosciutto ribbons and sopressata piles around the cheeses. Don’t cluster them all in one spot—spread them out so every section of the board has something savory.
- Fill in with fruits and nuts (4 minutes) : Scatter the apple slices, grapes, almonds, and dried figs in the gaps between the cheeses and meats. Let some apples overlap with the prosciutto and some grapes nestle near the brie. This creates visual flow and makes it easy to grab combinations.
- Add crackers and crostini (3 minutes) : Fan out the crackers and baguette slices around the edges of the board. Don’t pile them—lay them flat so guests can see what’s available. I like to group similar crackers together for a cleaner look.
- Drizzle and garnish (2 minutes) : Drizzle a little honey over the brie and the goat cheese. Sprinkle fresh rosemary or thyme sprigs around the board for color. Step back and look—if there are any bare spots, fill them with a few extra almonds or a cracker or two.
- Serve immediately or cover and refrigerate : If you’re not serving right away, cover the board loosely with plastic wrap and refrigerate. Take it out 15 minutes before serving to let the cheese soften again. The apples are best added just before serving to keep them crisp.
Visual cue: The board should look abundant but not crowded. You should be able to see the board surface in a few places—it’s a grazing board, not a packed casserole. If you can’t see any wood, you might have overdone it, but honestly, that’s a good problem to have.
Cooking Tips & Techniques
I’ve made about a dozen of these boards, and I’ve messed up plenty. Here’s what I’ve learned so you don’t have to repeat my mistakes.
Don’t slice the apples too early. They oxidize fast, even with lemon juice. Slice them no more than 30 minutes before serving. If you need to prep ahead, keep the whole apples whole and slice right before guests arrive. I learned this the hard way when I made a board for a party and the apples looked like rusty pennies by the time everyone showed up.
Bring the brie to room temperature. I cannot stress this enough. Cold brie is rubbery and flavorless. Let it sit out for at least 30 minutes. If you forget, pop it in the microwave for 10 seconds on low power—it’s not ideal, but it works in a pinch.
Use a mix of textures. A good board has something crunchy (nuts, crackers), something creamy (brie, goat cheese), something chewy (dried figs), and something fresh (apples, grapes). If everything is soft or everything is hard, the board feels flat. I aim for at least three different textures in every bite.
Fold the prosciutto loosely. Don’t roll it into tight tubes—it looks stiff and is hard to grab. A loose ribbon or a gentle fold lets guests pull off a piece without tearing the whole thing apart. It also looks more natural and inviting.
Balance the salt. Prosciutto and sopressata are salty. Sharp cheddar is salty. Almonds are salty. If you add too many salty elements without something sweet or acidic to balance them, the board feels heavy. That’s where the honey, dried figs, and apples come in—they’re not just decoration, they’re functional flavor balancers.
Timing is everything. I prep the cheese, meats, and nuts first, then add the apples and grapes last. This way, the fresh stuff stays crisp and the board looks its best when it hits the table. If you’re making this for a party, do steps 1-8 ahead of time, then add the fresh fruit and crackers right before serving.
Variations & Adaptations
This board is incredibly flexible. Here are a few ways I’ve adapted it for different diets, seasons, and cravings.
- Dairy-Free Version : Swap the brie and goat cheese for a good plant-based cheese alternative. Miyoko’s makes a fantastic cashew-based brie that spreads beautifully. Use a nut-based cheddar-style cheese or skip the cheese altogether and double up on the meats and nuts. The apples and honey still shine.
- Vegan Option : Omit all cheeses and meats. Load up on roasted chickpeas, marinated artichoke hearts, olives, hummus, and a big pile of fresh fruit. The Honeycrisp apples are naturally vegan and pair wonderfully with a drizzle of maple syrup instead of honey. Add some spiced pumpkin seeds for crunch.
- Gluten-Free Adaptation : Use gluten-free crackers or skip the crackers entirely and use apple slices as the base. The Honeycrisp apples are sturdy enough to hold a smear of brie or a piece of prosciutto. I’ve done this for a gluten-sensitive friend and it was a hit.
- Seasonal Twist : In late summer, swap the apples for ripe pears and add fresh figs. In winter, add pomegranate seeds and a sprinkle of cinnamon. In spring, use strawberries and a drizzle of balsamic glaze. The structure stays the same—just swap the seasonal fruit.
- Spicy Kick : Add a small bowl of spicy honey or a sprinkle of red pepper flakes over the goat cheese. The heat plays beautifully with the sweet apples and salty prosciutto. I tried this on a whim and now it’s my go-to for game day boards.
Personal variation: I once made this board for a Friendsgiving and added a small bowl of homemade huckleberry syrup I had leftover from a pancake experiment. It was incredible—tangy, sweet, and completely unexpected. Sometimes the best variations come from using what you already have in the fridge.
Serving & Storage Suggestions
This board is best served at room temperature, so let it sit out for about 15 minutes after assembling. The cheese softens, the honey flows, and everything feels more inviting.
Serving temperature: Serve the brie and goat cheese at room temperature for the best texture. The cheddar can be slightly cooler, but not straight from the fridge. The apples should be cold and crisp—they contrast nicely with the creamy cheeses.
Presentation: Place the board in the center of the table so everyone can reach it. I like to put out small plates and napkins, plus a few extra small bowls for discarded stems or pits. A little sign with the cheese names is a nice touch for parties, but totally optional.
What to serve alongside: This board pairs beautifully with a crisp white wine like Sauvignon Blanc or a dry rosé. For a non-alcoholic option, try a sparkling apple cider or a blueberry lavender lemonade—the floral notes complement the honey and apples. I’ve also served it alongside a simple green salad with a tangy vinaigrette to cut through the richness.
Storage: If you have leftovers (which is rare in my house), separate the components and store them in airtight containers. Cheese keeps for up to a week in the fridge. Meats last 3-4 days. Apples and grapes should be eaten within 2 days—they get soft quickly. The crackers can be stored in a ziplock bag at room temperature.
Reheating: You don’t reheat a charcuterie board, but if the brie has been refrigerated, let it come to room temperature before serving again. The honey can be gently warmed in the microwave for 10 seconds if it crystallizes.
Flavor development: The cheese and meats actually taste better after a day in the fridge—the flavors meld and deepen. The fresh fruit, unfortunately, does not. So if you’re prepping ahead, assemble everything except the apples and grapes, then add those right before serving.
Nutritional Information & Benefits
This board is more of a grazing experience than a structured meal, so nutritional values vary based on how much you eat. Here’s a rough estimate for a moderate serving (about 1/6 of the board):
- Calories: 380-450
- Protein: 18-22g
- Fat: 24-30g
- Carbohydrates: 28-35g
- Fiber: 4-6g
- Sugar: 16-20g (mostly from apples, honey, and dried figs)
Health benefits: Honeycrisp apples are packed with fiber and vitamin C, and they’re one of the most antioxidant-rich apple varieties. The almonds and pecans provide healthy fats and vitamin E. The cheeses offer calcium and protein. Even the prosciutto has a surprising amount of iron. This board is actually a pretty balanced snack—protein, fat, carbs, and fiber all in one place.
Dietary considerations: This recipe is naturally gluten-free if you use gluten-free crackers. It’s not dairy-free or vegan, but both adaptations are listed in the variations section. The main allergens are dairy (cheese), tree nuts (almonds, pecans), and gluten (crackers).
Personal perspective: I don’t stress about the numbers on a board like this. It’s meant to be shared, grazed on, and enjoyed without guilt. The apples and nuts bring real nutritional value, and the rest is about pleasure. That’s a balance I can get behind.
Conclusion
This Perfect Fall Harvest Charcuterie Board with Honeycrisp Apples is the kind of recipe that makes hosting feel effortless. It’s forgiving, flexible, and always impressive—even when I’m rushing to throw it together before guests arrive. The combination of sweet apples, creamy brie, salty prosciutto, and crunchy pecans hits every note, and the board itself becomes the centerpiece of any fall gathering.
I love this board because it doesn’t require perfection. You can swap in whatever cheese you have, use a different nut, or skip the honey altogether. It still works. It still looks beautiful. And it still makes people happy.
If you make this board, I’d love to hear how it turns out. Did you add something unexpected? Did the apples disappear first (they always do at my house)? Drop a comment below and let me know—I read every single one. And if you’re looking for another easy appetizer for your next gathering, you might enjoy these brie and fig jam crostini or this cowboy caviar for a different kind of crowd-pleaser.
Happy grazing, friends. Fall is short—make the most of it with good food and good company.
Frequently Asked Questions
How far in advance can I make this charcuterie board?
You can prep most of the components up to 24 hours in advance. Slice the cheese, fold the meats, and portion out the nuts and dried fruit. Store everything separately in airtight containers in the fridge. Add the fresh apples and grapes no more than 30 minutes before serving to keep them crisp and bright.
What if I don’t have a wooden board?
No problem at all. A large ceramic platter, a marble slab, or even a clean baking sheet lined with parchment paper works beautifully. The key is having enough surface area to spread everything out. I’ve used a rectangular cutting board more times than I can count.
Can I make this board for a crowd?
Absolutely. Just double or triple the quantities and use a larger board or multiple boards. If you’re serving more than 10 people, I recommend making two smaller boards rather than one giant one—it’s easier for guests to reach and keeps the food looking fresh longer.
What’s the best way to keep apple slices from turning brown?
Toss them in a bowl with a tablespoon of fresh lemon juice or a splash of pineapple juice. The acid slows down oxidation. You can also use a commercial produce protector like Fruit-Fresh, but lemon juice works perfectly and adds a subtle brightness that complements the apples.
Can I use a different type of apple?
Yes, but Honeycrisp is my top pick for its crunch and balanced sweet-tart flavor. Fuji, Pink Lady, or Granny Smith are great alternatives. Avoid mealy varieties like Red Delicious—they’ll get soft and won’t hold up well on the board.
Pin This Recipe!
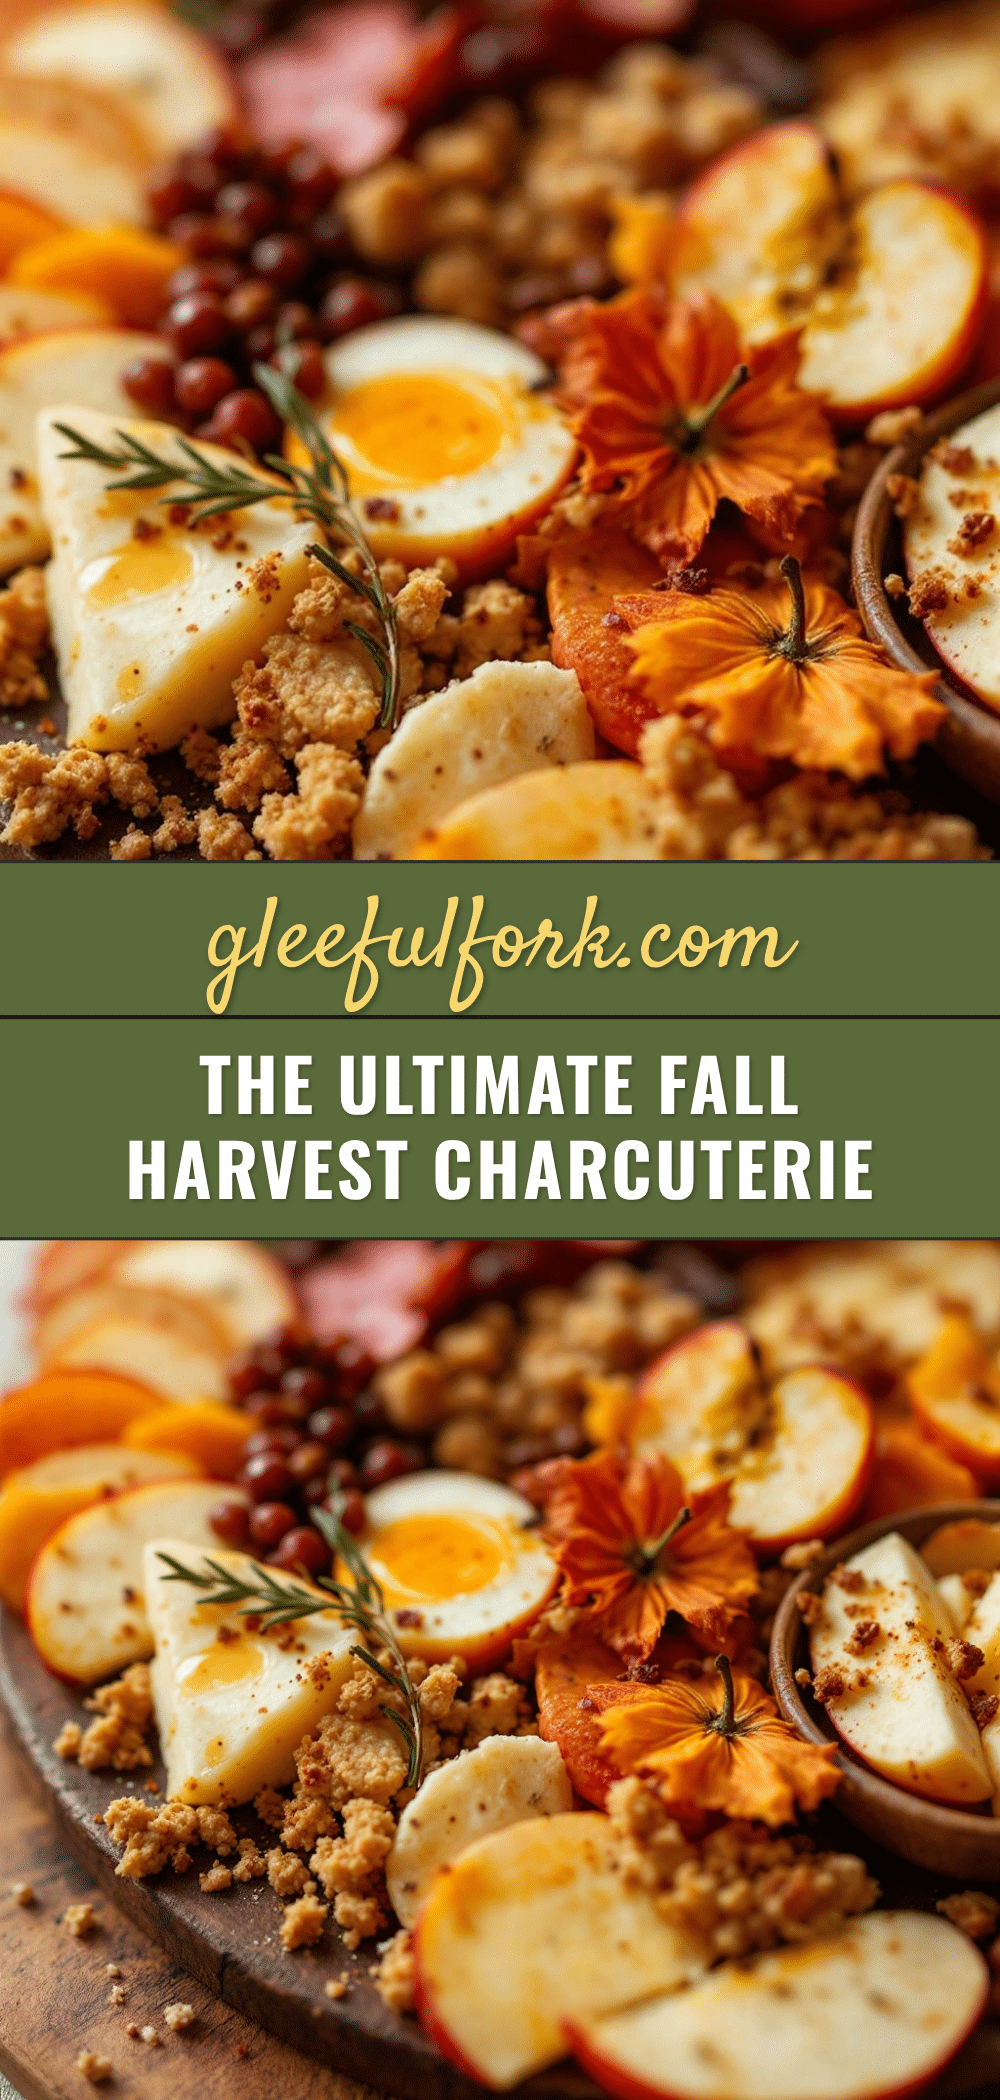
Perfect Fall Harvest Charcuterie Board With Honeycrisp Apples
A thoughtfully curated fall charcuterie board that balances sweet, savory, creamy, and crunchy elements. Built around Honeycrisp apples and seasonal produce, this no-cook appetizer is perfect for fall gatherings and requires only slicing and arranging.
- Prep Time: 30 minutes
- Cook Time: 0 minutes
- Total Time: 30 minutes
- Yield: 6 servings 1x
- Category: Appetizer
- Cuisine: American
Ingredients
- 2 large Honeycrisp apples
- 8 oz sharp white cheddar (block)
- 8 oz brie or triple-cream cheese
- 4 oz goat cheese log
- 4 oz prosciutto, thinly sliced
- 4 oz sopressata or genoa salami
- Honey, for drizzling
- 2 tbsp whole grain mustard
- 1/2 cup roasted salted almonds
- 1/2 cup candied pecans
- 1/2 cup dried figs or dates
- 1 cup fresh grapes (red or green)
- 8 oz crackers and crostini (mix of buttery, seedy, and plain)
- Fresh rosemary or thyme sprigs for garnish
- 1 tbsp fresh lemon juice (for apples)
Instructions
- Prep the apples: Core the apples and slice them into thin wedges, about 1/4 inch thick. Toss them in a bowl with 1 tablespoon of fresh lemon juice to prevent browning. Set aside.
- Bring cheese to room temperature: Take the brie and goat cheese out of the fridge about 30 minutes before serving.
- Slice the cheddar: Cut the sharp cheddar into thin triangles or small cubes, leaving the rind on for visual contrast.
- Prepare the meats: Lay out the prosciutto slices and gently fold each one into a loose ribbon or rosette. For the sopressata, fold each slice in half, then in half again, and arrange them in small piles.
- Set up the bowls: Place small bowls on the board first. Fill one with honey, one with whole grain mustard, and one with the candied pecans or dried figs.
- Place the cheeses: Position the brie, goat cheese, and cheddar in different spots around the board, spacing them out.
- Add the meats: Arrange the prosciutto ribbons and sopressata piles around the cheeses, spreading them out so every section has something savory.
- Fill in with fruits and nuts: Scatter the apple slices, grapes, almonds, and dried figs in the gaps between the cheeses and meats.
- Add crackers and crostini: Fan out the crackers and baguette slices around the edges of the board, laying them flat.
- Drizzle and garnish: Drizzle a little honey over the brie and goat cheese. Sprinkle fresh rosemary or thyme sprigs around the board for color. Fill any bare spots with extra almonds or crackers.
- Serve immediately or cover and refrigerate: If not serving right away, cover loosely with plastic wrap and refrigerate. Take out 15 minutes before serving. Add apples just before serving.
Notes
Don’t slice apples too early—they oxidize fast even with lemon juice. Slice no more than 30 minutes before serving. Bring brie to room temperature for best texture. Use a mix of textures: crunchy (nuts, crackers), creamy (brie, goat cheese), chewy (dried figs), and fresh (apples, grapes). Fold prosciutto loosely, not into tight tubes. Balance salt with sweet elements like honey and dried figs. Prep cheese, meats, and nuts first; add fresh fruit and crackers last.
Nutrition
- Serving Size: 1/6 of board
- Calories: 380450
- Sugar: 1620
- Sodium: 600800
- Fat: 2430
- Saturated Fat: 1014
- Carbohydrates: 2835
- Fiber: 46
- Protein: 1822
Keywords: charcuterie board, fall charcuterie, Honeycrisp apple appetizer, cheese board, no-cook appetizer, party platter, Thanksgiving appetizer


