Love this? Save it for later!
Share the inspiration with your friends
The pumpkin was sitting on my counter for a week—a sad, forgotten can of puree I bought on a whim in early October. Then there were the bananas, three of them, going brown and spotty on the windowsill. My husband looked at me and said, “You’re going to make something with those, right?” I wasn’t planning on baking that Tuesday afternoon. But the air was getting cooler, and honestly, the kitchen felt empty. So I dumped the pumpkin into a bowl, mashed those bananas with a fork (they practically fell apart), and started pulling flour and sugar from the pantry. I grabbed a handful of walnuts from the freezer, the kind you forget about until they’re the last thing saving a recipe from being boring. And that’s how this moist pumpkin banana walnut bread came together—not from a grand plan, but from a counter full of things that needed using.
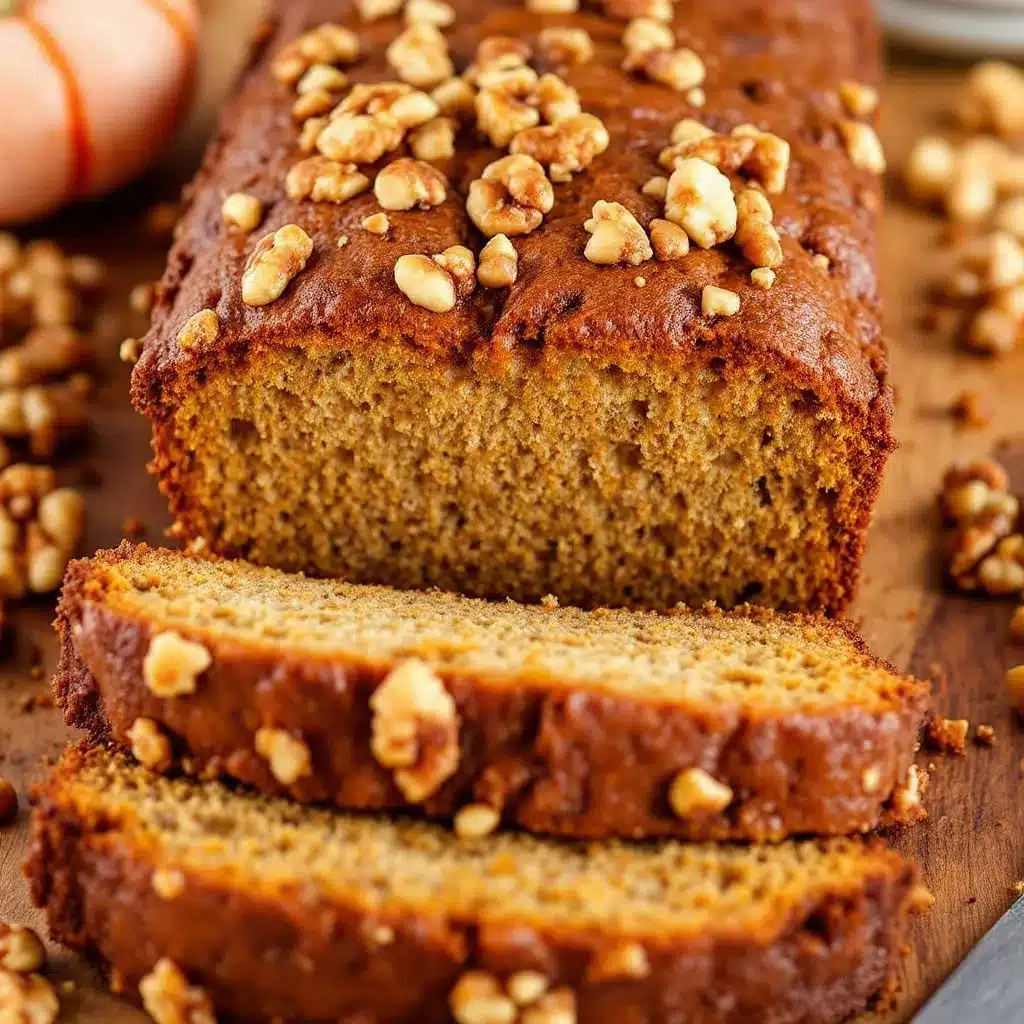
The first loaf came out of the oven and the whole house smelled like autumn in a way that surprised me. It wasn’t just sweet; it was warm and nutty and faintly spiced. I cut a slice while it was still steaming, and the texture was exactly what I wanted—dense but tender, not dry at all. The bananas gave it that soft crumb, and the pumpkin kept everything moist without making it taste like a vegetable. I stood there eating it over the sink, which is how you know something is really good.
This moist pumpkin banana walnut bread isn’t fancy. It’s the kind of thing you make when you have a little bit of this and a little bit of that, and you just trust that it’ll work. And it does. Every time.
Why You’ll Love This Recipe
Look, I’ve tested a lot of quick breads over the years. Some come out too dry, some are too dense, and some just taste like you’re eating a spice jar. This one hits different. Here’s why I keep coming back to it:
- One Bowl, No Fuss: You don’t need a mixer or any fancy equipment. Just a bowl, a whisk, and a spatula. The batter comes together in about ten minutes flat.
- Uses Up What You Have: Got a can of pumpkin hiding in the back of the cabinet? Bananas turning brown? This recipe is basically a rescue mission for those forgotten ingredients.
- Perfectly Moist Every Time: The combination of pumpkin and banana creates a texture that’s soft and tender without being gummy. I’ve made this loaf six times now, and it’s never been dry.
- Not Too Sweet: This bread leans more toward cozy breakfast territory than dessert. You can taste the pumpkin and banana, not just sugar.
- Freezes Beautifully: I always make two loaves now. One for now, one for later. It thaws perfectly and tastes just as fresh.
What really sets this recipe apart is the walnuts. I know some people skip nuts in quick breads, but trust me—the crunch against that soft crumb is everything. Toast them first if you have an extra five minutes. It makes a difference.
What Ingredients You Will Need
This recipe uses simple, everyday ingredients that you probably already have in your kitchen. Nothing weird, nothing hard to find. Just good, honest staples that work together beautifully.
- All-purpose flour (2 cups / 240g): The backbone of the bread. Spoon and level it into your measuring cup—don’t scoop directly or you’ll pack in too much flour and end up with a dry loaf.
- Baking soda (1 teaspoon): Helps the bread rise and gives it a nice, open crumb. Make sure yours isn’t expired—it matters.
- Baking powder (1/2 teaspoon): Adds a little extra lift alongside the baking soda.
- Salt (1/2 teaspoon): Don’t skip it. Salt balances the sweetness and brings out the warm spices.
- Ground cinnamon (2 teaspoons): The star spice here. I use Saigon cinnamon when I have it—it’s stronger and a little sweeter.
- Ground nutmeg (1/2 teaspoon): Freshly grated if you can. It makes a noticeable difference in flavor.
- Ground ginger (1/2 teaspoon): Adds a little warmth without being overpowering.
- Ground cloves (1/4 teaspoon): Just a pinch. Cloves are strong, so go easy.
- Granulated sugar (3/4 cup / 150g): Provides sweetness and helps with browning. You can reduce it to 1/2 cup if you prefer a less sweet loaf.
- Brown sugar (1/2 cup / 100g), packed: Adds moisture and a deeper, molasses-like sweetness. Light or dark both work, but dark gives a richer flavor.
- Pumpkin puree (1 cup / 245g): Not pumpkin pie filling—make sure you grab the plain stuff. Libby’s is my go-to brand for consistent texture.
- Ripe bananas (3 medium, about 1 cup mashed): The riper the better. Those spotty, almost-black bananas are perfect. They mash easier and add more natural sweetness.
- Large eggs (2): Room temperature if you remember to set them out. If not, place them in a bowl of warm water for five minutes.
- Vegetable oil (1/2 cup / 120ml): Keeps the bread tender and moist. Canola or avocado oil both work. Melted coconut oil is fine too, just make sure it’s cooled slightly.
- Vanilla extract (1 teaspoon): Pure vanilla if you have it, imitation in a pinch. I’ve used both and honestly, in this recipe, the difference is subtle.
- Walnuts (1 cup / 120g), roughly chopped: I toast mine in a dry skillet for about 3 minutes until they smell nutty. It’s optional but highly recommended.
Equipment Needed
You don’t need a lot of fancy tools for this recipe. Here’s what I use every time:
- 9×5-inch loaf pan: The standard size. If you use an 8×4, you’ll need to bake it a little longer. I’ve done both and prefer the 9×5 for a taller, more even loaf.
- Large mixing bowl: For combining your dry ingredients first, then adding the wet.
- Medium bowl: For mashing the bananas. I use a fork, but a potato masher works too.
- Whisk: For mixing the dry ingredients and smoothing out the batter.
- Spatula: A rubber or silicone one for folding in the walnuts and scraping every last bit of batter into the pan.
- Parchment paper: I line my loaf pan with a sling of parchment paper. It makes lifting the bread out so much easier, and cleanup is a breeze.
- Cooling rack: Essential for even cooling. Don’t skip this or the bottom of your bread will get soggy.
If you don’t have a loaf pan, you can bake this in a 9×9 square pan and just reduce the baking time. Check it at 35 minutes.
Preparation Method
- Preheat your oven to 350°F (175°C). Position the rack in the center of the oven. While it’s heating, line your loaf pan with parchment paper, leaving a couple inches overhang on the long sides. This creates handles for lifting the bread out later.
- Toast the walnuts (if you’re doing it). Spread them on a baking sheet and pop them in the oven for about 5 minutes while it’s preheating. Keep an eye on them—they go from toasted to burnt fast. Let them cool completely before folding into the batter.
- Mash the bananas in a medium bowl. I like to leave a few small chunks for texture, but you can mash them completely smooth if you prefer. Set them aside.
- Whisk the dry ingredients together in your large bowl. That’s the flour, baking soda, baking powder, salt, and all the spices—cinnamon, nutmeg, ginger, and cloves. Give them a good whisk for about 15 seconds to make sure everything is evenly distributed.
- Mix the sugars and wet ingredients in a separate bowl. Whisk the granulated sugar and brown sugar together first to break up any clumps. Then add the pumpkin puree, mashed bananas, eggs, oil, and vanilla extract. Whisk until everything is smooth and well combined. The mixture will be thick and a little glossy.
- Pour the wet mixture into the dry ingredients. Use a spatula to fold everything together gently. Stir just until you don’t see any more streaks of flour. Overmixing will make the bread tough, so stop as soon as it comes together. A few lumps are totally fine.
- Fold in the walnuts. Reserve about two tablespoons to sprinkle on top if you want a pretty finish. Gently fold the rest into the batter with your spatula. Don’t overdo it—just a few turns.
- Scrape the batter into the prepared loaf pan. Spread it evenly with the spatula. If you saved some walnuts, sprinkle them over the top now and press them in gently so they stick.
- Bake for 55 to 65 minutes. Start checking at the 50-minute mark. The bread is done when a toothpick inserted into the center comes out clean or with just a few moist crumbs. The top should be golden brown and cracked in that beautiful way quick breads do.
- Cool in the pan for 15 minutes. Then use the parchment sling to lift the bread out and transfer it to a wire rack. Let it cool completely before slicing—I know it’s hard, but if you cut it too soon, it’ll crumble and fall apart. Patience pays off here.
Sensory cue: When it’s done, the kitchen will smell like cinnamon and toasted nuts. The top should spring back slightly when you press it, and the edges will have pulled away from the pan just a little.
Cooking Tips & Techniques
I’ve made this bread enough times to know where things can go wrong. Here are the lessons I learned the hard way so you don’t have to:
Don’t overmix the batter. This is the number one mistake people make with quick breads. Once you add the wet ingredients to the dry, stir gently and stop as soon as it’s combined. Overmixing develops gluten, and that leads to a tough, rubbery loaf. I speak from experience—my first attempt was a brick.
Use room temperature eggs. Cold eggs can seize up the batter and make it harder to mix evenly. If you forgot to take them out ahead of time, place them in a bowl of warm water for five minutes. Problem solved.
Check your baking soda. I keep a box of baking soda in my fridge for way too long sometimes. If yours is old, it won’t react properly and your bread won’t rise. To test it, drop a little into vinegar—if it fizzes vigorously, it’s good.
Let it cool completely. I know, I know. The smell is intoxicating and you want a slice right now. But cutting into warm bread releases steam too quickly, and the crumb will collapse. I usually let mine cool for at least an hour before slicing. Use a serrated knife for clean cuts.
Toast your walnuts. This is a small step that makes a big difference. Raw walnuts can be a little bitter and soft. Toasting them brings out their natural oils and adds a crunch that contrasts beautifully with the tender bread.
Variations & Adaptations
One of the best things about this bread is how flexible it is. Here are some ways I’ve adapted it over the years:
- Chocolate Chip Version: Swap the walnuts for 1 cup of chocolate chips—dark or semi-sweet both work. The chocolate pairs surprisingly well with the pumpkin and banana. I did this for a friend’s brunch and it was gone in twenty minutes.
- Gluten-Free Option: Use a 1:1 gluten-free flour blend (I like King Arthur’s). The texture will be a little more delicate, so let it cool completely before slicing. I’ve tested this twice and it works well, though the crumb is slightly more tender.
- Dairy-Free Adaptation: This recipe is already dairy-free since it uses oil instead of butter. Just make sure your chocolate chips are dairy-free if you go that route. Easy peasy.
- Spice It Up: Add 1/4 teaspoon of cardamom or allspice for a warmer, more complex flavor profile. I tried cardamom once on a whim and now I add it half the time. It gives the bread a slightly floral note that’s lovely.
- Lower Sugar Version: Reduce the granulated sugar to 1/2 cup and the brown sugar to 1/3 cup. The bananas and pumpkin provide enough natural sweetness that you won’t miss it much. I do this when I’m planning to eat it for breakfast.
If you love recipes that are as versatile as this one, you might also enjoy my decadent whiskey caramel bread pudding—another great way to use up day-old bread with a cozy fall twist.
Serving & Storage Suggestions
This bread is good at any temperature, but I have preferences. Here’s how I serve and store it:
Serving: I love a slice of this bread slightly warm, with a pat of salted butter melting into the crumb. For breakfast, it’s perfect alongside a cup of strong coffee or a chai latte. For dessert, try it with a scoop of vanilla ice cream or a drizzle of warm caramel sauce. It also makes a fantastic hostess gift wrapped in parchment and tied with twine.
Storage at room temperature: Wrap the cooled bread tightly in plastic wrap or aluminum foil, then place it in an airtight container. It will stay moist for up to 4 days on the counter. I find it actually tastes better on day two—the flavors have more time to meld together.
Refrigeration: If you live in a warm or humid climate, store it in the fridge. Wrap it well first, then place it in a zip-top bag. It’ll keep for about a week. Let slices come to room temperature before eating, or warm them in the microwave for 15 seconds.
Freezing: This bread freezes beautifully. Wrap the cooled loaf in plastic wrap, then a layer of foil, and place it in a freezer bag. It’ll keep for up to 3 months. To thaw, leave it on the counter overnight or pop individual slices in the microwave for 30 seconds. I always make a double batch and freeze one loaf for later—it’s a lifesaver when unexpected guests show up or I just need a quick breakfast.
Nutritional Information & Benefits
Here’s an approximate nutritional breakdown per slice (based on 10 slices):
- Calories: 310
- Total Fat: 14g
- Saturated Fat: 2g
- Cholesterol: 37mg
- Sodium: 280mg
- Total Carbohydrates: 44g
- Dietary Fiber: 3g
- Sugars: 24g
- Protein: 6g
Health benefits: Pumpkin is packed with vitamin A and fiber, which supports eye health and digestion. Bananas provide potassium and natural sweetness, allowing us to use less refined sugar. Walnuts are a great source of omega-3 fatty acids, which are good for heart health and brain function. This bread isn’t health food, but it’s a more wholesome option than many store-bought pastries.
Dietary considerations: This recipe is dairy-free and nut-free if you skip the walnuts. It contains gluten and eggs, so it’s not suitable for those with celiac disease or egg allergies without modifications.
Conclusion
This moist pumpkin banana walnut bread has become my go-to fall recipe, and I think it’ll become yours too. It’s the kind of bread that makes your kitchen smell like comfort, that uses up ingredients you already have, and that somehow gets better each day it sits on the counter. Whether you’re making it for a holiday brunch, a cozy weekend breakfast, or just because you have a can of pumpkin and some bananas that need using, this recipe delivers every single time.
I’d love to hear how yours turns out. Did you add chocolate chips instead of walnuts? Did your family devour it before it even cooled? Drop a comment below and let me know your favorite variation. And if you share a photo on social media, tag me—I love seeing your bakes in the wild.
Happy baking, friends. And remember: the best recipes are the ones you make with what you’ve got.
Frequently Asked Questions
Can I use fresh pumpkin instead of canned?
Absolutely. Just make sure you roast or steam the pumpkin first, then puree it until smooth. Fresh pumpkin has more water than canned, so you might need to drain it slightly by pressing it through a fine-mesh sieve or letting it sit in a paper towel-lined bowl for a few minutes.
Why did my bread sink in the middle?
This usually happens when the bread is underbaked or when you open the oven door too early. The center needs time to set. Try not to open the oven for the first 45 minutes. Also, make sure your baking soda and baking powder are fresh—expired leavening agents won’t give you proper rise.
Can I make this into muffins instead?
Yes! This batter works great as muffins. Fill lined muffin tins about 3/4 full and bake at 350°F for 18-22 minutes. You’ll get about 14-16 muffins. The baking time is shorter, so start checking at 16 minutes with a toothpick.
How do I know when the bread is done baking?
Insert a toothpick or a thin skewer into the center of the loaf. If it comes out clean or with just a few moist crumbs attached, it’s done. If it has wet batter on it, give it another 5 minutes and check again. The top should also be golden brown and feel firm to the touch.
Can I reduce the sugar in this recipe?
Yes, you can reduce the granulated sugar to 1/2 cup and the brown sugar to 1/3 cup without major issues. The bread will be less sweet, but the bananas and pumpkin provide natural sweetness. I’ve made this version for breakfast and it’s still delicious, just more subtle in flavor.
For another cozy, comforting bake that uses simple pantry ingredients, check out my decadent peanut butter cup brownie cheesecake bars—they’re rich, indulgent, and perfect for when you want something a little more decadent.
Pin This Recipe!
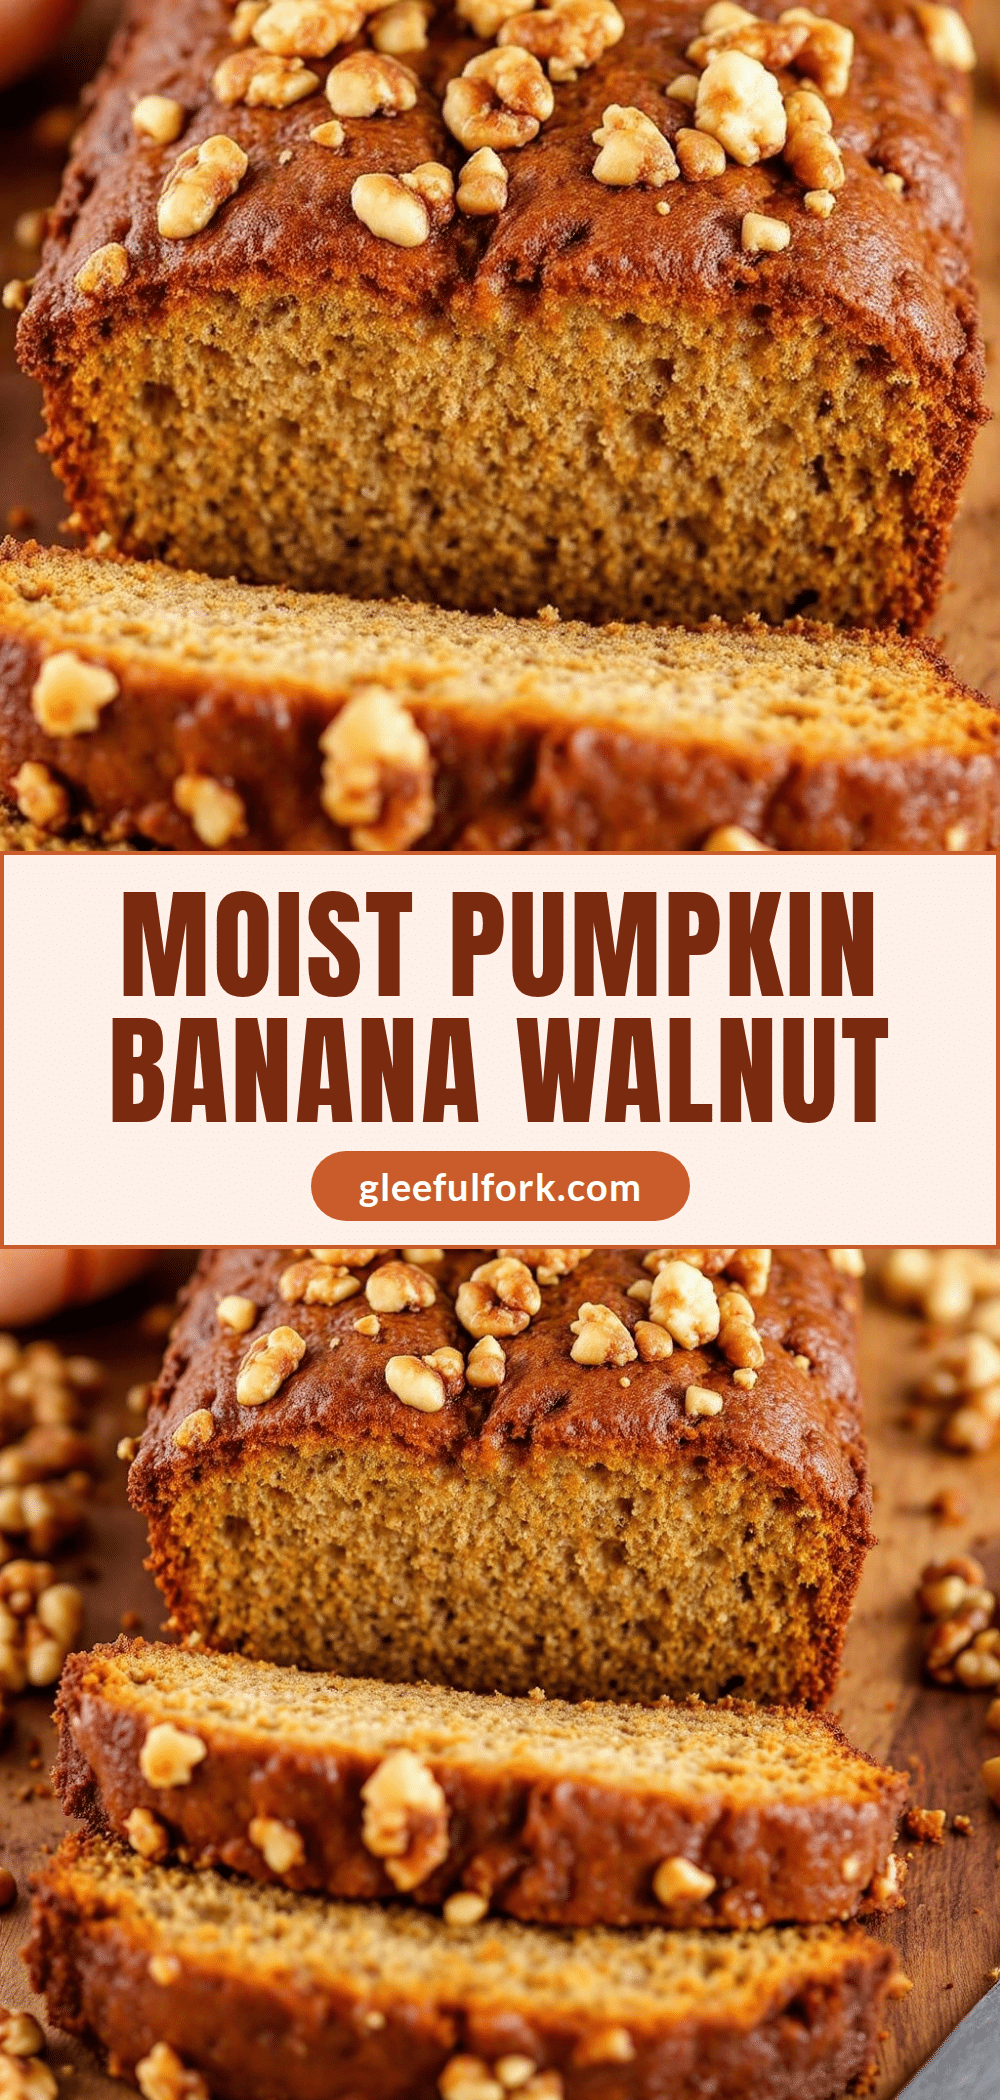
Moist Pumpkin Banana Walnut Bread: Easy Fall Recipe
This moist pumpkin banana walnut bread is a cozy, one-bowl recipe that uses up ripe bananas and canned pumpkin. It’s perfectly tender, not too sweet, and packed with warm spices and crunchy walnuts.
- Prep Time: 15 minutes
- Cook Time: 60 minutes
- Total Time: 1 hour 15 minutes
- Yield: 10 servings 1x
- Category: Quick Bread
- Cuisine: American
Ingredients
- 2 cups (240g) all-purpose flour
- 1 teaspoon baking soda
- 1/2 teaspoon baking powder
- 1/2 teaspoon salt
- 2 teaspoons ground cinnamon
- 1/2 teaspoon ground nutmeg
- 1/2 teaspoon ground ginger
- 1/4 teaspoon ground cloves
- 3/4 cup (150g) granulated sugar
- 1/2 cup (100g) packed brown sugar
- 1 cup (245g) pumpkin puree (not pumpkin pie filling)
- 3 medium ripe bananas (about 1 cup mashed)
- 2 large eggs, room temperature
- 1/2 cup (120ml) vegetable oil (canola, avocado, or melted coconut oil)
- 1 teaspoon vanilla extract
- 1 cup (120g) walnuts, roughly chopped (toasted if desired)
Instructions
- Preheat your oven to 350°F (175°C). Position the rack in the center. Line a 9×5-inch loaf pan with parchment paper, leaving overhang on the long sides.
- Toast the walnuts (optional): Spread on a baking sheet and bake for about 5 minutes while the oven preheats. Let cool completely.
- Mash the bananas in a medium bowl, leaving a few small chunks if desired. Set aside.
- In a large bowl, whisk together the flour, baking soda, baking powder, salt, cinnamon, nutmeg, ginger, and cloves for about 15 seconds.
- In a separate bowl, whisk the granulated sugar and brown sugar together to break up clumps. Add the pumpkin puree, mashed bananas, eggs, oil, and vanilla extract. Whisk until smooth and well combined.
- Pour the wet mixture into the dry ingredients. Fold gently with a spatula until just combined—do not overmix. A few lumps are fine.
- Fold in the walnuts, reserving about 2 tablespoons for the top if desired. Gently fold until evenly distributed.
- Scrape the batter into the prepared loaf pan and spread evenly. Sprinkle reserved walnuts on top and press them in gently.
- Bake for 55 to 65 minutes, starting to check at 50 minutes. The bread is done when a toothpick inserted into the center comes out clean or with a few moist crumbs. The top should be golden brown and cracked.
- Cool in the pan for 15 minutes, then use the parchment sling to lift the bread out and transfer to a wire rack. Cool completely before slicing (at least 1 hour).
Notes
Don’t overmix the batter to avoid a tough loaf. Use room temperature eggs. Check that your baking soda is fresh. Let the bread cool completely before slicing to prevent crumbling. Toasting the walnuts enhances their flavor. The bread can be stored at room temperature for up to 4 days, refrigerated for a week, or frozen for up to 3 months.
Nutrition
- Serving Size: 1 slice
- Calories: 310
- Sugar: 24
- Sodium: 280
- Fat: 14
- Saturated Fat: 2
- Carbohydrates: 44
- Fiber: 3
- Protein: 6
Keywords: pumpkin banana bread, pumpkin banana walnut bread, moist pumpkin bread, fall quick bread, easy pumpkin bread, banana walnut bread


