Love this? Save it for later!
Share the inspiration with your friends
“You know that feeling when you’re craving something warm and comforting but also want to be good to yourself? That’s exactly how this Healthy Anti-Inflammatory Turmeric Bowl came to be. One rainy Thursday evening, after a long day of juggling work calls and a seriously messy kitchen, I found myself rummaging through the pantry for something quick yet nourishing. Honestly, I wasn’t expecting much—I just wanted a bowl that felt like a hug but didn’t leave me feeling heavy or sluggish.”
As I pulled out a jar of turmeric, something about its golden hue sparked an idea. I remembered a conversation with a friend who swore by turmeric’s healing powers, especially after she battled a nasty flu. So, I threw together a mix of fresh veggies, grains, and that bright yellow spice, not quite sure if it’d be edible. Spoiler: it was way better than I imagined, and it’s been my go-to nourishing meal ever since.
Maybe you’ve been there—needing something wholesome that doesn’t require hours in the kitchen or a bunch of obscure ingredients. This turmeric bowl hits the mark every time. It’s vibrant, packed with anti-inflammatory goodness, and honestly, it tastes like sunshine in a bowl. Let me tell you, it’s the kind of recipe that makes you want to slow down, savor every bite, and feel genuinely good from the inside out.
Why You’ll Love This Recipe
This Healthy Anti-Inflammatory Turmeric Bowl is more than just a meal—it’s a little ritual of self-care that fits perfectly into busy lives. After testing countless versions (yes, I’m a bit obsessed), here’s why this recipe stands out:
- Quick & Easy: Ready in under 30 minutes, making it perfect for hectic weeknights or unexpected hunger pangs.
- Simple Ingredients: Uses pantry staples and fresh veggies you can find anywhere—no hunting for rare spices or fancy superfoods.
- Perfect for Nourishing Meals: Whether you want a wholesome lunch or a cozy dinner, this bowl packs a nutrient punch that keeps you fueled.
- Crowd-Pleaser: The warm turmeric flavor balances beautifully with fresh herbs and crunchy toppings, pleasing even turmeric skeptics.
- Unbelievably Delicious: The combination of creamy grains, earthy turmeric, and bright veggies creates layers of flavor and texture.
What makes this turmeric bowl truly different? It’s the gentle yet vibrant use of turmeric paired with a touch of black pepper to unlock its full potential. Plus, blending creamy avocado into the mix gives it a silky texture that’s just… chef-approved. I’ve made this for friends who usually shy away from ‘health bowls,’ and they keep asking for more.
This recipe isn’t just about eating well; it’s about feeling good in your own skin. It’s the kind of bowl that makes you pause and appreciate the little moments—like the sizzle of spices hitting the pan or the fresh snap of herbs on your tongue. Trust me, once you try it, you’ll be hooked.
What Ingredients You Will Need
This recipe uses simple, wholesome ingredients to bring bold flavor and nourishing benefits to your table without any fuss. Most are pantry staples or easy to find fresh items, and you can swap a few to suit your preferences or dietary needs.
- For the Base:
- 1 cup quinoa, rinsed (or brown rice for a chewier texture)
- 2 cups water or vegetable broth (adds extra flavor)
- For the Turmeric Sauce:
- 1 tablespoon ground turmeric (freshly ground if possible for best aroma)
- 1 teaspoon black pepper (boosts turmeric’s absorption)
- 1 teaspoon ground cumin (adds warmth)
- 1/2 cup coconut milk (full-fat for creaminess, or any plant-based milk)
- 1 tablespoon olive oil or avocado oil (helps blend flavors and adds healthy fats)
- 1 small garlic clove, minced
- Salt to taste
- For the Bowl Toppings:
- 1 cup chopped kale or spinach (massaged with a pinch of salt to soften)
- 1/2 cup shredded carrot (adds a touch of sweetness and crunch)
- 1/2 cup roasted chickpeas (for protein and crispy texture)
- 1/2 avocado, sliced (creamy richness)
- Fresh cilantro or parsley (a handful, chopped)
- 1 tablespoon lemon juice (brightens the whole bowl)
- Optional: toasted pumpkin seeds or sliced almonds (for an extra crunch)
I usually recommend using organic turmeric powder if you can find it, because it tends to have a more vibrant flavor. For coconut milk, brands like Native Forest or Thai Kitchen work great and aren’t overly processed. If you’re gluten-free, quinoa is a fantastic choice here, but feel free to use millet or buckwheat for a different twist.
For a seasonal variation, swap kale for tender baby greens in spring or roasted sweet potatoes in the fall. If you need a dairy-free creamier sauce, coconut milk is your best friend; otherwise, a splash of Greek yogurt stirred in at the end works wonders too.
Equipment Needed
- Medium saucepan with a lid (to cook quinoa or rice evenly)
- Small mixing bowl (to whisk together the turmeric sauce)
- Skillet or frying pan (for roasting chickpeas and sautéing garlic)
- Sharp knife and cutting board (for chopping veggies and herbs)
- Measuring cups and spoons (accuracy matters here for balanced flavors)
- Optional: blender or immersion blender (if you want a smoother turmeric sauce)
If you don’t have a skillet, a baking sheet works fine for roasting chickpeas in the oven. I’ve found that a non-stick pan makes sautéing the garlic easier without burning it, but a stainless steel skillet can do the job well if you keep an eye on the heat.
For those on a budget, basic measuring spoons and cups from any kitchen store are perfectly fine. Over time, investing in a good chef’s knife will make prepping veggies a lot faster and more enjoyable. Just remember—keep your tools clean and dry, especially the knife, to avoid dullness and rust.
Preparation Method
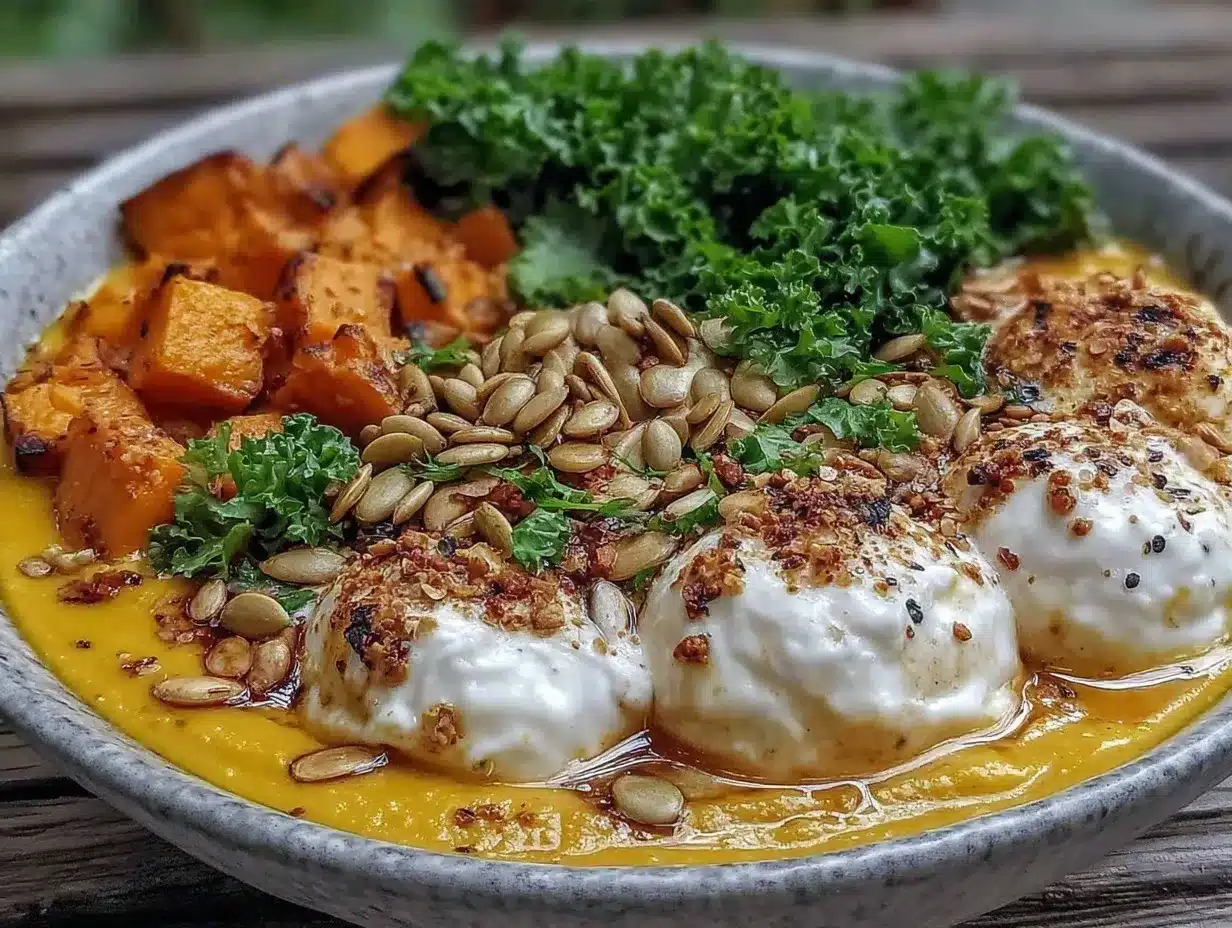
- Cook the Quinoa: In a medium saucepan, combine 1 cup rinsed quinoa with 2 cups water or vegetable broth. Bring to a boil, then reduce heat to low, cover, and simmer for 15 minutes (or until liquid is absorbed). Remove from heat and let it rest, covered, for 5 minutes. Fluff with a fork. (If using brown rice, cook according to package instructions – usually about 40 minutes.)
- Prepare the Turmeric Sauce: While quinoa cooks, in a small bowl, whisk together 1 tablespoon turmeric, 1 teaspoon black pepper, 1 teaspoon cumin, 1/2 cup coconut milk, 1 tablespoon olive oil, minced garlic, and a pinch of salt. If you want a smoother texture, blend briefly with an immersion blender or regular blender. Set aside.
- Roast the Chickpeas: Drain and rinse a can of chickpeas (about 1 cup). Pat dry with a kitchen towel. Heat a skillet over medium heat and add a drizzle of olive oil. Toss chickpeas in the pan, seasoning lightly with salt and pepper. Roast for 10-12 minutes, shaking the pan occasionally, until crispy and golden. Remove from heat.
- Prepare the Greens and Veggies: Massage chopped kale or spinach with a pinch of salt to soften (about 2-3 minutes). Shred the carrot finely and set aside. Slice avocado just before assembling to prevent browning.
- Assemble the Bowl: Spoon a generous serving of quinoa into your bowl. Drizzle with the turmeric sauce, stirring gently to coat. Top with massaged greens, shredded carrot, roasted chickpeas, avocado slices, and a sprinkle of fresh cilantro or parsley. Finish with a squeeze of lemon juice and optional toasted seeds or nuts for crunch.
- Final Touches: Taste and adjust seasoning with more salt or lemon juice if needed. Serve warm or at room temperature. The turmeric aroma should be bright but earthy, and the bowl will have a satisfying mix of creamy, crunchy, and fresh textures.
Pro tip: If your turmeric sauce feels too thick, add a splash of water or more coconut milk to loosen it up. Watch your garlic carefully—burnt garlic turns bitter fast! The first time I made this, I got distracted by a phone call and nearly overcooked it. Lesson learned—stay close.
Cooking Tips & Techniques
Getting this turmeric bowl just right takes a bit of practice with layering flavors and textures, but here are some tips from my kitchen that’ll help you nail it every time.
- Toast your spices lightly before mixing into the sauce to deepen their aroma. Just 30 seconds in a dry pan makes a world of difference.
- Don’t skip the black pepper. It’s the secret ingredient that helps your body absorb turmeric’s anti-inflammatory compounds.
- Massage your greens. This simple step breaks down tough fibers and makes leafy greens way more enjoyable to eat raw.
- Roast chickpeas evenly by shaking the pan regularly. Uneven roasting can leave some soggy and others burnt.
- Make the sauce ahead. It keeps well in the fridge for 2-3 days, so you can whip up this bowl even faster on busy days.
- Multitask smart. While your quinoa cooks, prepare the sauce and roast chickpeas simultaneously to save time.
One mistake I made early on was under-seasoning the sauce—trust me, turmeric can taste dull without enough salt and pepper. Another time, I added the avocado too early, and it turned brown before serving. Freshness counts!
Variations & Adaptations
This turmeric bowl is super adaptable. Here are some ways to switch it up and make it yours:
- Protein Boost: Swap roasted chickpeas for grilled chicken, tofu, or sautéed shrimp to add a hearty touch.
- Seasonal Veggies: In cooler months, roast sweet potatoes or butternut squash instead of using raw carrots for a comforting twist.
- Grain Alternatives: Try millet, farro, or cauliflower rice if you want a grain-free option.
- Dairy-Free Creaminess: Use coconut yogurt or blended cashews in the turmeric sauce instead of coconut milk for a tangy, creamy variation.
- Spice it Up: Add a pinch of cayenne or a drizzle of hot sauce if you like a little heat.
Personally, I love swapping kale for baby spinach in spring—it feels lighter but still vibrant. Another favorite is adding a spoonful of homemade hummus on the side for extra flavor and richness.
Serving & Storage Suggestions
Serve this Healthy Anti-Inflammatory Turmeric Bowl warm or at room temperature. It’s perfect as a stand-alone meal or paired with a crisp cucumber salad or crunchy crispy garlic chicken for a satisfying dinner.
Leftovers keep well in an airtight container in the fridge for up to 3 days. To reheat, gently warm in a skillet or microwave, adding a splash of water or broth to loosen the sauce. Avocado is best added fresh when serving to avoid browning.
Flavors meld beautifully as the bowl rests, so if you prepare it ahead, the turmeric and spices deepen overnight. Just remember to keep crunchy toppings separate until serving to maintain texture.
Nutritional Information & Benefits
This turmeric bowl is a nutrient powerhouse, packed with fiber, antioxidants, and anti-inflammatory compounds. Here’s a rough estimate per serving (serves 2):
- Calories: 400-450
- Protein: 15-18g (from chickpeas and quinoa)
- Fiber: 10g+
- Healthy fats: 15g (from avocado and olive oil)
Turmeric is known for its curcumin content, a compound linked to reducing inflammation and supporting joint health. Pairing it with black pepper enhances absorption, making this bowl a powerful addition to any anti-inflammatory diet.
The combination of whole grains, legumes, and fresh veggies offers balanced energy and supports gut health. Plus, it’s naturally gluten-free and can easily be made vegan or dairy-free.
Conclusion
This Healthy Anti-Inflammatory Turmeric Bowl is one of those recipes that I keep coming back to—not just because it’s nourishing and tasty, but because it feels like a little moment of wellness on a plate. Whether you’re new to turmeric or a longtime fan, this bowl offers a fresh and approachable way to enjoy its benefits without fuss.
Feel free to tweak the ingredients to match what you have on hand or your flavor preferences—cooking should be joyful, not stressful, right? I’d love to hear how you make it your own, so don’t hesitate to drop a comment or share your twists.
Here’s to meals that feed your body and soul. Happy cooking!
FAQs
What can I substitute for quinoa in this turmeric bowl?
You can use brown rice, millet, farro, or even cauliflower rice for a lower-carb option. Each gives a slightly different texture but works well with the turmeric sauce.
Is this turmeric bowl suitable for a vegan diet?
Absolutely! All ingredients are plant-based, and you can easily swap coconut milk for any other plant-based milk or cream for the sauce.
Can I prepare the turmeric sauce in advance?
Yes, the sauce keeps well in the fridge for 2-3 days. Just give it a good stir before using and add a splash of water if it thickens too much.
How do I prevent the avocado from browning in the bowl?
Add avocado slices just before serving and toss them with a little lemon juice to slow oxidation. Avoid mixing them too early if you plan to store leftovers.
What are some good toppings to add for extra crunch?
Toasted pumpkin seeds, sliced almonds, or even crispy fried onions add a wonderful crunch and extra flavor to your turmeric bowl.
Pin This Recipe!
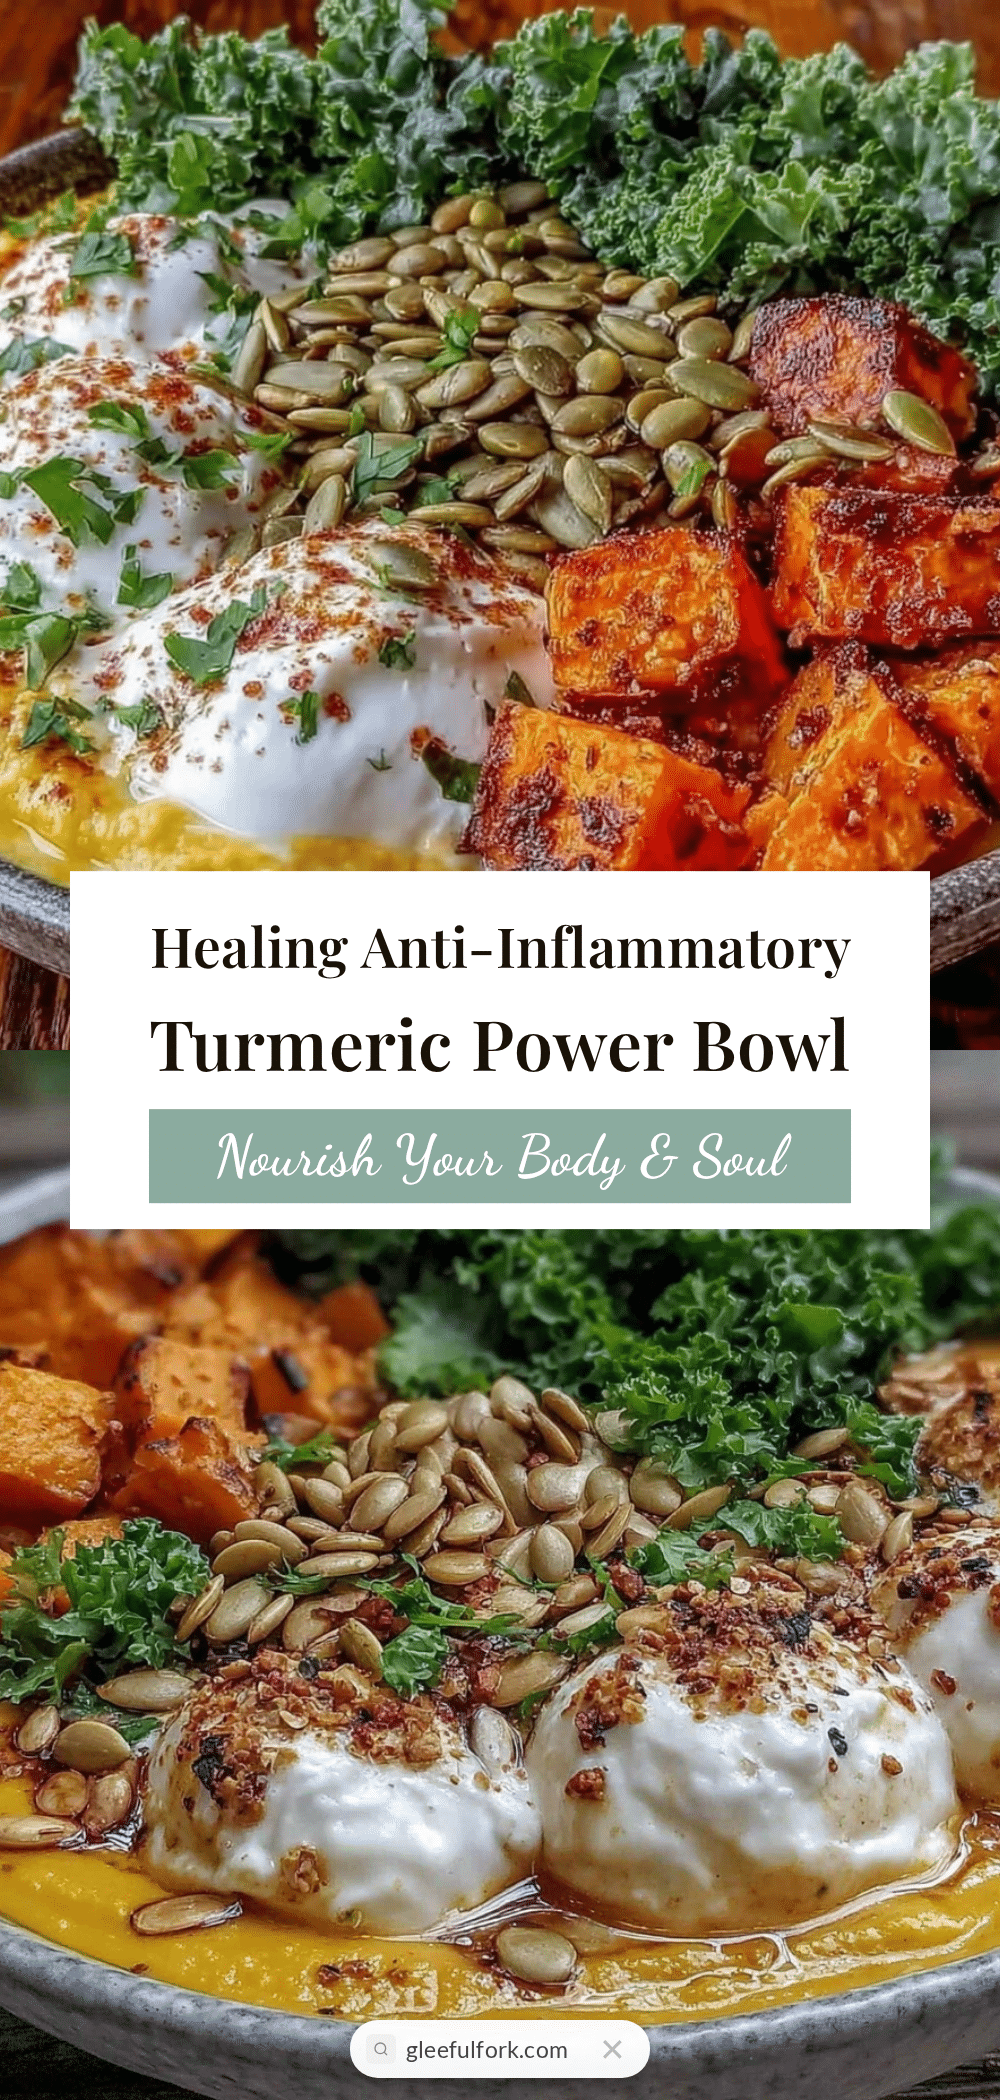
Healthy Anti-Inflammatory Turmeric Bowl

A quick and nourishing turmeric bowl packed with anti-inflammatory ingredients, fresh veggies, and creamy grains, perfect for a wholesome lunch or cozy dinner.
- Prep Time: 10 minutes
- Cook Time: 20 minutes
- Total Time: 30 minutes
- Yield: 2 servings 1x
- Category: Main Course
- Cuisine: Fusion
Ingredients
- 1 cup quinoa, rinsed (or brown rice for a chewier texture)
- 2 cups water or vegetable broth
- 1 tablespoon ground turmeric
- 1 teaspoon black pepper
- 1 teaspoon ground cumin
- 1/2 cup coconut milk (full-fat or any plant-based milk)
- 1 tablespoon olive oil or avocado oil
- 1 small garlic clove, minced
- Salt to taste
- 1 cup chopped kale or spinach (massaged with a pinch of salt)
- 1/2 cup shredded carrot
- 1/2 cup roasted chickpeas
- 1/2 avocado, sliced
- Fresh cilantro or parsley, chopped (a handful)
- 1 tablespoon lemon juice
- Optional: toasted pumpkin seeds or sliced almonds
Instructions
- Cook the quinoa: In a medium saucepan, combine 1 cup rinsed quinoa with 2 cups water or vegetable broth. Bring to a boil, then reduce heat to low, cover, and simmer for 15 minutes or until liquid is absorbed. Remove from heat and let rest, covered, for 5 minutes. Fluff with a fork. (If using brown rice, cook according to package instructions, about 40 minutes.)
- Prepare the turmeric sauce: While quinoa cooks, whisk together turmeric, black pepper, cumin, coconut milk, olive oil, minced garlic, and salt in a small bowl. Blend briefly if a smoother texture is desired. Set aside.
- Roast the chickpeas: Drain and rinse chickpeas. Pat dry. Heat a skillet over medium heat with a drizzle of olive oil. Toss chickpeas in pan, season lightly with salt and pepper, and roast for 10-12 minutes, shaking pan occasionally until crispy and golden. Remove from heat.
- Prepare greens and veggies: Massage chopped kale or spinach with salt to soften (2-3 minutes). Shred carrot and slice avocado just before assembling.
- Assemble the bowl: Spoon quinoa into a bowl, drizzle with turmeric sauce and stir gently to coat. Top with massaged greens, shredded carrot, roasted chickpeas, avocado slices, and chopped cilantro or parsley. Finish with lemon juice and optional toasted seeds or nuts.
- Final touches: Taste and adjust seasoning with salt or lemon juice if needed. Serve warm or at room temperature.
Notes
Toast spices lightly before mixing to deepen aroma. Add black pepper to enhance turmeric absorption. Massage greens to soften. Roast chickpeas evenly by shaking pan. Make sauce ahead and store in fridge for 2-3 days. Add avocado just before serving to prevent browning.
Nutrition
- Serving Size: 1 bowl (half of reci
- Calories: 425
- Sugar: 5
- Sodium: 250
- Fat: 15
- Saturated Fat: 7
- Carbohydrates: 50
- Fiber: 10
- Protein: 16
Keywords: turmeric bowl, anti-inflammatory, healthy meal, quinoa bowl, vegan, gluten-free, nourishing, easy recipe


