Love this? Save it for later!
Share the inspiration with your friends
“You know that moment when the Fourth of July potluck is tomorrow, and the dessert table looks like a competition you never signed up for? Yeah, that was me last summer. I had every intention of baking something elaborate, but then life tossed me a curveball—my mixer decided to call it quits right when I was ready to start. Honestly, I was about to give up when my neighbor, Mrs. Ramirez, popped her head over the fence and said, ‘Why don’t you try this easy simple flag cake using box mix? It’s foolproof and looks like you spent hours!’
At first, I was skeptical. A box mix? Really? But let me tell you, this recipe became my surprise hero that evening. The way the vibrant red, white, and blue layers came together was almost magical, and the best part—no fancy tools or ingredients required. It was quick, festive, and honestly, I loved how it brought everyone to the table, sparking conversations and laughter.
Maybe you’ve been there—pressed for time, craving a show-stopping dessert without the stress. This easy simple flag cake using box mix is exactly that kind of recipe. It’s got the charm of a homemade cake with the simplicity of a shortcut, perfect for those busy days when you want to impress without the mess. Plus, it’s flexible enough to fit your style and schedule. I keep making it, not just for holidays but whenever I want that little pop of color and celebration on my plate.”
Why You’ll Love This Recipe
This easy simple flag cake recipe using box mix is a game-changer when it comes to festive desserts. After countless trials and tweaking, I can say it truly stands out for several reasons:
- Quick & Easy: Comes together in under an hour, ideal for last-minute celebrations or busy weeknights.
- Simple Ingredients: No need for specialty stores—most items are pantry staples or easy to find.
- Perfect for Holidays & Parties: Whether it’s Independence Day, Memorial Day, or a casual get-together, this cake fits right in.
- Crowd-Pleaser: Kids love the colorful layers, and adults appreciate the classic flavors with a twist.
- Unbelievably Delicious: Moist, fluffy cake layers paired with creamy frosting make each bite a delight.
What sets this flag cake apart is the way it balances convenience with a festive flair. I blend a bit of sour cream into the box mix for extra moisture, and the frosting is just creamy enough without being overpowering. Plus, the red and blue layers use natural food coloring to keep it vibrant but not artificial-tasting. It’s not just any flag cake—it’s my trusted go-to that never fails to impress, even when I’m juggling a million things in the kitchen.
What Ingredients You Will Need
This recipe relies on straightforward ingredients that come together to create a visually stunning and tasty cake. The ingredients are grouped to keep things organized and easy to follow:
- For the Cake:
- 1 box white cake mix (about 15.25 oz) – I prefer Duncan Hines for consistent texture
- 1 cup water (240 ml)
- 1/3 cup vegetable oil (80 ml)
- 3 large eggs, room temperature
- 1/2 cup sour cream (120 ml) – adds moisture and richness
- Red food coloring (gel preferred for vibrant color)
- Blue food coloring (gel preferred)
- For the Frosting:
- 1 cup unsalted butter, softened (227 g)
- 4 cups powdered sugar (480 g), sifted to avoid lumps
- 1/4 cup heavy cream (60 ml) – substitute with milk for lighter option
- 1 teaspoon vanilla extract
- Pinch of salt (balances sweetness)
When choosing your cake mix, look for a brand that doesn’t have a strong artificial flavor. Also, gel food coloring works best because it won’t thin your batter. If you want to make this recipe gluten-free, there are box mixes available that work just as well. For dairy-free frosting, you can swap the butter for a plant-based spread and use coconut cream instead of heavy cream.
Equipment Needed
- Three 8-inch (20 cm) round cake pans – if you don’t have three, bake in batches
- Mixing bowls – medium and large
- Electric mixer or sturdy whisk (a hand mixer works wonders here)
- Measuring cups and spoons – precise measurements make a difference
- Rubber spatula for folding and scraping batter
- Cooling racks to let cakes rest evenly
- Offset spatula or butter knife for frosting application
- Toothpicks or cake tester to check doneness
If you don’t have three pans, no worries—just wash and reuse between layers. An electric mixer will save your arms, but I’ve done this with a good whisk and some elbow grease when the mixer was in the dishwasher. Cooling racks are a small luxury I highly recommend to prevent soggy bottoms.
Preparation Method
- Preheat your oven to 350°F (175°C). Grease and flour the three 8-inch cake pans or line them with parchment paper for easy removal. This usually takes about 10 minutes.
- Mix the cake batter: In a large bowl, combine the box cake mix, water, vegetable oil, eggs, and sour cream. Beat on medium speed for 2 minutes until smooth and slightly thickened. The sour cream is my secret for a moist crumb.
- Divide the batter evenly into three separate bowls. You can use a kitchen scale or eyeball it—aim for equal portions so layers bake evenly.
- Add food coloring: To the first bowl, add about 10-15 drops of red gel food coloring, stirring gently until the color is uniform. To the second, add blue food coloring similarly. Leave the third bowl plain white.
- Pour each colored batter into the prepared cake pans, smoothing the top with a spatula. Try not to overfill; about 2/3 full is perfect to avoid overflow.
- Bake for 25-30 minutes, checking doneness with a toothpick inserted in the center. It should come out clean or with a few moist crumbs.
- Cool the cakes in the pans for 10 minutes, then carefully invert onto cooling racks. Let them cool completely before frosting—this usually takes about an hour. Patience here keeps your frosting from melting.
- Prepare the frosting: In a large bowl, beat the softened butter until creamy (about 2 minutes). Gradually add powdered sugar, alternating with heavy cream, beating on low speed until combined. Add vanilla and salt, then increase speed to medium-high and beat until fluffy, about 3-4 minutes.
- Assemble the cake: Place the red layer on your serving plate. Spread a thin layer of frosting on top. Repeat with the white layer, then the blue layer on top, finishing with a crumb coat around the sides.
- Chill the cake for 20 minutes to set the crumb coat, then apply a final smooth layer of frosting. If you want, add star-shaped sprinkles or piping for extra flair.
Small tip: If your frosting feels too thick, add a teaspoon of cream at a time. If too runny, add a bit more powdered sugar. Also, don’t rush cooling—warm cakes and frosting don’t get along well!
Cooking Tips & Techniques
Making this easy simple flag cake using box mix work flawlessly means paying attention to a few little details that save you headaches:
- Use room temperature eggs and sour cream: This helps the batter mix evenly without lumps or curdling.
- Gel food coloring is your friend: It gives vibrant colors without watering down your batter like liquid dye might.
- Don’t overmix: Once the batter is combined, stop mixing to avoid a tough cake texture.
- Test for doneness early: Ovens vary, so start checking around 22 minutes to keep the layers tender and moist.
- Cooling is crucial: Frosting a warm cake will cause it to melt and slide. I learned that the hard way one summer when my cake turned into a colorful puddle.
- Crumb coat helps: Applying a thin first layer of frosting traps crumbs and gives a clean final finish.
- Multitask smartly: While the cakes bake, whip up the frosting so you’re ready when they’re cool enough.
Variations & Adaptations
This flag cake is super adaptable, so you can tweak it to fit your needs or mood.
- Dietary Swap: Use a gluten-free box mix and dairy-free frosting to make it allergy-friendly without losing the festive vibe.
- Seasonal Fruits: Add fresh blueberries between layers for a juicy surprise or mix strawberries into the red layer batter.
- Flavor Twists: Swap vanilla extract for almond or lemon zest in the frosting for a zingy lift. I once tried a coconut frosting that gave a tropical spin, which was surprisingly good.
- Alternative Shapes: Use a sheet pan and cut out star shapes from the layers for a more playful presentation.
One time, I experimented by layering mini cupcakes in flag colors inside a large bowl for a no-fuss party centerpiece—talk about a fun twist!
Serving & Storage Suggestions
Serve this cake slightly chilled or at room temperature for the best texture. If you want to impress, garnish with fresh berries or edible glitter to catch the light and eyes.
This cake pairs beautifully with a cold glass of lemonade or a light, fruity iced tea—perfect for summer gatherings.
Store leftover cake covered tightly in the fridge for up to 4 days. You can freeze individual slices wrapped in plastic wrap and foil for up to 2 months. To reheat, let it thaw in the fridge overnight, then bring to room temperature before serving for a softer crumb.
Flavors tend to meld and become even more harmonious a day later, so if you can wait, it’s worth the patience.
Nutritional Information & Benefits
This easy simple flag cake using box mix is a sweet treat that balances indulgence with reasonable portioning. A slice (about 1/12 of the cake) roughly contains:
| Calories | 320 |
|---|---|
| Fat | 14g |
| Carbohydrates | 44g |
| Protein | 3g |
Key ingredients like eggs and sour cream contribute protein and moisture, making the cake less dry than average box mix versions. The cake is gluten-dependent on your choice of mix, so swapping to gluten-free options is easy. Be mindful of food coloring if you have sensitivities—gel colors tend to have fewer additives.
Conclusion
This easy simple flag cake using box mix is honestly a lifesaver when you want something festive without the fuss. It’s a recipe that’s cozy and bright, fun to make, and always a crowd-pleaser. I love how it combines simplicity with a pop of color—makes you feel like a pro even on a hectic day.
Feel free to tweak it to your taste or occasion; it’s flexible and forgiving. If you try making this cake, drop a comment to share your spin or any tips you picked up. I’d love to hear how it worked out for you!
Here’s to stress-free celebrations with sweet, simple joy!
Frequently Asked Questions
- Can I make this flag cake ahead of time?
Yes! You can bake the layers a day before and store them wrapped tightly. Assemble and frost on the day you want to serve for the best freshness.
- What if I don’t have gel food coloring?
You can use liquid food coloring, but add it sparingly to avoid thinning the batter and dull colors.
- Can I use homemade cake batter instead of box mix?
Absolutely! Just ensure the batter is thick enough to hold color and layers well. The sour cream addition helps with moisture.
- How do I prevent the cake from sticking to the pans?
Grease and flour the pans or line with parchment paper circles. Let cakes cool slightly before removing to avoid breakage.
- Is this cake suitable for kids?
Definitely! The colorful layers are a hit with kids, and the flavors are mild and sweet without being overwhelming.
Pin This Recipe!
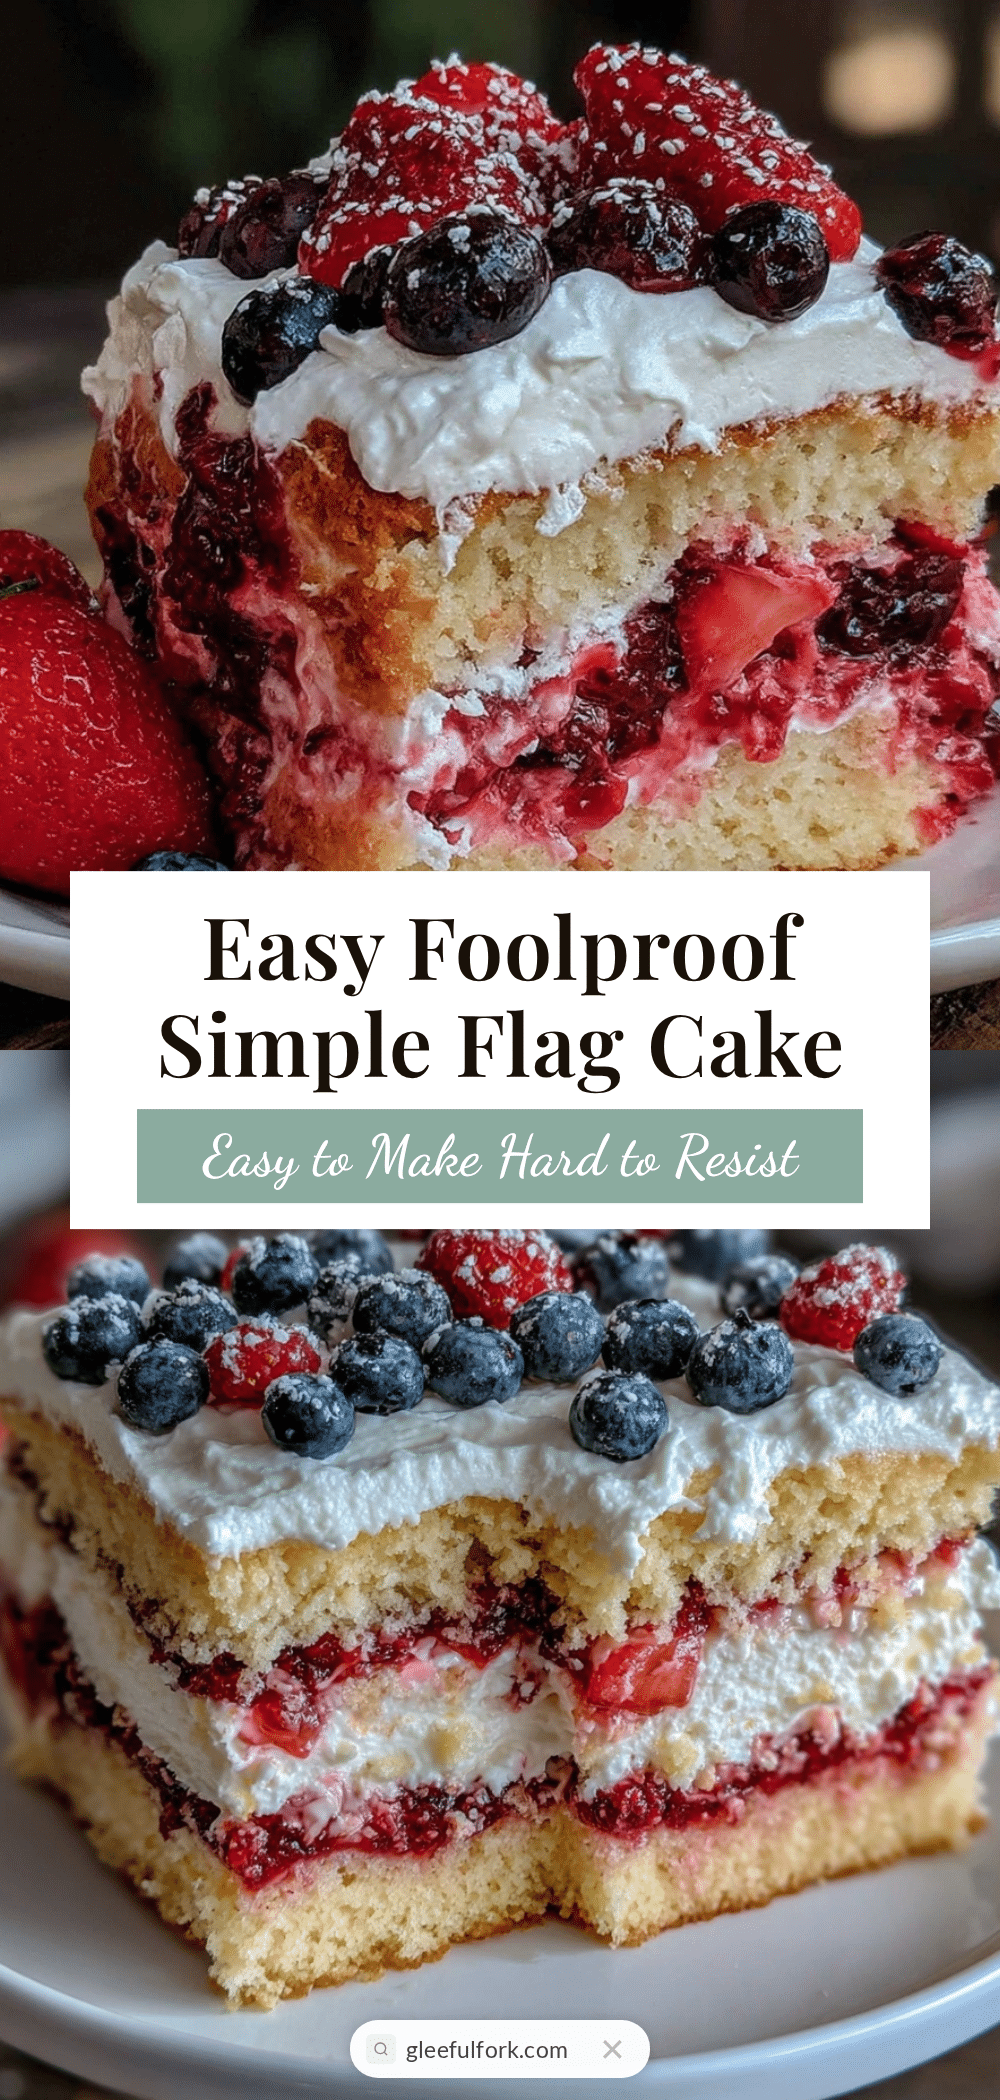
Easy Simple Flag Cake Recipe Using Box Mix for Foolproof Festive Dessert
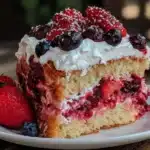
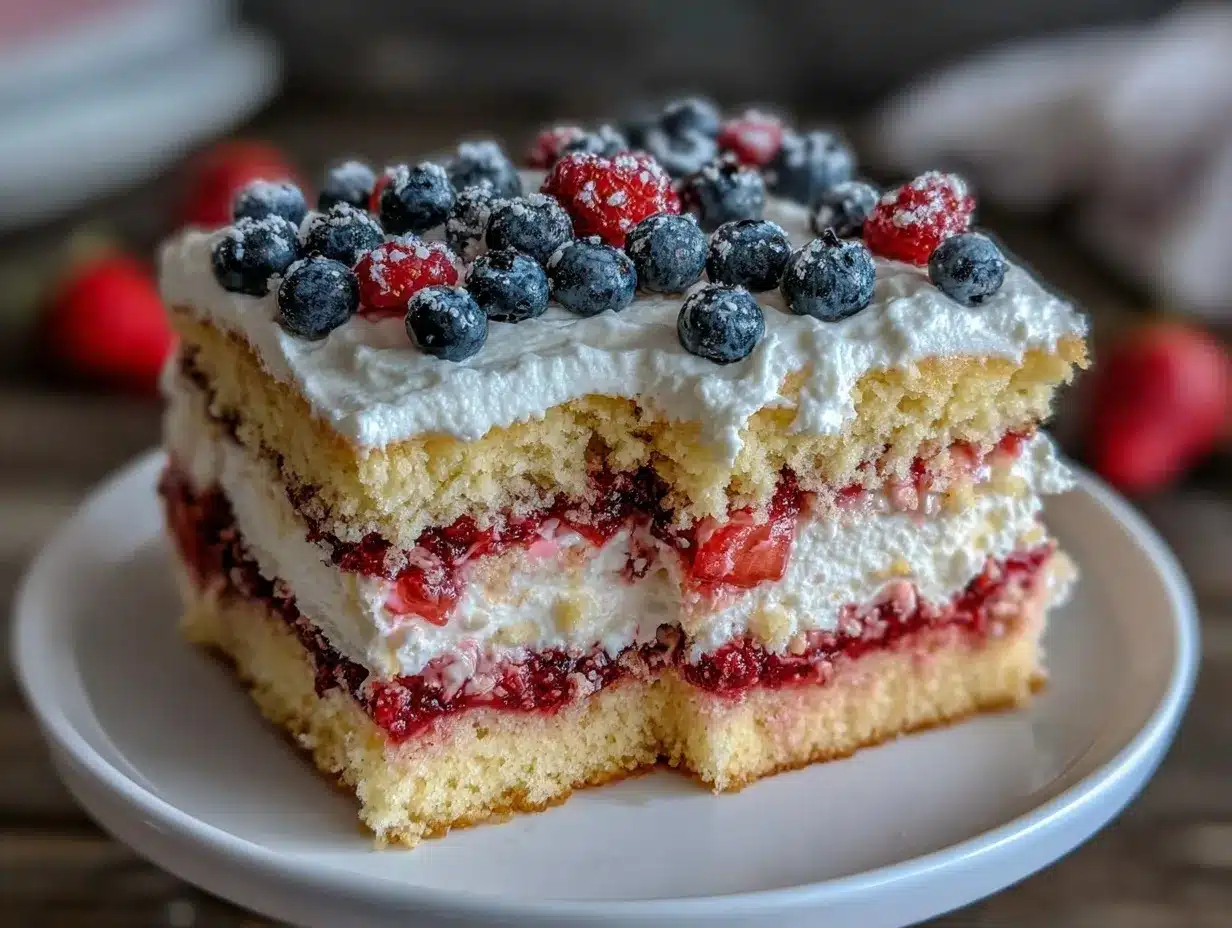
A quick and festive flag cake made with a white box cake mix, enhanced with sour cream for moisture, and decorated with vibrant red, white, and blue layers. Perfect for holidays and last-minute celebrations.
- Prep Time: 15 minutes
- Cook Time: 30 minutes
- Total Time: 1 hour 15 minutes
- Yield: 12 servings 1x
- Category: Dessert
- Cuisine: American
Ingredients
- 1 box white cake mix (about 15.25 oz)
- 1 cup water (240 ml)
- 1/3 cup vegetable oil (80 ml)
- 3 large eggs, room temperature
- 1/2 cup sour cream (120 ml)
- Red gel food coloring
- Blue gel food coloring
- 1 cup unsalted butter, softened (227 g / 1 cup)
- 4 cups powdered sugar (480 g)
- 1/4 cup heavy cream (60 ml)
- 1 teaspoon vanilla extract
- Pinch of salt
Instructions
- Preheat your oven to 350°F (175°C). Grease and flour three 8-inch cake pans or line them with parchment paper.
- In a large bowl, combine the box cake mix, water, vegetable oil, eggs, and sour cream. Beat on medium speed for 2 minutes until smooth and slightly thickened.
- Divide the batter evenly into three separate bowls.
- Add about 10-15 drops of red gel food coloring to the first bowl and stir until uniform. Add blue gel food coloring to the second bowl similarly. Leave the third bowl plain white.
- Pour each colored batter into the prepared cake pans, filling about 2/3 full.
- Bake for 25-30 minutes, checking doneness with a toothpick inserted in the center; it should come out clean or with a few moist crumbs.
- Cool the cakes in the pans for 10 minutes, then invert onto cooling racks and let cool completely (about 1 hour).
- Prepare the frosting by beating softened butter until creamy (about 2 minutes). Gradually add powdered sugar alternating with heavy cream, beating on low speed until combined. Add vanilla and salt, then beat on medium-high speed until fluffy (3-4 minutes).
- Assemble the cake by placing the red layer on a serving plate, spreading a thin layer of frosting on top. Repeat with the white layer, then the blue layer on top. Apply a crumb coat around the sides.
- Chill the cake for 20 minutes to set the crumb coat, then apply a final smooth layer of frosting. Optionally, decorate with star-shaped sprinkles or piping.
Notes
Use room temperature eggs and sour cream for even mixing. Gel food coloring is preferred to avoid thinning the batter. Do not overmix the batter to keep the cake tender. Cool cakes completely before frosting to prevent melting. Crumb coat helps achieve a clean finish. If frosting is too thick, add cream teaspoon by teaspoon; if too runny, add more powdered sugar.
Nutrition
- Serving Size: 1 slice (1/12 of cak
- Calories: 320
- Fat: 14
- Carbohydrates: 44
- Protein: 3
Keywords: flag cake, box cake mix, Fourth of July dessert, easy cake recipe, festive cake, patriotic cake, simple cake, quick dessert