Love this? Save it for later!
Share the inspiration with your friends
Introduction
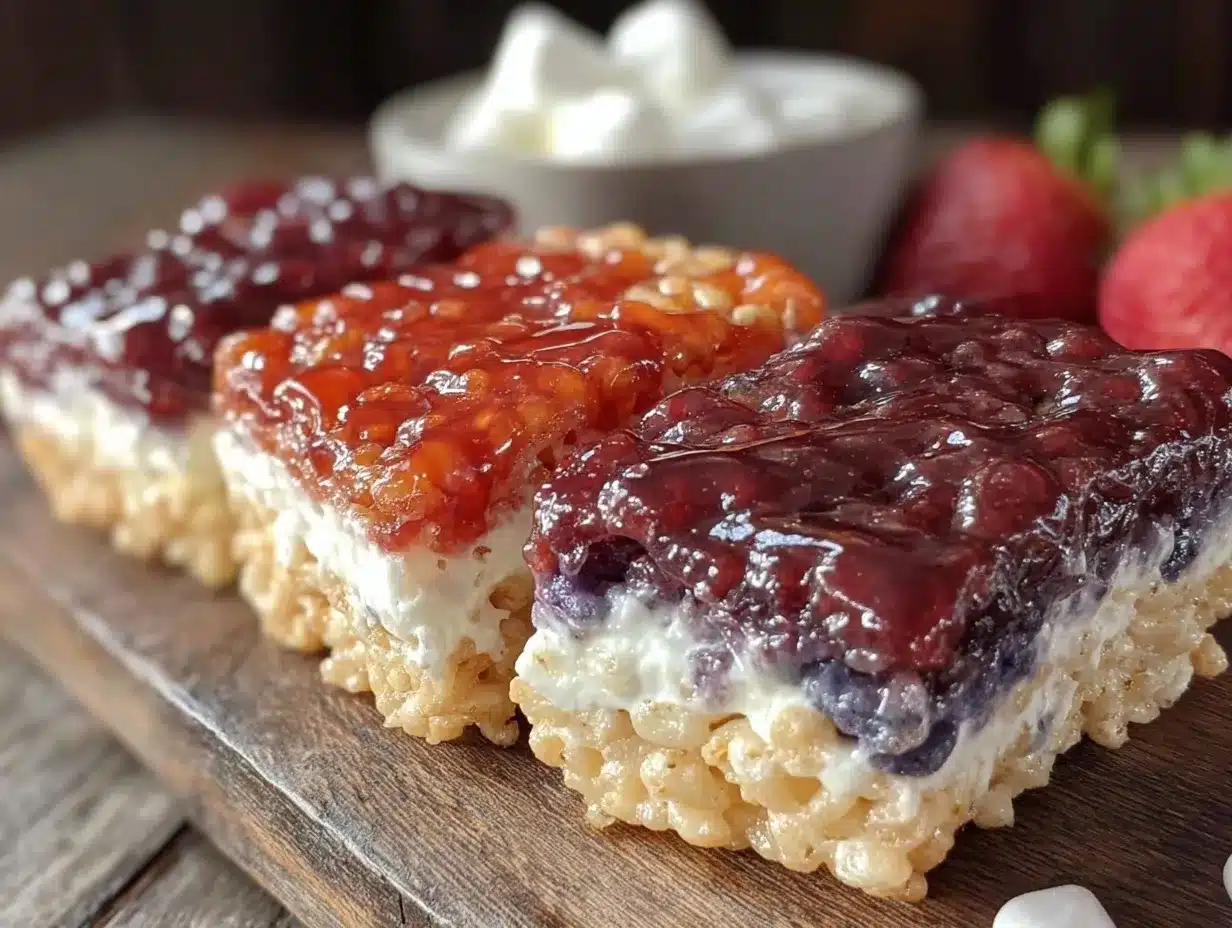
“I wasn’t expecting much when my neighbor, Mrs. Jenkins, handed me a plate of these colorful treats last Fourth of July. Honestly, she’s more of a mystery than a baker—always busy with her garden and that old tabby cat she swears is psychic. But as I took that first bite of her easy patriotic Rice Krispie treats, something about the crunch and sweet marshmallow just clicked. It was like fireworks in my mouth, and I was hooked.
What’s funny is, she told me afterward that it only takes three ingredients. No fancy add-ins or secret sauces, just the basics, but stacked in a way that felt festive and playful. I mean, I’ve made Rice Krispie treats plenty of times, but this version? It’s perfect for those last-minute celebrations when you want to impress but don’t have hours to spend in the kitchen.
Maybe you’ve been there—scrambling to whip up something fun for a summer BBQ or a kid’s party, and the idea of complicated desserts just makes you want to hide in the pantry. Well, these treats are the answer. I made a mess trying to get the marshmallows just right the first time (sticky fingers, anyone?), but now it’s my go-to whenever red, white, and blue are on the menu. Let me tell you, once you try these, you’ll keep coming back for that nostalgic crunch and simple sweetness that feels like a celebration in every bite.”
Why You’ll Love This Recipe
After testing countless versions, here’s why this easy patriotic Rice Krispie treats recipe stands out in my kitchen:
- Quick & Easy: Ready in under 20 minutes, it’s perfect for last-minute holiday prep or spontaneous get-togethers.
- Simple Ingredients: Just cereal, marshmallows, and butter—no need for specialty stores or complicated shopping lists.
- Perfect for Summer Celebrations: Whether it’s the Fourth of July, Memorial Day, or just a sunny weekend, these treats add instant festive flair.
- Crowd-Pleaser: Kids and adults alike love the classic crunch mixed with a patriotic pop of color.
- Unbelievably Delicious: The balance of crispy cereal with gooey marshmallows is classic comfort food with a twist that looks the part.
This isn’t your average Rice Krispie treat. The trick? Using just the right amount of butter and marshmallow, plus a sprinkle of red and blue food coloring or colored cereal bits to get that bold, celebratory vibe. It feels homemade but special enough to bring smiles at any party. Honestly, it’s the kind of recipe that makes you close your eyes after the first bite and say, “Yep, this is exactly what I needed.”
What Ingredients You Will Need
This recipe keeps things delightfully simple, focusing on pantry staples that come together for maximum flavor and fun. Here’s what you’ll want to have on hand:
- Rice Krispies cereal: About 6 cups (150g) – I prefer Kellogg’s Rice Krispies for that classic crunch, but any similar crispy rice cereal works fine.
- Marshmallows: 10 ounces (about 280g) – regular sized, plain marshmallows. Use mini marshmallows if that’s what you have; it just melts faster.
- Unsalted butter: 3 tablespoons (42g) – softened but not melted. Using unsalted lets you control the salt balance better.
Optional for the patriotic twist:
- Red and blue food coloring: Just a few drops to tint the marshmallow mixture or parts of the treats.
- Colored sprinkles or edible glitter: For extra sparkle and festivity, especially fun for kids.
Substitution tips: If you want to keep it dairy-free, swap the butter for coconut oil—the texture shifts slightly but still delicious. For a gluten-free version, double-check that your cereal is certified gluten-free (some brands might cross-contaminate).
Equipment Needed
- Large saucepan: For melting butter and marshmallows. A heavy-bottomed pan helps prevent burning.
- Mixing spoon or spatula: A heat-resistant silicone spatula is my favorite; it scrapes the bowl well and handles sticky marshmallows.
- 9×13 inch baking pan: For shaping the treats. You can line it with parchment paper or lightly butter it for easy removal.
- Measuring cups and spoons: For accurate ingredient portions.
- Optional: Rubber gloves or cooking spray to help press the mixture down without sticking.
Just a heads-up: I tried using a microwave to melt the marshmallows once, but uneven heating made it a bit lumpy. Stovetop melting gives better control and that perfect gooey texture every time. If you don’t have a 9×13 pan, a similar size will work—just adjust the thickness accordingly.
Preparation Method
- Prepare your pan: Lightly grease a 9×13 inch (23×33 cm) baking pan or line it with parchment paper. This helps the treats come out cleanly later. Set aside.
- Melt the butter: In a large saucepan over low heat, melt 3 tablespoons (42g) of unsalted butter. This should take about 2-3 minutes. Stir occasionally to avoid browning.
- Add the marshmallows: Once the butter is melted, add 10 ounces (280g) of marshmallows to the pan. Stir continuously with a heat-resistant spatula until the marshmallows are completely melted and smooth, about 5 minutes. Avoid high heat to prevent scorching.
- Optional color step: If you want to tint your treats, now’s the time to add red or blue food coloring drops to the melted marshmallow mixture. Stir gently until the color is evenly distributed. Be careful not to add too much or the mixture will become runny.
- Mix in the cereal: Remove the pan from heat. Immediately add 6 cups (150g) of Rice Krispies cereal. Stir gently but quickly until every bit of cereal is coated in marshmallow goo. The texture should be sticky but not soggy.
- Transfer to pan: Pour the mixture into your prepared pan. Using a buttered spatula or lightly greased hands, press the mixture evenly and firmly into the pan. Don’t press too hard, or the treats will be dense instead of light and crispy.
- Cool and set: Let the treats sit at room temperature for about 30 minutes, or until fully set and easy to cut. For quicker setting, you can pop the pan in the fridge for 15 minutes.
- Cut and serve: Once set, use a sharp knife to cut into squares or fun shapes (stars work great for patriotic vibes). Clean your knife between cuts to keep edges neat.
Quick tips: If your marshmallow mix seems too stiff, a tiny splash of milk can help loosen it. Just don’t add too much, or your treats will get mushy. And trust me, the pressing step is where I always mess up first—go easy and you’ll get that perfect light crunch every time.
Cooking Tips & Techniques
Making easy patriotic Rice Krispie treats is straightforward, but a few tricks can make your batch stand out:
- Low and slow melting: Keep your heat low when melting butter and marshmallows. Rushing this step leads to burnt bits and a grainy texture.
- Use fresh marshmallows: Old marshmallows dry out and won’t melt as smoothly. I learned this the hard way after trying leftover ones from a camping trip!
- Don’t skip greasing your hands or spatula: The sticky marshmallow mix loves to cling. Lightly greasing helps you shape without the mess.
- Color carefully: Adding food coloring is fun, but too much liquid dye can change the texture. Gel or paste colors are better than liquid drops for this recipe.
- Timing matters: Work quickly once the marshmallows are melted. The mixture sets fast, so have your pan ready and cereal measured out.
- Multitasking advice: While the treats cool, clean your utensils and pan to save time. You’ll thank yourself later.
Variations & Adaptations
Want to mix things up? Here are some simple ways to customize your patriotic Rice Krispie treats:
- Flavor twist: Add a teaspoon of vanilla or almond extract to the melted marshmallow for an extra layer of flavor.
- Crunch factor: Mix in some chopped nuts or mini chocolate chips for texture contrast. Just fold them in gently.
- Healthier swap: Use puffed quinoa or brown rice cereal for a gluten-free, slightly nuttier flavor.
- Dairy-free option: Replace butter with coconut oil and use vegan marshmallows.
- Shape fun: Use star-shaped cookie cutters for serving, making it even more festive for your holiday table.
Once, I tried layering white and blue tinted marshmallow mixtures for a marbled effect. It looked a bit messy but tasted great—proof that even imperfect experiments can bring joy!
Serving & Storage Suggestions
These treats are best served at room temperature. The texture is delightfully crispy, with just enough chew from the marshmallow.
Pair them with:
- Cold lemonade or iced tea for a refreshing combo
- Fresh fruit like strawberries and blueberries to echo the patriotic theme
- Simple vanilla ice cream for dessert indulgence
Storage tips:
- Keep treats in an airtight container at room temperature for up to 3 days.
- For longer storage, wrap individual pieces tightly in plastic wrap and freeze for up to 1 month.
- Reheat frozen treats briefly in the microwave (10-15 seconds) to soften before serving.
Over time, the marshmallow coating firms up a bit, so if you like them extra soft, fresh is best. But honestly, the nostalgic crunch stays just right no matter when you dig in.
Nutritional Information & Benefits
Each serving of these easy patriotic Rice Krispie treats (about one square) contains roughly:
- Calories: 150-180
- Carbohydrates: 30g
- Sugars: 20g
- Fat: 4-5g
- Protein: 1-2g
While these are definitely a treat, they’re made with simple ingredients and no artificial preservatives. Rice Krispies cereal provides a light crunch without heaviness, and marshmallows bring that classic sweetness. For those watching gluten intake, be sure to choose certified gluten-free cereal.
From a wellness perspective, these treats are perfect for sharing in moderation, especially when paired with fresh fruit or balanced meals. I find they brighten up celebrations without overcomplicating the menu, which is a win in my book.
Conclusion
So, there you have it—my favorite easy patriotic Rice Krispie treats recipe that’s quick, fuss-free, and always a hit. Whether you’re new to making Rice Krispie treats or looking for a festive twist to impress your friends, this recipe delivers simple joy in every bite.
Feel free to play with colors, shapes, or add-ins based on what your family loves. I keep coming back to this recipe because it reminds me of that unexpected moment with Mrs. Jenkins—simple kindness wrapped in sweet, crunchy goodness.
If you give it a try, I’d love to hear how it turns out for you! Drop a comment below or share your own recipe spins. Let’s keep the celebration going in the kitchen!
Frequently Asked Questions
Can I make these treats ahead of time?
Absolutely! They store well for up to 3 days at room temperature, and you can freeze them for longer storage.
What if I don’t have food coloring?
No worries! The treats still taste delicious without color. You can also use natural coloring like beet juice or blueberry powder for a subtle tint.
Can I use a different cereal?
Yes! Puff rice or gluten-free crispy cereals work, but the texture and taste might vary slightly.
How do I keep the treats from sticking to my hands?
Lightly grease your hands with butter or cooking spray before pressing the mixture into the pan.
Is there a way to make these less sweet?
You can reduce marshmallows slightly or add a pinch of salt to balance sweetness, but keep in mind texture changes if you alter ingredient ratios too much.
For a fun twist on classic treats, you might enjoy the crispy garlic chicken recipe I shared recently—another easy crowd-pleaser perfect for summer dinners.
Pin This Recipe!
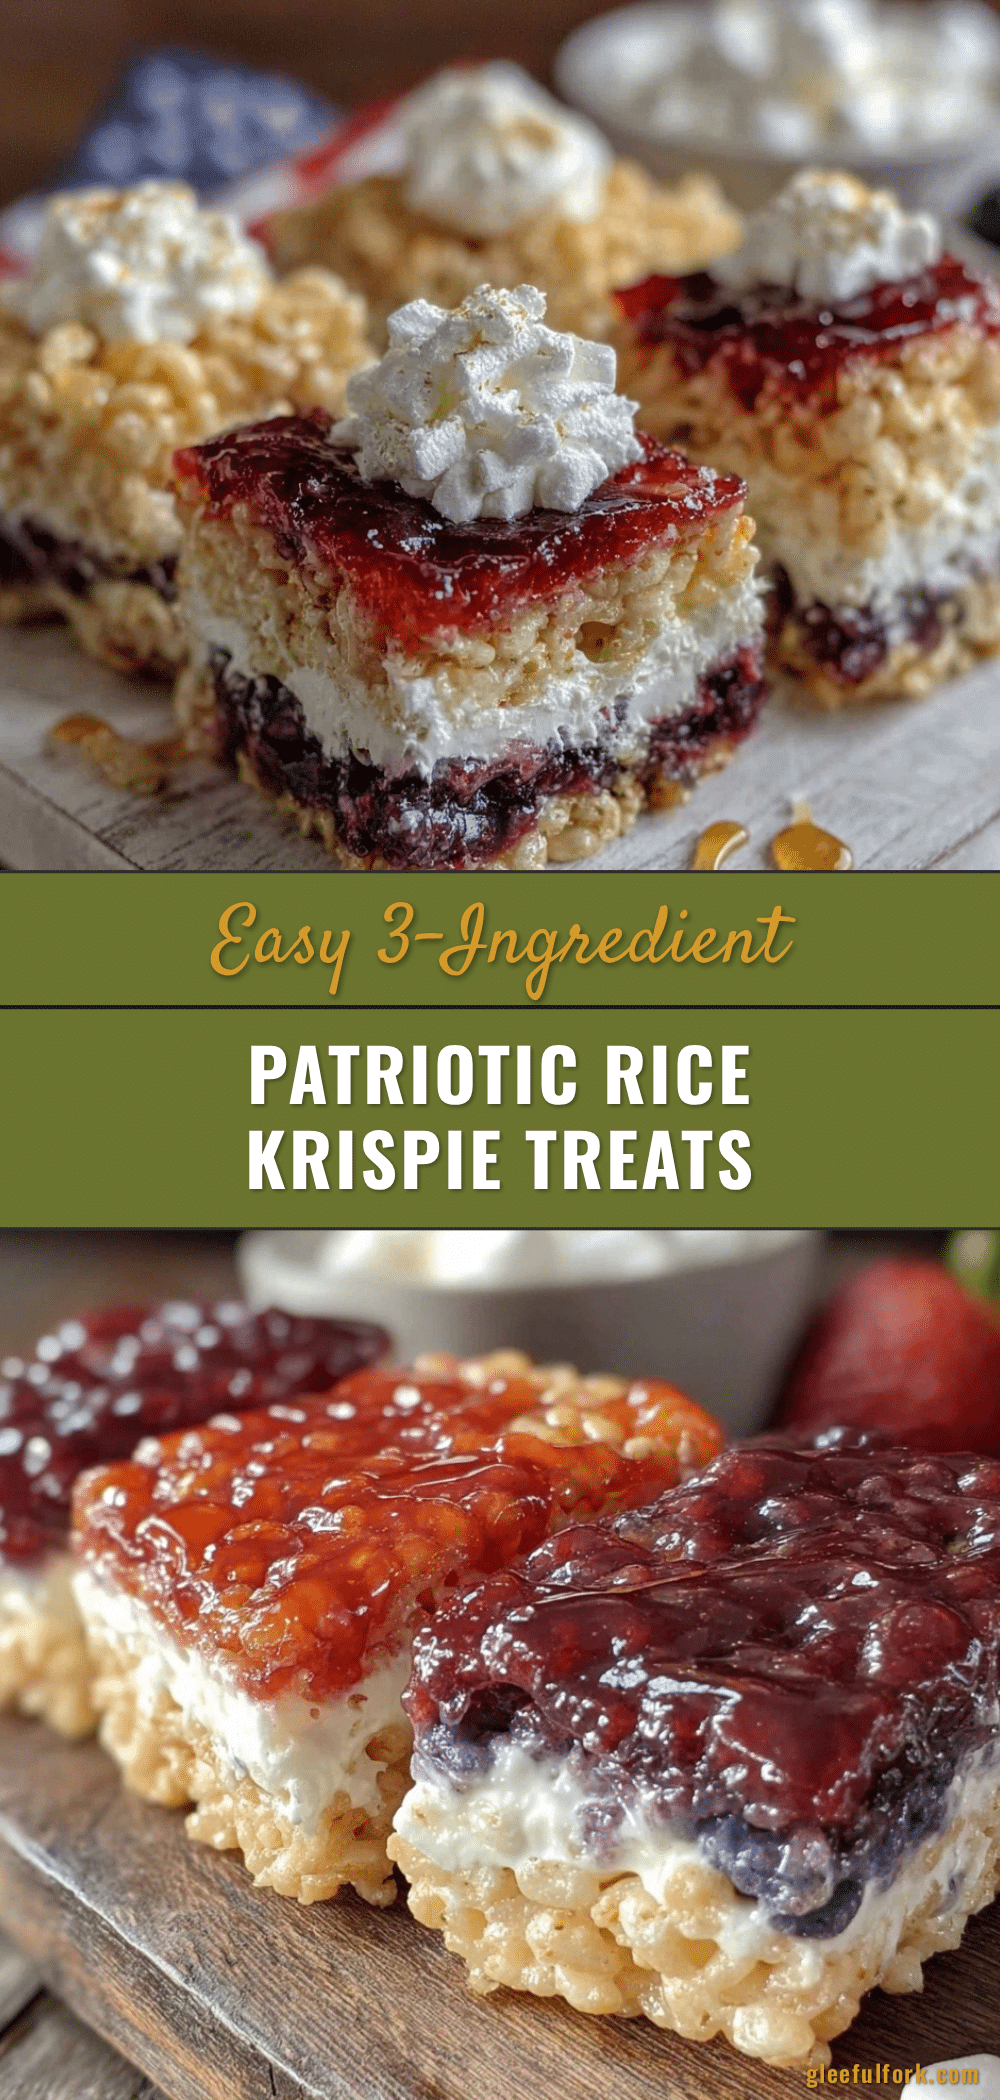
Easy Patriotic Rice Krispie Treats Recipe with 3 Simple Ingredients
A quick and festive recipe for classic Rice Krispie treats with a patriotic twist, perfect for summer celebrations and last-minute parties.
- Prep Time: 10 minutes
- Cook Time: 10 minutes
- Total Time: 20 minutes
- Yield: 12 servings 1x
- Category: Dessert
- Cuisine: American
Ingredients
- 6 cups (150g) Rice Krispies cereal
- 10 ounces (280g) regular sized plain marshmallows
- 3 tablespoons (42g) unsalted butter, softened but not melted
- Optional: red and blue food coloring
- Optional: colored sprinkles or edible glitter
Instructions
- Lightly grease a 9×13 inch (23×33 cm) baking pan or line it with parchment paper. Set aside.
- In a large saucepan over low heat, melt 3 tablespoons (42g) of unsalted butter, stirring occasionally for 2-3 minutes.
- Add 10 ounces (280g) of marshmallows to the pan. Stir continuously with a heat-resistant spatula until marshmallows are completely melted and smooth, about 5 minutes. Avoid high heat.
- Optional: Add a few drops of red or blue food coloring to the melted marshmallow mixture and stir gently until color is evenly distributed.
- Remove the pan from heat. Immediately add 6 cups (150g) of Rice Krispies cereal. Stir gently but quickly until every bit of cereal is coated.
- Pour the mixture into the prepared pan. Using a buttered spatula or lightly greased hands, press the mixture evenly and firmly into the pan without pressing too hard.
- Let the treats sit at room temperature for about 30 minutes or until fully set. For quicker setting, refrigerate for 15 minutes.
- Cut into squares or fun shapes once set. Clean knife between cuts for neat edges.
Notes
Use low heat to melt butter and marshmallows slowly to avoid burning. Grease hands or spatula to prevent sticking when pressing mixture. Gel or paste food coloring is preferred over liquid to avoid runny texture. Work quickly once marshmallows are melted as mixture sets fast. For dairy-free, substitute butter with coconut oil and use vegan marshmallows. For gluten-free, ensure cereal is certified gluten-free.
Nutrition
- Serving Size: One square treat
- Calories: 165
- Sugar: 20
- Sodium: 90
- Fat: 4.5
- Saturated Fat: 2.5
- Carbohydrates: 30
- Fiber: 0.5
- Protein: 1.5
Keywords: Rice Krispie treats, patriotic treats, easy dessert, 4th of July, marshmallow treats, quick recipe, summer dessert