Love this? Save it for later!
Share the inspiration with your friends
This was supposed to be a different kind of lunch. I had big plans for a thermos of hot soup, a crusty roll, and a cute little container of cut fruit. My seventh grader, however, had different plans. She came home that day, handed me the untouched thermos, and said, “Mom, I don’t have time to eat soup. I need things I can grab between classes.”
Honestly, I was a little annoyed at first. I had spent time on that soup! But then I thought about her day. She has seven minutes between classes, and her locker is on the opposite end of the school from the cafeteria. A bowl of soup? Not happening. She needed snacks that could survive being tossed in a backpack, eaten in a hurry, and still taste good at room temperature. That’s when the whole “locker snack box” idea was born.
It started as a total experiment. I grabbed some trail mix, cheese sticks, and crackers, threw them in a small plastic bin, and crossed my fingers. The next day, her entire snack box was empty. She said she shared with her friends, and they all wanted to know where she got it. I mean, you know that feeling when you accidentally stumble onto something that just works? That’s this recipe—except it’s not really a recipe, it’s a system. A way to make sure your middle schooler actually eats something during the day without you having to stress about it. Let me tell you, once you start making these snack boxes, you won’t go back.
Why You’ll Love These Snack Boxes
I’ve tested these snack boxes through two kids now, and let me tell you, they’ve been through it all. Backpacks tossed in the car, lockers crammed with textbooks, and even the occasional drop down a flight of stairs. These boxes hold up. Here is why they have become a staple in our house:
- Quick & Easy: You can assemble a whole week’s worth of snack boxes in under fifteen minutes on a Sunday afternoon. No cooking, no complicated prep.
- Simple Ingredients: Most of these items are already in your pantry or fridge. No fancy grocery trips needed for exotic superfoods.
- Perfect for Busy Schedules: These are designed for that chaotic seven-minute window between classes when your kid needs fuel, not a full meal.
- Crowd-Pleaser: I’ve made these for friends’ kids and even for my niece’s volleyball team. They always get rave reviews.
- Unbelievably Customizable: The texture and flavor combos are endless. Sweet, salty, crunchy, chewy—you can mix and match based on what your kid actually likes.
What makes these different from just throwing snacks in a bag? It’s the box. Having a dedicated container in their locker creates a sense of ownership. They know exactly where their snacks are, and it keeps everything organized. It’s not just another version of a lunchbox—it’s your best version of a locker-friendly system.
These snack boxes are the kind of thing that makes you feel like you’ve got this parenting thing figured out, even for just a moment. They are comfort for your kid—familiar, reliable, and always there when hunger strikes between third and fourth period.
What Ingredients You Will Need
This system uses simple, shelf-stable ingredients that can handle being in a locker for a few hours without going bad. You don’t need anything fancy, just a mix of protein, carbs, and a little treat to keep them going. Here is what I typically use, but feel free to swap based on your kid’s preferences and any school allergy policies.
- Protein Base:
- String cheese or cheese sticks (individually wrapped, stays fresh)
- Turkey or chicken jerky strips (I like the Chomps brand for clean ingredients)
- Hard-boiled eggs (peeled and kept in a small container, only for first-half snacks)
- Edamame pods (shelled, dry-roasted, and salted)
- Crunchy Element:
- Whole-grain crackers (I use Annie’s or Triscuit for sturdiness)
- Pretzel sticks or twists
- Rice cakes (mini ones work best)
- Roasted chickpeas (a great high-fiber option)
- Sweet Bite:
- Dried fruit like raisins, apricots, or mango slices
- Dark chocolate chips or a small square of chocolate (use dairy-free if needed)
- Fruit leather or fruit strips (look for ones with no added sugar)
- Apple sauce pouches (unsweetened, they don’t need refrigeration)
- Salty Finish:
- Mixed nuts (if the school allows them, check for allergies first)
- Sunflower seeds or pumpkin seeds
- Olive or pickle packs (individual serving sizes)
- Optional Extras:
- Individual hummus cups (for dipping crackers or veggies)
- Baby carrots or snap peas (only if they will be eaten within a few hours)
- Granola bars (I recommend Kind or Larabars for less sugar)
Equipment Needed
You don’t need a lot of fancy gear for this. The key is having the right containers that fit in a standard middle school locker. Here is what I use:
- Small plastic bins: I use the Rubbermaid TakeAlongs in the 2-cup size. They are cheap, stackable, and have a tight seal. A locker isn’t very wide, so measure before you buy.
- Ice pack (optional): If you include anything perishable like cheese or hummus, a slim ice pack can help. I use the PackIt brand because they are flexible and fit in small spaces.
- Snack-sized ziplock bags: Great for portioning out things like nuts or crackers so they don’t get stale.
- Small silicone muffin cups: These are brilliant for keeping different items separate inside the bin. They prevent the crackers from getting soggy next to the fruit.
- Permanent marker: Write your kid’s name on everything. Trust me on this one. I learned the hard way when my daughter’s snack box walked off to a friend’s locker.
Preparation Method
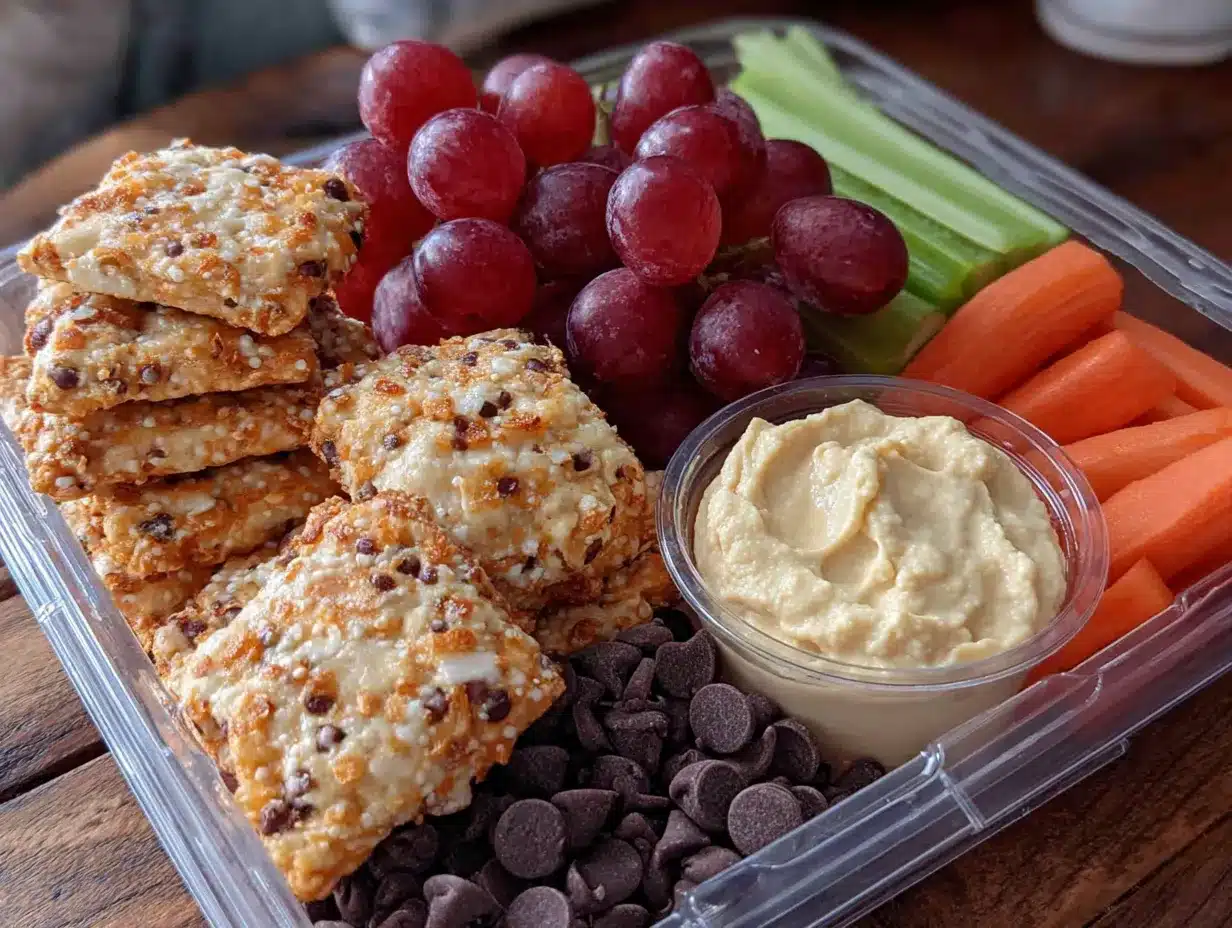
This is less about cooking and more about assembly, but there is a method to the madness. Follow these steps to build snack boxes that actually survive the school day.
- Wash and dry your containers. Make sure the bins are completely dry before adding anything. Moisture is the enemy of crunchy snacks. I let mine air dry on the counter overnight.
- Portion out your dry ingredients first. Fill your small ziplock bags or silicone cups with crackers, pretzels, nuts, or dried fruit. I do this for the whole week at once. It takes about five minutes and saves so much time in the morning.
- Add the protein. Place your cheese stick, jerky strip, or hard-boiled egg in the bin. If you are using an ice pack, put it at the bottom of the bin and place the protein on top. This keeps things cool without making everything soggy.
- Include the sweet treat. Tuck in a small piece of chocolate, a fruit leather, or an applesauce pouch. I always put this on the opposite side from the salty items so the flavors don’t mingle.
- Add a personal note (optional but highly recommended). I write a tiny message on a sticky note and stick it to the lid. Something like “You’ve got this!” or “Don’t forget water.” It sounds cheesy, but my kid says it makes her smile during a rough day.
- Seal the bin and label it. Snap the lid on tight and write your kid’s name and the day of the week on the top. If you are making several at once, this step prevents confusion.
- Store in the fridge or pantry. If you are prepping for the week, keep the bins in the fridge if they have perishable items. Otherwise, a cool, dry pantry works fine. I usually make three or four at a time and grab one each morning.
Pro tip: If your kid has a morning class that involves snacks (like a study hall or advisory period), put a separate small bag of snacks in the front of their backpack. That way they don’t have to dig through their locker first thing.
Cooking Tips & Techniques
I’ve made a lot of mistakes with these snack boxes. The first few times, I packed way too much, and my daughter couldn’t finish everything. Other times, I forgot to include a protein, and she was starving by lunch. Here are the lessons I learned the hard way:
- Don’t overpack. A middle schooler’s attention span is short. If the box is too full, they might not even open it. Stick to four or five items max. Quality over quantity.
- Avoid anything that crumbles easily. I learned this after finding a pile of cracker dust at the bottom of my daughter’s backpack. Sturdier crackers or pretzels hold up better. Rice cakes are a no-go unless they are the mini ones.
- Think about temperature. If your kid’s locker is near a heater or in direct sunlight, skip the chocolate. It will melt into a sad puddle. Same goes for cheese if the school doesn’t allow ice packs.
- Get your kid involved. I let my daughter pick out her own snacks at the store. When she has a say in what goes in the box, she actually eats it. Plus, she feels grown up making her own choices.
- Rotate the items. Don’t give them the same thing every day. I keep a list on my phone of different combos so I don’t get stuck in a rut. One week it’s turkey jerky and pretzels, the next it’s cheese and apple slices.
Variations & Adaptations
These snack boxes are endlessly adaptable. Here are some of my favorite variations that I’ve tried over the years:
- Gluten-Free Version: Swap the crackers and pretzels for gluten-free alternatives like rice crackers, veggie sticks, or popcorn. Many granola bars are now gluten-free too. Just double-check the labels.
- Nut-Free Version: This is a must for many schools. Replace nuts with seeds like pumpkin seeds or sunflower seeds. Use seed butter packets instead of nut butter. Always check with the school about their specific allergy policy.
- Savory Lover’s Box: Fill it with cheese sticks, turkey jerky, olive packs, and roasted chickpeas. Skip the sweet treat entirely. My son prefers this version—he says the sugar makes him feel sluggish in the afternoon.
- Sweet Tooth Box: Include dried mango, dark chocolate chips, an applesauce pouch, and a fruit leather. Add a small bag of yogurt-covered raisins for extra sweetness. My daughter’s friend requests this one whenever she comes over.
- Warm Weather Box: In the summer, when lockers get hot, skip anything that melts. Use shelf-stable items only: crackers, dried fruit, jerky, and individual nut butter packets. Add a cold water bottle to the mix.
Serving & Storage Suggestions
These snack boxes are best served at room temperature, straight from the locker. The whole point is convenience, so no reheating or fancy plating required. Here is how to store them and keep them fresh:
- Refrigerator: If you include perishable items like cheese, hard-boiled eggs, or hummus, store the assembled boxes in the fridge overnight. Grab one each morning and pop it in the backpack.
- Freezer: You can freeze some items like cheese sticks or jerky strips. They will thaw by the time your kid opens their locker. Avoid freezing anything with high water content like fruit or veggies.
- Pantry: For non-perishable boxes (crackers, dried fruit, nuts, granola bars), you can store them in a cool, dry pantry for up to a week. Just make sure the bins are sealed tightly to keep out moisture and pests.
- Reheating: Not applicable here, but if your kid wants something warm, pack a separate thermos of soup or leftovers. The snack box is for quick grabs, not full meals.
One thing I’ve noticed: the flavors actually get better over time if you include items like dried fruit and nuts. They sort of mingle together in a good way. My daughter says the pretzels absorb a little bit of sweetness from the dried mango, and she loves that.
Nutritional Information & Benefits
These snack boxes are designed to provide balanced energy without the sugar crash. Here is a rough estimate for a typical box containing one cheese stick, a handful of crackers, some dried fruit, and a few nuts:
- Calories: Approximately 300-350 calories per box
- Protein: 12-15 grams (from cheese, jerky, or nuts)
- Carbohydrates: 30-40 grams (from crackers and fruit)
- Fat: 15-20 grams (from cheese and nuts)
- Fiber: 3-5 grams (from fruit and whole grains)
The protein and healthy fats help keep blood sugar stable, which means better focus in class. The complex carbs provide steady energy, while the small sweet treat satisfies that afternoon craving without overdoing it. If your kid has a nut allergy, swapping in seeds provides similar healthy fats and protein. Just be mindful of sodium levels in some of the pre-packaged items like jerky or crackers.
FAQs
How long can these snack boxes sit in a locker?
If you use mostly shelf-stable items like crackers, dried fruit, and jerky, they can sit in a locker for the entire school day (about 6-7 hours) without any issues. If you include perishable items like cheese or hummus, add a small ice pack and they should stay safe for about 4-5 hours.
Can I use a bento box instead of a plastic bin?
Absolutely! Bento boxes with compartments are actually perfect for this because they keep everything separated. Just make sure the bento box fits in your kid’s locker. Some of the larger ones are too wide. I’ve used a Yumbox before and it worked great.
What if my kid doesn’t like any of these foods?
Start with their absolute favorites. The point is to get them to eat something during the day. If they only want goldfish crackers and fruit snacks, that’s fine for a start. Slowly introduce new items by mixing them with familiar ones. Over time, their palate will expand.
How do I handle school nut-free policies?
Many schools are nut-free zones these days. Replace nuts with seeds like sunflower seeds, pumpkin seeds, or roasted chickpeas. Use seed butter packets like SunButter instead of peanut butter. Always check labels on granola bars and crackers, as many are processed in facilities that handle nuts.
Can I make these for an entire week at once?
Yes! This is actually the best way to do it. Spend fifteen minutes on Sunday afternoon assembling five boxes. Store them in the fridge if they have perishable items, or in the pantry if they are all shelf-stable. Grab one each morning and toss it in the backpack. It saves so much time during the hectic school week.
Conclusion
These easy middle school locker snack boxes have honestly been a game-changer in our house. No more uneaten lunches, no more hangry kids after school, and no more scrambling in the morning to throw something together. They are simple, customizable, and designed to survive the chaos of a middle school day.
I love that this system gives my kid a little bit of independence. She can grab her own snack box from the fridge, toss it in her bag, and know she has something good waiting for her between classes. It’s one less thing for me to worry about, and one more way she feels in control of her own day.
I encourage you to try your own combinations. Let your kid pick out a few things they love, and see what works. You might be surprised at what they actually eat when given the choice. And if you come up with a killer combo, I would love to hear about it! Drop a comment below or share your creation on Pinterest. Happy snacking!
Pin This Recipe!
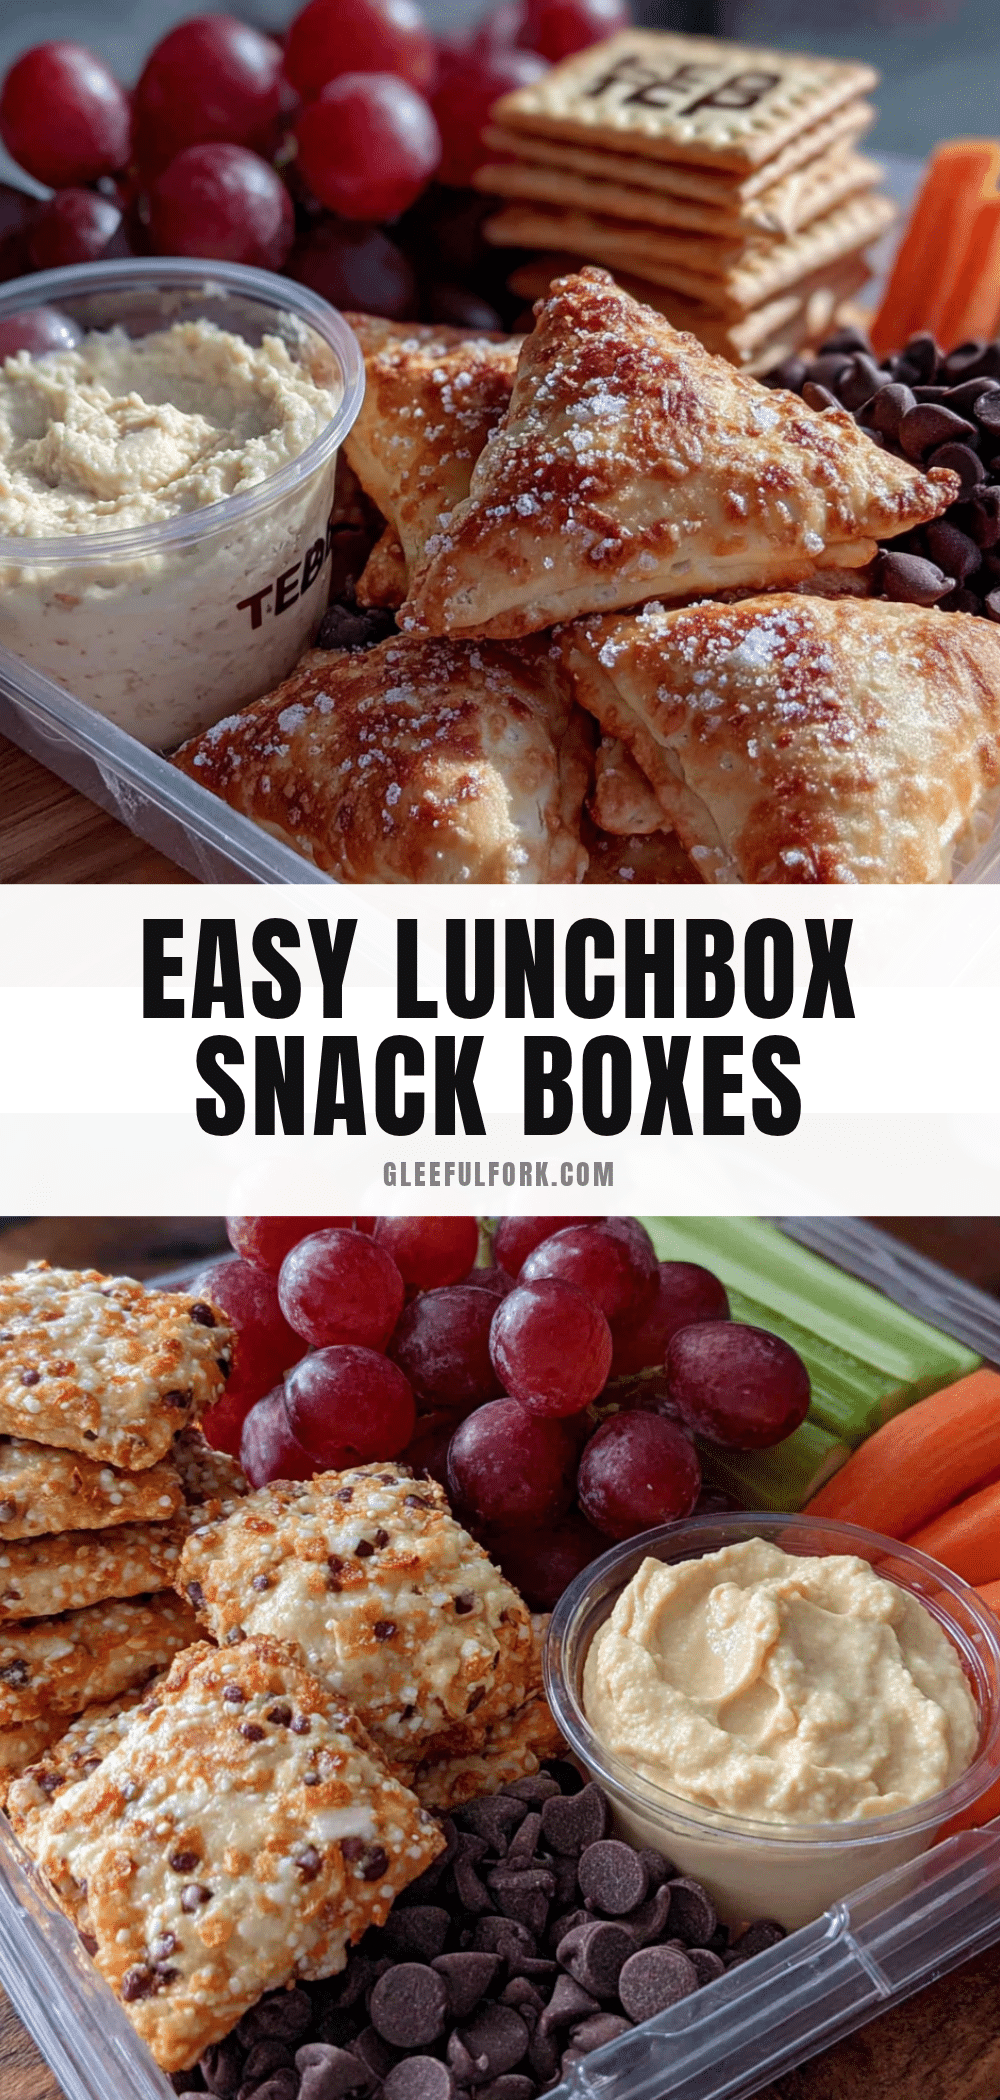
Easy Middle School Locker Snack Boxes: Best Grab-and-Go Ideas
A simple, customizable system for assembling grab-and-go snack boxes that survive the chaos of a middle school day. Perfect for busy schedules, these boxes provide balanced energy without the sugar crash.
- Prep Time: 15 minutes
- Cook Time: 0 minutes
- Total Time: 15 minutes
- Yield: 1 snack box (adjustable for multiple boxes)
- Category: Snack
- Cuisine: American
Ingredients
- String cheese or cheese sticks (individually wrapped)
- Turkey or chicken jerky strips (e.g., Chomps brand)
- Hard-boiled eggs (peeled, for first-half snacks)
- Edamame pods (shelled, dry-roasted, salted)
- Whole-grain crackers (e.g., Annie’s or Triscuit)
- Pretzel sticks or twists
- Mini rice cakes
- Roasted chickpeas
- Dried fruit (raisins, apricots, mango slices)
- Dark chocolate chips or small square of chocolate
- Fruit leather or fruit strips (no added sugar)
- Unsweetened applesauce pouches
- Mixed nuts (if school allows)
- Sunflower seeds or pumpkin seeds
- Olive or pickle packs (individual serving sizes)
- Individual hummus cups (optional)
- Baby carrots or snap peas (optional, for same-day use)
- Granola bars (e.g., Kind or Larabars, optional)
Instructions
- Wash and dry your containers completely to avoid moisture.
- Portion out dry ingredients (crackers, pretzels, nuts, dried fruit) into small ziplock bags or silicone cups.
- Add the protein: place cheese stick, jerky strip, or hard-boiled egg in the bin. If using an ice pack, put it at the bottom and place protein on top.
- Include the sweet treat: tuck in chocolate, fruit leather, or applesauce pouch on the opposite side from salty items.
- Optional: add a personal note on a sticky note to the lid.
- Seal the bin tightly and label with your kid’s name and day of the week.
- Store in the fridge if perishable items are included, otherwise in a cool, dry pantry. Assemble up to a week’s worth at once.
Notes
Don’t overpack; stick to 4-5 items. Avoid crumbly items like regular rice cakes. Consider locker temperature to avoid melting chocolate. Get your kid involved in choosing snacks. Rotate items to prevent boredom.
Nutrition
- Serving Size: 1 snack box
- Calories: 300350
- Sugar: 1015
- Sodium: 400600
- Fat: 1520
- Saturated Fat: 57
- Carbohydrates: 3040
- Fiber: 35
- Protein: 1215
Keywords: locker snacks, grab-and-go, middle school snacks, easy snack boxes, school lunch ideas, no-cook snacks, kid-friendly snacks


