Love this? Save it for later!
Share the inspiration with your friends
Last Fourth of July, I found myself staring at a half-empty freezer and a box of popsicle molds that had been gathering dust for months. The neighborhood block party was just hours away, and I’d promised to bring something festive and fun. Honestly, I wasn’t planning on anything fancy—just something quick and colorful to beat the heat. I rummaged through the fridge and realized I had everything to recreate those nostalgic bomb pop popsicles we all loved as kids, but with my own homemade twist.
The process wasn’t exactly smooth sailing. At one point, I accidentally spilled the red layer all over the counter (classic me), and the timing for freezing each layer tested my patience. Yet, the moment I bit into that sweet, icy treat with perfect red, white, and blue stripes, I knew the wait was worth it. It wasn’t just about the colors or the cool refreshment—it was the little victory of making something so simple yet so joyful from scratch.
Maybe you’ve been there, scrambling to whip up something festive without running to the store at the last minute. This Easy Homemade Bomb Pop Popsicles recipe is exactly what you need for those moments. It’s quick, uses ingredients you probably already have, and creates a show-stopping, patriotic treat that’s perfect for summer fun or any casual celebration. Let me tell you, once I nailed the layering technique, this became a staple for sunny afternoons and spontaneous parties alike.
Why You’ll Love This Recipe
This recipe is a total win when you want a cool, colorful treat without fuss or fancy ingredients. After making it a dozen times (not exaggerating), I’m confident it’s one of the easiest popsicles you’ll ever tackle with consistently great results.
- Quick & Easy: Comes together in under 30 minutes, plus freezing time, making it perfect for last-minute summer cravings or unexpected guests.
- Simple Ingredients: No need to hunt down weird flavorings—just fruit juice, yogurt, and a touch of sweetness.
- Perfect for Patriotic Celebrations: Great for the Fourth of July, Memorial Day, or any day you want to show some red, white, and blue pride.
- Crowd-Pleaser: Kids and adults alike can’t get enough of these nostalgic treats with a fresh homemade touch.
- Unbelievably Delicious: The combo of tart, creamy, and sweet layers hits the spot every time.
What makes this version stand out is the balance between the layers. The red is naturally sweet and fruity, the white is creamy yet light thanks to Greek yogurt, and the blue is subtly tangy with blueberry juice. It’s not just a popsicle; it’s a layered experience that takes you back while feeling fresh and homemade. Honestly, this recipe is proof that sometimes the best treats come from the simplest ideas executed with a little patience and love.
What Ingredients You Will Need
This recipe uses simple, wholesome ingredients to deliver bold flavor and satisfying texture without the fuss. Most are pantry staples or fresh juices you can find year-round. Here’s what you’ll gather to make the three perfect red, white, and blue layers:
- For the Red Layer:
- 1 cup fresh or frozen strawberries, hulled and chopped (or use strawberry juice for convenience)
- 2 tablespoons granulated sugar (adjust to taste)
- 1/4 cup water
- 1 teaspoon lemon juice (adds brightness)
- For the White Layer:
- 1 cup plain Greek yogurt (I like Chobani for its creamy texture)
- 2 tablespoons sweetened condensed milk or honey (for a touch of sweetness)
- 1 teaspoon vanilla extract
- For the Blue Layer:
- 1 cup fresh or frozen blueberries (or blueberry juice if you want a smoother texture)
- 2 tablespoons sugar or maple syrup
- 1/4 cup water
- 1 teaspoon lemon juice
Ingredient tips: For the fruit layers, fresh is great if you have it, but frozen works just as well (and often cheaper). Using juice instead of whole fruit saves blending time but lacks some pulp texture. Feel free to swap Greek yogurt for a dairy-free coconut yogurt if needed — it keeps the creamy middle layer intact. I usually pick smaller berries for the best flavor punch, and make sure to taste the fruit mixes before freezing to tweak sweetness.
Equipment Needed
- Popsicle molds with sticks — I recommend silicone molds for easy popping; if you don’t have molds, small paper cups and popsicle sticks work fine too.
- Blender or food processor — essential for pureeing fruit smoothly.
- Mixing bowls — a couple to prep each colored layer separately.
- Measuring cups and spoons — for accuracy in liquid ratios and sweetness.
- Fine mesh sieve (optional) — for straining fruit mixtures if you prefer a smoother popsicle without seeds or pulp.
If you don’t own a blender, a potato masher and a fork can do the trick for mashing berries, though the texture will be chunkier. Silicone molds are a bit pricier but worth it for how easily the popsicles release — no chipped edges or broken sticks! I once used old yogurt containers as a budget hack, lining them with parchment paper to pull popsicles out easier.
Preparation Method
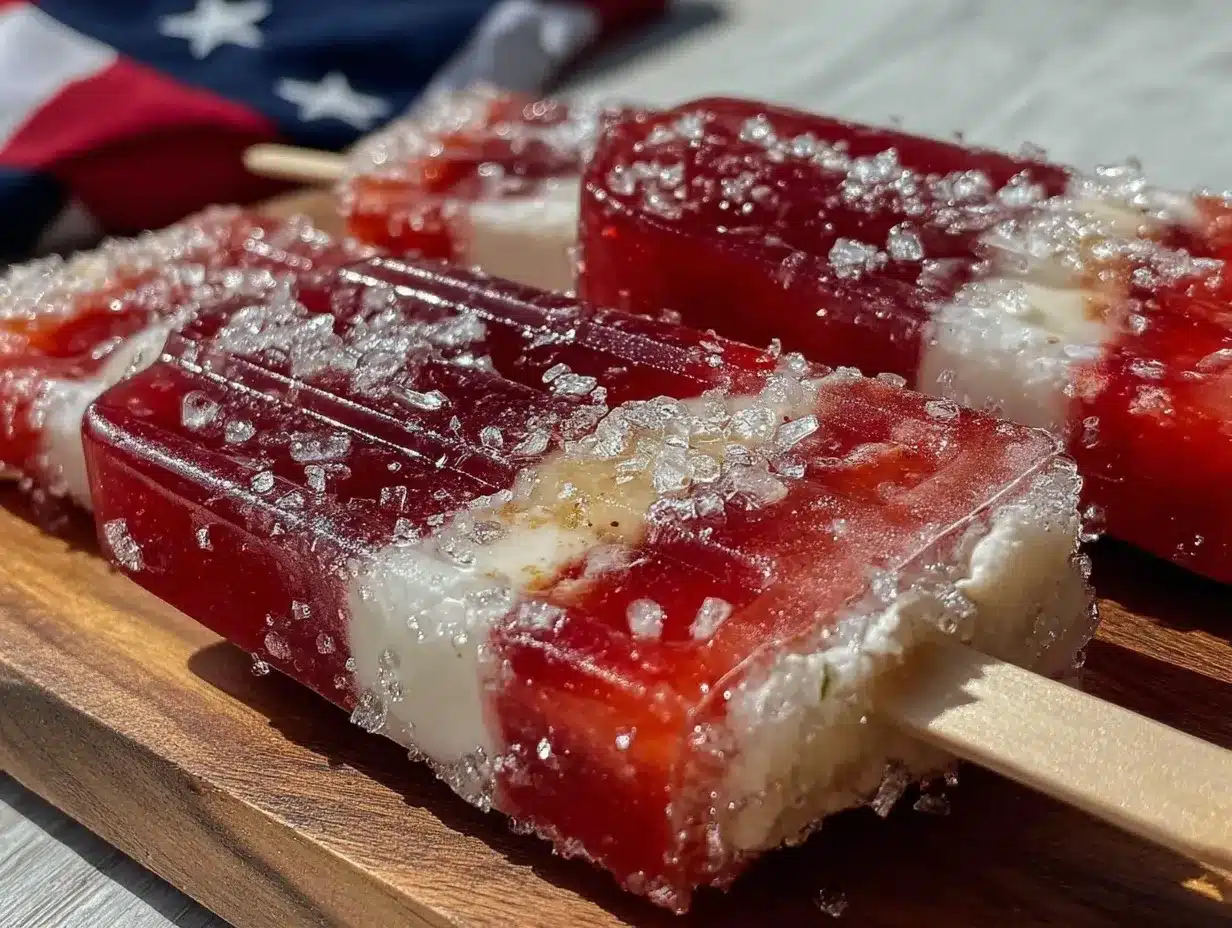
- Prepare the Red Layer: In a blender, combine strawberries, sugar, water, and lemon juice. Blend until smooth. Taste and adjust sweetness if needed. Pour the mixture into a fine mesh sieve over a bowl if you want to remove seeds, pressing gently with a spoon. Pour the strained mixture into your popsicle molds, filling each about one-third full. Freeze for 45-60 minutes, or until solid but not rock hard.
- Make the White Layer: While the red layer freezes, mix Greek yogurt, sweetened condensed milk, and vanilla extract in a bowl until smooth. Once the red layer is set, carefully spoon the white yogurt mixture over it, filling molds to about two-thirds full. Tap molds lightly to remove air bubbles. Freeze again for 45 minutes or until firm.
- Prepare the Blue Layer: Blend blueberries, sugar, water, and lemon juice until smooth. Strain if desired. Pour this mixture gently over the white layer, filling the molds to the top. Insert popsicle sticks (if your mold design requires it). Freeze for at least 3-4 hours, or overnight for best results.
- Unmold and Serve: To remove popsicles, run warm water over the outside of the molds for 10-15 seconds. Gently pull popsicles free. Serve immediately or keep frozen until ready to enjoy.
Pro tips: Timing is key here. Make sure each layer is firm but not completely frozen solid before adding the next or else the layers will mix. If you’re in a hurry, pop the molds in the freezer’s coldest spot. Expect some spills (I always do!), so keep a damp cloth handy. The layering is a bit of a balancing act but trust me, the visual payoff is totally worth it.
Cooking Tips & Techniques
The trickiest part of this recipe is definitely getting those crisp, defined red, white, and blue layers. Here’s what I’ve learned from trial and error:
- Freeze Between Layers: Patience is your best friend. Wait until each layer is firm enough so the next one doesn’t sink in. Usually, 45 minutes to an hour works, but it depends on your freezer.
- Use a Gentle Pour: Pour the next layer slowly over the back of a spoon or down the side of the mold to avoid breaking through the frozen layer.
- Balance Sweetness: Taste each fruit mixture before freezing. Adjust sugar to your preference, keeping in mind freezing dulls sweetness slightly.
- Choose the Right Yogurt: Greek yogurt works best for a creamy white layer that holds shape well. Regular yogurt can be too runny.
- Work Quickly: When pouring layers, move efficiently so the previous layer doesn’t start melting. If you notice melting, pop molds back into freezer immediately.
- Don’t Skip Straining: For the smoothest result without seeds or pulp, strain the fruit mixtures—but it’s not mandatory if you like a bit of texture.
I once forgot to freeze the red layer long enough and ended up with a messy purple mix instead of crisp stripes—lesson learned! Also, using silicone molds makes the unmolding step way less stressful. If you don’t have those, dipping the mold in warm water briefly helps release the popsicles cleanly.
Variations & Adaptations
If you want to switch things up or accommodate dietary needs, here are a few ideas I’ve tried or recommend:
- Dairy-Free Version: Swap the Greek yogurt for coconut or almond milk yogurt. Use maple syrup instead of sweetened condensed milk.
- Flavor Twists: Try raspberry or watermelon for the red layer, vanilla coconut milk for the white, and blackberry or acai juice for the blue.
- Alcohol-Infused: Add a splash of vodka or rum to the fruit layers for an adult-only treat. Just be mindful that alcohol might affect freezing times.
- Extra Creamy White Layer: Mix in a bit of cream cheese or mascarpone for a richer middle layer, especially great if you want a cheesecake vibe.
- Using Different Molds: If you’re using ice cube trays or mini molds, reduce layer amounts and freezing times accordingly.
Once, I swapped the blueberry layer with a blueberry-lavender blend for a subtle floral note — unexpected but surprisingly refreshing! Feel free to play with flavors and colors that fit your celebration or mood.
Serving & Storage Suggestions
These popsicles are best served straight from the freezer on a warm day, but you can store them for up to a month without losing quality. Here’s how I handle serving and storage:
- Serving Temperature: Serve chilled but not frozen rock-hard. Let popsicles sit at room temperature for 2-3 minutes before enjoying.
- Presentation: Arrange popsicles on a platter lined with fresh berries or mint leaves for a festive touch.
- Storage: Keep popsicles in their molds or transfer to a freezer-safe container. If removing from molds, wrap each in parchment paper to prevent sticking.
- Reheating: No reheating needed, but if popsicles are too hard, warm the molds under running warm water briefly to loosen.
- Flavor Development: Fresh popsicles taste best, but flavors meld nicely if stored a few days. Avoid freezer burn by sealing well.
For a fun twist, serve alongside a summer fruit salad or a glass of sparkling lemonade to round out your patriotic feast perfectly.
Nutritional Information & Benefits
These homemade popsicles are a refreshing treat that’s lighter than many store-bought options. Here’s an estimate per popsicle (based on 6 servings):
| Calories | 90-110 |
|---|---|
| Protein | 3-4 grams |
| Fat | 1-2 grams |
| Carbohydrates | 18-20 grams |
| Fiber | 2-3 grams |
| Sugar | 12-14 grams (mostly natural fruit sugars) |
The key ingredients offer some health perks: berries are packed with antioxidants and vitamin C, Greek yogurt adds protein and probiotics, and using natural sweeteners keeps it balanced. Plus, making popsicles at home means you control the sugar content and avoid artificial dyes or preservatives often found in commercial bomb pops.
If you’re gluten-free or following a low-fat diet, this recipe fits right in. Just be mindful of any allergies to dairy or specific fruits and swap accordingly.
Conclusion
This Easy Homemade Bomb Pop Popsicles recipe is a simple, fun way to make a classic childhood favorite your own. It’s approachable, requires minimal ingredients, and delivers that iconic red, white, and blue look that brings smiles to any summer gathering. I love this recipe because it reminds me that sometimes, the best memories come from the simplest moments—like sharing a popsicle on a hot day with friends or family.
Feel free to tweak the layers, add your own flavors, or experiment with different molds. I’d love to hear how you customize your bomb pops! Drop a comment below sharing your twists or any questions you have. And if you’re all about easy summer treats, you might enjoy my spin on crispy garlic chicken or the fresh flavors in my lemon herb quinoa salad, perfect to pair with something cool and sweet.
Here’s to many sunny days and colorful popsicles ahead!
FAQs About Easy Homemade Bomb Pop Popsicles
How long do homemade bomb pop popsicles take to freeze?
Each layer needs about 45-60 minutes to firm up before adding the next, with a final freeze of 3-4 hours (or overnight) to fully set the popsicles.
Can I use store-bought fruit juice instead of fresh fruit?
Yes! Using juice speeds up preparation and gives a smoother texture, but fresh fruit adds more natural sweetness and texture.
What if I don’t have popsicle molds?
No worries—small paper cups or silicone muffin liners work fine. Just insert sticks once the layers are partially frozen to help them stand upright.
Can I make these popsicles vegan?
Absolutely. Replace Greek yogurt with coconut or almond milk yogurt and swap sweetened condensed milk for maple syrup or agave nectar.
Why are my popsicle layers mixing together?
This usually happens if the previous layer isn’t frozen enough before adding the next. Make sure each layer is firm to the touch but not rock solid before pouring the next one.
Pin This Recipe!
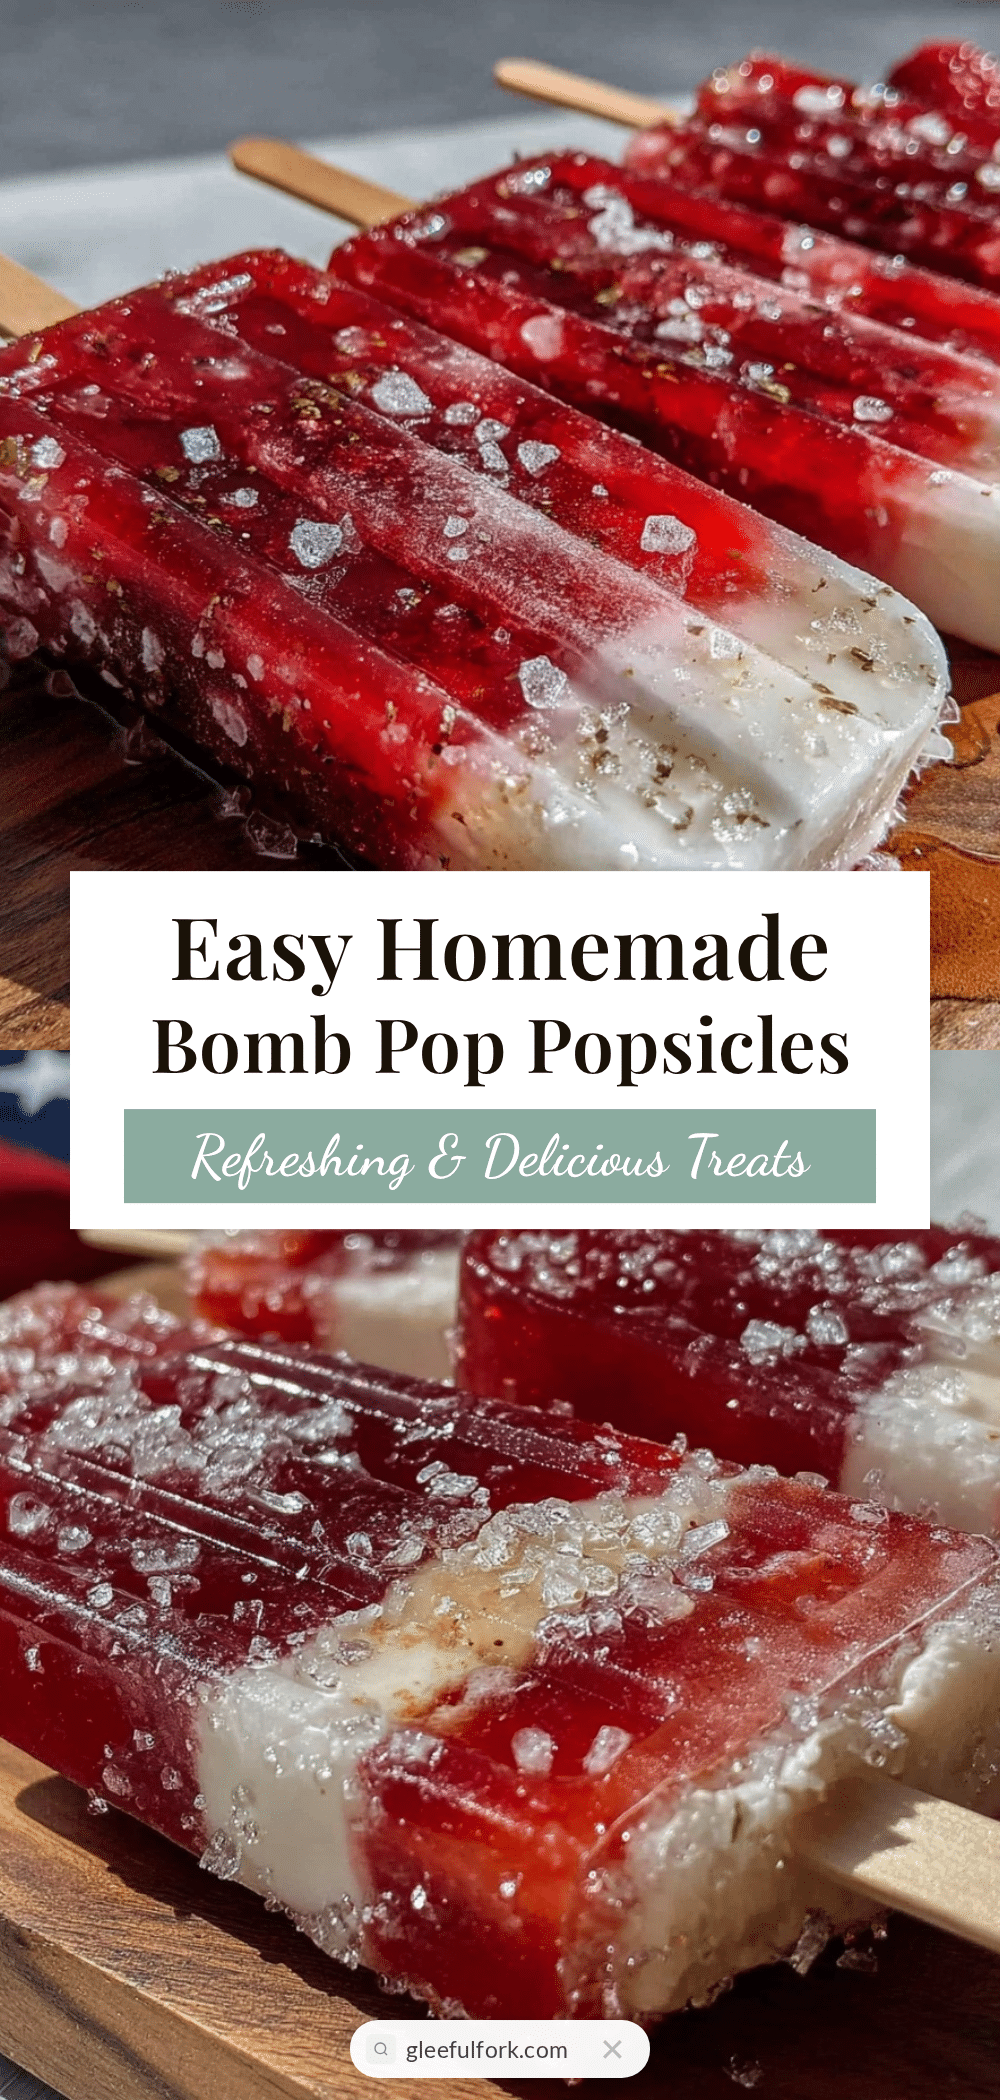
Easy Homemade Bomb Pop Popsicles Recipe with 3 Perfect Layers
A quick and colorful homemade version of the classic bomb pop popsicles with red, white, and blue layers made from simple ingredients like fruit, Greek yogurt, and natural sweeteners. Perfect for patriotic celebrations or summer fun.
- Prep Time: 15 minutes
- Cook Time: 4 hours 30 minutes
- Total Time: 4 hours 45 minutes
- Yield: 6 servings 1x
- Category: Dessert
- Cuisine: American
Ingredients
- 1 cup fresh or frozen strawberries, hulled and chopped (or strawberry juice)
- 2 tablespoons granulated sugar (adjust to taste)
- 1/4 cup water
- 1 teaspoon lemon juice
- 1 cup plain Greek yogurt
- 2 tablespoons sweetened condensed milk or honey
- 1 teaspoon vanilla extract
- 1 cup fresh or frozen blueberries (or blueberry juice)
- 2 tablespoons sugar or maple syrup
- 1/4 cup water
- 1 teaspoon lemon juice
Instructions
- Prepare the Red Layer: In a blender, combine strawberries, sugar, water, and lemon juice. Blend until smooth. Taste and adjust sweetness if needed. Pour the mixture into a fine mesh sieve over a bowl if you want to remove seeds, pressing gently with a spoon. Pour the strained mixture into your popsicle molds, filling each about one-third full. Freeze for 45-60 minutes, or until solid but not rock hard.
- Make the White Layer: While the red layer freezes, mix Greek yogurt, sweetened condensed milk, and vanilla extract in a bowl until smooth. Once the red layer is set, carefully spoon the white yogurt mixture over it, filling molds to about two-thirds full. Tap molds lightly to remove air bubbles. Freeze again for 45 minutes or until firm.
- Prepare the Blue Layer: Blend blueberries, sugar, water, and lemon juice until smooth. Strain if desired. Pour this mixture gently over the white layer, filling the molds to the top. Insert popsicle sticks (if your mold design requires it). Freeze for at least 3-4 hours, or overnight for best results.
- Unmold and Serve: To remove popsicles, run warm water over the outside of the molds for 10-15 seconds. Gently pull popsicles free. Serve immediately or keep frozen until ready to enjoy.
Notes
Freeze each layer until firm but not rock solid before adding the next to prevent mixing. Pour layers gently over the back of a spoon or down the side of the mold. Use silicone molds for easier unmolding. Strain fruit mixtures for smoother texture but it’s optional. Adjust sweetness to taste as freezing dulls sweetness slightly. For dairy-free version, substitute Greek yogurt with coconut or almond milk yogurt and sweetened condensed milk with maple syrup.
Nutrition
- Serving Size: 1 popsicle
- Calories: 90110
- Sugar: 1214
- Fat: 12
- Carbohydrates: 1820
- Fiber: 23
- Protein: 34
Keywords: bomb pop, popsicles, homemade popsicles, patriotic dessert, red white and blue, summer treat, easy popsicles, layered popsicles


