Love this? Save it for later!
Share the inspiration with your friends
Introduction
“The power went out halfway through our backyard barbecue last summer, and honestly, I thought we’d have to scrap the whole thing,” I remember saying to myself as the sun dipped low. But then my neighbor, Jeff, who usually keeps to himself, pulled out a cooler with fresh corn on the cob he’d picked that morning from the local farmer’s market. We gathered around his portable grill, and in no time, those ears of corn were sizzling, smelling like sunshine and summer itself.
I wasn’t expecting much, but that first juicy bite was a revelation. The kernels popped with sweetness and a tender snap that made me realize just how simple it could be to get corn on the cob right. No fancy marinades, no complicated steps—just perfect, juicy corn that stole the show. Maybe you’ve been there, scrambling for a quick side dish that feels both effortless and special? This easy corn on the cob recipe is exactly that.
Since then, I’ve experimented with different cooking methods and tweaks, but this simple, five-step approach stays my go-to every time. It’s the kind of recipe that gets better with practice, and honestly, it’s saved more than a few dinner parties and last-minute meals. Let me tell you, once you master this, you’ll never look at corn on the cob the same way again.
Why You’ll Love This Recipe
After countless tries in my kitchen, this easy corn on the cob recipe stands out because it hits all the right notes. It’s quick, approachable, and foolproof—perfect for anyone who wants juicy, tender corn without fussing over complicated instructions.
- Quick & Easy: From husk to table in under 30 minutes, it’s ideal for busy weeknights or impromptu gatherings.
- Simple Ingredients: No need for specialty items or long shopping lists; just fresh corn and a few basics.
- Perfect for Summer Cookouts: Whether you’re tossing burgers on the grill or serving a casual family meal, corn on the cob is a classic companion.
- Crowd-Pleaser: Kids and adults alike can’t get enough of the sweet, juicy kernels with a touch of butter and seasoning.
- Unbelievably Delicious: The method locks in moisture for tender, flavorful bites—none of that dried-out, tough corn you sometimes get.
This recipe isn’t just another boiled corn method; it’s about coaxing out the best natural sweetness and juiciness with minimal effort. I’ve found that soaking the corn briefly before cooking adds a subtle, tender texture that really sets it apart. Plus, a quick grill or stovetop finish brings out a faint smoky hint that’s honestly addictive. You’ll close your eyes after that first bite, trust me.
So, if you’re looking to impress without stress or just craving that perfect corn experience, this recipe has your name on it.
What Ingredients You Will Need
This recipe uses simple, wholesome ingredients that bring out the natural sweetness and juiciness of corn without any fuss. Most are pantry staples or easy to find at any grocery store or farmers market. Here’s what you’ll need:
- Fresh Corn on the Cob: 4 ears, husked (look for plump kernels with bright green husks and moist silk)
- Water: For soaking the corn before cooking (helps maintain juiciness)
- Unsalted Butter: 4 tablespoons, softened (I recommend Kerrygold for its creamy richness)
- Salt: To taste, preferably kosher or sea salt
- Black Pepper: Freshly ground, optional for a subtle kick
- Optional Extras:
- Fresh herbs like chopped parsley or chives for garnish
- Smoked paprika or chili powder for a smoky, spicy twist
- Lime wedges to squeeze over for a zesty finish
If fresh corn isn’t in season, frozen corn on the cob can work in a pinch—just adjust cooking time slightly. For dairy-free butter options, coconut oil or vegan butter spreads work well too, keeping things moist and flavorful.
Equipment Needed
- Large Pot or Stockpot: For boiling or steaming the corn. A wide pot helps keep the ears submerged evenly.
- Grill or Grill Pan (Optional): Adds a smoky char and enhances flavor. If you don’t have one, a stovetop grill pan or even a regular skillet works.
- Tongs: For safely turning the corn during cooking and grilling.
- Kitchen Timer: To keep track of cooking times and avoid overcooking.
- Butter Knife or Spreader: For applying softened butter smoothly.
I’ve tried using electric corn cookers, but honestly, a simple pot and grill setup delivers just as great results without the extra gadgetry. For budget-friendly cooks, a sturdy stockpot and a cast iron pan are excellent multi-purpose tools that last forever. Just remember to dry your tongs thoroughly after use to prevent rusting!
Preparation Method
- Prep the Corn: Husk the corn by peeling back the green leaves and removing the silks. Rinse each ear under cold water to clear away any stubborn threads. This step takes about 5 minutes. A little mess is normal here—don’t worry if silk gets everywhere, just sweep it up later!
- Soak the Corn: Submerge the ears in a large bowl or pot of cold water for 10–15 minutes. This helps the kernels retain moisture during cooking and prevents them from drying out. You’ll notice the water darken slightly from the silk residue—don’t be alarmed, this is normal.
- Boil the Water: Fill a large pot with water and bring it to a rapid boil over high heat. Add a pinch of salt once boiling. This usually takes 8–10 minutes depending on your stove.
- Cook the Corn: Carefully add the soaked corn ears to the boiling water using tongs. Cover the pot to return to a boil quickly, then cook for 5–7 minutes. You want the kernels tender but still slightly crisp. Overcooking leads to mushy corn, so keep an eye on the timer.
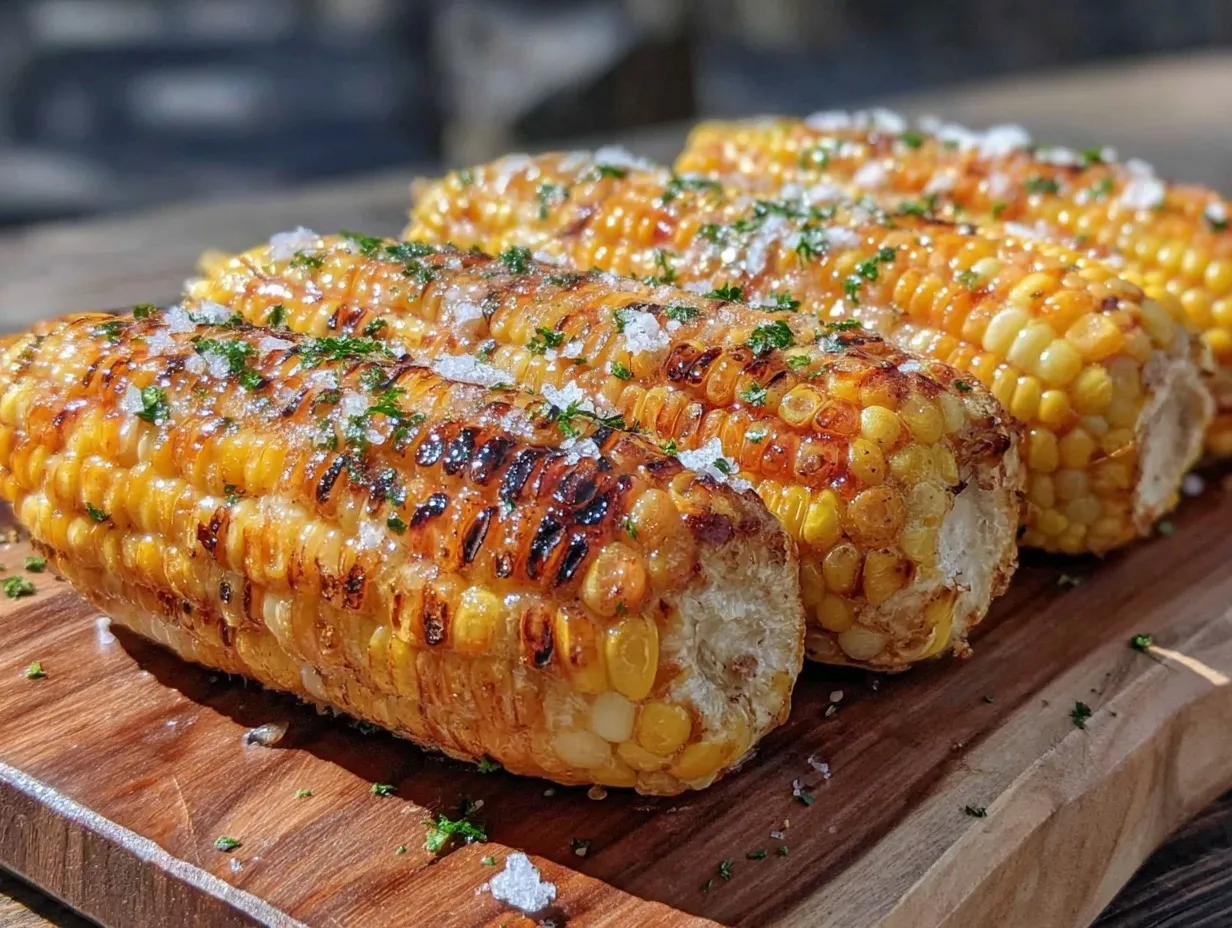
- Grill for Finish (Optional but Recommended): Preheat your grill or grill pan to medium-high. Remove ears from boiling water, pat dry, and brush lightly with butter. Place on grill for 2–3 minutes per side until light char marks appear. This step adds a smoky aroma and a little texture that’s honestly irresistible.
- Season and Serve: Slather the cooked corn with the remaining softened butter, sprinkle with salt and pepper, and add any optional herbs or spices. Serve immediately for best flavor and juiciness.
If you don’t have a grill handy, you can skip step 5 and serve right after boiling with butter and seasoning—it’s still fantastic. Just try not to let the corn sit too long after cooking or it will start to lose that fresh, juicy bite.
Cooking Tips & Techniques
- Don’t Skip the Soak: Soaking the corn before boiling traps moisture inside the kernels, making them pop with juiciness when cooked. I learned this the hard way after a batch came out dry and tough.
- Timing Is Everything: Overcooked corn can turn chewy and dull. Keep your timer close and aim for that tender-crisp texture. If you’re unsure, pierce a kernel with a fork; it should feel tender but still hold shape.
- Use Fresh Corn: The fresher your corn, the sweeter and juicier it will be. If possible, buy corn the same day you plan to cook it. I usually pick mine up from the local farmers market on Saturday mornings.
- Grill for Flavor: That quick char on the grill adds a smoky, slightly caramelized note that elevates simple boiled corn. If you’re short on time, a hot cast iron pan works wonders too.
- Butter It Warm: Applying butter while the corn is still hot helps it melt right into the kernels, carrying salt and spices deeper. If you wait too long, the butter just sits on top.
- Multitask Efficiently: While the corn is soaking, prep any sides or toppings. This keeps the kitchen flowing and dinner on time, especially when hosting.
- Watch for Hot Steam: When removing corn from boiling water, be careful of the steam escaping—it sneaked up on me once and gave me a nasty burn!
Variations & Adaptations
While this easy corn on the cob recipe is fantastic as-is, there are plenty of ways to make it your own or adapt for special diets and tastes.
- Mexican Street Corn Style: Spread mayo mixed with lime juice on the cooked corn, then sprinkle with cotija cheese, chili powder, and fresh cilantro. It’s a zesty, tangy spin that’s become a favorite at parties.
- Garlic Herb Butter: Mix softened butter with minced garlic, chopped parsley, and a pinch of salt. Brush this over the corn for an aromatic, savory twist.
- Grilled Vegan Option: Use coconut oil or vegan butter in place of dairy butter, and sprinkle with nutritional yeast for a cheesy flavor without dairy.
- Boiled & Roasted: Boil the corn as usual, then cut kernels off the cob and roast them with olive oil, smoked paprika, and sea salt for a crunchy snack.
- Seasonal Twist: In late summer, add fresh basil or tarragon to your butter for a fresh, fragrant note that complements the natural sweetness.
I once made this recipe with a sprinkle of grated Parmesan and a squeeze of lemon on a whim—it turned into a crowd favorite at my book club night. Don’t hesitate to experiment and find your perfect flavor combo.
Serving & Storage Suggestions
Serve your easy corn on the cob hot off the grill or stovetop for the best experience. The butter melts into every crevice, and the kernels are bursting with juice. Presentation-wise, a simple sprinkle of fresh herbs or a wedge of lime on the side adds color and brightness.
This corn pairs beautifully with grilled meats, fresh salads, or even a light pasta dish. For a full Southern-inspired meal, try it alongside crispy garlic chicken and a tangy coleslaw.
If you have leftovers, wrap the ears tightly in plastic wrap or place in an airtight container and refrigerate for up to 2 days. Reheat by steaming briefly or warming in a skillet with a pat of butter to revive that fresh flavor. Avoid microwaving uncovered; it tends to dry out the kernels.
Flavors deepen slightly after resting, so if you can, let the corn sit for 10 minutes after cooking to soak up butter and seasoning fully. Honestly, it’s just as good at room temperature, which makes it a great picnic option too.
Nutritional Information & Benefits
Each serving of this easy corn on the cob (one ear) contains approximately 90 calories, 2 grams of fiber, and is naturally low in fat. It’s a good source of vitamin C, B vitamins, and essential minerals like magnesium and potassium.
Corn is a whole grain, providing energy-sustaining carbohydrates and antioxidants like lutein and zeaxanthin, which support eye health. Using unsalted butter keeps sodium in check, but you can adjust seasoning to fit your dietary needs.
This recipe is naturally gluten-free and can be made vegan by swapping butter with plant-based alternatives. For those watching carbs, corn is moderate but a delicious treat when balanced with protein and veggies.
From a wellness perspective, I appreciate how this recipe embraces simple, fresh ingredients and minimal processing—something my nutritionist friends always recommend for optimal health.
Conclusion
There you have it—an easy corn on the cob recipe that’s perfectly juicy, simple to make, and always a crowd-pleaser. Whether you’re cooking for family, friends, or just yourself, this method brings out the best in corn without fuss or stress.
Feel free to tweak the seasonings and cooking style to suit your taste. I love how even small changes make it feel fresh every time I make it. Honestly, it’s become one of those simple pleasures I keep coming back to, especially when summer rolls around.
Give it a try, and let me know how your corn turns out! Share your favorite butter blends or grilling tips in the comments—I’m always excited to hear your twists on this classic.
Happy cooking, and here’s to perfectly juicy corn on the cob every time!
FAQs
How do I know when corn on the cob is cooked perfectly?
Cooked corn should be tender but still have a slight snap when you bite into it. The kernels will look plump and juicy, not shriveled or dry. Usually, 5–7 minutes boiling is just right.
Can I cook corn on the cob without boiling it?
Absolutely! You can grill it directly in the husk or roast it in the oven. Grilling adds a smoky flavor, while roasting develops sweetness. Just adjust cooking times accordingly.
What’s the best way to store leftover corn on the cob?
Wrap ears tightly in plastic wrap or store in an airtight container in the fridge for up to 2 days. Reheat gently by steaming or warming in a skillet with a bit of butter.
Can I prepare this recipe for a large crowd?
Yes, this recipe scales up well. Use a large pot and cook corn in batches if needed. Keep cooked ears warm in a low oven wrapped in foil until ready to serve.
Is it better to use fresh or frozen corn on the cob?
Fresh corn usually has a sweeter, juicier flavor, especially in season. Frozen corn on the cob can work but may require slightly longer cooking and won’t have the same crisp texture.
Pin This Recipe!
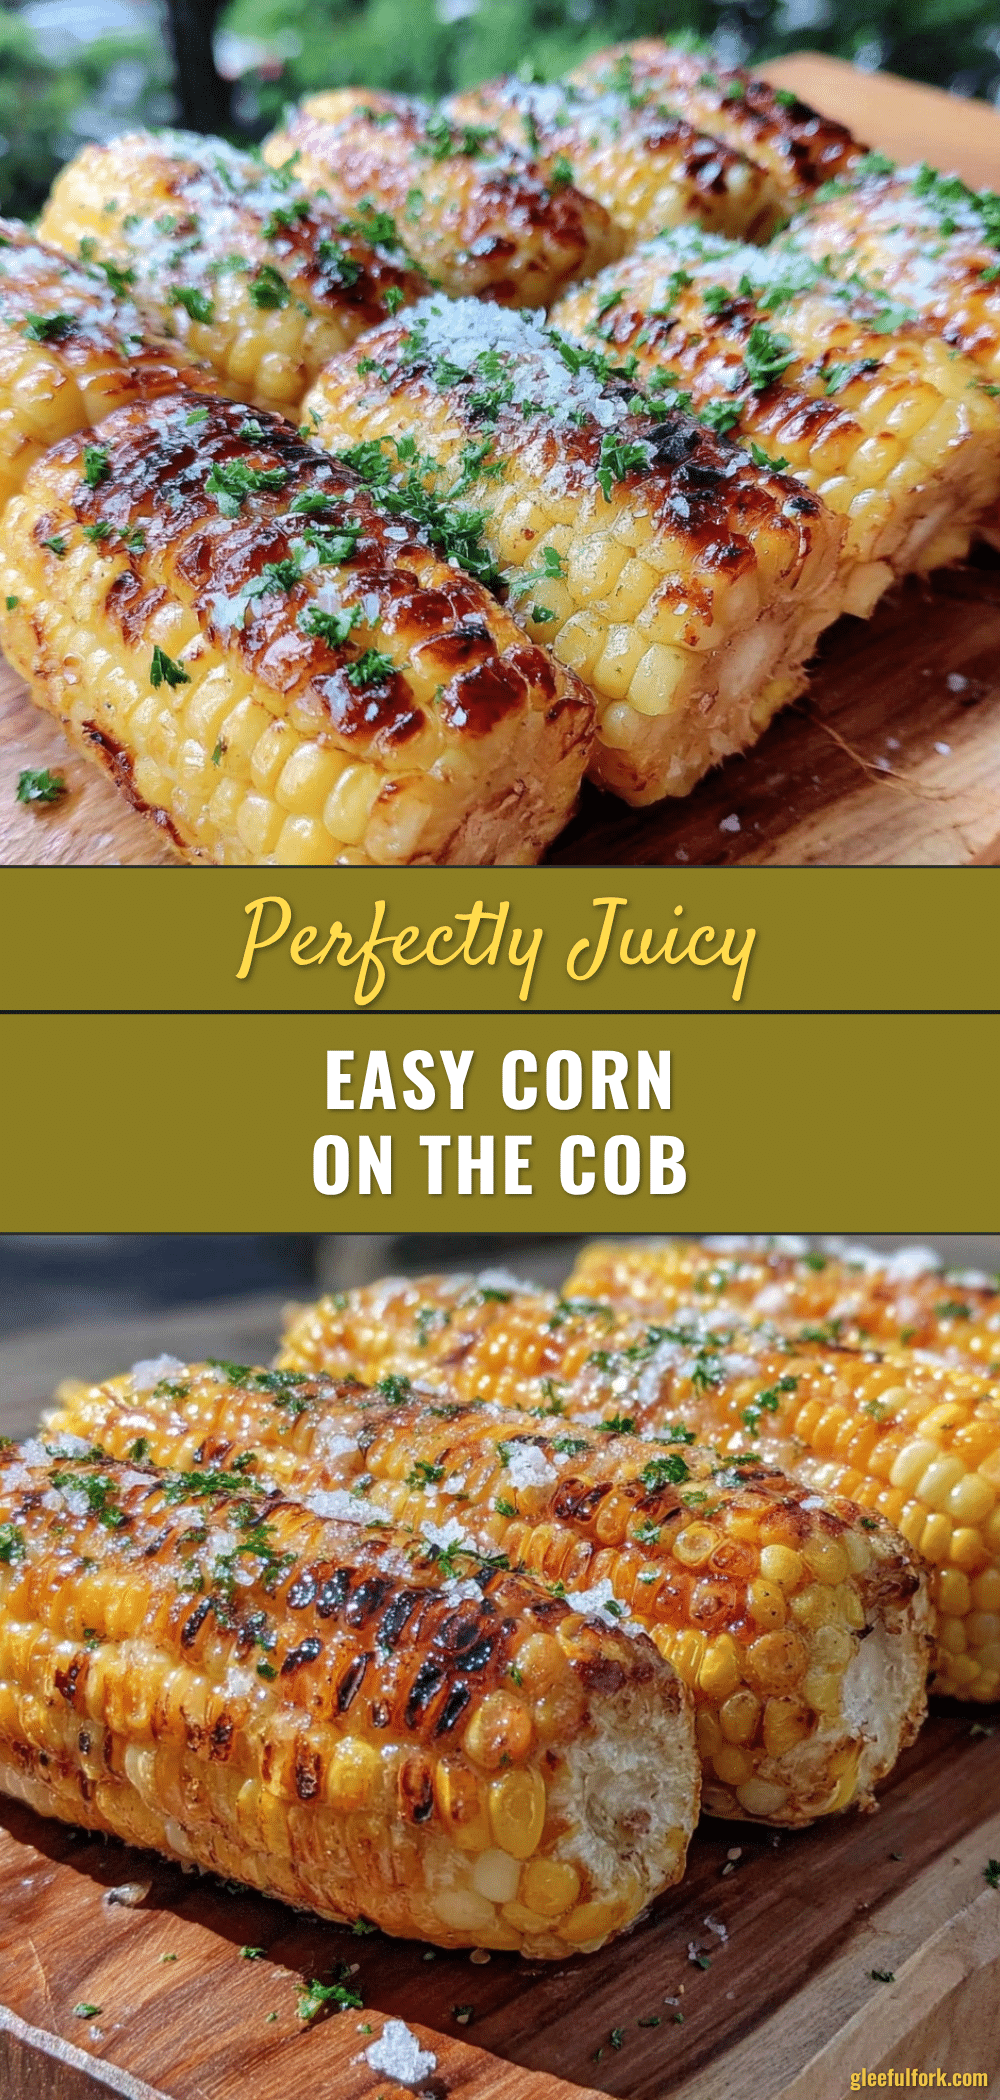
Easy Corn on the Cob Recipe

A simple, five-step recipe for perfectly juicy and tender corn on the cob, ideal for quick meals and summer cookouts.
- Prep Time: 10 minutes
- Cook Time: 15 minutes
- Total Time: 25 minutes
- Yield: 4 servings 1x
- Category: Side Dish
- Cuisine: American
Ingredients
- 4 ears fresh corn on the cob, husked
- Water, for soaking the corn
- 4 tablespoons unsalted butter, softened
- Salt, to taste (preferably kosher or sea salt)
- Freshly ground black pepper, optional
- Optional extras: fresh herbs like chopped parsley or chives, smoked paprika or chili powder, lime wedges
Instructions
- Husk the corn by peeling back the green leaves and removing the silks. Rinse each ear under cold water to clear away any stubborn threads. This takes about 5 minutes.
- Submerge the ears in a large bowl or pot of cold water for 10–15 minutes to help retain moisture during cooking.
- Fill a large pot with water and bring it to a rapid boil over high heat. Add a pinch of salt once boiling.
- Carefully add the soaked corn ears to the boiling water using tongs. Cover the pot and cook for 5–7 minutes until kernels are tender but still slightly crisp.
- Optional: Preheat grill or grill pan to medium-high. Remove ears from boiling water, pat dry, brush lightly with butter, and grill for 2–3 minutes per side until light char marks appear.
- Slather the cooked corn with the remaining softened butter, sprinkle with salt and pepper, and add any optional herbs or spices. Serve immediately.
Notes
Soaking the corn before boiling helps retain moisture and juiciness. Avoid overcooking to prevent mushy kernels. Grilling adds a smoky flavor and texture. Apply butter while corn is hot for best absorption. Leftovers can be refrigerated up to 2 days and reheated by steaming or warming in a skillet.
Nutrition
- Serving Size: 1 ear of corn
- Calories: 90
- Sugar: 6
- Sodium: 150
- Fat: 7
- Saturated Fat: 4
- Carbohydrates: 19
- Fiber: 2
- Protein: 3
Keywords: corn on the cob, easy corn recipe, summer side dish, grilled corn, boiled corn, quick corn recipe, juicy corn