Love this? Save it for later!
Share the inspiration with your friends
For a while, I just accepted that sourdough discard wasn’t going to taste like anything more than a dense, tangy pancake. You know how it is. You feed your starter, you wait for the bubble, but life happens. You get busy, you forget to feed it, and suddenly you have a jar of thick, white sludge in the fridge. It’s not dead, but it’s not eager to rise either. Honestly, throwing it away felt wasteful, but baking with it always felt like a gamble. The results were often flat, gummy, or just plain sad.
I tried adding baking soda. I tried making crackers that tasted like cardboard. I even tried tossing it out in frustration more times than I care to admit. There was this specific craving for something with a proper crust, something with air pockets that caught the light, and something that didn’t taste like fermentation gone wrong. That gap was real. It was a hole in my baking routine that I couldn’t fill with standard yeast recipes because the flavor profile was just different.
Then I stopped trying to force the discard to act like fresh starter. I stopped worrying about the rise and started focusing on the texture. I realized that the discard didn’t need to be the hero; it just needed to be the base. The magic wasn’t in the yeast activity; it was in the hydration and the oil. It was about creating a surface area that could get dangerously crispy.
I made a batch in a cast iron skillet, drenched in olive oil, with fresh rosemary from the garden. It wasn’t perfect. It was better. The crust shattered when you pulled it out, and the inside was soft but chewy. It tasted like bread, not like a science experiment. That quiet realization changed how I view my starter. It’s not a burden anymore. It’s a secret ingredient for comfort food.
Why You’ll Love This Recipe
Let’s be honest, most discard recipes are just clever ways to use up waste. This one is different because it actually stands on its own as a delicious bread. I’ve tested dozens of variations over the years, and this specific ratio of discard to flour to oil is the one that consistently delivers results. It’s not just about saving the starter; it’s about creating a sensory experience that beats store-bought focaccia every single time.
Here is why this recipe earns a permanent spot in your weekly rotation:
- Quick & Easy: You don’t need to wait 12 hours for a cold rise. This comes together in about 20 minutes of prep time, plus a short proof. It is perfect for those weeknights when you want fresh bread but don’t have the energy for a long fermentation process.
- Simple Ingredients: No fancy flours or obscure spices. You likely already have sourdough discard, all-purpose flour, olive oil, rosemary, and salt in your kitchen. It’s pantry-friendly cooking at its finest.
- Perfect for Entertaining: Whether you are hosting a casual dinner party or just need a side for your creamy loaded bacon ranch pasta salad, this bread fits right in. It looks rustic and impressive but requires zero stress to make.
- Crowd-Pleaser: Kids and adults alike love it. The combination of salty rosemary and crispy, oily edges is universally appealing. It’s the kind of food that disappears before you can take a photo.
- Unbelievably Delicious: The texture is the star here. You get that shatteringly crisp crust from the cast iron and the oil, contrasted with a tender, airy crumb inside. It’s comfort food reimagined—simple, soul-soothing, and deeply satisfying.
What makes this recipe different from the rest is the technique. Most people dump everything into a bowl and hope for the best. I use a specific folding method that develops structure without overworking the dough. Also, using a heavy skillet ensures even heat distribution, which is crucial for getting that golden-brown top without burning the bottom. It’s not just another version; it’s the version that actually works every time.
What Ingredients You Will Need
This recipe relies on simple, wholesome ingredients to deliver bold flavor and satisfying texture without the fuss. The beauty of using sourdough discard is that it adds a subtle tang that balances the richness of the olive oil. You don’t need anything exotic, just quality basics.
- Sourdough Discard: 1 cup (225g). This should be unfed discard from your refrigerator. It doesn’t need to be bubbly or active since we are relying on baking powder for lift. I prefer to keep my discard in a glass jar with a loose lid to prevent leaks.
- All-Purpose Flour: 1 ½ cups (190g). Standard all-purpose flour works best here. It provides enough protein for structure without making the bread tough like bread flour might. If you need a gluten-free option, you can substitute with a 1:1 gluten-free baking blend, though the texture will be slightly denser.
- Baking Powder: 1 ½ teaspoons. This is your leavening agent. Since the discard is inactive, the baking powder does the heavy lifting to create those airy bubbles. Make sure it is fresh; old baking powder won’t give you the lift you need.
- Salt: 1 teaspoon. Essential for flavor. Don’t skip this, or the bread will taste flat. Kosher salt is preferred for its even distribution.
- Olive Oil: ¼ cup (60ml) for the dough + extra for the pan. High-quality extra virgin olive oil is key. It adds fruity notes and richness. I recommend using a good quality oil like Colavita or a local press if you have one. The oil in the pan is what creates the crispy bottom.
- Fresh Rosemary: 2 tablespoons, chopped. Fresh is non-negotiable here. Dried rosemary can be bitter and piney. Fresh sprigs provide that aromatic, earthy punch that defines focaccia. If you don’t have fresh, you can use 1 teaspoon of dried, but add it to the flour.
- Flaky Sea Salt: For sprinkling on top. This adds a nice crunch and visual appeal. Maldon salt is my go-to.
- Garlic (Optional): 1 clove, minced. I often add a little minced garlic to the oil for an extra savory kick. It pairs beautifully with the rosemary.
For seasonal variations, in the summer, you can swap the rosemary for fresh thyme or basil. In the winter, roasted garlic and sage work wonderfully. The base recipe is flexible enough to adapt to whatever herbs you have growing in your garden.
Equipment Needed
You don’t need a lot of fancy gadgets to make this bread. A few basic tools will get you professional results.
- 9×9 Inch Cast Iron Skillet: This is the most important piece of equipment. Cast iron retains heat incredibly well, which helps create that signature crispy crust. If you don’t have cast iron, a 9×9 inch metal baking pan works, but the bottom won’t get as crisp. A non-stick pan is not recommended because the oil needs direct contact with the hot metal to fry the bottom of the dough.
- Mixing Bowl: A medium-sized bowl for combining the wet and dry ingredients.
- Whisk: For mixing the baking powder and salt into the flour evenly.
- Silicone Spatula: Useful for scraping the bowl and helping to spread the sticky dough into the pan.
- Parchment Paper: Optional but helpful for lining the pan if you want easy cleanup, though the generous amount of oil usually prevents sticking.
I’ve tried using glass Pyrex pans, and while they work, the baking time increases slightly because glass heats up slower than metal. If you switch pans, keep an eye on the color of the bottom. Budget-friendly tip: If you don’t have a cast iron skillet, any heavy-bottomed oven-safe skillet will do. Just make sure it fits in your oven.
Preparation Method
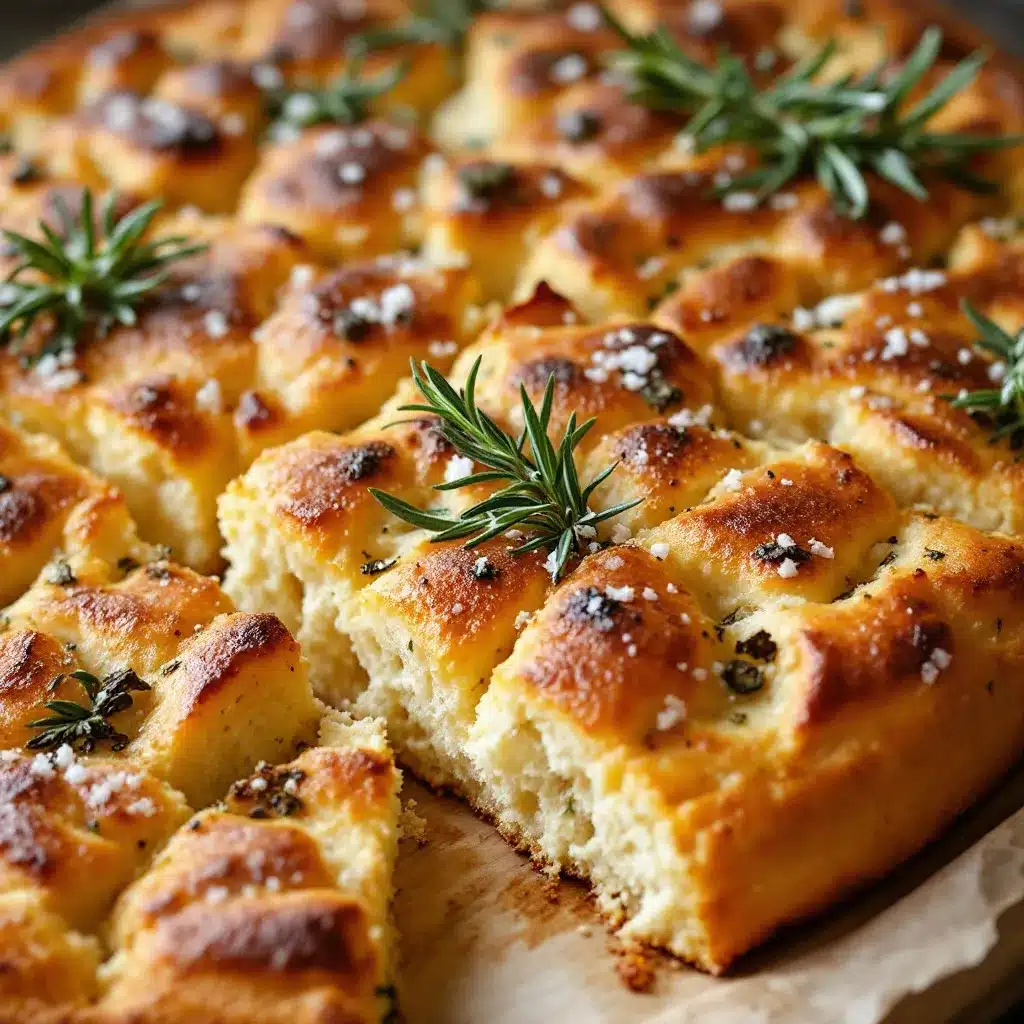
Making this focaccia is straightforward, but paying attention to the details makes a big difference. Follow these steps for the best results.
- Preheat the Oven and Pan: Preheat your oven to 425°F (220°C). Place your cast iron skillet in the oven while it preheats. Heating the pan first helps kickstart the cooking process and ensures a crispy bottom immediately upon contact. This takes about 15-20 minutes.
- Mix Dry Ingredients: While the oven heats, combine the all-purpose flour, baking powder, and salt in your mixing bowl. Whisk them together thoroughly. This ensures the leavening agent is distributed evenly, preventing any bitter spots of baking powder in the final bread. Set aside.
- Combine Wet Ingredients: In a separate bowl or large measuring cup, whisk the sourdough discard and ¼ cup of olive oil. If you are adding minced garlic, stir it in now. The mixture will be thin and liquidy. This is normal. The discard provides the moisture, and the oil adds richness.
- Combine Wet and Dry: Pour the wet mixture into the dry ingredients. Use a spatula or a sturdy spoon to mix. Do not overmix. You want to just combine the ingredients until no dry flour remains. The dough will be sticky and shaggy. If it feels too dry, add a tablespoon of water. If too wet, add a sprinkle of flour. It should be tacky but manageable.
- Transfer to Pan: Carefully remove the hot skillet from the oven (use oven mitts!). Pour in the remaining olive oil. Swirl it around to coat the bottom and sides. Pour the dough into the hot pan. It will sizzle slightly. This is a good sign.
- Shape the Dough: Using oiled hands or a spatula, gently press and stretch the dough to fill the pan. It won’t stretch easily like fresh dough, so just pat it out. Don’t worry about it being perfect; rustic is the goal. Let it rest in the pan for 10-15 minutes. This allows the flour to hydrate and the dough to relax slightly.
- Add Toppings: After the rest, dimple the dough. Use your fingers to press deep indentations all over the surface. This is the classic focaccia look. Sprinkle the chopped fresh rosemary evenly over the top. Drizzle a little more olive oil over the surface to help the herbs crisp up. Finish with a sprinkle of flaky sea salt.
- Bake: Place the skillet back in the oven. Bake for 20-25 minutes. The bread is done when the top is golden brown and the edges are pulling away from the sides slightly. The bottom should be dark golden and crispy. If you are worried about burning, you can tent it loosely with foil for the last 5 minutes.
- Cool and Serve: Remove from the oven. Let it cool in the pan for 5 minutes, then transfer to a wire rack. This prevents the bottom from steaming and getting soggy. Slice while warm or at room temperature.
Cooking Tips & Techniques
Baking with discard can be tricky if you aren’t used to its consistency. Here are some tips to avoid common pitfalls.
- Don’t Skip the Hot Pan: Putting the dough into a cold pan is a rookie mistake. The hot pan creates an immediate crust seal, which helps the bread rise properly and prevents it from sticking. It’s the secret to that restaurant-quality crunch.
- Handle the Dough Gently: Unlike yeast dough, you don’t need to knead this. Overworking it can make the texture tough. Just mix until combined and pat it into the pan. The less you handle it, the tenderer the crumb.
- Watch the Baking Time: Ovens vary wildly. Start checking at 20 minutes. The color is a better indicator than time. You want a deep golden brown, not pale. If the top is browning too fast but the bottom isn’t set, move the pan to a lower rack for the last few minutes.
- Multitask with the Rest: Use the 15-minute rest time to chop herbs or set the table. It’s a passive step that improves the final texture by allowing the gluten to relax, making the dough easier to dimple.
- Consistency Check: If your discard is very stiff, you may need to add a little more liquid. If it’s very runny, you might need a bit more flour. The dough should be sticky but not liquid. Adjust accordingly.
I once burned a batch because I got distracted by a phone call. Lesson learned: keep an eye on the bread. Also, I used to skip the dimpling step because I was lazy. Don’t be lazy. The dimples hold the oil and herbs, creating pockets of intense flavor in every bite. It’s worth the extra ten seconds.
Variations & Adaptations
While the classic rosemary version is my favorite, this recipe is a blank canvas. Here are a few ways to mix it up.
- Garlic and Parmesan: Skip the rosemary and add 2 cloves of minced garlic to the oil. After baking, sprinkle ½ cup of grated Parmesan cheese over the hot bread. The cheese will melt slightly and create a savory crust.
- Sundried Tomato and Basil: Chop ¼ cup of oil-packed sundried tomatoes and mix them into the dough before pouring it into the pan. Top with fresh basil leaves after baking. This tastes like an Italian sandwich in bread form.
- Spicy Jalapeño: Add 1 diced jalapeño and some red pepper flakes to the dough. This adds a nice kick that pairs well with cold beers or spicy dips.
- Gluten-Free Option: As mentioned, use a 1:1 gluten-free flour blend. The texture will be slightly more crumbly, but the flavor remains excellent. Add an extra tablespoon of oil to help with moisture.
- Vegan Adaptation: This recipe is naturally vegan, as it contains no dairy or eggs. Just ensure your olive oil is vegan-certified if you are strict, though most oils are.
I’ve also tried adding olives, which works surprisingly well. Just pit and chop Kalamata olives and fold them in. It adds a briny contrast to the mild dough. Feel free to experiment with your favorite pizza toppings, just keep in mind that wet ingredients like fresh tomatoes should be patted dry to avoid soggy bread.
Serving & Storage Suggestions
This focaccia is best served warm, straight from the oven. It pairs wonderfully with soups, salads, or simply a glass of red wine. For a complete meal, serve it alongside my savory loaded deviled eggs for a perfect appetizer spread.
- Serving: Tear it into pieces rather than slicing it for a rustic presentation. It’s great for dipping in olive oil and balsamic vinegar.
- Storage: Store leftovers in an airtight container at room temperature for up to 2 days. The bread will stay soft, but the crust will lose its crispness. To restore the crunch, reheat in a toaster oven or skillet.
- Freezing: You can freeze this bread for up to 3 months. Wrap it tightly in plastic wrap and then foil. Thaw at room temperature and reheat in the oven to crisp up.
- Reheating: Avoid the microwave, as it will make the bread chewy and tough. Always use dry heat. A quick 5-minute bake at 350°F (175°C) works wonders.
The flavors actually deepen slightly after a day, as the rosemary and oil continue to infuse the dough. It’s still delicious on day two, often preferred by those who like a softer texture.
Nutritional Information & Benefits
While this is a treat, it’s made with relatively simple ingredients. One serving (approx. 1/8 of the recipe) contains roughly 250 calories.
- Carbohydrates: The flour provides energy, while the discard adds some complexity.
- Fats: The olive oil is a source of healthy monounsaturated fats, which are good for heart health.
- Protein: Moderate protein content from the flour and starter.
- Fiber: Depending on the flour used, there is some fiber content, especially if you use whole wheat flour.
The sourdough discard, even when inactive, contains beneficial bacteria from the fermentation process, which can aid digestion. It’s a lighter option than heavy cream-based breads. Just be mindful of the oil content if you are watching your fat intake. Overall, it’s a balanced, satisfying bread that fits into most diets when enjoyed in moderation.
Conclusion
This Crispy Sourdough Discard Focaccia with Rosemary is more than just a way to use up starter. It’s a testament to the idea that simple ingredients, when treated with respect, can create something extraordinary. I hope you try this recipe and find your own quiet moment of satisfaction with every bite.
Feel free to customize it with your favorite herbs and toppings. I’d love to hear how it turns out for you. Leave a comment below with your variations or questions. Share this recipe with a friend who loves bread, and let’s keep the baking community growing. Enjoy the process, and don’t worry about perfection. The crispy edges are worth the imperfections.
Frequently Asked Questions
Can I use active sourdough starter instead of discard?
Yes, you can. However, if your starter is very active, you may want to reduce the amount of baking powder slightly, or the bread might rise too much and then collapse. Discard is preferred because it’s neutral and predictable.
Why is my focaccia dense?
This usually happens if the baking powder is old or if the dough was overmixed. Ensure your leavening agent is fresh and mix the dough gently until just combined. Also, make sure you are using the correct amount of flour.
Can I make this in a glass pan?
Yes, but the crust won’t be as crispy. You may need to bake it for 5-10 minutes longer. Keep an eye on the bottom to ensure it doesn’t burn.
How do I store leftover focaccia?
Store it in an airtight container at room temperature for up to two days. For longer storage, freeze it wrapped tightly in plastic and foil.
Can I add cheese to this recipe?
Absolutely. Grated Parmesan, mozzarella, or even crumbled feta work well. Add the cheese after dimpling the dough, before baking, so it melts nicely into the crevices.
Pin This Recipe!
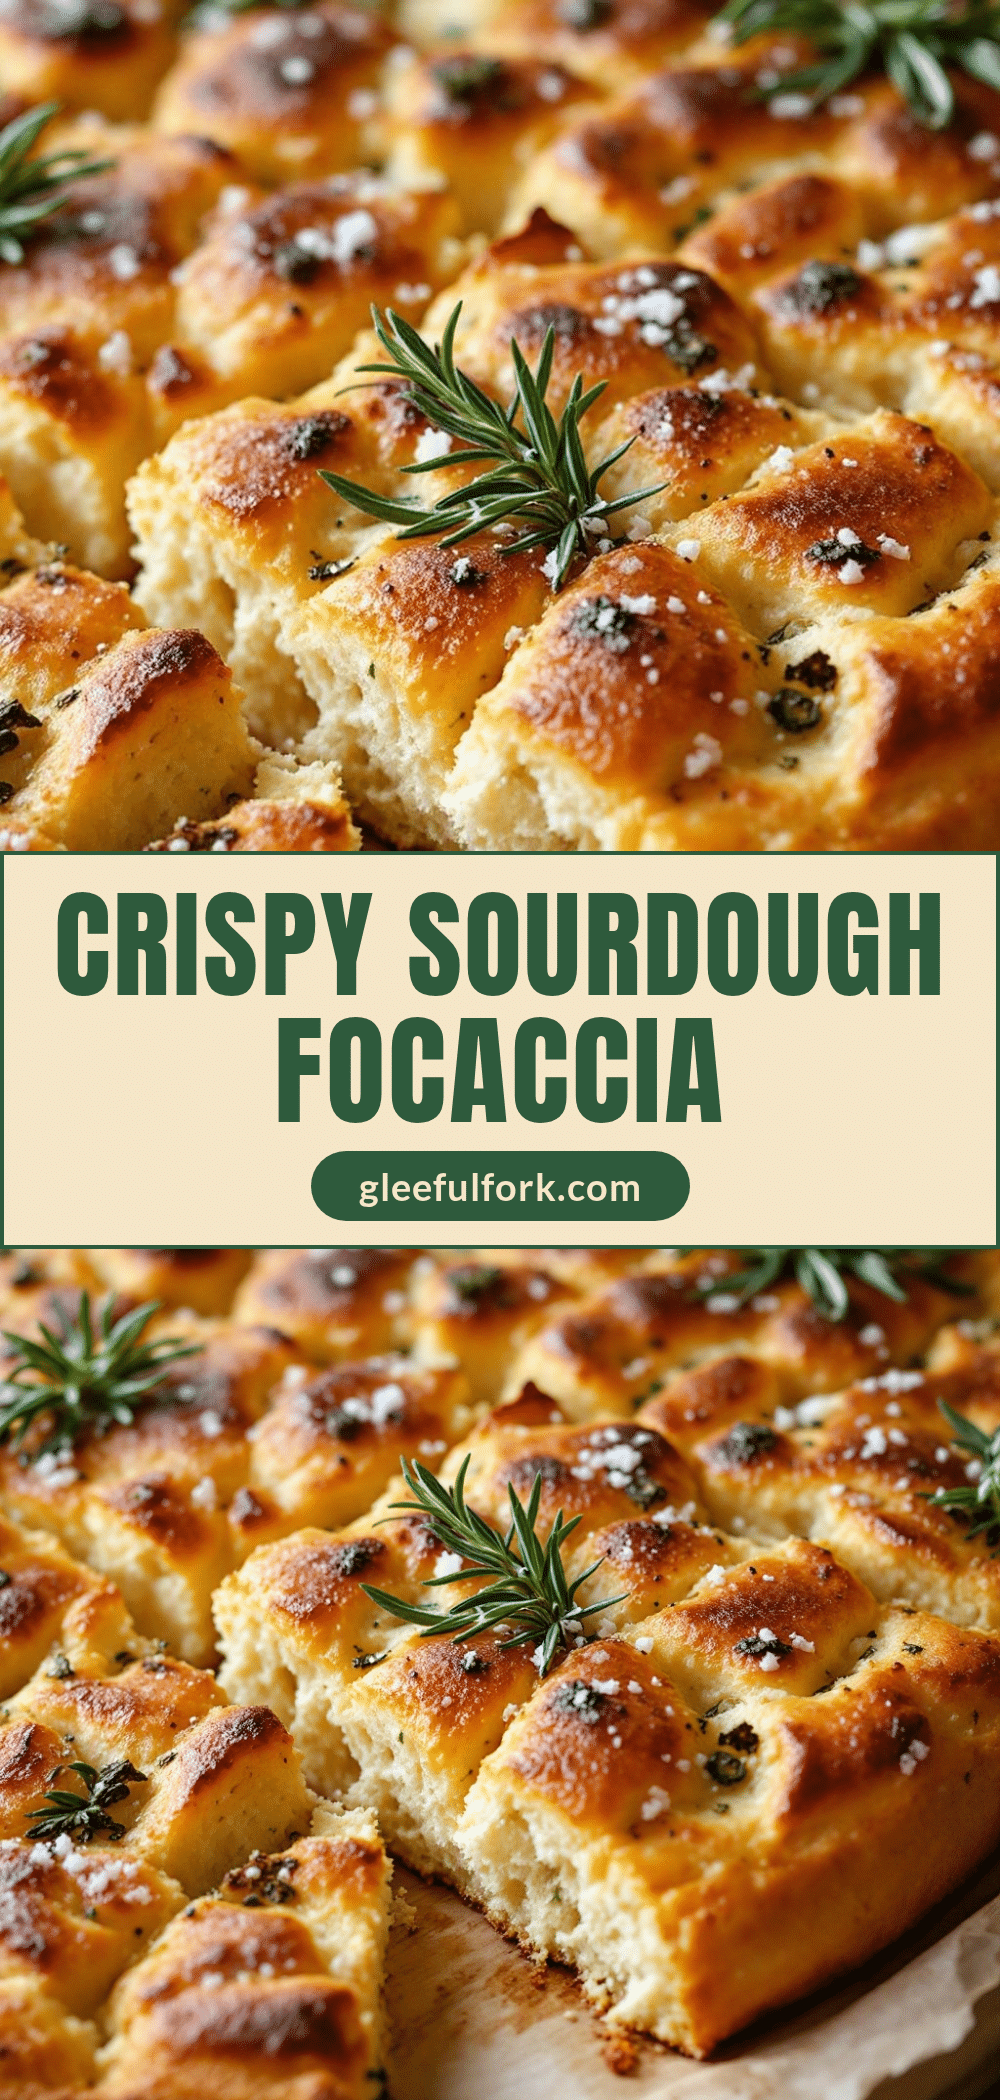
Crispy Sourdough Discard Focaccia with Rosemary
A simple, quick focaccia made with sourdough discard, olive oil, and fresh rosemary. Baked in a hot cast iron skillet for a shatteringly crisp crust and tender, airy interior.
- Prep Time: 20 minutes
- Cook Time: 25 minutes
- Total Time: 45 minutes
- Yield: 8 servings 1x
- Category: Side Dish
- Cuisine: Italian
Ingredients
- 1 cup (225g) sourdough discard (unfed, from refrigerator)
- 1 ½ cups (190g) all-purpose flour
- 1 ½ teaspoons baking powder
- 1 teaspoon salt (kosher preferred)
- ¼ cup (60ml) extra virgin olive oil (for dough) + extra for pan
- 2 tablespoons fresh rosemary, chopped
- Flaky sea salt (for sprinkling)
- 1 clove garlic, minced (optional)
Instructions
- Preheat oven to 425°F (220°C). Place a 9×9 inch cast iron skillet in the oven to heat for 15-20 minutes.
- In a mixing bowl, whisk together the all-purpose flour, baking powder, and salt.
- In a separate bowl or measuring cup, whisk the sourdough discard and ¼ cup olive oil. Add minced garlic if using.
- Pour the wet mixture into the dry ingredients. Mix gently with a spatula until just combined; do not overmix. The dough will be sticky.
- Carefully remove the hot skillet from the oven. Pour in remaining olive oil and swirl to coat. Pour dough into the hot pan; it will sizzle.
- Using oiled hands or a spatula, gently press and stretch the dough to fill the pan. Let rest for 10-15 minutes.
- Dimple the dough with fingers. Sprinkle with chopped rosemary, drizzle with a little more olive oil, and finish with flaky sea salt.
- Bake for 20-25 minutes until the top is golden brown and edges pull away from the sides. Tent with foil if browning too quickly.
- Cool in the pan for 5 minutes, then transfer to a wire rack to prevent sogginess. Slice and serve warm.
Notes
Ensure baking powder is fresh for proper rise. Do not skip heating the pan, as this creates the crispy crust. If using a glass pan, increase baking time by 5-10 minutes. Variations include adding garlic, parmesan, sundried tomatoes, or jalapeños.
Nutrition
- Serving Size: 1/8 of the recipe
- Calories: 250
- Sugar: 1
- Sodium: 400
- Fat: 12
- Saturated Fat: 2
- Carbohydrates: 30
- Fiber: 1
- Protein: 4
Keywords: sourdough discard, focaccia, rosemary bread, cast iron bread, quick bread, vegan bread, gluten-free option


