Love this? Save it for later!
Share the inspiration with your friends
My neighbor Sarah wasn’t trying to impress anyone. I’d stopped by to borrow a screwdriver on a Tuesday evening, and the smell hit me before I even knocked. That smell—crispy, savory, almost like fried chicken but without the heaviness. I stood there for a second, inhaling like some kind of weirdo, before she opened the door.
“Oh, those are just chicken thighs,” she said, waving her hand like it was nothing. Just chicken thighs. Right. I practically invited myself into her kitchen, where a tray of the most beautifully bronzed chicken thighs sat on her counter. The skin was crackled and golden, and I could hear it still making tiny popping sounds as it cooled. She had made them in her air fryer, no breading, no fuss, and honestly? I was a little offended that she didn’t think this was a big deal.
Maybe you’ve been there—you taste something simple that completely resets your expectations. That’s what these crispy air fryer chicken thighs (no breading) did for me. I asked for the details while standing in her kitchen, and she shrugged and said, “Salt, pepper, a little oil, and the air fryer does the rest.” I practically ran home to try it myself.
That was three months ago, and I haven’t made chicken thighs any other way since. The air fryer gives you that shatteringly crispy skin without the mess of deep frying or the long wait of oven roasting. It’s the kind of recipe that feels almost too easy, but the results are genuinely restaurant-worthy. Let me tell you, once you make these, you’ll understand why I still think about that Tuesday evening.
Why You’ll Love This Recipe
I’ve tested this recipe at least a dozen times since that night at Sarah’s, tweaking temperatures and timing until it was absolutely foolproof. Here’s why these crispy air fryer chicken thighs (no breading) have become my go-to weeknight dinner:
- Ready in Under 20 Minutes : From fridge to plate in about 20 minutes. No preheating an oven for 15 minutes first. The air fryer heats up in about 2 minutes, and the chicken cooks in 16 to 18. That’s faster than takeout delivery.
- No Breading Necessary : This is the whole point. You don’t need flour, breadcrumbs, or any of that. The chicken’s own skin gets incredibly crispy all on its own. It’s naturally gluten-free and low-carb without even trying.
- Simple Pantry Ingredients : Chicken thighs, salt, pepper, maybe some garlic powder, and a little oil. That’s it. You probably have everything right now.
- Perfect for Busy Weeknights : When you’re tired and hungry and just want something good, this recipe delivers. No complicated steps, no long ingredient lists.
- Juicy on the Inside, Crispy on the Outside : The magic of the air fryer is that it crisps the skin while keeping the meat incredibly tender and juicy. Every single time.
- Family-Approved : My kids devour these. My husband requests them. I’ve made them for friends who now own air fryers just to recreate this recipe. It’s that kind of crowd-pleaser.
What makes this different from other air fryer chicken recipes? It’s the technique. Most recipes tell you to just throw the thighs in and hope for the best. I’ve learned that patting the skin completely dry, seasoning generously, and arranging them skin-side down for the first half of cooking makes all the difference. It’s not just another recipe—it’s the one that actually works every single time.
What Ingredients You Will Need
This recipe uses simple, wholesome ingredients to deliver bold flavor and satisfying texture without the fuss. You likely have most of these in your kitchen right now.
- Bone-in, skin-on chicken thighs (4 to 6 thighs, about 1.5 to 2 pounds total) — This is non-negotiable for the crispiest results. The bone helps keep the meat juicy, and the skin is what gets that amazing crackling texture. I prefer thighs that are roughly the same size so they cook evenly.
- Olive oil or avocado oil (1 to 2 tablespoons) — Just enough to help the seasoning stick and encourage browning. Avocado oil has a higher smoke point, which works great in the air fryer, but olive oil is perfectly fine too.
- Kosher salt (1 to 1.5 teaspoons) — Don’t skimp here. Salt is what draws out moisture from the skin, helping it crisp up. I use Diamond Crystal kosher salt; if you’re using Morton’s, use a little less since it’s denser.
- Black pepper (½ teaspoon, freshly ground) — Adds that subtle warmth and depth.
- Garlic powder (1 teaspoon) — Not garlic salt, garlic powder. It adds savory flavor without extra moisture. I really like the Spice House brand for its intensity.
- Paprika (1 teaspoon, optional but recommended) — Adds color and a mild sweetness. Smoked paprika gives an even deeper flavor if you have it.
- Onion powder (½ teaspoon, optional) — Complements the garlic powder beautifully.
- Optional finishing touches : Fresh thyme or rosemary sprigs, a squeeze of lemon juice, or a sprinkle of flaky sea salt right before serving.
For substitutions, you can use boneless, skin-on thighs, but the cooking time will be shorter (about 12 to 14 minutes). If you only have skinless thighs, this recipe won’t work the same way—the skin is what gets crispy. For a different flavor profile, try adding cayenne pepper for heat, or swap the paprika for curry powder for an unexpected twist.
Equipment Needed
The beauty of this recipe is that it doesn’t require much. Here’s what you’ll need:
- Air fryer (any size that fits 4 to 6 thighs in a single layer) — I use a 5.8-quart basket-style air fryer, and it works perfectly. If yours is smaller, cook in batches. Don’t overcrowd the basket or you’ll steam instead of crisp.
- Tongs — For flipping the chicken halfway through. Metal or silicone, doesn’t matter. Just don’t use plastic tongs near the hot basket.
- Paper towels — Absolutely essential for patting the chicken skin completely dry. This step makes or breaks the crispiness.
- Cutting board and knife — For trimming any excess skin or fat if needed.
- Small bowl — For mixing your seasoning blend.
- Instant-read thermometer (optional but highly recommended) — Chicken thighs are done at 175°F to 185°F. The higher temperature allows the connective tissue to break down, making the meat more tender. I use a Thermapen and it’s been worth every penny.
If you don’t have an air fryer yet, you can make these in a convection oven on a wire rack set over a baking sheet. The cooking time will be longer (about 25 to 30 minutes at 400°F), and the skin won’t be quite as shatteringly crispy, but it’s a decent backup. Honestly though, air fryers are affordable now—I’ve seen good ones for under $50—and they’re perfect for recipes like this.
Preparation Method
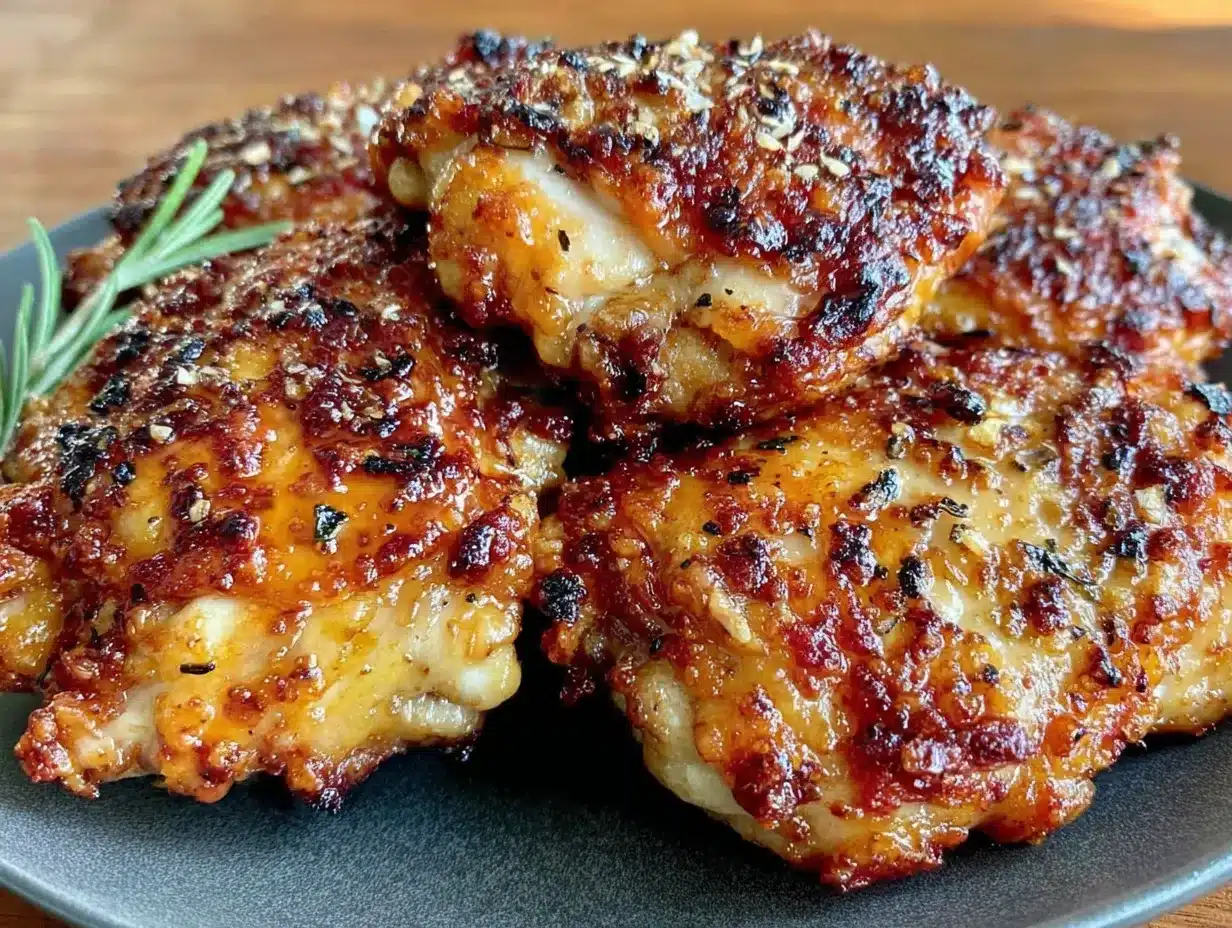
Let me walk you through this step by step. I’ve made these crispy air fryer chicken thighs (no breading) so many times that I could do it in my sleep, but I’ll share every detail so yours turn out perfect on the first try.
- Pat the chicken thighs completely dry. This is the most important step. Take your chicken thighs out of the package and blot them thoroughly with paper towels. Get every bit of moisture off the skin. I mean really dry—if the paper towel sticks, keep going. Moisture is the enemy of crispiness. Let them sit on a plate while you prepare the seasoning.
- Preheat your air fryer to 380°F (193°C). Most air fryers heat up in about 2 to 3 minutes. While it’s heating, you can season the chicken. I like to let my air fryer run empty for a full 3 minutes to make sure it’s properly hot.
- Season the chicken generously. In a small bowl, mix together 1 teaspoon kosher salt, ½ teaspoon black pepper, 1 teaspoon garlic powder, 1 teaspoon paprika, and ½ teaspoon onion powder (if using). Sprinkle this mixture evenly over both sides of the chicken thighs. Don’t be shy—the seasoning needs to penetrate the skin. Drizzle with 1 to 2 tablespoons of oil and rub it in with your hands. The oil helps the seasoning stick and promotes browning.
- Arrange the thighs skin-side down in the air fryer basket. This is my secret trick. Place them in a single layer with a little space between each piece. Don’t let them touch if you can help it. The skin needs air circulating around it to get crispy. If your air fryer is small, cook in batches. I know it’s tempting to cram them in, but you’ll regret it when they come out soggy.
- Cook at 380°F for 10 minutes. Set your timer and let the air fryer do its thing. You’ll start to smell that amazing savory aroma around the 5-minute mark. Don’t open the basket to check—let the heat build up.
- Flip the thighs and increase the temperature to 400°F (204°C). After 10 minutes, carefully flip each thigh using your tongs. The skin side should be golden and starting to crisp. Now increase the temperature to 400°F and cook for another 6 to 8 minutes. The higher temperature at the end gives the skin that final crackle.
- Check for doneness. The internal temperature should reach 175°F to 185°F when inserted into the thickest part of the thigh (not touching the bone). If you don’t have a thermometer, pierce the thickest part with a knife—the juices should run clear, not pink. If they need more time, cook in 2-minute increments.
- Rest for 5 minutes before serving. This is crucial. Let the chicken rest on a cutting board or plate for 5 minutes. The juices redistribute, and the skin stays crispy. If you cut into them immediately, you’ll lose all those delicious juices.
One thing I learned the hard way: don’t skip the resting step. The first time I made these, I was so excited that I cut into a thigh right away, and juice went everywhere. The chicken was still good, but the skin had softened by the time I got it to the table. Patience pays off here.
Cooking Tips & Techniques
After making these crispy air fryer chicken thighs (no breading) more times than I can count, I’ve picked up a few tricks that make a real difference.
Dry the skin thoroughly, then dry it again. I cannot stress this enough. I once made the mistake of thinking “pretty dry” was good enough, and the skin came out leathery instead of crispy. Take an extra 30 seconds with the paper towels. If you have time, leave the seasoned thighs uncovered in the fridge for an hour—this dries out the skin even more and gives you an even better crust.
Don’t overcrowd the basket. This is the second most common mistake. If the thighs are touching, they steam instead of crisp. Leave at least half an inch between each piece. If you need to cook in batches, that’s fine. The first batch stays warm in a 200°F oven while you finish the second batch.
Use the skin-side down technique. Most recipes tell you to start skin-side up, but I’ve found that starting skin-side down gives you a better sear on the skin. The direct heat of the basket helps render the fat and crisp the skin faster. Just make sure to flip them carefully so the skin doesn’t stick.
Season generously. Chicken thighs can handle a lot of seasoning. Don’t be afraid to use your hands and really rub the seasoning into the skin. I once under-seasoned a batch, and they were edible but boring. Learn from my mistake.
Let the air fryer preheat. I know some people skip this step, but it makes a difference. A properly preheated air fryer starts crisping the skin immediately. If you put cold chicken into a cold air fryer, you lose valuable cooking time.
Use an instant-read thermometer. Chicken thighs are forgiving, but they’re best at 175°F to 185°F. Below 165°F and they’re undercooked. Above 190°F and they start to dry out. A thermometer takes the guesswork out of it.
Variations & Adaptations
One of the best things about this recipe is how adaptable it is. Here are some variations I’ve tried and loved:
- Spicy Version : Add 1 teaspoon cayenne pepper and ½ teaspoon red pepper flakes to the seasoning mix. The heat pairs beautifully with the crispy skin. I made this version for a game day party, and they disappeared in minutes.
- Lemon Herb Version : Add 1 teaspoon dried thyme, 1 teaspoon dried rosemary, and the zest of one lemon to the seasoning. Squeeze fresh lemon juice over the cooked thighs before serving. This is my go-to when I want something bright and fresh.
- Garlic Lovers Version : Use 2 teaspoons garlic powder instead of 1, and add 2 minced fresh garlic cloves to the oil before rubbing it on the chicken. The fresh garlic gets slightly caramelized in the air fryer—it’s incredible.
- BBQ Style : After flipping the thighs at the 10-minute mark, brush each one with your favorite sugar-free BBQ sauce. Cook for the remaining 6 to 8 minutes. The sauce caramelizes into a sticky, crispy coating.
- Dairy-Free / Keto / Whole30 : This recipe is already dairy-free, low-carb, and Whole30-compliant if you use a compliant seasoning blend. Just check your paprika and garlic powder for any additives.
- Oven Method : If you don’t have an air fryer, bake the thighs on a wire rack set over a baking sheet at 425°F for 25 to 30 minutes, flipping halfway through. The skin won’t be quite as crispy, but it’s still delicious.
My personal favorite variation is the lemon herb version. I made it last summer when I had fresh herbs from my garden, and it reminded me of a dish I had at a little taverna in Greece years ago. The lemon cuts through the richness of the chicken perfectly.
Serving & Storage Suggestions
These crispy air fryer chicken thighs (no breading) are incredibly versatile. Here’s how I like to serve and store them:
Serving Suggestions: Serve them hot, right after the 5-minute resting period. The skin is at its crispiest point. I love pairing them with a simple side salad dressed with lemon vinaigrette, roasted vegetables like asparagus or Brussels sprouts, or a creamy coleslaw for contrast. For a heartier meal, serve with mashed potatoes or cauliflower mash and a generous spoonful of pan juices. They’re also fantastic sliced over a bed of greens for a protein-packed lunch salad.
Beverage Pairings: A crisp Sauvignon Blanc or a light Pinot Noir works beautifully. For beer drinkers, a pale ale or pilsner cuts through the richness. For non-alcoholic options, sparkling water with lemon or a tart iced tea complements the savory flavors.
Storage Instructions: Store leftover chicken thighs in an airtight container in the refrigerator for up to 4 days. The skin will soften during storage, but don’t worry—you can re-crisp it. For longer storage, freeze the cooked thighs in a single layer on a baking sheet, then transfer to a freezer-safe bag for up to 3 months.
Reheating Methods: The air fryer is your best friend for reheating. Reheat at 375°F for 3 to 4 minutes, flipping halfway through. The skin will crisp right back up. You can also reheat in a 400°F oven for 5 to 7 minutes. Avoid the microwave—it will make the skin rubbery and the meat dry.
How Flavors Develop: Honestly, these thighs are even better the next day. The seasoning has more time to penetrate the meat, and the flavors meld together beautifully. I often make a double batch just so I have leftovers for lunch.
Nutritional Information & Benefits
Here’s the approximate nutritional breakdown for one serving (one chicken thigh, based on a recipe serving 4):
| Nutrient | Amount per Serving |
|---|---|
| Calories | 285 |
| Protein | 26g |
| Fat | 20g |
| Saturated Fat | 5g |
| Carbohydrates | 1g |
| Fiber | 0g |
| Sugar | 0g |
| Sodium | 580mg |
These crispy air fryer chicken thighs (no breading) are naturally low-carb, keto-friendly, and gluten-free. Chicken thighs are rich in protein, B vitamins (especially B6 and B12), selenium, and phosphorus. The skin contains healthy fats that help with nutrient absorption. Using an air fryer instead of deep frying significantly reduces the fat and calorie content while still delivering that satisfying crunch.
From a wellness perspective, this recipe fits perfectly into a balanced diet. It’s satisfying enough to keep you full for hours, but light enough that you don’t feel weighed down. I love that I can serve it to my family without any guilt, and everyone leaves the table happy.
Note: Nutritional values are estimates and may vary based on specific ingredients and portion sizes. If you have specific dietary concerns, please consult with a healthcare professional.
Conclusion
There’s something almost magical about how simple ingredients can come together to create something so satisfying. These crispy air fryer chicken thighs (no breading) have become a staple in my kitchen, and I have a feeling they’ll become one in yours too. They’re proof that you don’t need complicated techniques or exotic ingredients to make a meal that feels special.
I still think about that Tuesday evening at Sarah’s house, standing in her kitchen with a borrowed screwdriver in my hand, completely blown away by something she considered ordinary. That’s the kind of recipe this is—unassuming but unforgettable. Whether you’re cooking for a busy weeknight dinner, meal prepping for the week, or impressing guests without any stress, these chicken thighs deliver every single time.
I’d love to hear how yours turn out! Leave a comment below and let me know if you tried any of the variations or came up with your own twist. Don’t forget to share this recipe with someone who needs a quick, delicious dinner idea. Happy cooking, friends—you’ve got this!
Frequently Asked Questions
Can I use boneless, skinless chicken thighs for this recipe?
This recipe is specifically designed for bone-in, skin-on thighs because the skin is what gets crispy. Boneless, skinless thighs won’t give you the same texture. If you only have boneless thighs, try a different recipe or add a breading for crispiness.
Why is my chicken skin not getting crispy?
The most common reasons are: the skin wasn’t dried thoroughly before seasoning, the basket was overcrowded, or the cooking temperature was too low. Make sure to pat the skin completely dry, leave space between each thigh, and use the two-temperature method (380°F then 400°F) for best results.
Can I make this recipe in a conventional oven?
Yes! Place the seasoned thighs on a wire rack set over a baking sheet and bake at 425°F for 25 to 30 minutes, flipping halfway through. The skin won’t be as crispy as the air fryer version, but it’s still delicious. For extra crispiness, broil for the last 2 to 3 minutes.
How do I reheat leftover chicken thighs without losing crispiness?
The air fryer is the best method. Reheat at 375°F for 3 to 4 minutes, flipping halfway through. You can also use a 400°F oven for 5 to 7 minutes. Avoid the microwave at all costs—it will make the skin rubbery and the meat dry.
Can I freeze cooked chicken thighs?
Absolutely. Let the thighs cool completely, then freeze them in a single layer on a baking sheet. Once frozen, transfer to a freezer-safe bag for up to 3 months. To reheat, thaw in the refrigerator overnight, then reheat in the air fryer or oven as directed above.
Pin This Recipe!
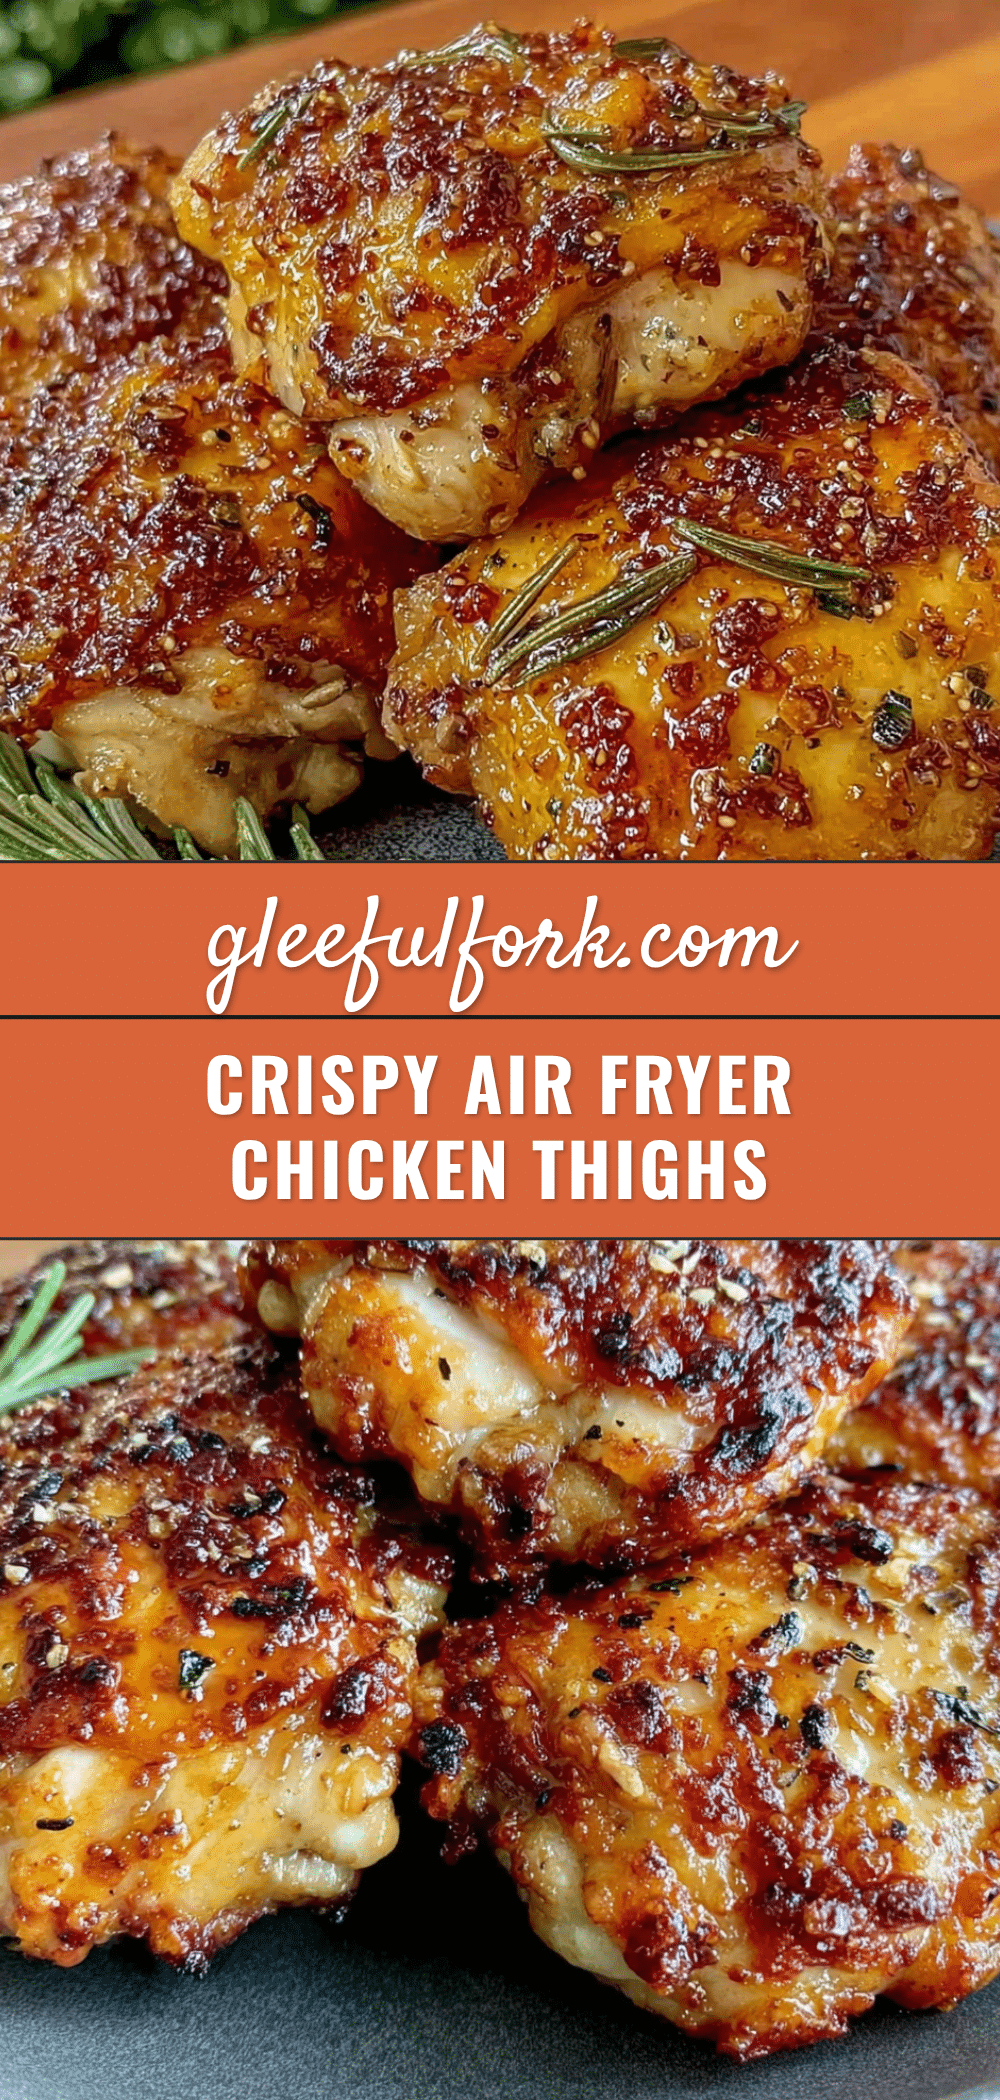
Crispy Air Fryer Chicken Thighs (No Breading) in 20 Minutes

These crispy air fryer chicken thighs require no breading and are ready in under 20 minutes. The skin gets shatteringly crispy while the meat stays juicy and tender, making it a perfect weeknight dinner.
- Prep Time: 5 minutes
- Cook Time: 16 to 18 minutes
- Total Time: 20 minutes
- Yield: 4 servings 1x
- Category: Main Course
- Cuisine: American
Ingredients
- 4 to 6 bone-in, skin-on chicken thighs (about 1.5 to 2 pounds total)
- 1 to 2 tablespoons olive oil or avocado oil
- 1 to 1.5 teaspoons kosher salt
- ½ teaspoon freshly ground black pepper
- 1 teaspoon garlic powder
- 1 teaspoon paprika (optional but recommended)
- ½ teaspoon onion powder (optional)
- Optional: fresh thyme or rosemary sprigs, lemon juice, flaky sea salt
Instructions
- Pat the chicken thighs completely dry with paper towels. Remove all moisture from the skin.
- Preheat your air fryer to 380°F (193°C) for about 2 to 3 minutes.
- In a small bowl, mix together kosher salt, black pepper, garlic powder, paprika, and onion powder (if using). Sprinkle the seasoning evenly over both sides of the chicken thighs. Drizzle with 1 to 2 tablespoons of oil and rub it in with your hands.
- Arrange the thighs skin-side down in the air fryer basket in a single layer with space between each piece. Do not overcrowd.
- Cook at 380°F for 10 minutes. Do not open the basket during this time.
- Carefully flip each thigh using tongs. Increase the temperature to 400°F (204°C) and cook for another 6 to 8 minutes.
- Check for doneness: internal temperature should reach 175°F to 185°F in the thickest part, or juices run clear when pierced.
- Let the chicken rest for 5 minutes before serving to allow juices to redistribute and skin to stay crispy.
Notes
Pat the skin completely dry for maximum crispiness. Start skin-side down for a better sear. Do not overcrowd the basket. Let the air fryer preheat. Use an instant-read thermometer for best results. Rest the chicken for 5 minutes before serving.
Nutrition
- Serving Size: 1 chicken thigh
- Calories: 285
- Sodium: 580
- Fat: 20
- Saturated Fat: 5
- Carbohydrates: 1
- Protein: 26
Keywords: air fryer chicken thighs, crispy chicken thighs, no breading chicken, keto chicken, gluten-free chicken, quick chicken dinner


