Love this? Save it for later!
Share the inspiration with your friends
I’ve never been one to shy away from a little kitchen heat. So when I stumbled upon a bag of Hatch green chiles at the store last September, I grabbed them without a second thought. My plan was simple: roast them, chop them, and fold them into my standard chicken enchilada recipe—the one with the red sauce, the one I’d been making for years. But as I stood there, holding this fragrant, smoky chile, something felt off. The red sauce, as good as it was, would just bully these delicate flavors into submission. They deserved something creamier, something that would let that earthy, slightly spicy taste shine. Honestly, I almost went with my usual plan anyway. But then I remembered a block of cream cheese sitting in the fridge, and a half-full carton of sour cream, and I thought, why not just try it? That’s the thing about cooking—sometimes the best ideas come from a moment of indecision. The result was so good, I actually called my mom to tell her about it. And now, every time I make these Creamy Hatch Green Chile Chicken Enchiladas, I’m reminded that breaking your own rules can be a delicious thing. Maybe you’ve been there—staring at an ingredient and just knowing it needs a different approach. Trust that instinct.
Why You’ll Love This Recipe
Let’s be real—there are a million enchilada recipes out there. But this one? It’s different. It’s the one I keep coming back to, and the one my friends text me about after I’ve brought a pan to a potluck. Here’s why it works:
- Quick & Easy: From start to finish, you’re looking at about 45 minutes. That’s fast enough for a Tuesday night but fancy enough for a Sunday dinner.
- Simple Ingredients: No need to hunt down obscure spices or speciality items. You probably have most of this in your kitchen right now.
- Perfect for Any Occasion: Game day, a casual dinner with friends, or just a night when you need a little comfort—these enchiladas fit the bill.
- Unbelievably Creamy: The sauce is the star here. It’s rich without being heavy, and it clings to every single bite of chicken and cheese.
- That Hatch Chile Flavor: It’s smoky, it’s a little sweet, and it has just enough heat to wake up your taste buds without sending you running for a glass of milk.
What really sets this recipe apart is the balance. I’ve tested it with different ratios of cream cheese to sour cream, with and without the hatch chiles, and even with different types of chicken. This version is the one that hits every note perfectly. It’s the kind of dish that makes you close your eyes after the first bite—not because it’s fancy, but because it just tastes like home.
What Ingredients You Will Need
This recipe uses simple, wholesome ingredients to deliver bold flavor and satisfying texture without the fuss. Most of these are pantry staples or easy to find at any grocery store.
- For the Filling:
- 3 cups cooked, shredded chicken (rotisserie chicken works great here)
- 8 oz cream cheese, softened (I like Philadelphia for the smooth texture)
- 1/2 cup sour cream (full-fat gives the best creaminess)
- 1 cup shredded Monterey Jack cheese (divided, save half for topping)
- 1/2 cup roasted Hatch green chiles, chopped (mild or hot, your call)
- 1/4 cup chopped green onions (plus more for garnish)
- 1 teaspoon ground cumin
- 1/2 teaspoon garlic powder
- Salt and pepper to taste
- For the Sauce:
- 2 tablespoons unsalted butter
- 2 tablespoons all-purpose flour
- 1 cup chicken broth (low-sodium is best)
- 1/2 cup heavy cream
- 1/2 cup sour cream
- 1/2 cup roasted Hatch green chiles, chopped
- 1/4 teaspoon salt
- For Assembly:
- 8-10 flour or corn tortillas (I prefer flour for softness, but corn works)
- 1 cup shredded Monterey Jack cheese (the other half from above)
- Fresh cilantro for garnish (optional, but pretty)
A quick note on the Hatch chiles: if you can find them fresh during the late summer, roast them yourself for the best flavor. Otherwise, look for canned or jarred Hatch chiles—they’re available year-round and still taste amazing. I’ve used both, and honestly, the jarred ones are a lifesaver when you’re craving this in January.
Equipment Needed
You don’t need a ton of fancy gear for this one. Here’s what you’ll need:
- A 9×13-inch baking dish (glass or ceramic works best)
- A large skillet or saucepan for the sauce
- A mixing bowl for the filling
- A whisk (to keep that sauce smooth)
- A spatula or wooden spoon
- Measuring cups and spoons
- A sharp knife and cutting board
If you don’t have a 9×13, you can use a slightly smaller dish—just pack the enchiladas in a little tighter. And if you’re out of a whisk, a fork will do in a pinch, though you’ll have to work a bit harder to get the lumps out. I’ve been there, and it still turns out fine.
Preparation Method
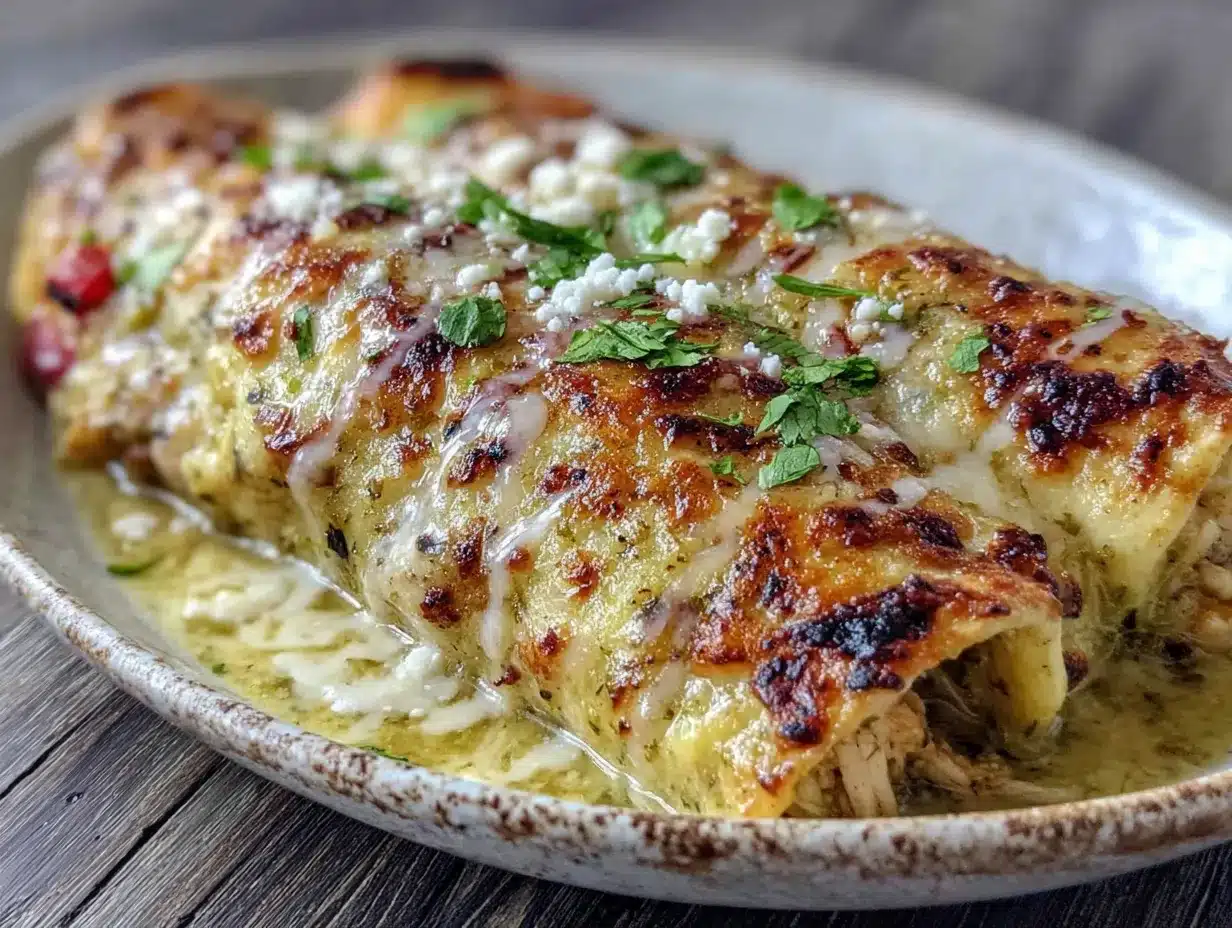
Alright, let’s get cooking. Here’s how to make these Creamy Hatch Green Chile Chicken Enchiladas from start to finish.
- Preheat your oven to 375°F (190°C). Lightly grease your 9×13 baking dish with a little butter or non-stick spray. This helps prevent sticking and makes cleanup easier.
- Make the filling. In a large bowl, combine the shredded chicken, softened cream cheese, 1/2 cup sour cream, 1/2 cup of the shredded Monterey Jack cheese, 1/2 cup chopped Hatch chiles, green onions, cumin, garlic powder, and a pinch of salt and pepper. Mix until everything is well combined. The cream cheese should be soft enough to blend in easily—if it’s still a bit firm, let it sit out for another 10 minutes. Taste the filling and adjust seasoning if needed. It should be creamy, a little tangy, and have a gentle warmth from the chiles.
- Start the sauce. In a medium saucepan over medium heat, melt the 2 tablespoons of butter. Once it’s bubbling, whisk in the flour and cook for about 1 minute, stirring constantly. This gets rid of that raw flour taste. Slowly pour in the chicken broth while whisking continuously to prevent lumps. Then add the heavy cream and the remaining 1/2 cup sour cream. Whisk until smooth.
- Finish the sauce. Stir in the remaining 1/2 cup of chopped Hatch chiles and 1/4 teaspoon salt. Let the sauce simmer for 2-3 minutes, until it thickens slightly. It should coat the back of a spoon. Taste it—if you want more heat, you can add a pinch of cayenne or a dash of hot sauce. Remove from heat and set aside.
- Assemble the enchiladas. To make rolling easier, warm your tortillas for about 20 seconds in the microwave or on a dry skillet. This makes them pliable and less likely to crack. Spoon about 1/3 cup of the chicken filling down the center of each tortilla. Roll it up tightly and place it seam-side down in the prepared baking dish. Repeat with the remaining tortillas, nestling them together snugly.
- Top with sauce and cheese. Pour the creamy Hatch chile sauce evenly over the rolled enchiladas. Use a spatula to spread it around if needed, making sure every enchilada gets coated. Sprinkle the remaining 1 cup of Monterey Jack cheese over the top.
- Bake. Place the dish in the preheated oven and bake for 20-25 minutes, until the sauce is bubbly and the cheese is melted and lightly golden on top. If you like a little browning, you can switch the oven to broil for the last 2 minutes—just watch it carefully so it doesn’t burn.
- Rest and serve. Let the enchiladas sit for about 5 minutes after you take them out of the oven. This helps the sauce set a little and makes them easier to serve. Garnish with fresh cilantro and extra green onions if you like. Serve warm.
Cooking Tips & Techniques
I’ve made this recipe more times than I can count, and I’ve learned a few things along the way. Here are my best tips:
- Don’t skip softening the cream cheese. I know it’s tempting to just throw it in cold, but it won’t blend evenly, and you’ll end up with little white lumps in your filling. Leave it on the counter for 30 minutes, or microwave it in 10-second bursts until it’s soft.
- Warm your tortillas. This is non-negotiable. Cold tortillas crack and tear when you try to roll them. A quick 20 seconds in the microwave makes them soft and flexible. If you’re using corn tortillas, you might need to dip them briefly in warm oil or sauce to prevent cracking.
- Make the sauce ahead. You can prepare the sauce a day in advance and keep it in the fridge. Reheat it gently on the stove before pouring it over the enchiladas. The flavors actually get better overnight.
- Watch your heat level. Hatch chiles vary in spiciness. If you’re sensitive to heat, stick with mild chiles. If you love spice, use hot ones or add a chopped jalapeño to the filling. I once accidentally used a batch of extra-hot chiles, and let me tell you—it was an adventure.
- Don’t overbake. The enchiladas are done when the sauce is bubbly and the cheese is melted. Overbaking can dry out the filling and make the tortillas mushy. Keep an eye on them after the 20-minute mark.
Variations & Adaptations
This recipe is super flexible. Here are some ways to make it your own:
- Make it vegetarian: Swap the chicken for black beans, pinto beans, or sautéed mushrooms and zucchini. The creamy sauce works beautifully with veggies.
- Go gluten-free: Use corn tortillas and a gluten-free all-purpose flour blend for the sauce. The texture will be slightly different, but it still tastes amazing.
- Add more veggies: Sautéed bell peppers, onions, or spinach can be folded into the filling for extra color and nutrition. I’ve done this many times, and it’s always a hit.
- Try a different cheese: Pepper Jack adds a nice kick, while queso fresco gives a more authentic Mexican feel. Cheddar works in a pinch, but it’s a bit sharper.
- Use leftover turkey: This is a fantastic way to use up Thanksgiving leftovers. Just substitute the chicken with shredded turkey—it’s incredible.
Serving & Storage Suggestions
These enchiladas are best served warm, right out of the oven. I like to put the baking dish right on the table with a pile of fresh cilantro and a bowl of extra sour cream on the side. A simple side salad with a tangy lime vinaigrette cuts through the richness perfectly. If you’re feeding a crowd, serve them with Mexican rice and refried beans for a full meal.
For storage, let the enchiladas cool completely, then cover the dish tightly with foil or plastic wrap. They’ll keep in the refrigerator for up to 4 days. The flavors actually meld together even more overnight, so leftovers are a treat.
To reheat, place individual portions in the microwave for 1-2 minutes, or warm the whole dish in a 350°F oven for about 15 minutes. If the sauce seems a little thick after refrigeration, add a splash of chicken broth or milk before reheating.
You can also freeze these enchiladas. Assemble them completely but don’t bake. Cover the dish with a layer of plastic wrap and then foil, and freeze for up to 3 months. When you’re ready to eat, thaw overnight in the fridge and bake as directed, adding about 10 minutes to the cooking time.
Nutritional Information & Benefits
Here’s an approximate nutritional breakdown per serving (based on 8 servings):
- Calories: 480
- Protein: 28g
- Fat: 32g
- Carbohydrates: 22g
- Fiber: 2g
- Sugar: 4g
These enchiladas are a good source of protein from the chicken and cheese, which helps keep you full and satisfied. The Hatch green chiles are rich in vitamin C and capsaicin, which has anti-inflammatory properties. The calcium from the cheese and sour cream supports bone health. While this isn’t a low-calorie dish, it’s a balanced meal that fits well into a moderate diet—especially if you pair it with a big green salad. If you’re watching your fat intake, you can use reduced-fat cream cheese and sour cream, though the texture will be slightly less creamy.
Conclusion
These Creamy Hatch Green Chile Chicken Enchiladas are more than just a recipe—they’re a reminder that the best dishes often come from a little experimentation. The smoky, mild heat of the Hatch chiles paired with that rich, velvety sauce is a combination I keep coming back to, and I think you will too. Whether you’re making them for a weeknight dinner or a special gathering, they’re guaranteed to get rave reviews. I’d love to hear how yours turn out—did you add extra spice? Swap in a different cheese? Drop a comment below and let me know how you made them your own. And if you share a photo, tag me—I can’t wait to see your creations!
Frequently Asked Questions
Can I use canned Hatch chiles instead of fresh?
Absolutely. Canned or jarred Hatch chiles work perfectly and are available year-round. Just drain them well before using to avoid adding extra liquid to your filling and sauce.
How do I make this recipe less spicy?
Stick with mild Hatch chiles, and remove all seeds and membranes if you’re using fresh ones. You can also reduce the amount of chiles in the filling and sauce—start with half and taste as you go.
Can I use flour tortillas instead of corn?
Yes, flour tortillas are actually my preference for this recipe because they’re softer and easier to roll. Corn tortillas work too, but be sure to warm them thoroughly to prevent cracking.
How do I store leftovers?
Cover the baking dish tightly with foil or plastic wrap and refrigerate for up to 4 days. Reheat individual portions in the microwave or warm the whole dish in a 350°F oven.
Can I freeze these enchiladas?
Definitely. Assemble the enchiladas without baking, cover tightly with plastic wrap and foil, and freeze for up to 3 months. Thaw overnight in the fridge before baking as directed.
Pin This Recipe!
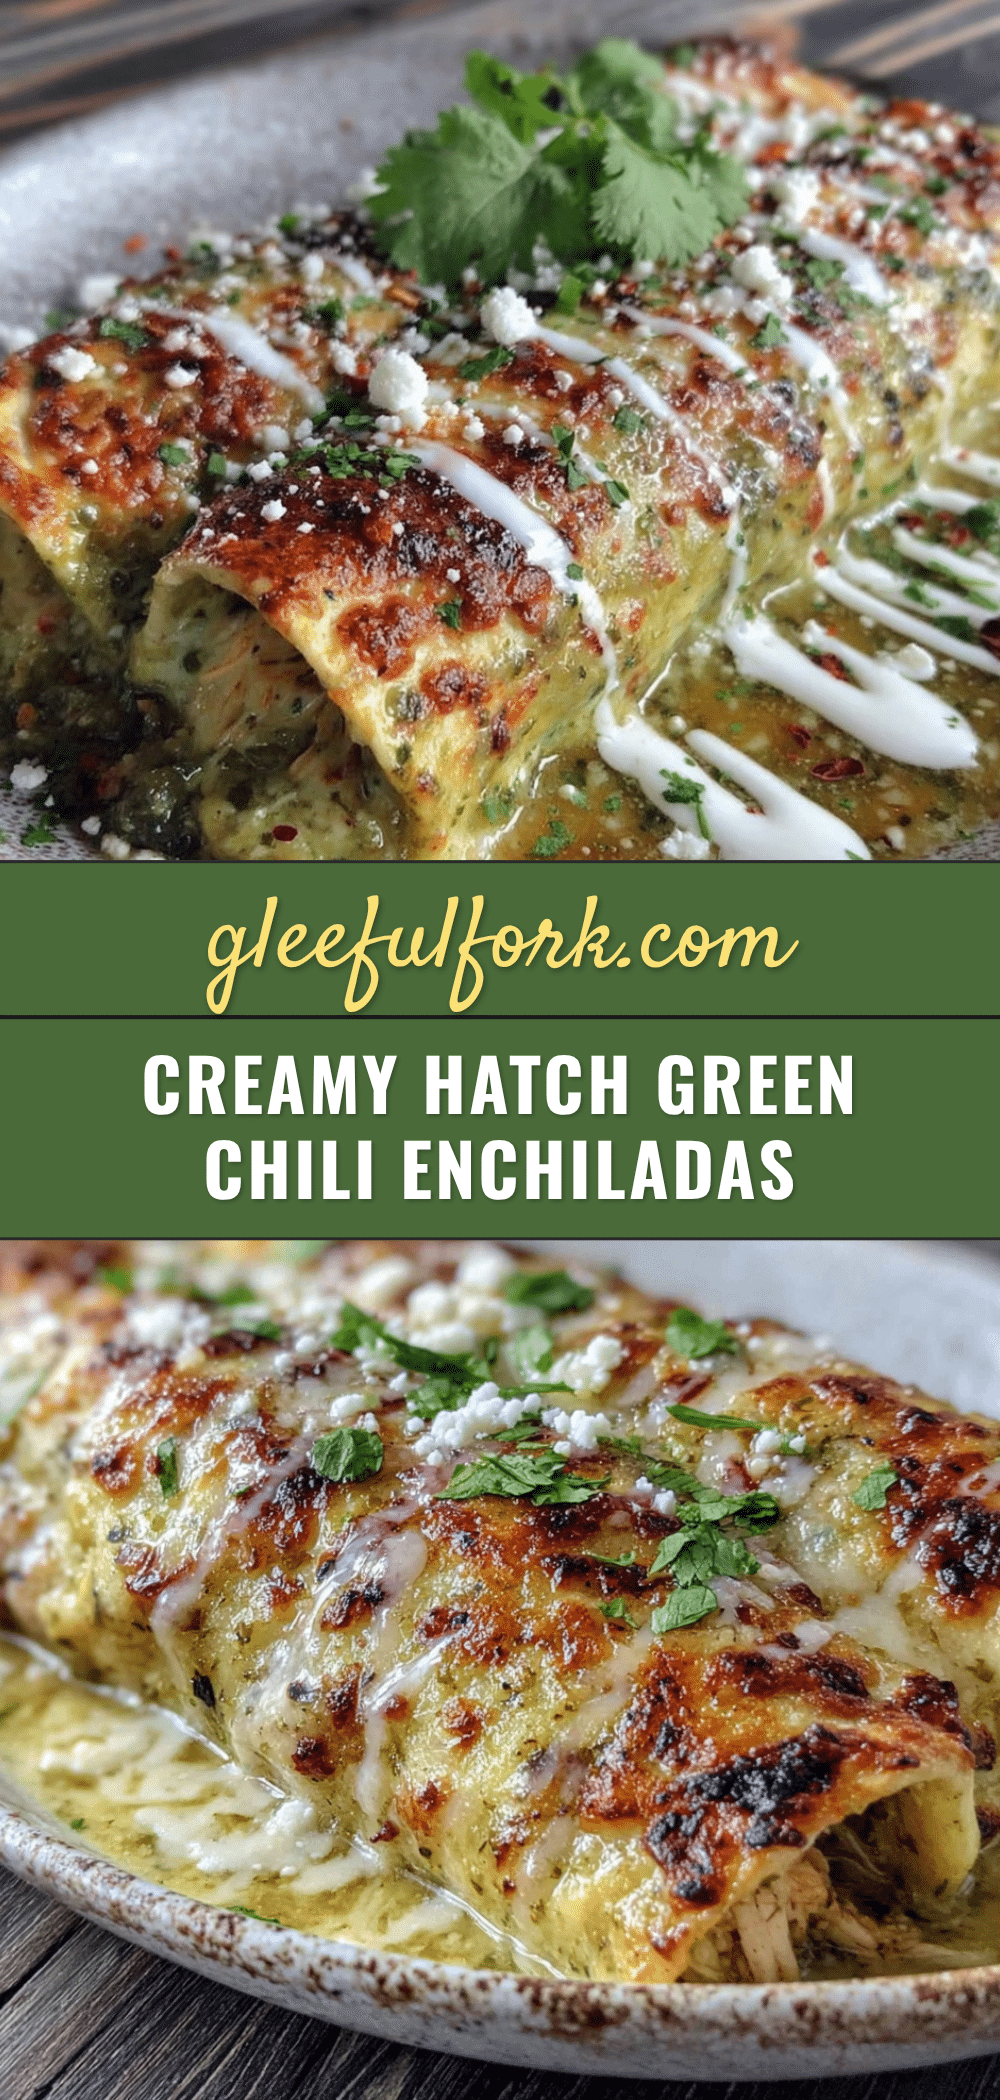
Creamy Hatch Green Chili Chicken Enchiladas: Best Easy Recipe

These creamy Hatch green chile chicken enchiladas feature a rich, velvety sauce that lets the smoky, slightly spicy flavor of the chiles shine. Quick and easy to make, they’re perfect for weeknight dinners or special gatherings.
- Prep Time: 15 minutes
- Cook Time: 25 minutes
- Total Time: 45 minutes
- Yield: 8 servings 1x
- Category: Main Course
- Cuisine: Mexican
Ingredients
- 3 cups cooked, shredded chicken (rotisserie chicken works great)
- 8 oz cream cheese, softened
- 1/2 cup sour cream (full-fat)
- 1 cup shredded Monterey Jack cheese, divided
- 1/2 cup roasted Hatch green chiles, chopped (mild or hot)
- 1/4 cup chopped green onions, plus more for garnish
- 1 teaspoon ground cumin
- 1/2 teaspoon garlic powder
- Salt and pepper to taste
- 2 tablespoons unsalted butter
- 2 tablespoons all-purpose flour
- 1 cup low-sodium chicken broth
- 1/2 cup heavy cream
- 1/2 cup sour cream (for sauce)
- 1/2 cup roasted Hatch green chiles, chopped (for sauce)
- 1/4 teaspoon salt
- 8–10 flour or corn tortillas
- 1 cup shredded Monterey Jack cheese (for topping)
- Fresh cilantro for garnish (optional)
Instructions
- Preheat your oven to 375°F (190°C). Lightly grease a 9×13-inch baking dish with butter or non-stick spray.
- Make the filling: In a large bowl, combine shredded chicken, softened cream cheese, 1/2 cup sour cream, 1/2 cup shredded Monterey Jack cheese, 1/2 cup chopped Hatch chiles, green onions, cumin, garlic powder, and a pinch of salt and pepper. Mix until well combined. Taste and adjust seasoning.
- Start the sauce: In a medium saucepan over medium heat, melt 2 tablespoons butter. Whisk in flour and cook for 1 minute, stirring constantly. Slowly pour in chicken broth while whisking continuously. Add heavy cream and remaining 1/2 cup sour cream. Whisk until smooth.
- Finish the sauce: Stir in remaining 1/2 cup chopped Hatch chiles and 1/4 teaspoon salt. Simmer for 2-3 minutes until slightly thickened. Remove from heat.
- Assemble the enchiladas: Warm tortillas for 20 seconds in the microwave or on a dry skillet. Spoon about 1/3 cup of filling down the center of each tortilla. Roll tightly and place seam-side down in the prepared baking dish. Repeat with remaining tortillas.
- Top with sauce and cheese: Pour the creamy Hatch chile sauce evenly over the rolled enchiladas. Sprinkle remaining 1 cup Monterey Jack cheese over the top.
- Bake: Place dish in preheated oven and bake for 20-25 minutes, until sauce is bubbly and cheese is melted and lightly golden. Optionally, broil for the last 2 minutes for extra browning.
- Rest and serve: Let enchiladas sit for 5 minutes before serving. Garnish with fresh cilantro and extra green onions if desired. Serve warm.
Notes
Don’t skip softening the cream cheese for a smooth filling. Warm tortillas to prevent cracking. Sauce can be made a day ahead. Adjust heat level by choosing mild or hot Hatch chiles. Avoid overbaking to keep filling moist.
Nutrition
- Serving Size: 1 enchilada
- Calories: 480
- Sugar: 4
- Sodium: 680
- Fat: 32
- Saturated Fat: 18
- Carbohydrates: 22
- Fiber: 2
- Protein: 28
Keywords: Hatch green chile, chicken enchiladas, creamy enchiladas, easy enchilada recipe, Hatch chile recipe


