Love this? Save it for later!
Share the inspiration with your friends
Introduction
“Why not just use the canned green chilies instead of roasting fresh Hatch chiles?” my friend asked as we prepped the kitchen for our enchilada experiment. I started to explain why that wouldn’t work — then stopped. Sometimes, you just have to trust the suggestion, even when that little voice in your head screams otherwise.
Honestly, I was skeptical. Hatch chiles have this smoky, earthy punch that canned chilies just can’t match. But we gave it a shot, roasting those Hatch chiles until their skins blistered and blackened, then folding them into a creamy sauce with shredded chicken and heaps of melty cheese. The result? Honestly, it was better than I imagined. The fresh Hatch chiles brought a subtle heat and vibrant flavor that danced perfectly with the creaminess and the cheese. I had been so sure that the classic method was the only way, but this twist made me rethink everything I thought I knew about enchiladas.
Maybe you’ve had that feeling when a kitchen hack or a friend’s bold idea just flips your whole recipe on its head. This creamy Hatch chile chicken enchiladas recipe stuck with me because it’s straightforward, comforting, and totally satisfying — the kind of dish that makes you close your eyes after the first bite. If you’re craving something cozy but with a little kick, keep reading. Let me tell you, this one’s got all the right moves.
Why You’ll Love This Recipe
There’s a reason I keep coming back to this creamy Hatch chile chicken enchiladas recipe. It’s not just easy; it’s downright addictive. After testing it dozens of times (and honestly, eating way too many myself), I can say this enchilada dish hits that sweet spot between creamy comfort and spicy flair.
- Quick & Easy: This recipe comes together in about 40 minutes, perfect for those busy weeknights or when you need a last-minute dinner that feels special.
- Simple Ingredients: No exotic items here — just Hatch chiles, shredded chicken, cheese, and pantry staples you likely have on hand.
- Perfect for Cozy Dinners: Whether you’re feeding a family or hosting friends, this dish warms the table and the heart.
- Crowd-Pleaser: Kids love the melted cheese, adults appreciate the mild heat, and everyone asks for seconds.
- Unbelievably Delicious: The creamy sauce balances the smoky Hatch chiles beautifully, making it a comfort food classic with a fresh twist.
What sets this recipe apart? It’s the creamy Hatch chile sauce — a luscious blend that’s neither too spicy nor too mild. The secret is roasting the chiles yourself, which adds smoky depth you just can’t get from canned. Plus, the chicken is shredded tender, swimming in that cheese-laden sauce, making every bite a little celebration. Honestly, this enchilada recipe is the one I turn to when I want dinner that feels homemade but still has that wow factor.
What Ingredients You Will Need
This recipe uses simple, wholesome ingredients to deliver bold flavor and satisfying texture without the fuss. Most are pantry staples, but the star here is the fresh Hatch chiles — if you can find them, they make all the difference.
- For the Chicken Filling:
- 2 cups cooked shredded chicken (rotisserie chicken works great)
- 1 small onion, finely chopped
- 2 cloves garlic, minced
- 1 teaspoon ground cumin
- Salt and pepper to taste
- For the Hatch Chile Cream Sauce:
- 4-5 medium fresh Hatch chiles, roasted, peeled, and chopped (or 1 cup roasted Hatch chile strips)
- 1 cup sour cream (or Greek yogurt for a lighter option)
- 1 cup heavy cream
- 1 cup shredded Monterey Jack cheese (I prefer Tillamook for melty goodness)
- 1 tablespoon butter
- 2 tablespoons all-purpose flour
- 1 cup chicken broth
- Salt and freshly ground black pepper, to taste
- For Assembly:
- 8-10 corn or flour tortillas (corn tortillas give authentic texture; flour works if you want softer enchiladas)
- 1 ½ cups shredded Monterey Jack or Oaxaca cheese for topping
- Fresh cilantro, chopped, for garnish
- Optional: sliced green onions or diced tomatoes for garnish
If fresh Hatch chiles aren’t in season, look for frozen roasted Hatch chiles in your grocery’s freezer aisle or consider Anaheim or poblano peppers as substitutes. For a gluten-free option, swap all-purpose flour with cornstarch or gluten-free flour blend. I’ve found using sour cream instead of heavy cream lightens the sauce beautifully without losing creaminess, especially if you want a tangy touch.
Equipment Needed
- Large skillet or sauté pan for cooking chicken and sauce
- Medium saucepan to prepare the cream sauce, if preferred separate
- Baking dish (9×13 inch works perfectly for enchiladas)
- Mixing bowls for combining ingredients
- Measuring cups and spoons for accuracy
- A sharp knife and cutting board for chopping
- Optional: roasting pan or grill for chiles (a gas stove flame also works well for roasting Hatch chiles)
If you don’t have a roasting pan, using a cast iron skillet or broiler tray is a good budget-friendly alternative. I usually roast my Hatch chiles directly over the gas stove flame for that authentic charred flavor — just make sure to keep a close eye to avoid burning. A handheld torch can also be handy for spot roasting if you’re feeling fancy. Don’t worry if your tools are basic; this dish doesn’t need anything too specialized.
Preparation Method
- Roast the Hatch Chiles (15 minutes): Using a gas stove flame or broiler, roast the Hatch chiles until the skins blister and blacken in spots, turning frequently. Place them in a bowl and cover with plastic wrap or a clean towel for 10 minutes to steam. Then peel off the skins, remove seeds if you want milder heat, and chop roughly. (Tip: don’t skip the steaming step; it makes peeling much easier.)
- Prepare the Chicken Filling (10 minutes): In a large skillet over medium heat, melt 1 tablespoon of butter. Add chopped onions and sauté until translucent, about 3 minutes. Stir in minced garlic and cumin, cooking for another minute until fragrant. Add shredded chicken, season with salt and pepper, and mix well. Remove from heat.
- Make the Creamy Hatch Chile Sauce (15 minutes): In the same skillet or a separate saucepan, melt 1 tablespoon butter over medium heat. Whisk in the flour and cook for about 1-2 minutes to make a roux — it should look slightly golden but not browned. Gradually whisk in the chicken broth, stirring constantly to avoid lumps. Add the heavy cream and sour cream, stirring to combine. Fold in the roasted Hatch chiles and 1 cup shredded Monterey Jack cheese. Stir until the cheese melts and the sauce thickens, about 5 minutes. Season with salt and pepper to taste.
- Assemble the Enchiladas (10 minutes): Preheat the oven to 375°F (190°C). Lightly grease your baking dish. Soften the tortillas by warming them in a skillet or microwave wrapped in a damp towel to prevent cracking. Spoon a generous amount of chicken filling into each tortilla, roll tightly, and place seam side down in the baking dish.
- Top and Bake (20 minutes): Pour the creamy Hatch chile sauce evenly over the rolled tortillas. Sprinkle the remaining 1 ½ cups shredded cheese on top. Bake uncovered for 15-20 minutes until the cheese is bubbly and golden. Let rest for 5 minutes before serving.
Quick tip: If the sauce seems too thick, add a splash of broth or cream to loosen it before pouring. And don’t overfill the tortillas — it makes rolling easier and keeps the enchiladas intact during baking.
Cooking Tips & Techniques
Getting this recipe just right is all about balancing heat, creaminess, and texture. Here are a few things I’ve learned from trial and error:
- Roasting Chiles: The key is to get those blackened spots without turning the peppers to ash. Patience is your friend here — turn often and watch closely.
- Peeling Chiles: Don’t skip the steaming step after roasting. It loosens the skin and saves you from a frustrating peeling mess.
- Shredded Chicken: Using rotisserie chicken saves time and adds flavor, but you can poach chicken breasts if you prefer. Just season the poaching liquid with salt and aromatics for better taste.
- Roux Preparation: Cook the flour and butter mixture just long enough to eliminate the raw flour taste but don’t let it brown — you want a pale roux for the creamiest sauce.
- Cheese Melting: Add cheese gradually to the sauce over low heat and stir constantly to avoid clumping or separating.
- Assembly: Warm tortillas well — cold, dry tortillas crack and tear easily, leading to a messier bake.
One goof I made early on was skipping the roux and trying to thicken the sauce by just reducing cream. The sauce turned out grainy and too thick — lesson learned! Also, multitasking by roasting chiles while prepping the filling saves a bunch of time. Pat yourself on the back if you manage to keep your kitchen from turning into a disaster zone during all this; I know I barely do.
Variations & Adaptations
This recipe is pretty adaptable. Here are some ways to make it your own or fit different dietary needs:
- Vegetarian Version: Swap chicken for roasted sweet potatoes, black beans, or sautéed mushrooms. The creamy Hatch chile sauce packs enough punch to keep it flavorful.
- Spicy Kick: Add diced jalapeños to the filling or sprinkle cayenne pepper into the sauce for more heat.
- Dairy-Free: Use coconut cream or cashew cream in place of heavy cream and dairy-free cheese alternatives. I’ve tried this with almond milk-based cheese — not as melty but still tasty.
- Different Proteins: Ground turkey or pork can be used instead of chicken, seasoned similarly.
- Cooking Method: Instead of baking, try assembling and then cooking enchiladas in a covered skillet on the stovetop until the cheese melts and the sauce bubbles.
Personally, I once swapped Monterey Jack for a sharp white cheddar and added caramelized onions — it was a nice twist that gave the enchiladas a deeper, richer flavor. Feel free to experiment with what you have; that’s part of the fun.
Serving & Storage Suggestions
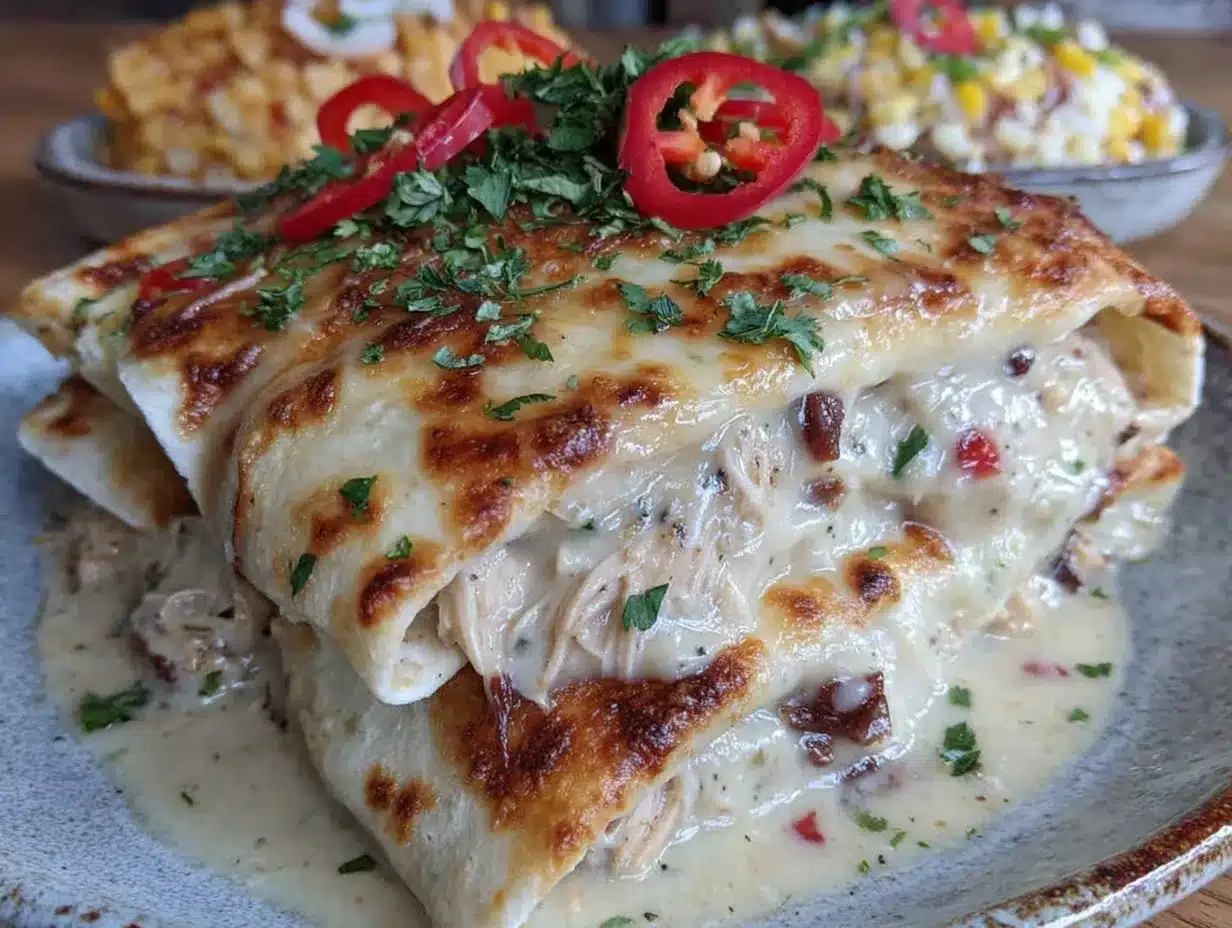
Serve these creamy Hatch chile chicken enchiladas hot, straight from the oven, garnished with fresh cilantro and maybe a dollop of sour cream or a squeeze of lime for brightness. They pair beautifully with a simple side salad or Mexican rice to round out the meal.
Leftovers keep well in an airtight container in the fridge for up to 3 days. When reheating, cover with foil and warm in the oven at 350°F (175°C) until heated through to preserve the creamy texture and melted cheese. Microwaving works too, but the sauce can separate a bit.
These enchiladas also freeze well. Wrap tightly in foil and store in a freezer-safe container for up to 2 months. Thaw overnight in the fridge before reheating as above. Flavors actually deepen over time, so leftovers often taste even better the next day.
Nutritional Information & Benefits
Each serving of creamy Hatch chile chicken enchiladas offers a balanced mix of protein from the chicken and cheese, healthy fats from the cream, and vitamins from the Hatch chiles and onions. Hatch chiles are rich in vitamin C and capsaicin, which may boost metabolism and add anti-inflammatory benefits.
This dish is moderate in carbs, especially if you use corn tortillas, and you can adjust fat content by opting for light sour cream or Greek yogurt. It’s a satisfying option for those who want flavorful comfort food without overdoing calories.
Note: Contains dairy and gluten (if using flour tortillas or all-purpose flour in the roux). For gluten-free, use corn tortillas and gluten-free flour alternatives.
Conclusion
This creamy Hatch chile chicken enchiladas recipe is honestly one of those kitchen surprises that keeps me coming back. It’s easy enough to whip up on a weeknight but special enough to impress guests or satisfy a comfort food craving. The smoky Hatch chiles make all the difference, giving the sauce a unique depth that sets it apart from your run-of-the-mill enchiladas.
I encourage you to tweak the recipe to suit your tastes — more spice, different cheeses, or even a veggie twist. Cooking is all about making a dish yours, right? If you try it, drop a comment below and let me know how it turned out or what variations you loved. I’m always excited to hear your kitchen stories.
Remember, great recipes don’t have to be complicated — sometimes, the best ones come from listening and being willing to try something unexpected. So go on, give these creamy Hatch chile chicken enchiladas a shot. Your next favorite meal might just be waiting in that baking dish.
Frequently Asked Questions
Can I use canned green chilies instead of fresh Hatch chiles?
You can, but fresh roasted Hatch chiles offer a smoky flavor and texture that canned chilies lack. If you use canned, drain well and adjust seasoning accordingly.
How spicy are Hatch chiles?
Hatch chiles have a mild to medium heat level, but it can vary. Removing the seeds and membranes reduces the heat if you prefer milder enchiladas.
Can I make this recipe ahead of time?
Yes! Assemble the enchiladas and refrigerate them covered for up to 24 hours before baking. Add a few extra minutes to the baking time if baking from cold.
What’s the best cheese to use for melting?
Monterey Jack and Oaxaca cheeses melt beautifully and have mild flavors that complement the sauce. Avoid pre-shredded cheese with anti-caking agents for smoother melting.
Is this recipe gluten-free?
Not as written, due to the flour in the sauce and possibly the tortillas. Use gluten-free flour blends and corn tortillas to make it gluten-free-friendly.
Pin This Recipe!
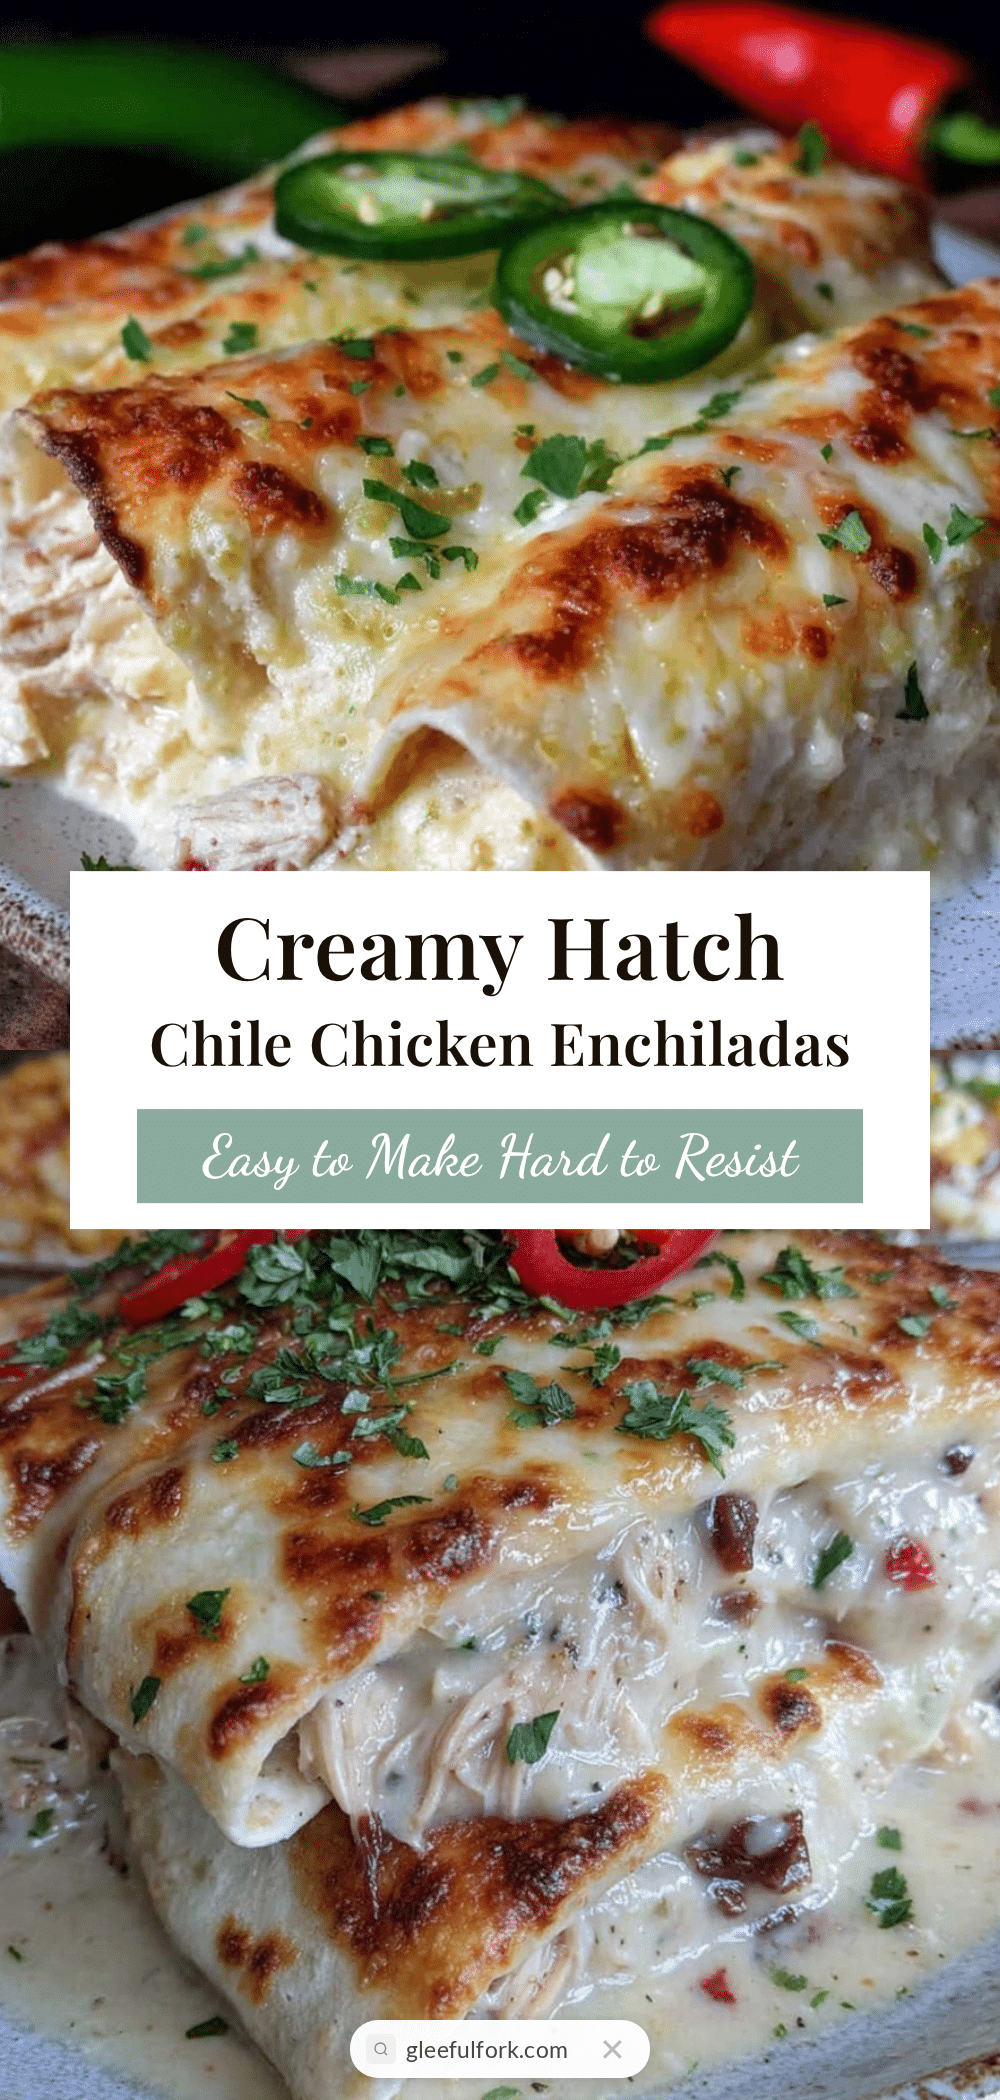
Creamy Hatch Chile Chicken Enchiladas

A comforting and flavorful enchilada recipe featuring smoky roasted Hatch chiles, shredded chicken, and a creamy cheese sauce. Perfect for cozy dinners with a mild spicy kick.
- Prep Time: 25 minutes
- Cook Time: 35 minutes
- Total Time: 60 minutes
- Yield: 8 servings 1x
- Category: Main Course
- Cuisine: Mexican
Ingredients
- 2 cups cooked shredded chicken (rotisserie chicken works great)
- 1 small onion, finely chopped
- 2 cloves garlic, minced
- 1 teaspoon ground cumin
- Salt and pepper to taste
- 4–5 medium fresh Hatch chiles, roasted, peeled, and chopped (or 1 cup roasted Hatch chile strips)
- 1 cup sour cream (or Greek yogurt for a lighter option)
- 1 cup heavy cream
- 1 cup shredded Monterey Jack cheese
- 1 tablespoon butter
- 2 tablespoons all-purpose flour
- 1 cup chicken broth
- Salt and freshly ground black pepper, to taste
- 8–10 corn or flour tortillas
- 1 ½ cups shredded Monterey Jack or Oaxaca cheese for topping
- Fresh cilantro, chopped, for garnish
- Optional: sliced green onions or diced tomatoes for garnish
Instructions
- Roast the Hatch chiles over a gas stove flame or broiler until skins blister and blacken, turning frequently (about 15 minutes). Place in a bowl, cover with plastic wrap or towel, and steam for 10 minutes. Peel skins, remove seeds if desired, and chop roughly.
- In a large skillet over medium heat, melt 1 tablespoon butter. Sauté chopped onions until translucent, about 3 minutes. Add minced garlic and cumin, cook 1 minute until fragrant. Add shredded chicken, season with salt and pepper, and mix well. Remove from heat.
- In the same skillet or a separate saucepan, melt 1 tablespoon butter over medium heat. Whisk in flour and cook 1-2 minutes to make a roux, pale golden but not browned. Gradually whisk in chicken broth, stirring constantly to avoid lumps. Add heavy cream and sour cream, stirring to combine.
- Fold in roasted Hatch chiles and 1 cup shredded Monterey Jack cheese. Stir until cheese melts and sauce thickens, about 5 minutes. Season with salt and pepper to taste.
- Preheat oven to 375°F (190°C). Lightly grease a 9×13 inch baking dish. Soften tortillas by warming in a skillet or microwave wrapped in a damp towel.
- Spoon a generous amount of chicken filling into each tortilla, roll tightly, and place seam side down in the baking dish.
- Pour creamy Hatch chile sauce evenly over rolled tortillas. Sprinkle remaining 1 ½ cups shredded cheese on top.
- Bake uncovered for 15-20 minutes until cheese is bubbly and golden. Let rest for 5 minutes before serving.
Notes
If sauce is too thick, add a splash of broth or cream to loosen before pouring. Warm tortillas well to prevent cracking. For gluten-free, use corn tortillas and gluten-free flour. Steaming chiles after roasting makes peeling easier. Rotisserie chicken saves time but poached chicken can be used. Avoid pre-shredded cheese with anti-caking agents for better melting.
Nutrition
- Serving Size: 1 enchilada
- Calories: 420
- Sugar: 3
- Sodium: 650
- Fat: 28
- Saturated Fat: 15
- Carbohydrates: 22
- Fiber: 3
- Protein: 25
Keywords: Hatch chile, chicken enchiladas, creamy sauce, roasted chiles, Mexican comfort food, easy dinner, cheesy enchiladas


