Love this? Save it for later!
Share the inspiration with your friends
“You mean I can just… not cook breakfast?” My sister texted me that at 10:47 PM on a Tuesday, and honestly, it stopped me mid-scroll. She had just gotten home from a late shift, staring into her fridge like it owed her something. I typed back: “Overnight oats. Trust me.” And that was it. I sent her my recipe for creamy peanut butter banana overnight oats, and she sent me a photo the next morning—a sleepy-eyed selfie with a jar in her hand and a caption that just said “game changer.”
I hadn’t thought much about overnight oats before that night. They seemed like something trendy people made in mason jars for Instagram. But the more I made them, the more I realized they weren’t about aesthetics. They were about having something good waiting for you when you didn’t have the energy to make good choices. And this version—with ripe banana, a generous swirl of peanut butter, and that silky, pudding-like texture—became my go-to. Not because it was fancy, but because it actually worked.
The funny thing about this recipe is how simple it really is. You don’t need a blender. You don’t need to soak chia seeds ahead of time or track down special ingredients. You just need a jar, some oats, and a few things you probably already have in your kitchen. It’s the kind of breakfast that feels like a treat but is secretly pretty good for you. And honestly? That’s my favorite kind of recipe to share. The ones that make your morning just a little bit easier without asking for much in return.
Why You’ll Love This Recipe
I’ve tested a lot of overnight oat recipes over the years. Some turned out gluey. Some were bland. Some required so many steps that I might as well have cooked actual oatmeal. This one is different. It’s the version I keep coming back to, and I think you will too.
- Ready in 5 Minutes : No cooking, no stovetop watching, no mess. Just stir everything together before bed and wake up to breakfast.
- Simple Ingredients : You probably have rolled oats, peanut butter, a banana, and milk in your kitchen right now. No grocery store scavenger hunt required.
- Perfect for Busy Mornings : Grab a jar from the fridge and go. It’s ideal for rushed workdays, school mornings, or those lazy weekends when you don’t want to cook.
- Crowd-Pleaser : My kids inhale these. My husband packs them for work. Even my picky neighbor asked for the recipe after I handed her a jar at a potluck.
- Unbelievably Creamy : The banana melts into the oats overnight, creating this naturally sweet, pudding-like texture that regular oatmeal just can’t match.
What really sets this recipe apart is the texture. Most overnight oats turn out either too watery or too thick. This one hits that sweet spot—creamy without being soupy, thick without being pasty. The secret is mashing the banana into the liquid ingredients first, which creates a natural emulsifier. It’s a small step that makes a huge difference. And when you add that swirl of peanut butter on top right before eating? Honestly, it feels like you’re having dessert for breakfast. But in a good way.
What Ingredients You Will Need
This recipe uses simple, wholesome ingredients that work together to create something truly satisfying. Most of these are pantry staples, which is exactly what I love about it.
- Rolled Oats – 1/2 cup (45g). Use old-fashioned rolled oats, not instant or steel-cut. Rolled oats soak up the liquid overnight without turning mushy. I prefer Quaker or Bob’s Red Mill for consistent results.
- Ripe Banana – 1 medium banana, the riper the better. Spotty bananas are ideal here—they mash easily and add natural sweetness. A green banana won’t break down properly and will leave you with chunky oats.
- Creamy Peanut Butter – 2 tablespoons (32g). Use natural peanut butter with just peanuts and salt if you can. The oil separation is normal—just stir it well before measuring. Skippy or Jif work fine too, but watch the added sugar.
- Milk of Choice – 1/2 cup (120ml). Whole milk makes it richest, but oat milk, almond milk, or 2% all work. I’ve tested this with unsweetened vanilla almond milk and it’s still creamy. Just avoid anything too thin like rice milk.
- Plain Greek Yogurt – 1/4 cup (60g). This adds protein and that tangy depth that balances the sweetness. Full-fat Greek yogurt gives the best texture, but 2% works. Skip flavored yogurts—they add unnecessary sugar.
- Chia Seeds – 1 tablespoon (12g). These little guys are optional but highly recommended. They thicken the oats naturally and add omega-3s. White or black chia seeds both work.
- Maple Syrup or Honey – 1 tablespoon (15ml). Just a touch for sweetness. If your banana is very ripe, you might not even need this. Adjust to your taste.
- Vanilla Extract – 1/2 teaspoon. Pure vanilla extract adds warmth and rounds out the flavors. Imitation vanilla works in a pinch but use a little less.
- Pinch of Salt – Just a small pinch. Salt enhances everything, especially the peanut butter and banana. Don’t skip it—it makes a difference.
- Optional Toppings – Sliced banana, a drizzle of extra peanut butter, chopped peanuts, dark chocolate chips, or a sprinkle of cinnamon. These aren’t required but they make it feel special.
Equipment Needed
You don’t need fancy equipment for this recipe. That’s part of the appeal. Here’s what you’ll need:
- Mason Jar or Airtight Container – A 16-ounce mason jar works perfectly. Wide-mouth jars are easier to stir and eat from. Any container with a tight-fitting lid will do.
- Fork or Small Whisk – For mashing the banana and mixing everything together. A fork works surprisingly well for mashing.
- Measuring Cups and Spoons – Standard set for accurate measurements. I’ve learned the hard way that eyeballing chia seeds leads to pudding instead of oats.
- Cutting Board and Knife – For slicing the banana. Nothing fancy needed.
- Spoon for Eating – Long-handled spoons are great for reaching the bottom of mason jars.
If you don’t have a mason jar, any bowl with plastic wrap works too. I’ve even used a cleaned-out peanut butter jar in a pinch—just shake everything together and you’re set.
Preparation Method
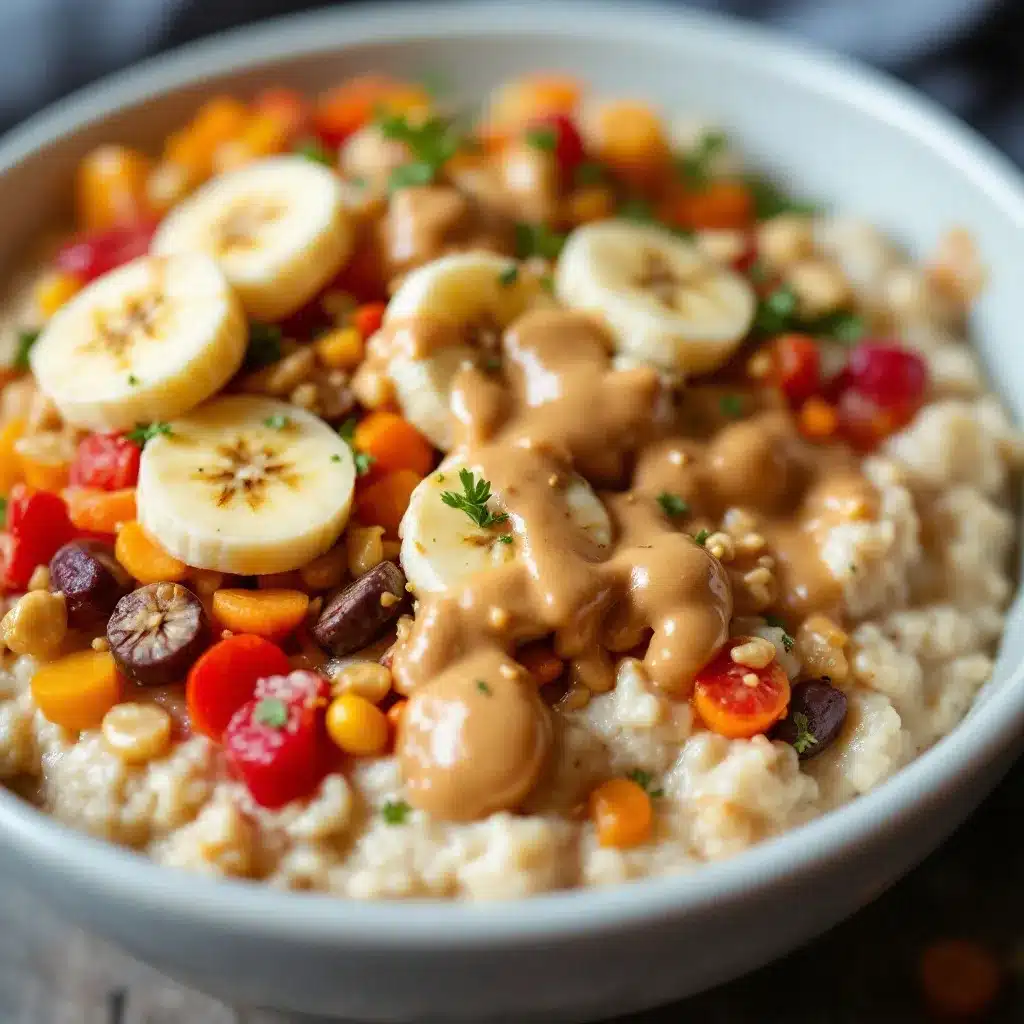
This recipe comes together in about 5 minutes. The hardest part is waiting until morning.
- Mash the banana – In your jar or a small bowl, mash the ripe banana with a fork until it’s mostly smooth. A few small lumps are fine—they’ll break down overnight. This step is important because whole banana slices won’t blend into the oats the same way.
- Add the wet ingredients – Pour in the milk, Greek yogurt, maple syrup, and vanilla extract. Whisk or stir until the banana is fully incorporated into the liquid. The mixture should look creamy and slightly frothy.
- Stir in the peanut butter – Add the peanut butter and stir until it’s mostly combined. Don’t worry if you see small swirls—they’ll distribute overnight. If your peanut butter is thick, microwave it for 10 seconds to make stirring easier.
- Add the dry ingredients – Pour in the rolled oats, chia seeds, and a pinch of salt. Stir everything together until no dry oats remain. The mixture will look thin now, but trust the process—it thickens overnight.
- Seal and refrigerate – Put the lid on your jar and place it in the refrigerator. Let it sit for at least 6 hours, but overnight (8-12 hours) is ideal. The oats absorb the liquid and the chia seeds create that signature creamy texture.
- Stir before serving – In the morning, take the jar out of the fridge and give it a good stir. The texture should be thick and creamy—like a pudding. If it’s too thick for your liking, stir in a splash of milk.
- Add toppings and enjoy – Top with sliced banana, an extra drizzle of peanut butter, a sprinkle of cinnamon, or whatever you like. Eat it cold straight from the jar, or microwave it for 30-60 seconds if you prefer warm oats.
Pro tip : If you’re meal prepping, make 3-4 jars at once. They keep in the fridge for up to 4 days. Just leave the toppings off until you’re ready to eat—banana slices get brown and sad after a day.
Cooking Tips & Techniques
I’ve made this recipe more times than I can count, and I’ve learned a few things along the way. Some of these came from mistakes. Some came from happy accidents.
Don’t use instant oats. I tried this once when I was out of rolled oats, thinking it would be fine. It was not fine. Instant oats turn into baby food—mushy and unappetizing. Rolled oats hold their shape and give you that satisfying chewy texture. Steel-cut oats won’t soften enough, so stick with rolled.
Mash the banana thoroughly. I used to just slice the banana and hope for the best. The result was unevenly sweet oats with hard chunks of banana. Taking 30 seconds to mash it properly makes the sweetness distribute evenly and creates that creamy base.
Let it sit long enough. Six hours is the minimum, but 8-12 hours is better. I’ve made these at noon and eaten them at 6 PM for a quick dinner—they were perfect. But 4 hours? Not enough. The oats need time to absorb the liquid and soften.
Adjust the milk for your preferred texture. If you like thinner oats, add an extra tablespoon or two of milk. If you want them thicker, reduce the milk slightly or add an extra teaspoon of chia seeds. The recipe as written is my sweet spot, but feel free to tweak.
Layer your toppings strategically. If you’re taking these to go, put the toppings in a separate container or add them right before eating. Nobody wants soggy granola or brown banana slices. I learned this the hard way during a particularly disappointing office breakfast.
Variations & Adaptations
This recipe is incredibly forgiving. Here are some ways to change it up depending on your mood, dietary needs, or what’s in your pantry.
- Chocolate Peanut Butter Version – Add 1 tablespoon of unsweetened cocoa powder when you add the dry ingredients. The chocolate and peanut butter combination is dangerously good. I sometimes add dark chocolate chips as a topping for extra indulgence.
- Vegan Adaptation – Use plant-based milk (oat milk is creamiest), swap the Greek yogurt for coconut yogurt or just omit it, and use maple syrup instead of honey. The texture will be slightly less thick but still delicious.
- High-Protein Version – Add a scoop of vanilla or chocolate protein powder when you add the dry ingredients. You might need an extra tablespoon of milk to balance the thickness. I’ve used collagen peptides too—they dissolve completely and add protein without changing the flavor.
- Berry Banana Peanut Butter – Layer fresh or frozen berries (strawberries, blueberries, or raspberries) between the oat mixture. They burst as you stir and add a tart contrast to the sweet banana and peanut butter.
- Warm Version – If cold oats aren’t your thing, microwave the finished jar for 45-60 seconds. Stir well before eating. The peanut butter gets melty and the banana warms through—it’s like a different recipe entirely.
I personally love the chocolate peanut butter version on days when I need a little extra joy. It feels like eating a no-bake cookie for breakfast, but without the guilt.
Serving & Storage Suggestions
These overnight oats are best served cold, straight from the fridge. The texture is thick and creamy, almost like a pudding. I like to eat mine with a spoon while standing at the kitchen counter, but you can certainly sit down and make it an event.
Serving Suggestions:
- Top with sliced banana, a drizzle of warm peanut butter, and a sprinkle of cinnamon.
- Add a handful of granola for crunch right before eating.
- Serve with a side of fresh fruit or a hard-boiled egg for extra staying power.
- Pair with a hot cup of coffee or a refreshing blueberry lavender lemonade for a summer breakfast twist.
Storage Instructions:
- Store in an airtight container in the refrigerator for up to 4 days.
- Do not freeze—the texture becomes watery and unappealing when thawed.
- Keep toppings separate until ready to eat to maintain freshness and texture.
- The flavors actually develop and deepen after a day or two. Day 2 is often better than day 1.
Reheating Tips:
- For warm oats, microwave in 30-second intervals, stirring between each, until heated through.
- Add a splash of milk before reheating to restore creaminess.
- Do not reheat in the jar if it’s metal-lidded—transfer to a microwave-safe bowl.
Nutritional Information & Benefits
This recipe is as nutritious as it is delicious. Here’s the estimated breakdown per serving (without optional toppings):
| Nutrient | Amount |
|---|---|
| Calories | 420 |
| Protein | 18g |
| Carbohydrates | 52g |
| Fiber | 9g |
| Sugar | 18g (natural) |
| Fat | 18g |
| Saturated Fat | 4g |
Health Benefits:
- Rolled oats provide soluble fiber, which supports heart health and keeps you full.
- Bananas are rich in potassium and vitamin B6.
- Peanut butter adds healthy fats and plant-based protein.
- Greek yogurt contributes probiotics and calcium.
- Chia seeds offer omega-3 fatty acids and additional fiber.
Dietary Considerations:
- Can be made vegan with simple swaps.
- Gluten-free if using certified gluten-free oats.
- Naturally sweetened with banana and a touch of maple syrup.
- Contains peanuts and dairy (unless substituted).
I love that this breakfast actually keeps me full until lunch. No mid-morning hangriness, no vending machine temptations. Just steady energy and a happy stomach.
Conclusion
This creamy peanut butter banana overnight oats recipe has become a staple in my kitchen for good reason. It’s easy, it’s forgiving, and it makes mornings feel a little less chaotic. Whether you’re rushing out the door or taking your time with a cup of coffee, having a jar of these ready in the fridge feels like a small act of kindness to your future self.
I love that this recipe lets you experiment. Add chocolate, swap the nut butter, throw in some berries—it’s hard to mess up. The base is so solid that you can customize it endlessly without losing what makes it great. And honestly? That’s the kind of recipe I want in my back pocket.
If you make these, I’d love to hear how they turn out. Drop a comment below with your favorite variation or tag me in your photos. And if you’re looking for more easy breakfast ideas, check out our lazy morning breakfast board ideas for those days when even stirring feels like too much work. Happy eating!
Frequently Asked Questions
Can I use quick oats instead of rolled oats?
I don’t recommend it. Quick oats absorb liquid too fast and turn mushy. Rolled oats give you that perfect chewy texture that holds up overnight. If quick oats are all you have, reduce the milk to 1/3 cup and expect a softer, porridge-like result.
How long do these overnight oats last in the fridge?
They stay good for up to 4 days in an airtight container. I usually make a batch on Sunday and eat them through Thursday. The texture gets slightly softer after day 3, but they’re still delicious. Just keep toppings separate until you’re ready to eat.
Can I make these without yogurt?
Absolutely. The yogurt adds creaminess and protein, but you can skip it. Just replace it with an extra 1/4 cup of milk. The texture will be slightly less thick, but still good. I’ve also used dairy-free coconut yogurt with great results.
Can I eat these warm?
Yes! If cold oats aren’t your thing, microwave the finished jar for 45-60 seconds. Stir well and add a splash of milk if needed. The peanut butter gets melty and the banana warms through. It’s a completely different experience, but just as good.
Are these overnight oats healthy for weight loss?
They can be. With 18g of protein and 9g of fiber, they’re very filling and satisfying. To reduce calories, use unsweetened almond milk, skip the maple syrup, and use powdered peanut butter instead of regular. One serving keeps me full for hours, which helps avoid mid-morning snacking.
Pin This Recipe!
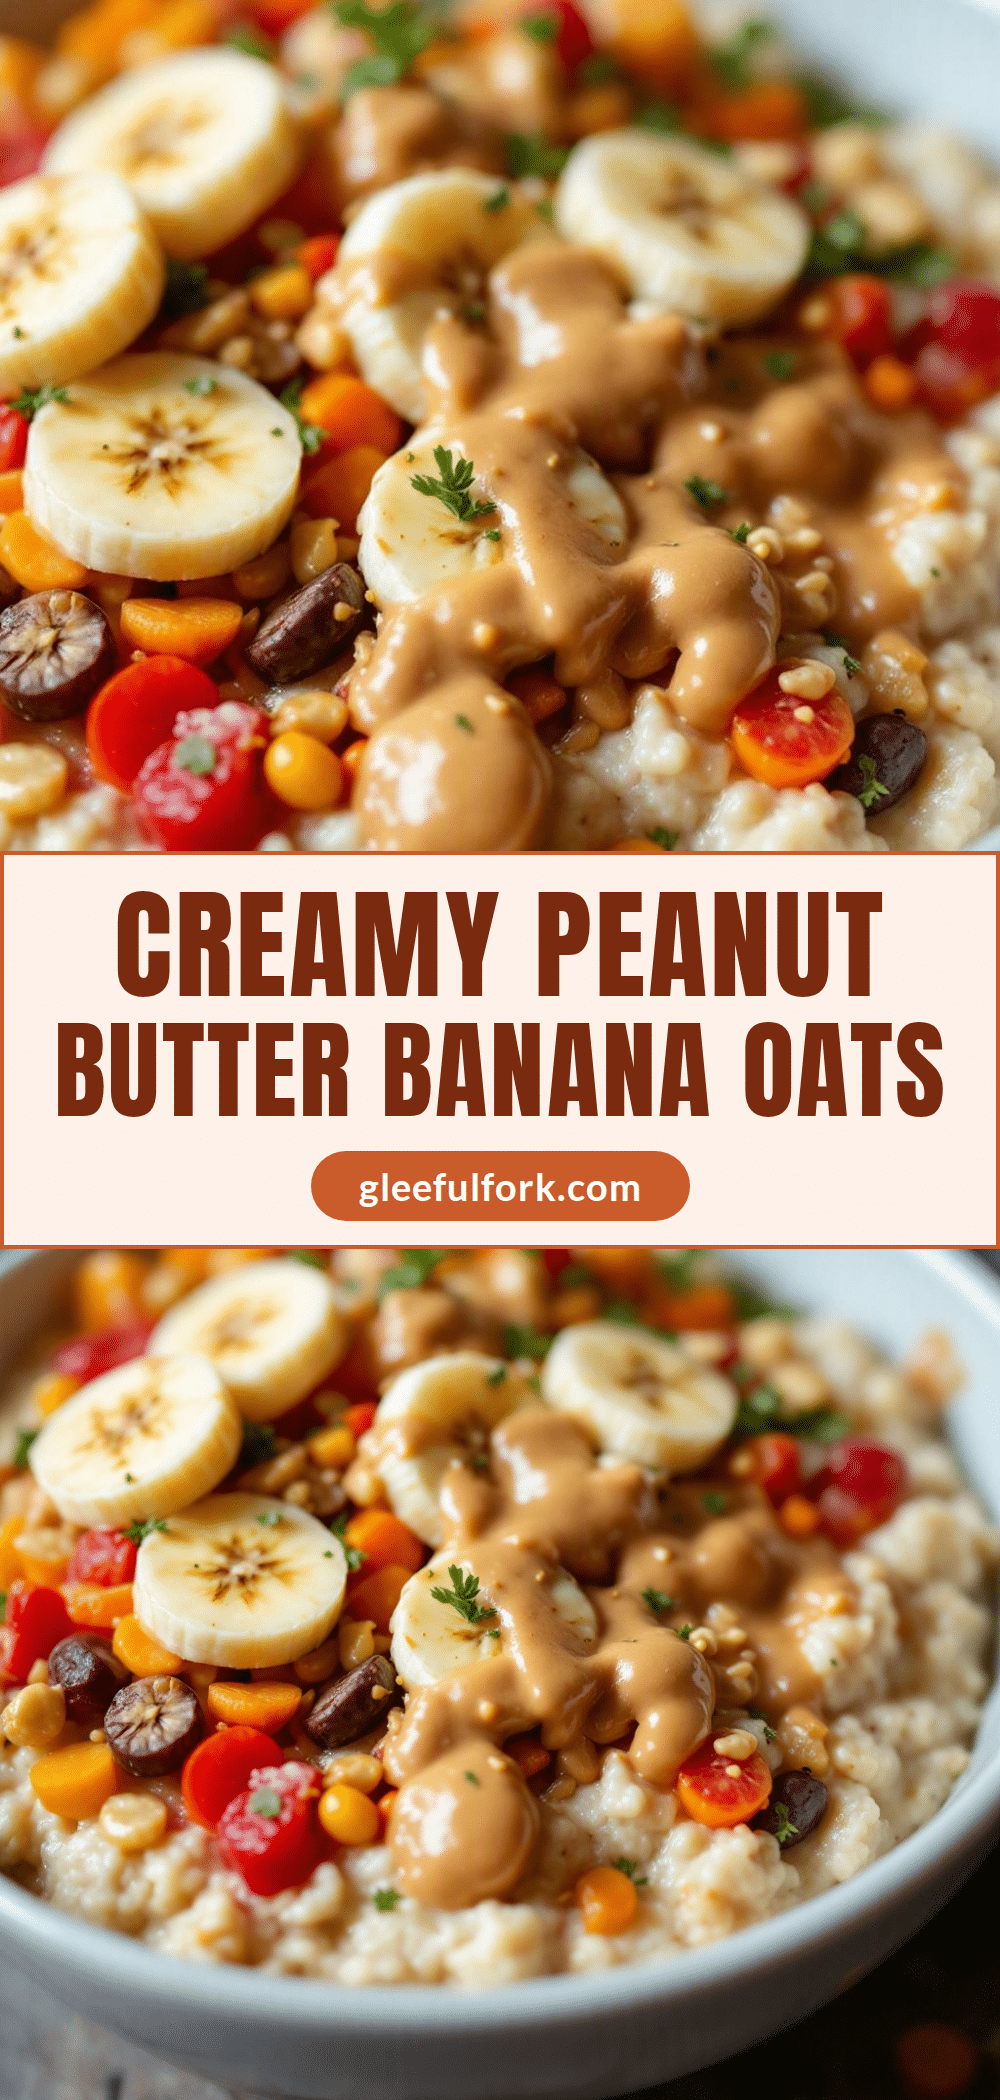
Creamy Peanut Butter Banana Overnight Oats: Best Easy Breakfast Recipe
This creamy peanut butter banana overnight oats recipe is a game-changer for busy mornings. With just 5 minutes of prep, you can wake up to a delicious, pudding-like breakfast that’s both satisfying and nutritious.
- Prep Time: 5 minutes
- Cook Time: 0 minutes
- Total Time: 5 minutes plus 6-12 hours refrigeration
- Yield: 1 serving 1x
- Category: Breakfast
- Cuisine: American
Ingredients
- 1/2 cup (45g) rolled oats
- 1 medium ripe banana
- 2 tablespoons (32g) creamy peanut butter
- 1/2 cup (120ml) milk of choice
- 1/4 cup (60g) plain Greek yogurt
- 1 tablespoon (12g) chia seeds
- 1 tablespoon (15ml) maple syrup or honey
- 1/2 teaspoon vanilla extract
- Pinch of salt
- Optional toppings: sliced banana, extra peanut butter, chopped peanuts, dark chocolate chips, cinnamon
Instructions
- Mash the ripe banana in a jar or small bowl with a fork until mostly smooth.
- Add milk, Greek yogurt, maple syrup, and vanilla extract. Whisk or stir until the banana is fully incorporated.
- Stir in the peanut butter until mostly combined. If thick, microwave for 10 seconds first.
- Add rolled oats, chia seeds, and a pinch of salt. Stir until no dry oats remain.
- Seal the jar and refrigerate for at least 6 hours, preferably 8-12 hours.
- In the morning, stir the oats. If too thick, add a splash of milk.
- Add desired toppings and enjoy cold or microwave for 30-60 seconds for warm oats.
Notes
Mash the banana thoroughly for even sweetness. Use rolled oats, not instant or steel-cut. Let sit at least 6 hours, but 8-12 is ideal. For meal prep, make 3-4 jars at once and keep in fridge up to 4 days. Add toppings just before eating to maintain freshness.
Nutrition
- Serving Size: 1 jar
- Calories: 420
- Sugar: 18
- Fat: 18
- Saturated Fat: 4
- Carbohydrates: 52
- Fiber: 9
- Protein: 18
Keywords: overnight oats, peanut butter, banana, easy breakfast, no-cook, meal prep, healthy breakfast


