Love this? Save it for later!
Share the inspiration with your friends
The jar of peanut butter was nearly empty. Not the kind of nearly empty where you can still scrape a decent spoonful out — I mean the kind where you’re tilting it at a forty-five-degree angle just to get the last smear. I had a half-eaten bag of old-fashioned oats on the counter, a handful of chocolate chips left from a baking project I abandoned, and exactly zero energy to turn on the oven. It was four in the afternoon, my kid was circling the kitchen like a tiny hungry shark, and I needed something that looked like I had planned it.
That’s the honest truth of how these healthy no-bake granola bars came into my life. Not from a test kitchen or a carefully planned recipe development session. Just from staring into my pantry and refusing to go to the grocery store. I mashed everything together in a bowl, pressed it into a pan, and stuck it in the fridge hoping for the best. When I pulled them out an hour later and cut into that first bar, I actually laughed out loud. They held together perfectly. They tasted like a chewy, satisfying treat you’d pay four dollars for at a fancy coffee shop. My kid ate three before I could even say “maybe save one for tomorrow.”
And honestly? That’s my favorite kind of recipe. The one that proves you don’t need a dozen fancy ingredients or an hour of hands-on time to make something genuinely good. These bars have become my go-to for busy weeks, afternoon slumps, and those moments when you just need a snack that feels like a treat but actually has some staying power. They’re forgiving, they’re flexible, and they’ve saved me from hangry meltdowns more times than I can count. Let me show you how simple they really are.
Why You’ll Love These Healthy No-Bake Granola Bars
I’ve tested these bars at least a dozen times over the past few months, tweaking the ratios, swapping mix-ins, and even accidentally leaving the pan out overnight once (they still held up, by the way). Here’s what I’ve learned and why I think you’ll love them just as much as I do:
- Quick & Easy: These come together in about 15 minutes of active time. No oven, no baking sheets, no waiting for anything to cool. Just mix, press, and chill.
- Simple Ingredients: You probably have most of these in your pantry right now. Oats, nut butter, honey or maple syrup, and whatever add-ins you like. No weird specialty items required.
- Perfect for Busy Weeks: Make a batch on Sunday and you’ve got grab-and-go snacks for the whole family all week long. They’re great for lunchboxes, afternoon pick-me-ups, or pre-workout fuel.
- Naturally Sweetened: These bars get their sweetness from honey or maple syrup and any dried fruit you add. No refined sugar needed, and they still taste wonderfully satisfying.
- Customizable: I’ve made versions with chocolate chips, dried cherries, shredded coconut, chopped nuts, and even a sprinkle of sea salt on top. Every single one was delicious.
What really sets these apart from other granola bar recipes I’ve tried is the texture. They’re chewy without being sticky, firm without being hard, and they actually hold their shape at room temperature. No crumbling into a sad pile of oats when you try to take a bite. That’s the magic of getting the wet-to-dry ratio just right, and I’ll walk you through exactly how to nail it every time.
These bars have honestly become a staple in my kitchen. They’re the kind of snack that makes you feel like you’ve got your life together, even on days when you absolutely do not. And isn’t that what we’re all really after?
Ingredients You Will Need
This recipe uses simple, wholesome ingredients that work together to create a bar that’s both satisfying and sturdy. Most of these are pantry staples, and I’ve included notes on substitutions so you can work with what you have on hand.
For the Base
- 2 cups old-fashioned rolled oats (use certified gluten-free if needed) — These provide the hearty, chewy texture. Quick oats work in a pinch but will give a softer, less structured bar.
- 1 cup creamy peanut butter (or almond butter, sunflower seed butter) — This acts as the main binder. I prefer natural peanut butter with just peanuts and salt for the best flavor and texture.
- ½ cup honey (or maple syrup for vegan option) — The liquid sweetener helps everything stick together. Honey gives a slightly firmer set, while maple syrup makes the bars a touch softer.
- 1 teaspoon vanilla extract — Adds warmth and rounds out the flavors. Don’t skip it — it makes a difference.
- ¼ teaspoon fine sea salt — Balances the sweetness and enhances the nutty flavor. If your peanut butter is already salted, you can reduce this slightly.
Optional Mix-Ins (Choose 1 cup total)
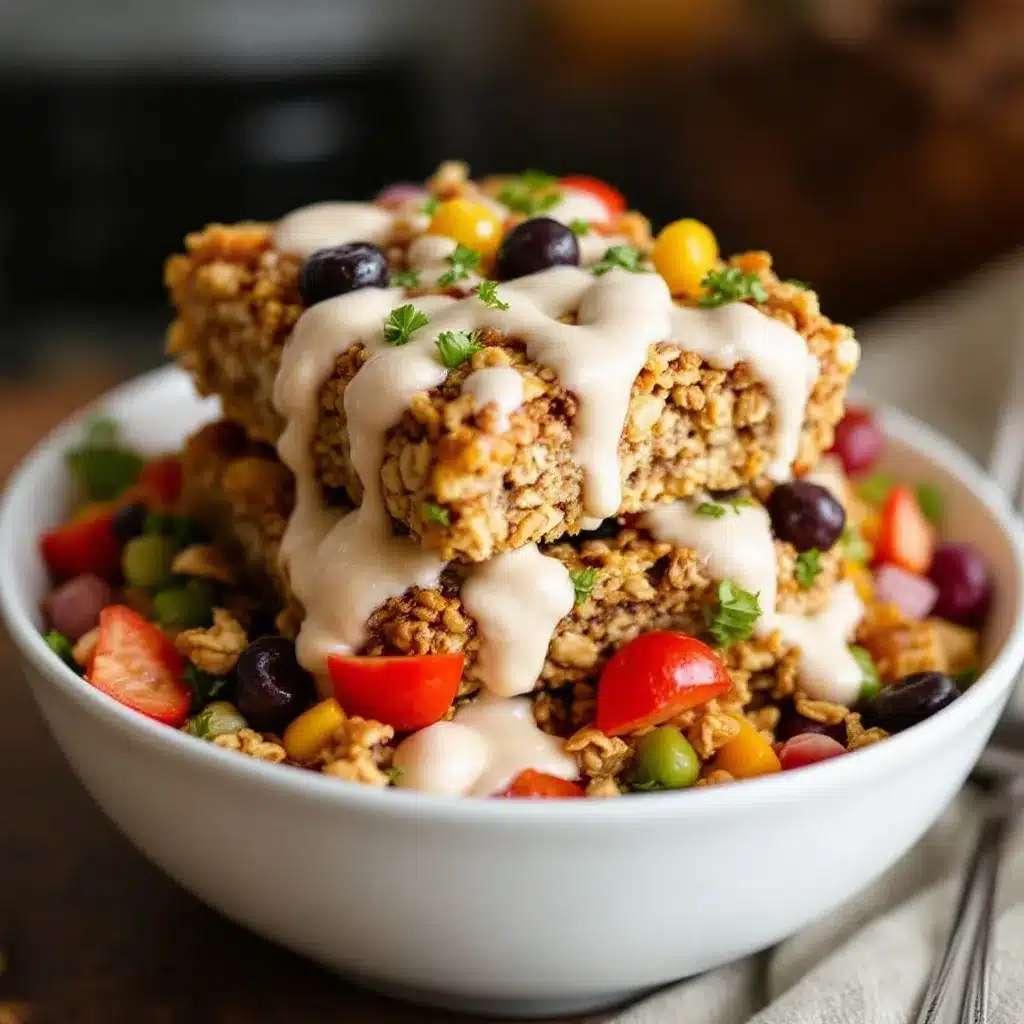
- ½ cup dark chocolate chips — Because everything is better with a little chocolate. I use mini chips so they distribute more evenly.
- ¼ cup dried cranberries or chopped dried cherries — Adds a pop of tartness that pairs beautifully with the nutty base.
- ¼ cup unsweetened shredded coconut — For a tropical twist and extra chewiness.
- ¼ cup chopped almonds or pecans — Adds crunch and healthy fats. Toast them lightly first for even more flavor.
- 2 tablespoons chia seeds or flax seeds — A sneaky way to add fiber and omega-3s without changing the taste.
A quick note on ingredient selection: I’ve found that the brand of peanut butter really matters here. I personally love using Santa Cruz Organic or Justin’s for their smooth texture and clean ingredient lists. If your nut butter is very oily, give it a good stir before measuring, and consider draining off any excess oil on top. Too much oil can make the bars greasy and prevent them from setting properly.
For the oats, stick with old-fashioned rolled oats if you can. They give the best texture — chewy but not mushy. Steel-cut oats won’t soften enough, and instant oats can turn the bars into a pasty mess. Trust me on this one.
Equipment Needed
One of the best things about this recipe is how little equipment you need. Here’s what I use every time:
- 8×8-inch baking pan — This is the perfect size for bars that are thick enough to be satisfying but not so thick that they’re hard to bite into. A 9×9-inch pan works too; your bars will just be slightly thinner.
- Parchment paper — Absolutely essential for easy removal. Leave some overhang on two sides so you can lift the whole block out in one piece.
- Large mixing bowl — Any medium-to-large bowl will do. You need enough room to stir everything together without oats flying everywhere.
- Rubber spatula or wooden spoon — For mixing and pressing the mixture into the pan. A spatula with a flat edge works best for getting an even layer.
- Measuring cups and spoons — For accuracy, especially with the wet ingredients.
- Small saucepan or microwave-safe bowl — To warm the peanut butter and honey together so they mix easily.
If you don’t have an 8×8 pan, you can use a loaf pan and make thicker bars, or a 9×13 pan for thinner, crispier bars. Just adjust the chilling time accordingly. And honestly, you don’t even need a saucepan — I’ve melted the peanut butter and honey together in the microwave more times than I can count. Just do it in 20-second bursts and stir between each one.
Preparation Method
Alright, let’s make these bars. I’ll walk you through every step so you get perfect results the first time.
- Prep your pan. Line an 8×8-inch baking pan with parchment paper, leaving about 2 inches of overhang on two opposite sides. This creates little handles that make it easy to lift the bars out later. Set the pan aside.
- Warm the wet ingredients. In a small saucepan over low heat, combine 1 cup creamy peanut butter and ½ cup honey. Stir constantly until the mixture is smooth, warm, and well combined — about 2-3 minutes. You can also do this in a microwave-safe bowl: heat in 20-second bursts, stirring between each, until smooth. Be careful not to overheat, or the honey can become too runny.
- Add vanilla and salt. Remove the peanut butter mixture from heat and stir in 1 teaspoon vanilla extract and ¼ teaspoon fine sea salt. The mixture should look glossy and smell amazing at this point.
- Combine with oats. In a large mixing bowl, place 2 cups old-fashioned rolled oats. Pour the warm peanut butter mixture over the oats. Use a rubber spatula to fold everything together until every oat is coated. This takes a little patience — keep folding until you don’t see any dry spots.
- Add your mix-ins. Gently fold in 1 cup total of your chosen mix-ins. I usually go with ½ cup dark chocolate chips and ¼ cup each of dried cranberries and chopped almonds. Fold just until distributed — you don’t want to break up the chocolate chips.
- Press into the pan. Transfer the mixture to your prepared pan. Here’s the trick: place a piece of parchment paper or wax paper over the top and use your hands or the bottom of a flat measuring cup to press the mixture down firmly and evenly. Press hard — this is the most important step for bars that hold together. The mixture should feel compact and uniform.
- Chill. Place the pan in the refrigerator for at least 1 hour. For best results, let them chill for 2 hours. The bars need this time to set up properly. If you’re in a hurry, you can pop them in the freezer for 30 minutes, but keep an eye on them — they can get too hard to cut cleanly.
- Cut and serve. Once chilled and firm, use the parchment overhang to lift the entire block out of the pan. Place it on a cutting board. Use a sharp knife to cut into 12 bars (3 cuts in one direction, 3 in the other). For cleaner cuts, wipe the knife clean between each slice. Store in the fridge or at room temperature depending on your preference.
A few sensory cues to watch for: when you press the mixture, it should feel slightly tacky but not sticky. It should hold its shape when you press down firmly. If it seems too crumbly, add a tablespoon more warm honey or peanut butter. If it seems too wet, add a tablespoon more oats. Trust your hands on this one — they’ll tell you what the mixture needs.
Cooking Tips & Techniques
I’ve made these bars enough times to learn a few things the hard way. Here are my best tips for getting perfect bars every single time:
Don’t skip the pressing step. I cannot emphasize this enough. The number one reason granola bars fall apart is that they weren’t pressed firmly enough into the pan. Use your body weight behind that spatula or measuring cup. Really compact the mixture. Think of it like packing a snowball — the tighter the pack, the better it holds together.
Warm the sticky ingredients. This is a game-changer. When you warm the peanut butter and honey together, they become much easier to stir into the oats. Cold peanut butter is a nightmare to mix — you’ll end up with clumps and unevenly coated oats. A quick warm-up makes everything smooth and homogenous.
Mind your ratios. The perfect granola bar is a delicate balance between wet and dry ingredients. If you’re adding very dry mix-ins like toasted nuts or coconut, you might need to add an extra tablespoon of honey to compensate. If you’re using very wet mix-ins like fresh fruit (which I don’t recommend for this recipe), you’ll need more oats. Stick with dried fruits and nuts for the best texture.
Let them chill fully. I know it’s tempting to cut into them after 30 minutes, but patience pays off here. The bars need at least an hour in the fridge to set. If you cut too early, they’ll be soft and sticky. If you’re making them for a party or lunchboxes, make them the night before — they actually taste better the next day.
Use a sharp knife. A dull knife will drag through the bars and create ragged edges. A sharp chef’s knife or a long serrated knife works beautifully. Wipe the blade clean between cuts for the neatest squares.
One thing I learned the messy way: if you overheat the peanut butter and honey mixture, it can separate and become grainy. Keep the heat low and stir constantly. Low and slow is the way to go here.
Variations & Adaptations
This recipe is incredibly forgiving, and I’ve tried quite a few variations over the months. Here are some of my favorites:
Vegan Version: Substitute the honey with maple syrup or agave nectar. Use dairy-free chocolate chips. The bars will be slightly softer but just as delicious. I’ve made this version for friends who follow a plant-based diet, and they always ask for the recipe.
Nut-Free Version: Swap the peanut butter for sunflower seed butter or WowButter. Keep in mind that sunflower seed butter can react with baking soda (which we’re not using here, so you’re safe) and can turn greenish when combined with certain ingredients. It’s perfectly safe to eat, just a little surprising visually. Also add an extra tablespoon of honey since seed butters are often less sweet.
Protein-Packed Version: Add 2 tablespoons of your favorite protein powder along with the oats. You may need to add an extra tablespoon of honey or a splash of milk to keep the mixture from getting too dry. I’ve used vanilla and chocolate protein powders with great success.
Seasonal Swaps: In the fall, I love adding pumpkin pie spice and dried apples. In the summer, dried mango and coconut flakes make a tropical version that feels like a vacation in bar form. Around the holidays, dried cranberries and white chocolate chips are always a hit.
Crunchier Bars: If you prefer a crunchier texture, toast the oats in a dry skillet over medium heat for 3-4 minutes before mixing. Let them cool completely before proceeding. This adds a nutty flavor and a satisfying crunch that holds up even after chilling.
I once made a batch with chopped dried apricots and a drizzle of melted dark chocolate on top for a party, and they disappeared faster than the store-bought snacks. Just saying.
Serving & Storage Suggestions
These bars are incredibly versatile when it comes to serving. Here’s how I like to enjoy them:
Serving Temperature: I actually prefer these bars straight from the fridge — they’re firm, chewy, and hold together perfectly. But they’re also great at room temperature if you’re packing them for lunch or a road trip. If they soften up too much on a warm day, just pop them back in the fridge for 10 minutes.
Presentation Ideas: For a snack board, cut the bars into smaller bite-sized squares and arrange them alongside fresh fruit, cheese cubes, and a few crispy bacon-wrapped asparagus bundles for a sweet-and-savory spread. For lunchboxes, wrap individual bars in parchment paper and tie with kitchen twine for a cute, portable treat.
Storage Instructions: Store the bars in an airtight container in the refrigerator for up to 2 weeks. They actually get better after a day or two as the flavors meld together. You can also store them at room temperature for up to 5 days, but they’ll be softer. For longer storage, wrap each bar individually in plastic wrap and place in a freezer-safe bag. They’ll keep in the freezer for up to 3 months.
Reheating: These bars are meant to be eaten cold or at room temperature, so no reheating needed. If you’ve frozen them, just let them thaw in the fridge overnight or on the counter for about 20 minutes.
Flavor Development: Here’s something I noticed: the bars taste even better the next day. The oats have time to absorb the flavors from the peanut butter and honey, and the mix-ins settle into a perfect balance. So if you can resist eating them right away, you’re in for a treat.
Nutritional Information & Benefits
While I’m not a nutritionist, I can share what I’ve learned about the ingredients in these bars and why they make such a satisfying snack:
Estimated nutrition per bar (based on 12 bars with chocolate chips and almonds):
| Nutrient | Amount |
|---|---|
| Calories | 210 |
| Protein | 7g |
| Carbohydrates | 24g |
| Fiber | 3g |
| Sugar | 12g |
| Fat | 11g |
| Saturated Fat | 3g |
| Sodium | 95mg |
Health Benefits: Oats are a great source of soluble fiber, which helps keep you full and supports heart health. Peanut butter provides healthy fats and protein for sustained energy. Depending on your mix-ins, you’re also getting antioxidants from dark chocolate, vitamins from dried fruit, and healthy fats from nuts and seeds.
Dietary Considerations: These bars can easily be made gluten-free (use certified gluten-free oats), vegan (use maple syrup and dairy-free chocolate), and nut-free (use seed butter). They’re naturally dairy-free if you skip the chocolate chips or use dairy-free ones. Always check labels if you’re cooking for someone with allergies.
Potential Allergens: This recipe contains peanuts and oats. Oats are often processed in facilities that also process wheat, so look for certified gluten-free oats if needed. Nut butters can be a common allergen as well.
I personally love that these bars give me steady energy without a sugar crash. They’re my go-to for long afternoons when I need something that actually fuels me, not just something that tastes good for five minutes.
Frequently Asked Questions
Can I use quick oats instead of rolled oats?
You can, but the texture will be different. Quick oats are more finely chopped, so they absorb moisture faster and create a softer, less chewy bar. If that sounds good to you, go for it. Just reduce the honey by a tablespoon since quick oats are more absorbent and can make the bars too dense.
Why are my granola bars falling apart?
This usually happens for one of three reasons: you didn’t press the mixture firmly enough into the pan, you didn’t chill them long enough, or your wet-to-dry ratio was off. Make sure you’re really compacting the mixture, chilling for at least 1 hour, and measuring your ingredients accurately. If they still fall apart, add an extra tablespoon of warm honey next time.
Can I make these without a food processor?
Absolutely. You don’t need any special equipment for this recipe. A mixing bowl, a spatula, and a pan are all you need. The only heating involved is warming the peanut butter and honey, which you can do on the stove or in the microwave.
How long do these bars last at room temperature?
They’ll keep at room temperature for up to 5 days in an airtight container. They’ll be softer than refrigerated bars, but still delicious. If you live in a warm or humid climate, I’d recommend storing them in the fridge to prevent them from getting too soft or sticky.
Can I double this recipe?
Yes, and I do it all the time! Double all the ingredients and press the mixture into a 9×13-inch pan. You may need to chill them a bit longer — about 2 hours — to ensure they set properly. The bars will be slightly thinner, so adjust your cutting accordingly. I usually get 24 bars from a double batch.
Conclusion
These healthy no-bake granola bars have honestly become one of those recipes I never want to be without. They’ve saved me on busy mornings, rescued me from afternoon slumps, and made me look like a snack-prep genius when friends come over. And the best part? They’re so simple that you can make them without even thinking about it.
I love that this recipe is a starting point, not a rigid set of rules. Swap in your favorite dried fruit, use whatever nut butter you have on hand, throw in some seeds or coconut — it’s all going to be delicious. That’s the beauty of a simple, well-tested base. You can make it your own without worrying about messing it up.
If you give these a try, I’d love to hear how they turn out. Leave a comment below and let me know what mix-ins you used, or tag me in your photos if you share them online. And if you’re looking for more easy snack ideas, you might enjoy this fresh cowboy caviar recipe or these savory loaded deviled eggs for your next gathering. Happy snacking, friend!
Pin This Recipe!
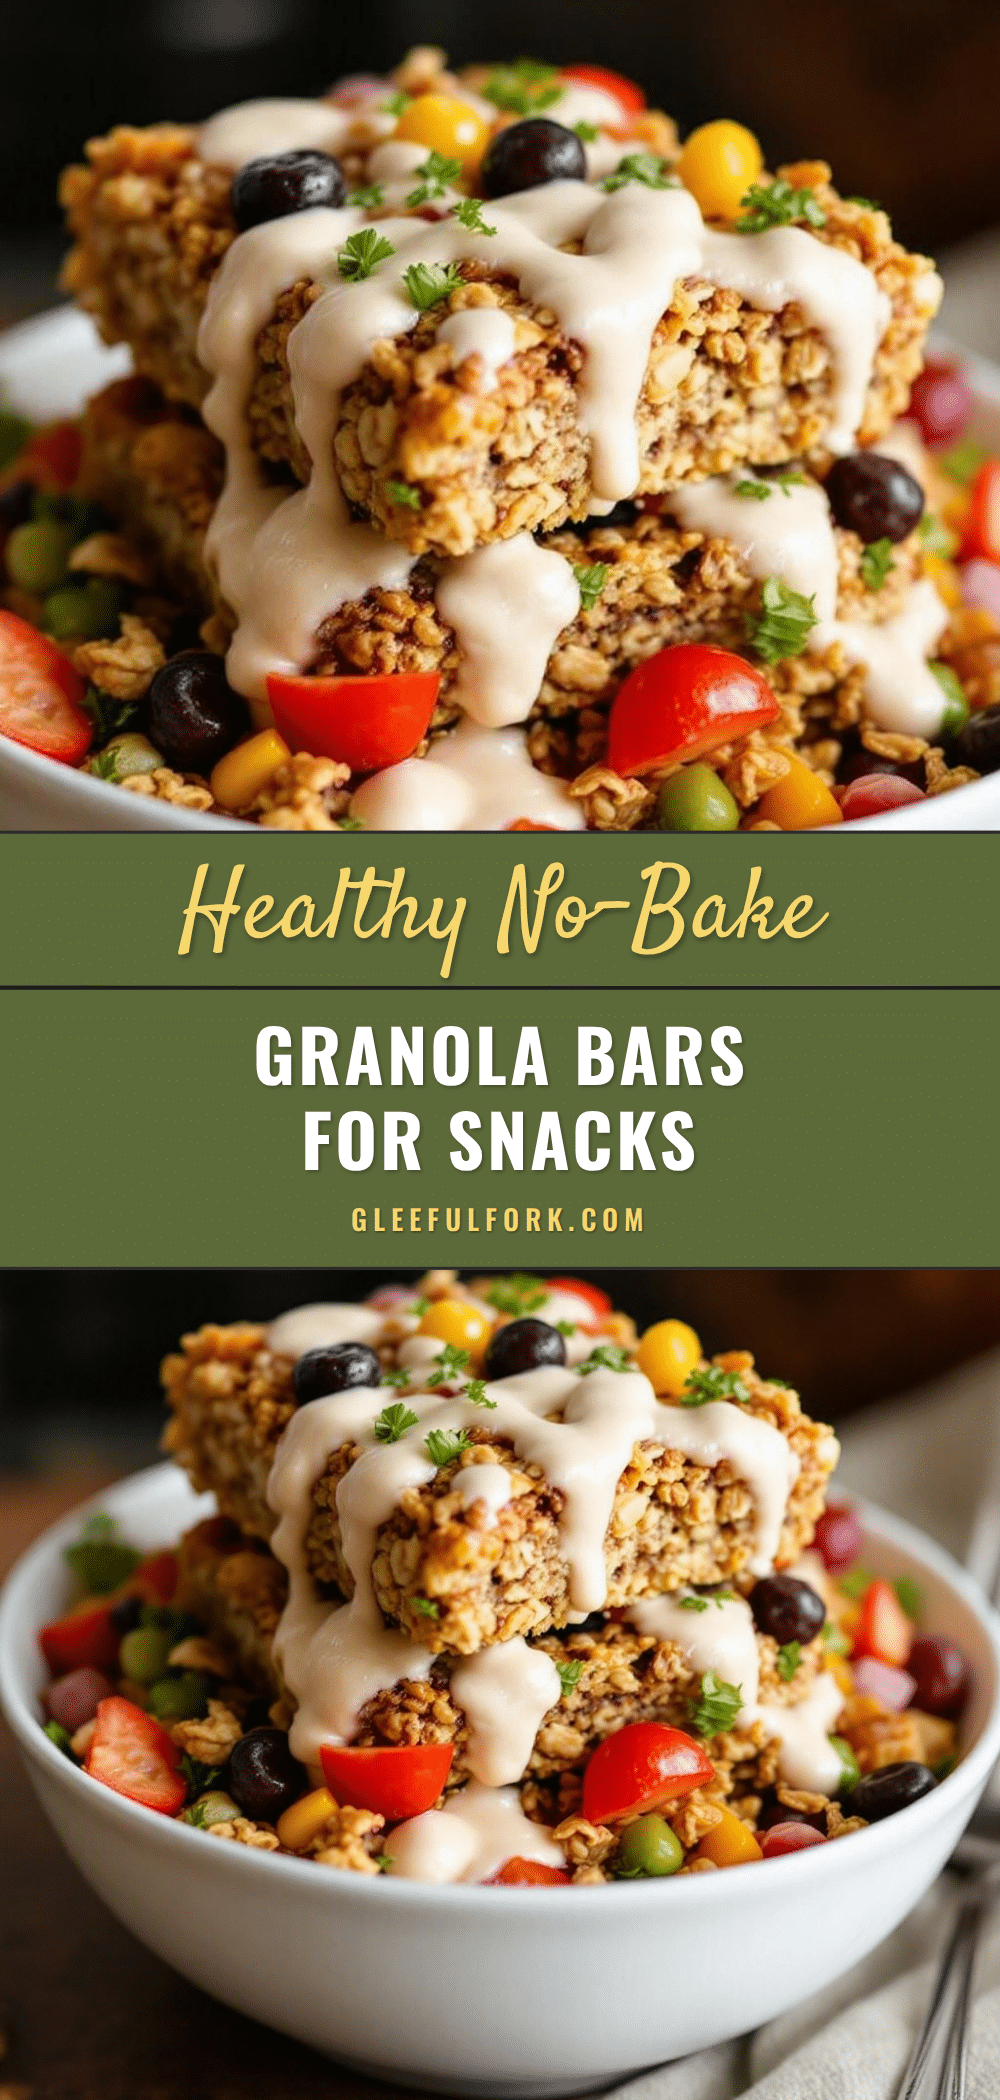
Healthy No-Bake Granola Bars: 15-Minute Easy Snack
These healthy no-bake granola bars come together in just 15 minutes with simple pantry ingredients. They’re chewy, satisfying, and perfect for busy weeks, lunchboxes, or afternoon slumps.
- Prep Time: 15 minutes
- Cook Time: 0 minutes
- Total Time: 1 hour 15 minutes (including chilling)
- Yield: 12 bars 1x
- Category: Snack
- Cuisine: American
Ingredients
- 2 cups old-fashioned rolled oats (use certified gluten-free if needed)
- 1 cup creamy peanut butter (or almond butter, sunflower seed butter)
- ½ cup honey (or maple syrup for vegan option)
- 1 teaspoon vanilla extract
- ¼ teaspoon fine sea salt
- ½ cup dark chocolate chips (optional)
- ¼ cup dried cranberries or chopped dried cherries (optional)
- ¼ cup unsweetened shredded coconut (optional)
- ¼ cup chopped almonds or pecans (optional)
- 2 tablespoons chia seeds or flax seeds (optional)
Instructions
- Prep your pan. Line an 8×8-inch baking pan with parchment paper, leaving about 2 inches of overhang on two opposite sides. Set aside.
- Warm the wet ingredients. In a small saucepan over low heat, combine 1 cup creamy peanut butter and ½ cup honey. Stir constantly until smooth, warm, and well combined — about 2-3 minutes. Alternatively, microwave in 20-second bursts, stirring between each, until smooth.
- Add vanilla and salt. Remove from heat and stir in 1 teaspoon vanilla extract and ¼ teaspoon fine sea salt.
- Combine with oats. In a large mixing bowl, place 2 cups old-fashioned rolled oats. Pour the warm peanut butter mixture over the oats. Fold with a rubber spatula until every oat is coated and no dry spots remain.
- Add your mix-ins. Gently fold in 1 cup total of your chosen mix-ins (e.g., ½ cup dark chocolate chips, ¼ cup dried cranberries, ¼ cup chopped almonds). Fold just until distributed.
- Press into the pan. Transfer the mixture to the prepared pan. Place a piece of parchment paper or wax paper over the top and press down firmly and evenly using your hands or the bottom of a flat measuring cup. Press hard to compact the mixture.
- Chill. Place the pan in the refrigerator for at least 1 hour, or up to 2 hours for best results. For a quicker set, freeze for 30 minutes.
- Cut and serve. Once chilled and firm, use the parchment overhang to lift the block out of the pan. Place on a cutting board and cut into 12 bars using a sharp knife, wiping the blade clean between cuts. Store in the refrigerator or at room temperature.
Notes
Press the mixture firmly into the pan to ensure bars hold together. Chill for at least 1 hour. For cleaner cuts, wipe the knife clean between slices. Bars can be stored in the refrigerator for up to 2 weeks or frozen for up to 3 months.
Nutrition
- Serving Size: 1 bar
- Calories: 210
- Sugar: 12
- Sodium: 95
- Fat: 11
- Saturated Fat: 3
- Carbohydrates: 24
- Fiber: 3
- Protein: 7
Keywords: no-bake granola bars, healthy granola bars, easy snack, peanut butter granola bars, gluten-free granola bars, vegan granola bars


