Love this? Save it for later!
Share the inspiration with your friends
“You wouldn’t expect a noisy Sunday market in Seoul to inspire your next favorite dinner,” I told my friend as we sat down to eat. It was a chilly afternoon when I stumbled upon a street vendor selling kimchi fried rice bowls, steam rising from the sizzling pans and mixing with the chatter around me. The vendor, an elderly man with a warm smile, shared a quick tip about the magic of fermented foods and their probiotic benefits. Honestly, I was skeptical at first—kimchi always seemed too spicy for my taste, and fried rice is something I’d usually skip.
But that day, something about the combination — the tangy, spicy kimchi melding with the savory rice and a perfectly fried egg on top — just hit differently. When I tried making this comforting kimchi fried rice bowl at home, it turned into a go-to recipe, especially on evenings when I wanted something quick but nourishing. Maybe you’ve been there: craving a dish that feels like a warm hug but also packs a little health punch? This recipe is exactly that.
Let me tell you, the first time I made it, I forgot to set a timer and almost burned the garlic (classic me). Luckily, the flavor saved the day! This bowl has stuck around in my rotation because it’s simple, satisfying, and yes, probiotic-rich thanks to the fermented kimchi. I’m excited to share it with you — whether you’re a kimchi fan or a curious newbie.
Why You’ll Love This Recipe
This kimchi fried rice bowl recipe is one of those meals that just makes sense for busy weeknights and anyone wanting a quick, healthy boost. Here’s why it’s become a staple in my kitchen:
- Quick & Easy: Ready in about 20 minutes, it’s perfect when you’re short on time but crave something homemade.
- Simple Ingredients: Most items are pantry staples or easy to find at any grocery store. No need for exotic spices or hard-to-get veggies.
- Perfect for Any Occasion: Whether you want a cozy solo dinner or a fun dish to share at casual gatherings, it fits right in.
- Crowd-Pleaser: The balance of spicy, tangy, and savory notes consistently earns compliments from family and friends alike.
- Unbelievably Delicious: The crispy bits of rice combined with kimchi’s zing and a runny yolk? Next-level comfort food.
What sets this version apart is the way I build layers of flavor — gently caramelized onions, just the right amount of garlic, and a splash of sesame oil that brings everything together. Plus, the probiotic benefits of kimchi make it more than just tasty; it’s good for your gut, too. This recipe has been tested multiple times, tweaked here and there, and now it’s family-approved — I hope it becomes yours too.
What Ingredients You Will Need
This recipe uses simple, wholesome ingredients to deliver bold flavor and satisfying texture without the fuss. The kimchi brings that signature fermented tang and probiotic goodness, while the rice and eggs make it filling and comforting. Most ingredients are pantry staples, and substitutions are easy if needed.
- Cooked rice (preferably day-old, 3 cups / 600g) – day-old rice works best for that perfect fried texture.
- Kimchi (1 cup / 150g, chopped) – I recommend using a well-fermented, spicy kimchi for depth of flavor.
- Vegetable oil (2 tablespoons) – neutral oils like canola or grapeseed work well.
- Garlic (3 cloves, minced) – fresh garlic adds a punch.
- Green onions (2 stalks, sliced) – for freshness and color.
- Soy sauce (1 tablespoon) – adds umami and saltiness.
- Sesame oil (1 teaspoon) – toasted sesame oil is key for that nutty aroma.
- Eggs (2 large) – fried or sunny-side up, your choice.
- Optional toppings: sesame seeds, sliced nori, or a drizzle of sriracha.
For a gluten-free option, use tamari instead of soy sauce. If you want to keep it vegan, skip the eggs or use tofu scramble. When picking kimchi, I recommend checking the label for live cultures to maximize probiotic benefits. And honestly, I love the extra crunch from green onions—it just makes the dish pop visually and flavor-wise.
Equipment Needed
- Large non-stick skillet or wok: Ideal for frying rice evenly without sticking. I’ve tried cast iron, but non-stick is easier here.
- Spoon or spatula: For mixing and scraping the pan cleanly.
- Knife and cutting board: To prep the kimchi, garlic, and green onions.
- Measuring spoons: Ensure your soy sauce and oils are balanced.
- Frying pan: For cooking the eggs separately.
If you don’t have a wok, a large skillet works just fine. I remember the first time I made this dish, I used a crowded small pan and the rice didn’t get that nice crispy texture—lesson learned! For budget-friendly options, a simple non-stick pan from your local store will do the trick. Keeping your pan clean and well-seasoned makes frying rice a breeze.
Preparation Method
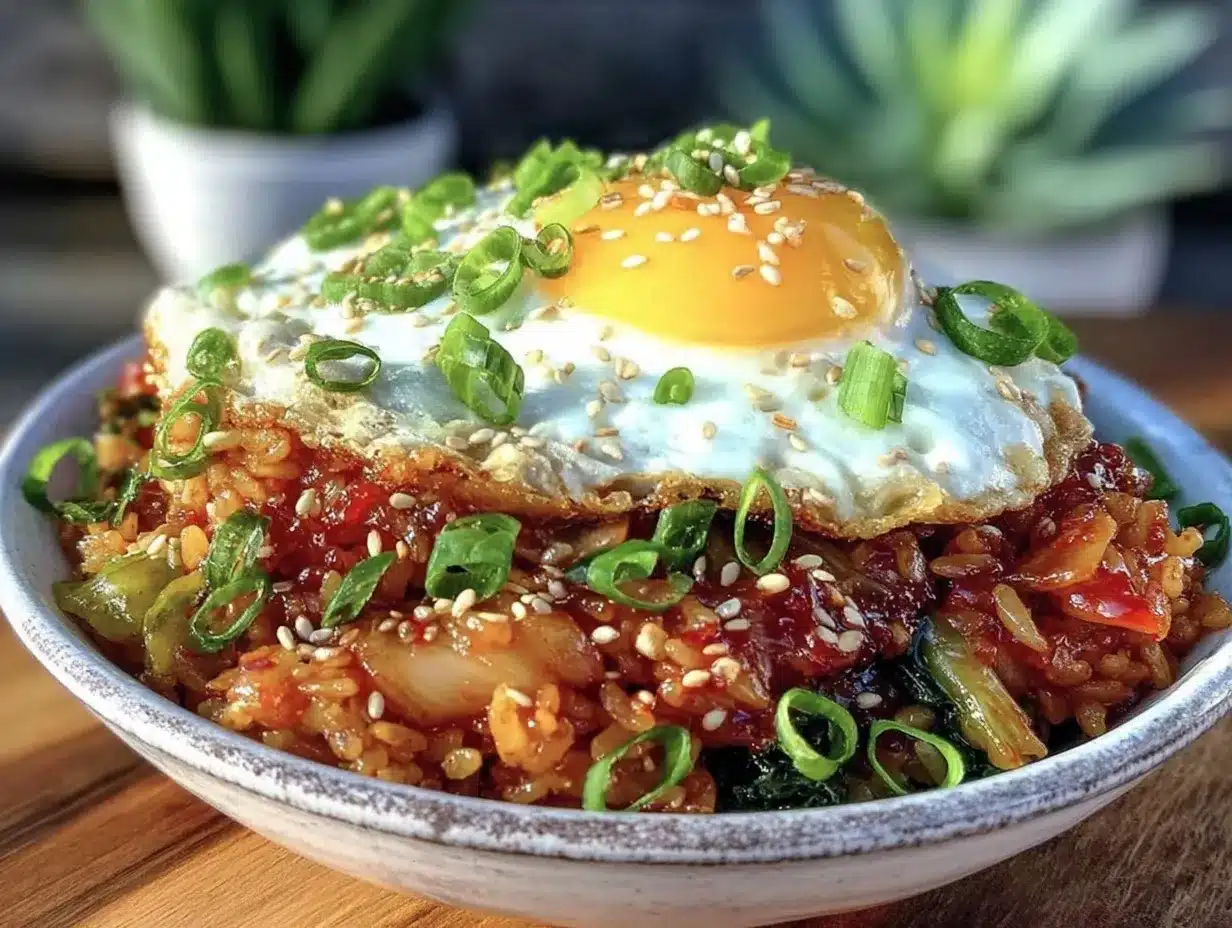
- Prepare your ingredients: Chop 1 cup (150g) of kimchi finely, mince 3 cloves of garlic, and slice 2 green onions. If your rice is freshly cooked, spread it on a tray and let it cool for at least 30 minutes or refrigerate overnight to dry out a bit.
- Heat the skillet: Add 2 tablespoons of vegetable oil to your pan over medium-high heat. Wait until it shimmers (about 1-2 minutes).
- Sauté garlic and green onions: Toss in the minced garlic and half the green onions. Stir frequently for about 1 minute until fragrant but not browned. Watch closely, garlic burns fast!
- Add chopped kimchi: Stir kimchi into the pan; cook for 3-4 minutes, allowing some liquid to evaporate and the flavors to concentrate. You’ll notice a delicious tangy aroma rising.
- Incorporate the rice: Add 3 cups (600g) of cold, cooked rice. Break up any clumps with your spatula and mix thoroughly with the kimchi mixture. Press the rice down slightly and let it sit for 2 minutes to get some crispy bits before stirring again.
- Season the rice: Pour in 1 tablespoon soy sauce and 1 teaspoon toasted sesame oil. Stir well to evenly distribute the seasoning. Taste and adjust if you want a bit more salt or tang.
- Fry the eggs: In a separate small pan, fry 2 eggs sunny-side up or to your liking. The runny yolk works magic when mixed into the rice.
- Plate and garnish: Serve the kimchi fried rice hot, topped with the fried eggs. Sprinkle with the remaining green onions, sesame seeds, and a little sliced nori if you have it. A drizzle of sriracha can add an extra kick if you like.
Pro tip: If your rice sticks, add a splash more oil or reduce heat slightly. If the kimchi is too spicy, a small spoonful of sugar can balance the heat. I often make a double batch and refrigerate leftovers — the flavors deepen beautifully overnight.
Cooking Tips & Techniques
Kimchi fried rice might seem straightforward, but a few tricks make all the difference.
- Use day-old rice: Freshly cooked rice is too moist and clumps together. Leftover rice dries out, giving you that perfect fried texture.
- Don’t overcrowd the pan: Give your ingredients room to fry rather than steam. This helps develop crispy bits and a nice flavor.
- Watch the garlic carefully: Burnt garlic can turn bitter fast, so stir constantly and keep the heat moderate.
- Let the rice sit: When frying, press the rice down and let it cook undisturbed for 1-2 minutes to create those coveted crunchy edges.
- Adjust seasoning last: Kimchi’s saltiness can vary, so always taste before adding extra soy sauce.
- Egg perfection: I like sunny-side up eggs with runny yolks because mixing them in makes the dish creamy without extra sauce.
I once tried adding too much soy sauce in a hurry and ended up with an overly salty dish—lesson learned: slow and steady wins the race. Also, multitasking by frying eggs while the rice cooks saves time and keeps the meal hot and fresh.
Variations & Adaptations
This kimchi fried rice bowl is easily customizable, which is part of its charm.
- Protein options: Add diced chicken, tofu cubes, or shrimp for a heartier meal.
- Vegetarian/Vegan: Skip the eggs or replace them with pan-fried tofu or tempeh. Use tamari instead of soy sauce for gluten-free and vegan-friendly seasoning.
- Seasonal veggies: Toss in shredded carrots, peas, or bell peppers for extra crunch and color.
- Milder flavor: Use mild kimchi or rinse it briefly to reduce heat.
- Low-carb adaptation: Swap rice for cauliflower rice if you want a lighter version.
One personal favorite is adding a spoonful of crunchy kimchi juice on top before serving—brings a burst of flavor. I’ve also tried pan-frying the whole dish in a cast iron skillet for a subtle smoky char that’s unforgettable.
Serving & Storage Suggestions
This dish is best enjoyed hot and fresh, straight from the pan, with that warm fried egg yolk melding into the rice. Serve it in deep bowls to catch all the delicious juices. Pair it with a simple cucumber salad or steamed greens if you want some freshness on the side.
Leftovers keep well in the fridge for up to 3 days. Reheat gently in a skillet over medium heat with a splash of water or oil to prevent drying out. You can also microwave it, but stirring halfway helps it reheat evenly.
Flavors develop beautifully overnight—sometimes, I prefer the next-day version cold for a quick snack, especially with a dash of extra kimchi on top. Just make sure to store it in an airtight container to preserve freshness and probiotic benefits.
Nutritional Information & Benefits
Each serving of this kimchi fried rice bowl delivers approximately:
| Calories | 450-500 kcal |
|---|---|
| Protein | 15-20g |
| Carbohydrates | 60g |
| Fat | 15g |
| Fiber | 3-5g |
Kimchi is rich in probiotics, which support gut health and digestion. Garlic and green onions add antioxidants and anti-inflammatory compounds. Using vegetable oil and eggs provides healthy fats and protein, making this a balanced meal. For gluten-free diets, replacing soy sauce with tamari keeps it safe without sacrificing flavor.
Personally, I find this dish comforting not only for its taste but also because it feels nourishing from the inside out—a little boost for your digestive system while satisfying those hunger pangs.
Conclusion
This comforting kimchi fried rice bowl recipe has become a reliable favorite for good reason: it’s quick, tasty, and surprisingly healthy with those probiotic perks packed in. You can easily adjust it to your mood, dietary needs, or whatever’s in your fridge, making it a versatile weeknight winner.
I love how this recipe invites you to experiment and make it your own, whether adding proteins, swapping veggies, or dialing the spice up or down. Honestly, for me, it’s become a little ritual after a long day—a bowl of warmth, flavor, and gut-loving goodness all in one.
If you try it, please drop a comment below with your tweaks or thoughts. Sharing your version is half the fun! And hey, if you enjoy dishes with bold flavors and simple prep, you might appreciate my take on crispy garlic chicken or the cozy vibes in my hearty beef stew recipe. Happy cooking!
FAQs
- Can I use fresh kimchi instead of fermented? Fresh kimchi is less tangy and probiotic-rich, but it works in a pinch. Fermented kimchi gives the best flavor and gut benefits.
- What rice is best for kimchi fried rice? Day-old short-grain or medium-grain rice holds up best and fries nicely without getting mushy.
- Is this recipe spicy? It depends on your kimchi. If you prefer less heat, use mild kimchi or rinse it briefly before cooking.
- Can I meal prep this dish? Yes! Store it in an airtight container and reheat gently on the stove or microwave.
- How do probiotic benefits hold up when cooking? Some probiotics reduce with heat, but kimchi still offers digestive benefits when lightly cooked. For maximum probiotics, enjoy kimchi on the side or add after cooking.
Pin This Recipe!
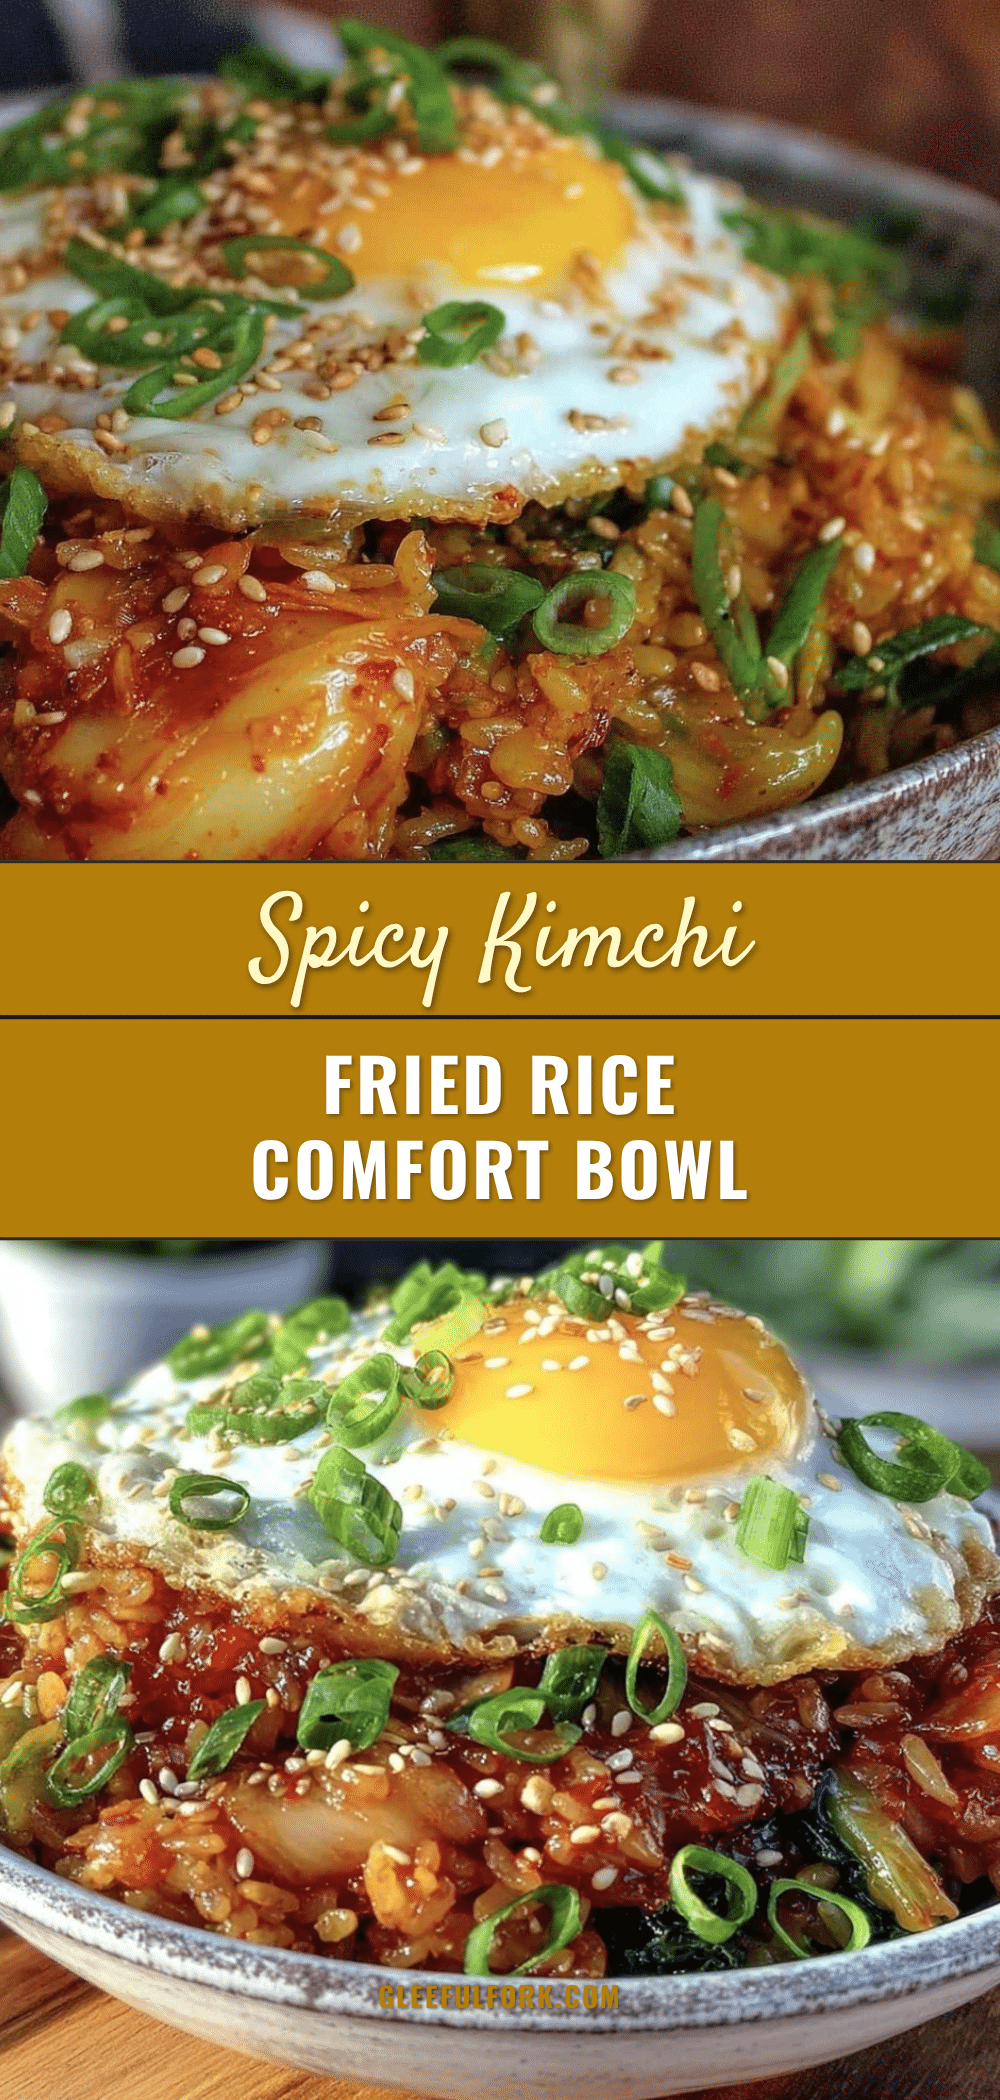
Comforting Kimchi Fried Rice Bowl Recipe with Probiotic Benefits
A quick and nourishing kimchi fried rice bowl featuring fermented kimchi for probiotic benefits, perfect for busy weeknights or cozy dinners.
- Prep Time: 10 minutes
- Cook Time: 10 minutes
- Total Time: 20 minutes
- Yield: 2 servings 1x
- Category: Main Course
- Cuisine: Korean
Ingredients
- 3 cups (600g) cooked rice, preferably day-old
- 1 cup (150g) kimchi, chopped
- 2 tablespoons vegetable oil (canola or grapeseed)
- 3 cloves garlic, minced
- 2 stalks green onions, sliced
- 1 tablespoon soy sauce (or tamari for gluten-free)
- 1 teaspoon toasted sesame oil
- 2 large eggs, fried or sunny-side up
- Optional toppings: sesame seeds, sliced nori, sriracha
Instructions
- Chop 1 cup (150g) kimchi finely, mince 3 cloves garlic, and slice 2 green onions. If rice is freshly cooked, spread on a tray and cool for at least 30 minutes or refrigerate overnight.
- Heat 2 tablespoons vegetable oil in a large non-stick skillet or wok over medium-high heat until shimmering (about 1-2 minutes).
- Add minced garlic and half the green onions; sauté for about 1 minute until fragrant but not browned, stirring frequently.
- Add chopped kimchi and cook for 3-4 minutes, allowing some liquid to evaporate and flavors to concentrate.
- Add 3 cups (600g) cold cooked rice, breaking up clumps and mixing thoroughly with kimchi mixture. Press rice down and let sit undisturbed for 2 minutes to form crispy bits.
- Pour in 1 tablespoon soy sauce and 1 teaspoon toasted sesame oil; stir well to distribute seasoning evenly. Taste and adjust seasoning if needed.
- In a separate pan, fry 2 eggs sunny-side up or to your liking.
- Serve kimchi fried rice hot, topped with fried eggs, remaining green onions, sesame seeds, sliced nori, and a drizzle of sriracha if desired.
Notes
Use day-old rice for best texture. Watch garlic carefully to avoid burning. Press rice down and let it sit to create crispy bits. Adjust soy sauce to taste due to kimchi saltiness. For gluten-free, use tamari instead of soy sauce. For vegan, omit eggs or use tofu scramble. Leftovers keep well refrigerated for up to 3 days and reheat gently.
Nutrition
- Serving Size: 1 bowl
- Calories: 475
- Sugar: 5
- Sodium: 800
- Fat: 15
- Saturated Fat: 3
- Carbohydrates: 60
- Fiber: 4
- Protein: 18
Keywords: kimchi fried rice, probiotic recipe, quick dinner, Korean food, fermented foods, easy fried rice, healthy meal


