Love this? Save it for later!
Share the inspiration with your friends
My friend Sarah texted at 6:45 PM on a Thursday saying her flight was delayed and she’d be here by 8:00. This was two hours before our Friendsgiving dinner party was supposed to start. The main course was already in the oven, but the sides were a disaster. The quinoa was mush, and the salad had wilted. I stood in my kitchen, staring into the fridge with a feeling of panic that I’m sure is universal to anyone who has ever hosted a group dinner. The only thing that looked salvageable was a bag of sweet potatoes I’d bought for a soup that never happened.
I didn’t have time to make a complex dish or order takeout. I just needed something warm, filling, and impressive that I could throw together with what I had. So, I grabbed a baking sheet, some cheese, and a bottle of hot sauce. Honestly, I wasn’t planning on cooking anything more than reheating leftovers. But as the skins crisped up in the oven, the smell changed the entire vibe of the room. It smelled like comfort. It smelled like a meal that was made with care, even if the care was born out of last-minute stress.
When Sarah walked in, she didn’t even notice the quinoa disaster. She immediately gravitated toward the platter of crispy, gooey potatoes. We ate them standing up, right there in the kitchen, while the rest of the guests arrived. It turned out to be the highlight of the night. That’s when I knew I had to write this down. This isn’t just a snack; it’s a lifesaver for busy hosts who want to serve something special without the stress. It’s the kind of food that makes people stay a little longer and talk a little louder.
Why You’ll Love This Recipe
There is a specific kind of magic that happens when you turn a humble vegetable into something indulgent. This recipe isn’t just about feeding people; it’s about creating a moment. I’ve tested dozens of potato variations over the years, from classic twice-baked potatoes to fancy cauliflower gratins, but nothing beats the earthy sweetness of a sweet potato paired with salty, smoky toppings. Here is why this version stands out from the crowd:
- Quick & Easy: You can have these on the table in under 45 minutes if you use the microwave hack for the initial cook. It’s perfect for busy weeknights or when you’re hosting last-minute guests like Sarah did.
- Simple Ingredients: You likely already have everything in your kitchen. Sweet potatoes, butter, cheese, and bacon are staples. No fancy grocery trips needed for obscure spices or hard-to-find items.
- Perfect for Friendsgiving: These are the ultimate finger food for a fall gathering. They fit right in with the cozy, harvest-themed vibe without competing with the heavy main course.
- Crowd-Pleaser: Kids love the sweetness, and adults love the savory crunch. It’s rare to find a dish that satisfies both palates so effortlessly. It always gets rave reviews.
- Unbelievably Delicious: The texture combo is next-level comfort food. You get the crisp skin, the creamy interior, and the gooey melted cheese all in one bite.
What makes this recipe different from the rest is the balance of flavors. Many recipes go too heavy on the sugar or too heavy on the salt. This one hits the sweet spot. I’ve found that using a mix of cheddar and gouda adds a depth of flavor that plain cheddar just can’t achieve. The gouda melts beautifully and adds a slight smokiness that complements the bacon perfectly. It’s not just another version of loaded potatoes—it’s your best version.
This recipe isn’t just good; it is the kind that makes you close your eyes after the first bite. It’s comfort food reimagined—healthier, faster, but with the same soul-soothing satisfaction. It’s perfect for impressing guests without stress, or turning a simple meal into something memorable. It reminds me of those nights when the food is the centerpiece of the conversation, and everyone is just happy to be together.
What Ingredients You Will Need
This recipe uses simple, wholesome ingredients to deliver bold flavor and satisfying texture without the fuss. The beauty of this dish lies in its accessibility. You don’t need a specialty store to make this work. In fact, the more common the ingredients, the better the result, because you’re letting the natural flavors shine. Here is what you’ll need to get started:
- Sweet Potatoes (2-3 lbs): Look for medium-sized potatoes that are uniform in size. This ensures they cook evenly. I prefer Garnet or Jewel varieties because they have a higher moisture content and stay creamy.
- Unsalted Butter (2 tbsp): Adds richness and helps the filling bind together. Use room temperature butter for easier mixing.
- Sharp Cheddar Cheese (1 cup, shredded): A sharp cheddar provides a tangy contrast to the sweet potato. I recommend using a block and shredding it yourself, as pre-shredded cheese often contains anti-caking agents that prevent smooth melting.
- Smoked Gouda Cheese (1/2 cup, shredded): This is the secret weapon. It adds a creamy texture and a subtle smoky flavor that pairs perfectly with the bacon.
- Cooked Bacon (6 slices): Crispy, crumbled bacon adds essential salt and crunch. For best results, cook it in the oven at 400°F for even crispiness.
- Green Onions (2 stalks, chopped): Provides a fresh, oniony bite that cuts through the richness of the cheese and butter.
- Hot Sauce (Optional): A few dashes of your favorite hot sauce adds a kick that balances the sweetness. I use a vinegar-based hot sauce for a sharper tang.
- Salt and Pepper: To taste. Don’t skip this; it enhances all the other flavors.
If you’re looking to make substitutions, you can use dairy-free butter and cheese if needed. Almond milk can be added to the filling for extra creaminess if you don’t have butter. For a vegetarian option, you can swap the bacon for smoked tofu or caramelized onions. In the summer, you might even swap the bacon for some crispy prosciutto for a different twist. The key is to keep the balance of sweet, salty, and savory intact.
Equipment Needed
You don’t need a lot of fancy gear to make these skins, but having the right tools makes the process smoother. Here is what you’ll need:
- Baking Sheet: A large, rimmed baking sheet is essential. Line it with parchment paper for easy cleanup. This allows the skins to crisp up evenly without sticking.
- Fork: You’ll use this to prick the sweet potatoes before baking. It helps steam escape and prevents the potatoes from bursting.
- Small Spoon or Melon Baller: This is crucial for scooping out the insides. A small spoon works well if you want to leave a thicker layer of flesh attached to the skin. A melon baller creates a nice, uniform hollow.
- Mixing Bowl: A medium-sized bowl for mashing the potato flesh with butter and cheese.
- Oven: Obviously, you need an oven. A standard convection or conventional oven works fine. Just make sure it’s preheated properly.
If you don’t have a baking sheet, you can use a cast-iron skillet, but keep in mind that the edges might not crisp up as much. For a budget-friendly option, any standard baking sheet will do. Just avoid using glass dishes for the initial bake, as they don’t conduct heat as well as metal. Also, make sure your oven rack is in the middle position to ensure even cooking.
Preparation Method
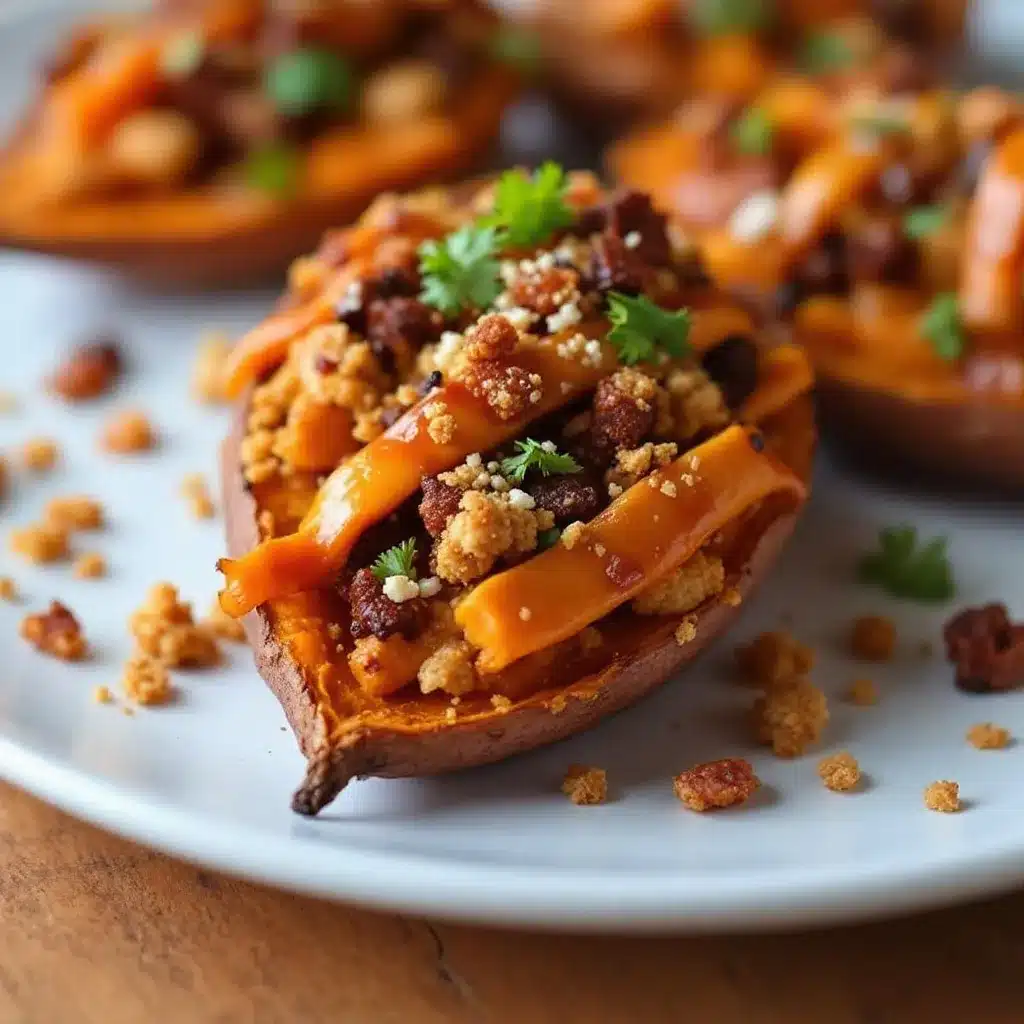
Getting these skins ready is a straightforward process, but there are a few key steps to ensure they turn out perfectly. Here is how to do it:
- Prep the Potatoes (5 minutes): Preheat your oven to 400°F (200°C). Wash the sweet potatoes thoroughly and dry them. Prick each potato several times with a fork. This is important to let steam escape. Place them directly on the oven rack or on a lined baking sheet. Bake for 45-60 minutes, depending on size, until they are soft all the way through. You should be able to squeeze them gently without burning your fingers. Let them cool for 10 minutes.
- Scoop the Insides (10 minutes): Once the potatoes are cool enough to handle, slice them in half lengthwise. Use a small spoon to scoop out the flesh, leaving about 1/4 inch attached to the skin. This creates a sturdy “boat” that won’t fall apart. Place the scooped flesh into a mixing bowl. You can save the skins on the baking sheet or transfer them to a new one if you prefer.
- Mash the Filling (5 minutes): Add the softened butter to the warm potato flesh. Mash it until smooth. Add half of the cheddar cheese, half of the gouda, and half of the crumbled bacon. Season with salt and pepper. Mix well. The mixture should be creamy but not runny. If it’s too dry, add a splash of milk or more butter.
- Stuff the Skins (5 minutes): Spoon the mixture back into the potato skins. Don’t overstuff them, or they might burst in the oven. Spread it evenly so it looks nice. Top with the remaining cheese and bacon.
- Bake Until Golden (10 minutes): Return the baking sheet to the oven. Bake for 10-15 minutes, or until the cheese is bubbly and slightly browned. Keep an eye on them, as oven temperatures can vary. You want the edges of the skin to be crispy and the cheese to be gooey.
- Garnish and Serve (2 minutes): Remove from the oven and sprinkle with chopped green onions. Serve immediately while hot. They taste best right out of the oven, but they are still good if you let them sit for a few minutes.
If you find the potatoes are too wet after scooping, you can pat the skins dry with a paper towel before stuffing. This helps them crisp up better. Also, if you’re making a large batch, you can bake the potatoes in two batches to ensure even cooking.
Cooking Tips & Techniques
There are a few tricks I’ve learned over the years that can make or break this recipe. First, don’t skip the pricking step. If you don’t prick the potatoes, they can explode in the oven, which is a mess to clean up and ruins the texture. Second, let the potatoes cool slightly before scooping. If they are too hot, the flesh will be too soft to handle, and you’ll end up with a mushy filling.
Another tip is to use a mix of cheeses. Cheddar alone can be too sharp, and gouda alone can be too mild. Together, they create a complex flavor profile. I also recommend crumbling the bacon over the top before baking, not after. This allows the bacon to crisp up even more and infuse the cheese with its smoky flavor.
Timing is everything here. You want the skins to be crispy, not soggy. If your potatoes are very large, you might need to increase the baking time. Use a knife to test for doneness; it should slide in easily. If you’re short on time, you can microwave the potatoes for 5-7 minutes before baking to speed up the process. Just be careful not to overcook them in the microwave, or they’ll become rubbery.
Variations & Adaptations
This recipe is very flexible, so feel free to experiment with different toppings. Here are a few variations I’ve tried:
- Spicy Jalapeño: Add diced jalapeños and a sprinkle of cayenne pepper to the filling. This adds a nice heat that balances the sweetness.
- BBQ Chicken: Add shredded rotisserie chicken and a drizzle of BBQ sauce to the filling. This turns the skins into a more substantial meal.
- Vegetarian: Skip the bacon and add some caramelized onions or roasted mushrooms for a savory depth.
- Gluten-Free: This recipe is naturally gluten-free, but just check your hot sauce and bacon labels to ensure they are certified gluten-free.
I once tried adding some cranberry sauce to the filling for a holiday twist. It was surprisingly good, adding a tartness that cut through the richness. You can also swap the sweet potatoes for regular russet potatoes if you prefer a classic loaded potato skin. The technique remains the same, but the flavor profile will be different. The key is to keep the balance of textures and flavors in mind.
Serving & Storage Suggestions
These skins are best served immediately after baking. They are crispy on the outside and creamy on the inside, and that texture is lost if they sit too long. If you need to make them ahead of time, you can bake the potatoes and scoop them out up to 24 hours in advance. Store the scooped flesh and skins separately in the refrigerator. When you’re ready to serve, stuff the skins, add the toppings, and bake them for 10-15 minutes.
For storage, any leftovers can be kept in an airtight container in the refrigerator for up to 3 days. To reheat, place them in the oven at 350°F for 10 minutes. Avoid the microwave, as it will make the skins soggy. You can also freeze the unbaked stuffed skins. Just add a few extra minutes to the baking time when you’re ready to cook them.
I like to serve these with a side of cool ranch dressing or a simple arugula salad. The greens help cut through the richness of the cheese and bacon. They are also great paired with a cold beer or a glass of red wine. Friendsgiving is all about comfort and connection, and these skins fit right in.
Nutritional Information & Benefits
Sweet potatoes are a nutritional powerhouse. They are rich in vitamin A, vitamin C, and fiber. The fiber content helps with digestion and keeps you feeling full longer. The vitamin A is great for eye health and immune function. While the cheese and bacon add calories and saturated fat, they also provide protein and calcium.
This recipe is naturally gluten-free, making it a safe option for guests with celiac disease or gluten sensitivity. It can also be made dairy-free by using plant-based butter and cheese. If you’re watching your carb intake, you can reduce the amount of potato flesh you use in the filling. Overall, this is a balanced dish that can fit into most dietary plans with a few simple adjustments. It’s a way to enjoy comfort food without feeling too guilty.
Conclusion
This Loaded Sweet Potato Skins recipe is a must-try for any host, especially during the busy Friendsgiving season. It’s easy to make, delicious to eat, and perfect for sharing. I hope you try it and find it as comforting as I do. Feel free to customize it with your favorite toppings and flavors. It’s a blank canvas for your creativity.
I love this recipe because it turns a simple ingredient into something special. It reminds me that the best meals are often the ones made with love and a little bit of improvisation. Please share your results in the comments below. I’d love to hear what toppings you added and how your guests enjoyed them. Don’t forget to pin this recipe for later, and share it with a friend who needs a last-minute dinner idea. Happy cooking!
Frequently Asked Questions
Can I make these skins in an air fryer?
Yes, you can. Cook the sweet potatoes first in the air fryer at 380°F for 20-25 minutes. Then scoop, stuff, and air fry again at 350°F for 5-7 minutes until the cheese is melted.
How do I prevent the skins from getting soggy?
Make sure the skins are dry before stuffing them. Also, bake them on a wire rack or parchment paper to allow air circulation. Avoid overfilling them with wet ingredients.
Can I freeze the scooped potato flesh?
Yes, you can freeze the mashed potato mixture for up to 3 months. Thaw it in the refrigerator before using it to stuff the skins.
What is the best cheese to use?
A mix of cheddar and gouda is ideal. The cheddar provides sharpness, and the gouda adds creaminess and smokiness. You can also use pepper jack for a spicy kick.
How long do these skins stay fresh?
They are best eaten immediately. If stored in the refrigerator, they will last for up to 3 days. Reheat them in the oven to maintain crispiness.
Pin This Recipe!
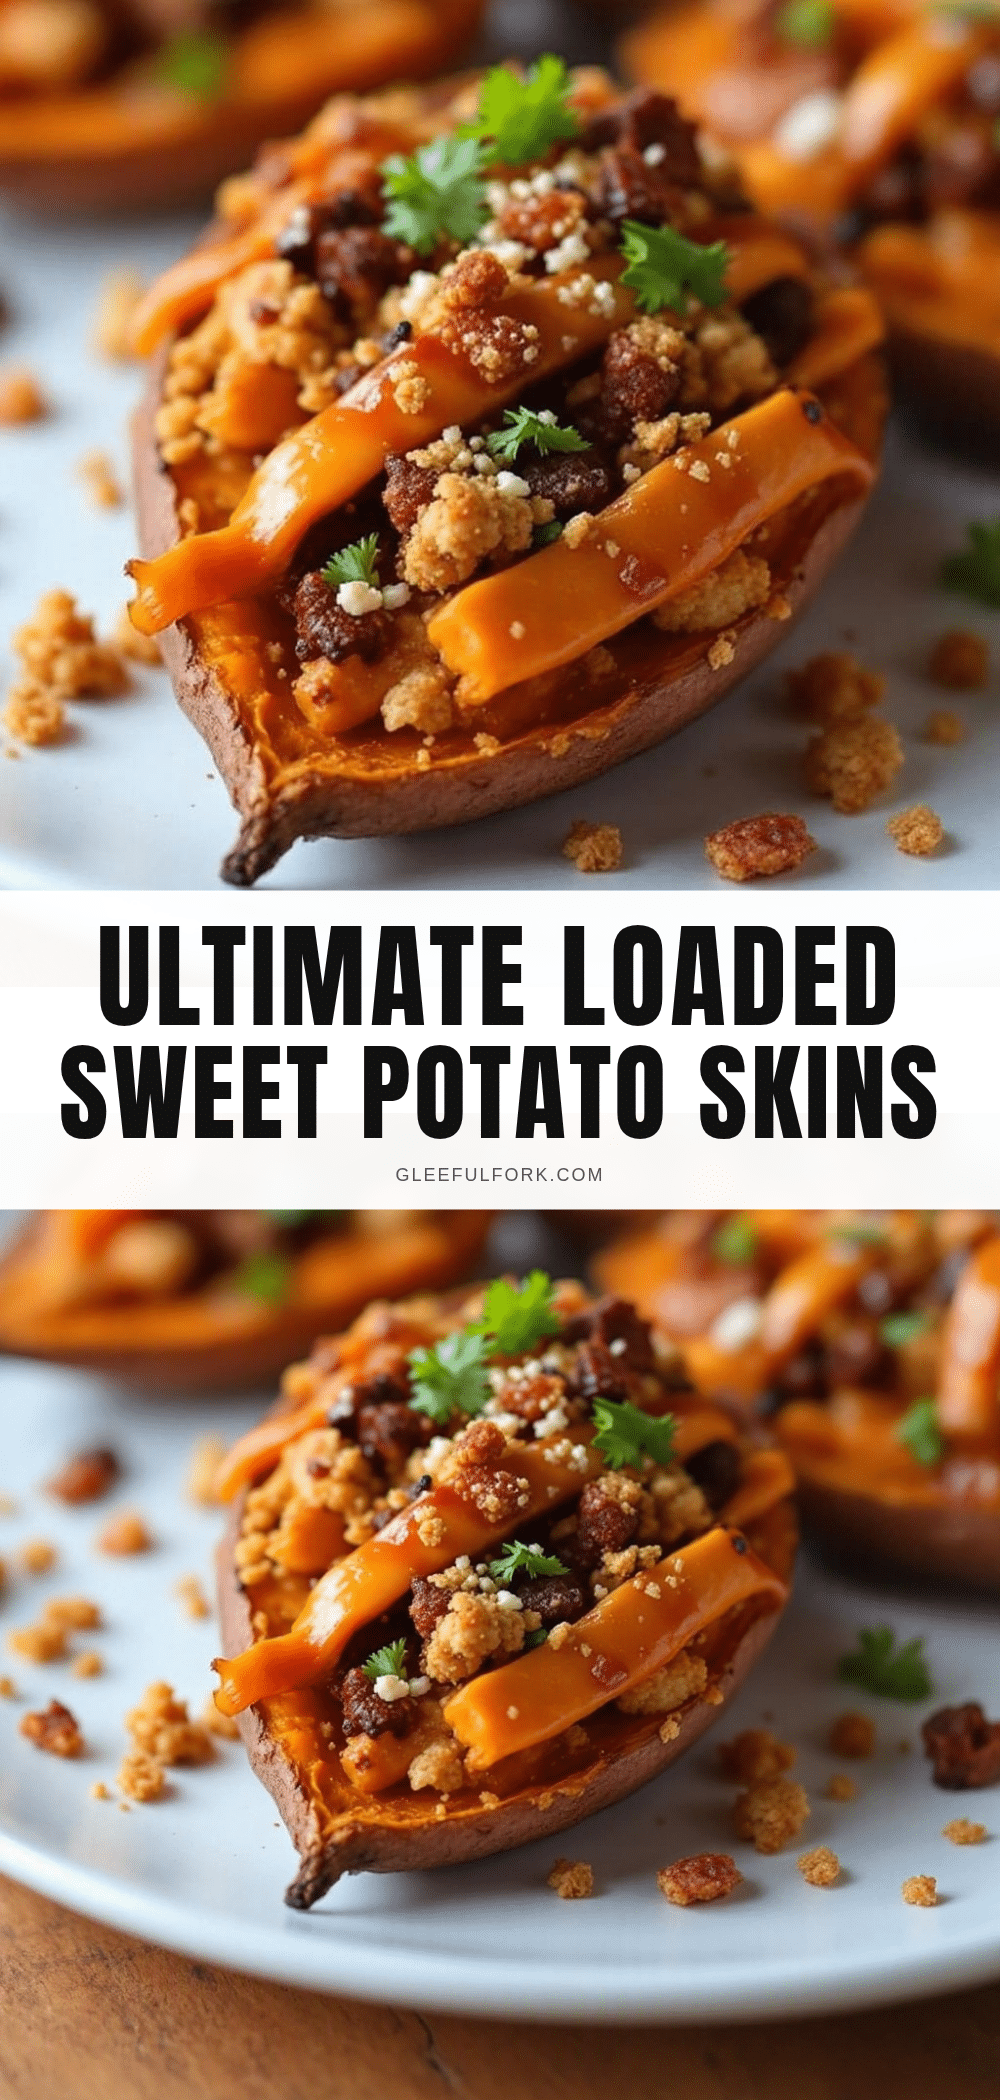
Best Loaded Sweet Potato Skins: Easy Friendsgiving Recipe

Crispy, gooey, and indulgent sweet potato skins loaded with cheddar, smoked gouda, and bacon. A quick, crowd-pleasing comfort food perfect for last-minute hosting or Friendsgiving.
- Prep Time: 15 minutes
- Cook Time: 30 minutes
- Total Time: 45 minutes
- Yield: 4 servings 1x
- Category: Appetizer
- Cuisine: American
Ingredients
- 2–3 lbs sweet potatoes (medium-sized, uniform)
- 2 tbsp unsalted butter (room temperature)
- 1 cup sharp cheddar cheese (shredded)
- 1/2 cup smoked gouda cheese (shredded)
- 6 slices cooked bacon (crispy, crumbled)
- 2 stalks green onions (chopped)
- Hot sauce (optional, to taste)
- Salt and pepper (to taste)
Instructions
- Preheat oven to 400°F (200°C). Wash and dry sweet potatoes, then prick them several times with a fork to let steam escape.
- Bake potatoes directly on the rack or on a lined baking sheet for 45-60 minutes until soft all the way through. Let cool for 10 minutes.
- Slice potatoes in half lengthwise. Scoop out the flesh, leaving about 1/4 inch attached to the skin to create a sturdy boat. Place flesh in a mixing bowl.
- Mash the warm potato flesh with butter until smooth. Add half of the cheddar, half of the gouda, and half of the crumbled bacon. Season with salt and pepper. Mix until creamy.
- Spoon the mixture back into the potato skins, spreading evenly. Top with the remaining cheese and bacon.
- Return to the oven and bake for 10-15 minutes until cheese is bubbly and slightly browned.
- Remove from oven, sprinkle with chopped green onions, and serve immediately.
Notes
For a quicker prep, microwave potatoes for 5-7 minutes before baking. Ensure skins are dry before stuffing to maintain crispiness. Can be made vegetarian by swapping bacon for smoked tofu or caramelized onions. Can be made dairy-free using plant-based butter and cheese.
Nutrition
- Serving Size: 2 skins per serving
- Calories: 450
- Sugar: 8
- Sodium: 600
- Fat: 28
- Saturated Fat: 12
- Carbohydrates: 35
- Fiber: 5
- Protein: 15
Keywords: sweet potato skins, friendsgiving recipe, loaded potatoes, comfort food, easy appetizer, bacon and cheese, gluten-free snack


