Love this? Save it for later!
Share the inspiration with your friends
“Mom, can we make something for Mrs. Anderson’s class? Something she can eat, you know, not just a card?” That’s what my daughter asked one chilly Thursday afternoon as we were sorting through craft supplies. Honestly, I hadn’t planned on baking that day, but the idea stuck with me. So there we were, in my slightly chaotic kitchen, flour dusting the counters and two pairs of small hands eagerly rolling dough. These easy sugar cookies kids can decorate for Teacher Appreciation Day turned out to be more than just a sweet treat—they became our little project of gratitude.
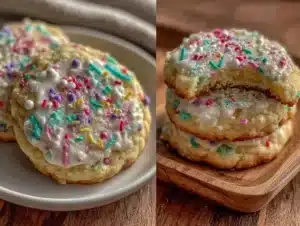
What I love about this recipe is how it’s designed for all ages, even the tiniest decorators who might not have the patience for complicated baking. The dough is forgiving, the steps straightforward, and the decorating part? Pure joy. I remember my son accidentally squeezing too much icing from the bag, creating a hilarious “snowstorm” on his cookie, while my daughter meticulously added sprinkles, smiling with pride. Maybe you’ve been there—trying to juggle baking with lively kids, hoping to make something special without the stress.
These sugar cookies have stuck with me because they bring out the best kind of kitchen chaos and create memories alongside a delicious treat. They’re perfect for Teacher Appreciation Day when you want to say thanks with something homemade but don’t have hours to spare. Let me tell you, this recipe has become our go-to for heartfelt gifts and fun afternoons alike.
Why You’ll Love This Recipe
- Quick & Easy: Comes together in under 30 minutes, perfect for busy parents or last-minute school events.
- Simple Ingredients: Uses pantry staples you probably already have—no unexpected store runs needed.
- Perfect for Teacher Appreciation Day: Ideal for kids to get involved, making gift-giving personal and fun.
- Crowd-Pleaser: Soft, buttery texture that both kids and adults rave about.
- Unbelievably Delicious: The balance of vanilla and butter makes these cookies melt in your mouth.
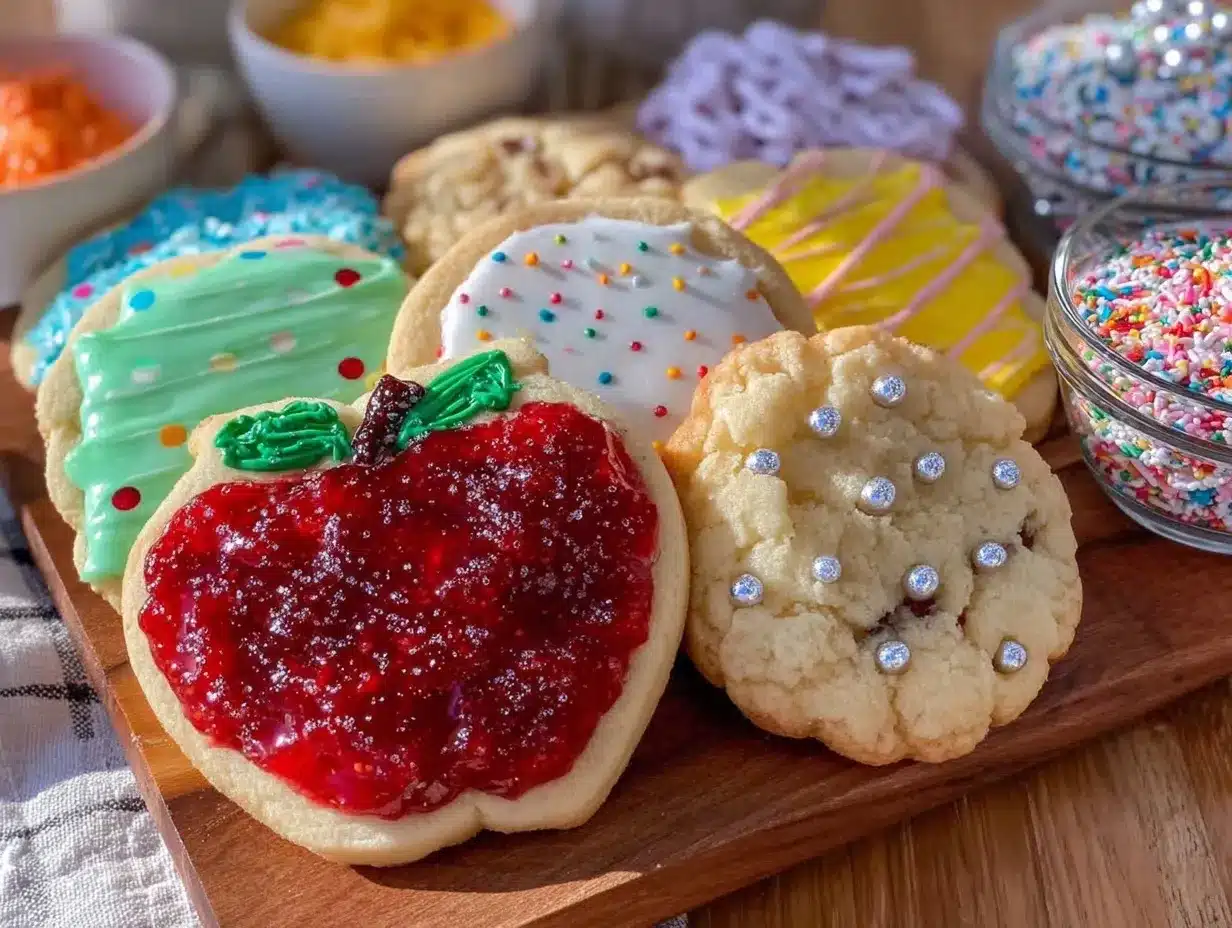
This isn’t just another sugar cookie recipe. What makes it stand out is the dough’s smooth consistency, which is perfect for rolling and cutting without cracking—a real win when you have excited little helpers. Plus, the icing is easy to customize with colors and sprinkles, letting creativity run wild while keeping things mess-friendly. Honestly, it’s like a little edible canvas for kids, and watching them get proud of their creations is priceless.
Whether you’re a seasoned baker or just trying to keep your sanity while making something special with your kids, this recipe has got your back. It turns simple ingredients into a heartfelt gift that feels handmade, warm, and full of joy.
What Ingredients You Will Need
This recipe uses simple, wholesome ingredients to deliver buttery, tender sugar cookies that are easy to decorate and delightful to eat. Most are pantry staples, making it perfect for spontaneous baking sessions or planned celebrations.
- Unsalted butter, softened (1 cup / 226g) – I prefer Land O’Lakes for consistent creaminess.
- Granulated sugar (1 cup / 200g) – Regular white sugar works perfectly.
- Large eggs, room temperature (1) – Helps bind the dough smoothly.
- Pure vanilla extract (1 teaspoon) – Adds warm, classic flavor.
- All-purpose flour (3 cups / 375g) – For a tender yet sturdy cookie base.
- Baking powder (1 teaspoon) – Gives a slight lift without puffing the cookies up too much.
- Salt (½ teaspoon) – Balances the sweetness and enhances flavor.
- Powdered sugar (2 cups / 240g) – For the icing, smooth and sweet.
- Milk (2–3 tablespoons / 30–45ml) – To thin out the icing to the right consistency.
- Food coloring (optional) – Kids love bright colors for decorating.
- Sprinkles or edible decorations – The more variety, the merrier!
If you want a gluten-free option, swapping the all-purpose flour for a 1:1 gluten-free baking blend works well. For dairy-free, use a plant-based butter substitute and almond or oat milk in the icing. The key is keeping the dough soft and pliable, so minor tweaks are totally doable.
Equipment Needed
- Mixing bowls: At least two, one for the dough and one for the icing.
- Electric mixer or hand whisk: An electric mixer speeds things up, but a sturdy whisk works fine.
- Measuring cups and spoons: Precision matters here for the best texture.
- Rolling pin: A lightweight rolling pin helps keep the dough even without squashing it.
- Cookie cutters: Various shapes to keep decorating fun and creative.
- Baking sheet: Preferably non-stick or lined with parchment paper for easy cleanup.
- Cooling rack: To let the cookies rest and avoid sogginess.
- Small bowls or piping bags: For icing and decorating (plastic sandwich bags work as budget-friendly piping bags).
I’ve found that using a silicone rolling pin helps prevent the dough from sticking, but if you don’t have one, dust your surface lightly with flour. Also, when decorating with kids, have plenty of small bowls handy for different colored icings—makes the process smoother and less chaotic.
Preparation Method
- Preheat the oven to 350°F (175°C). Line two baking sheets with parchment paper or silicone mats to prevent sticking.
- Cream the butter and sugar: In a large bowl, beat 1 cup softened unsalted butter with 1 cup granulated sugar until light and fluffy. This usually takes about 3–4 minutes with an electric mixer on medium speed.
- Add the egg and vanilla: Beat in 1 large egg and 1 teaspoon pure vanilla extract until well combined. The mixture should look smooth and glossy.
- Mix dry ingredients: In a separate bowl, whisk together 3 cups all-purpose flour, 1 teaspoon baking powder, and ½ teaspoon salt.
- Combine wet and dry: Gradually add the flour mixture to the butter mixture, mixing on low speed. The dough will be soft but not sticky. If it feels too sticky, add a little more flour, a tablespoon at a time.
- Chill the dough: Wrap the dough in plastic wrap and refrigerate for at least 30 minutes. This makes it easier to roll out and prevents spreading during baking.
- Roll and cut: Lightly flour your work surface and rolling pin. Roll out the dough to about ¼ inch (6mm) thickness. Use your favorite cookie cutters to make shapes. I like to do this in batches to keep the dough cold.
- Bake: Place cookies about 1 inch (2.5cm) apart on the prepared baking sheets. Bake for 8–10 minutes or until the edges just start to turn golden. Don’t overbake; the centers should stay soft.
- Cool: Let the cookies cool on the baking sheet for 5 minutes before transferring to a wire rack to cool completely. This prevents breakage and helps icing stick better.
- Make the icing: In a bowl, mix 2 cups powdered sugar with 2 tablespoons milk to start. Add more milk a teaspoon at a time until you get a smooth but slightly thick consistency. Divide into small bowls if coloring.
- Decorate: Let the kids have fun piping, spreading, and sprinkling their designs. If the icing is too runny, add a little more powdered sugar; if too thick, add a drop more milk.
Pro tip: If you get interrupted mid-rolling (I mean, who doesn’t with kids around?), just pop the dough back in the fridge for a few minutes before continuing. It makes handling so much easier and keeps the cookies looking neat.
Cooking Tips & Techniques
When making these sugar cookies, the key is to keep the dough cool but workable. Warm dough tends to stick and stretch, which can be frustrating, especially with little hands helping out. Chilling the dough really pays off, not just for ease but for that tender texture everyone loves.
One mistake I’ve made more than once is overbaking. It’s tempting to leave cookies in until they look golden all over, but you want to catch them just as the edges turn color. This keeps the centers soft and melt-in-your-mouth. Plus, the cookies continue to firm up as they cool.
For smoother, more professional-looking icing, I recommend using a piping bag with a small tip or even a plastic sandwich bag with a tiny corner snipped off. This gives kids control without the mess of big spoons.
Don’t rush the decorating. Sometimes I set a timer for 15 minutes of decorating fun, and it’s amazing how focused the kids get. Multitasking tip: while cookies bake, prep icing and set out sprinkles so everything’s ready to go the minute the cookies come out.
Variations & Adaptations
- Gluten-Free Version: Swap all-purpose flour for a gluten-free blend. Add 1 teaspoon xanthan gum if your blend doesn’t include it to help with texture.
- Flavor Twists: Add lemon zest or almond extract to the dough for a fresh twist. My daughter loved lemon sugar cookies once!
- Vegan Adaptation: Use vegan butter and a flax egg (1 tablespoon ground flaxseed mixed with 3 tablespoons water) instead of eggs. Almond or soy milk works perfectly for the icing.
I once tried swapping powdered sugar icing for cream cheese frosting as a fun experiment—super tasty but messier for kids. It’s all about what works best for your little decorators and the occasion.
Serving & Storage Suggestions
These cookies are best enjoyed at room temperature with a cold glass of milk or a warm cup of tea. For Teacher Appreciation Day, pack them in a pretty box or wrap in cellophane with a ribbon—it makes the gift feel even more special.
Store leftover cookies in an airtight container at room temperature for up to 4 days. If you need to keep them longer, freeze undecorated cookies in a single layer on a baking sheet before transferring to a freezer bag (up to 3 months). Defrost at room temperature and decorate fresh.
Reheat frozen decorated cookies gently in a 300°F (150°C) oven for 5 minutes if you want that just-baked feel. Flavors actually deepen after a day or two, so if your timing is off, no worries—the taste will still surprise you.
Nutritional Information & Benefits
Each sugar cookie (assuming about 24 cookies per batch) contains approximately 150 calories, 7g fat, 20g carbohydrates, and 1g protein. While these aren’t health food, the simple ingredients keep things straightforward—no preservatives or artificial additives.
Butter provides some vitamin A and a rich mouthfeel, and using real vanilla extract adds natural flavor without extra sugar. For kids, baking together also encourages fine motor skills and creativity, which is a bonus beyond nutrition.
If you need to accommodate allergies, the recipe adapts well for gluten-free and dairy-free diets as mentioned, making it inclusive for many classroom settings.
Conclusion
This easy sugar cookie recipe is a winner not just because it tastes amazing but because it invites kids into the kitchen as active creators. It’s simple enough to keep their attention but flexible enough to make each batch uniquely theirs. I love that it turns a simple act of appreciation into a hands-on, joyful experience that everyone remembers.
Try customizing the shapes or colors to match your teacher’s favorite things, and don’t be afraid to make a little mess—sometimes that’s where the best memories come from. If you give this a try, I’d love to hear about your decorating adventures and any fun twists you added. Go ahead, make those cookies, and spread some sweetness!
FAQs
- Can I make the dough ahead of time? Yes! You can chill the dough for up to 3 days before rolling and baking.
- What’s the best way to store decorated cookies? Keep them in an airtight container at room temperature for up to 4 days to maintain freshness and icing texture.
- Can kids help with every step? Absolutely! Younger kids can decorate while older kids can assist with mixing and rolling under supervision.
- What if my dough is too sticky to roll? Chill it longer or add a tablespoon of flour at a time until it’s manageable but still soft.
- How do I make icing less runny? Add more powdered sugar a tablespoon at a time to thicken until you get the right consistency for piping or spreading.
For a fun spin on sweet treats perfect for gifting, these cookies remind me a bit of the crispy garlic chicken recipe I shared last year—simple, satisfying, and always a hit at gatherings. And if you’re interested in more kid-friendly baking ideas, my easy chocolate chip cookies might be just the thing to try next.
Pin This Recipe!
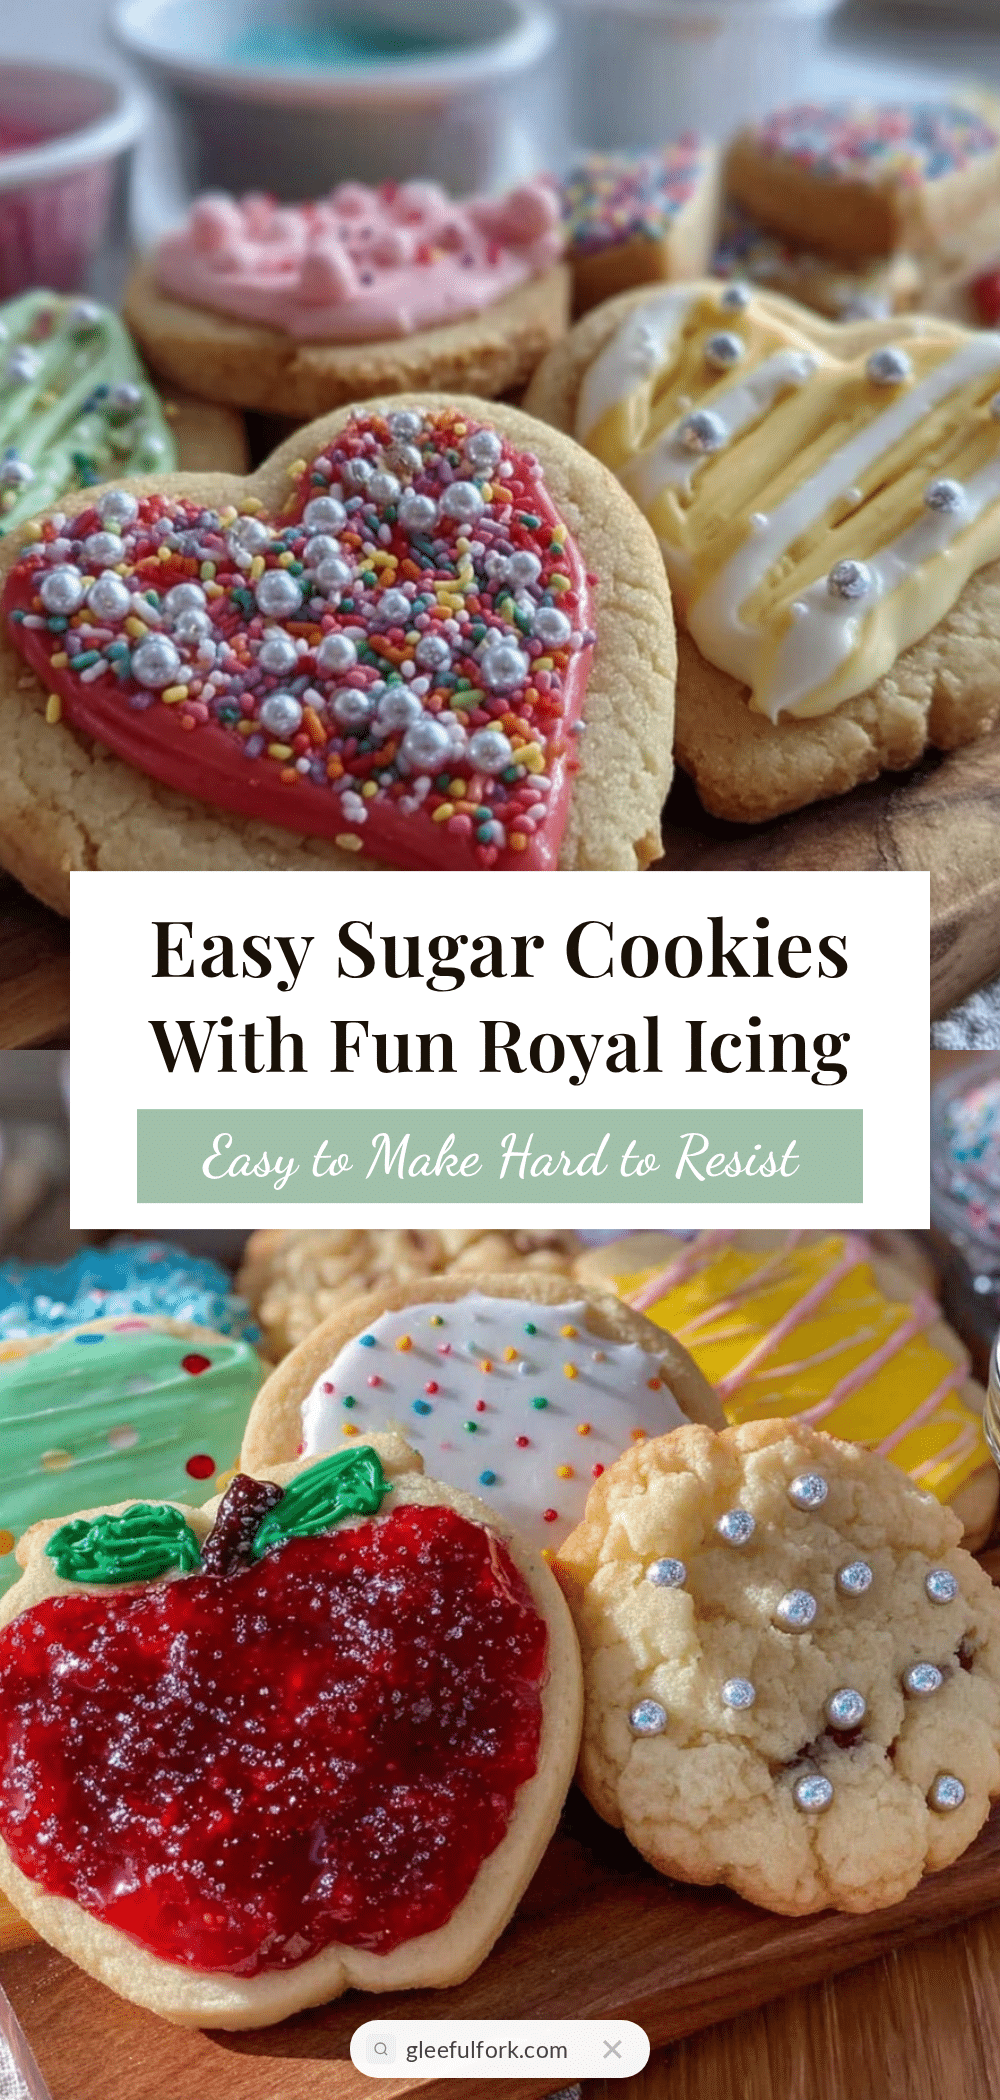
Easy Sugar Cookies Kids Can Decorate Perfect for Teacher Appreciation Day

These easy sugar cookies are perfect for kids to decorate and make a heartfelt gift for Teacher Appreciation Day. The dough is soft, forgiving, and simple to prepare, making it ideal for bakers of all ages.
- Prep Time: 15 minutes
- Cook Time: 10 minutes
- Total Time: 40 minutes
- Yield: 24 cookies 1x
- Category: Dessert
- Cuisine: American
Ingredients
- 1 cup (226g) unsalted butter, softened
- 1 cup (200g) granulated sugar
- 1 large egg, room temperature
- 1 teaspoon pure vanilla extract
- 3 cups (375g) all-purpose flour
- 1 teaspoon baking powder
- ½ teaspoon salt
- 2 cups (240g) powdered sugar
- 2–3 tablespoons (30–45ml) milk
- Food coloring (optional)
- Sprinkles or edible decorations
Instructions
- Preheat the oven to 350°F (175°C). Line two baking sheets with parchment paper or silicone mats.
- Cream the butter and sugar: Beat 1 cup softened unsalted butter with 1 cup granulated sugar until light and fluffy, about 3–4 minutes.
- Add the egg and vanilla: Beat in 1 large egg and 1 teaspoon pure vanilla extract until smooth and glossy.
- Mix dry ingredients: In a separate bowl, whisk together 3 cups all-purpose flour, 1 teaspoon baking powder, and ½ teaspoon salt.
- Combine wet and dry: Gradually add the flour mixture to the butter mixture, mixing on low speed until dough is soft but not sticky. Add more flour if too sticky.
- Chill the dough: Wrap in plastic wrap and refrigerate for at least 30 minutes.
- Roll and cut: Lightly flour surface and rolling pin. Roll dough to ¼ inch (6mm) thickness and cut shapes with cookie cutters.
- Bake: Place cookies 1 inch apart on baking sheets. Bake 8–10 minutes until edges start to turn golden but centers remain soft.
- Cool: Let cookies cool on baking sheet for 5 minutes, then transfer to wire rack to cool completely.
- Make the icing: Mix 2 cups powdered sugar with 2 tablespoons milk, adding more milk a teaspoon at a time until smooth but thick. Divide and color if desired.
- Decorate: Pipe, spread, and sprinkle icing on cooled cookies. Adjust icing thickness by adding powdered sugar or milk as needed.
Notes
Chill dough for at least 30 minutes to prevent spreading and make rolling easier. Use a piping bag or plastic sandwich bag with a small corner cut for easier icing application. Dough can be chilled up to 3 days before baking. Store cookies in an airtight container at room temperature for up to 4 days or freeze undecorated cookies for up to 3 months.
Nutrition
- Serving Size: 1 cookie
- Calories: 150
- Fat: 7
- Carbohydrates: 20
- Protein: 1
Keywords: sugar cookies, easy sugar cookies, kids baking, teacher appreciation, cookie decorating, simple cookies, holiday cookies