Love this? Save it for later!
Share the inspiration with your friends
The plate was empty before I could even grab a napkin. My husband didn’t even look up from his phone to ask for seconds, he just held out his hand with a silent, hopeful gesture. That was the third batch this month. Honestly, I didn’t think brown butter could do that much heavy lifting for a simple cookie, but here we are.
It started because I wanted to make something that felt special but didn’t require a trip to the specialty bakery. I was tired of dry, crumbly cookies that shattered if you looked at them wrong. You know the type. These are the opposite. They stay soft for days, almost like they’re hiding moisture in their core.
The smell hit the neighborhood first. That nutty, toasted aroma that makes strangers pause on their walks. It’s not just sweet; it’s complex. Deep, almost savory notes from the browned butter mixed with the sharp snap of sea salt. People texted me asking for the recipe within hours.
I used to think chocolate chip cookies were just about melting chips into dough. This version changed my mind. It’s about patience. Waiting for the milk solids to turn amber. Waiting for the dough to chill. The result is a cookie that is crispy on the edges but chewy and fudgy in the middle.
It’s the kind of baking that makes you feel like a pro, even if you mess up the first time. The texture is everything. That contrast between the thin, lacy edges and the thick, gooey center is what keeps people coming back.
I realized this recipe stuck because it solves a problem. Most homemade cookies go stale by Tuesday. These ones, wrapped properly, stay soft until Friday. It’s a quiet win. A small, delicious victory that happens in your own kitchen.
Why You’ll Love This Recipe
Let’s be real, not all cookies are created equal. Some are dry, some are too sweet, and some just taste like cardboard with chocolate chips. This soft-baked brown butter chocolate chip cookie recipe is different because it uses a technique that transforms the flavor profile entirely. It’s not just another version; it’s the best version you’ll ever make.
Here is why this recipe stands out from the crowd:
- Complex Flavor Profile: By browning the butter first, you add a nutty, toasty depth that regular melted butter can’t match. It makes the chocolate taste richer and more sophisticated without adding any extra ingredients.
- Perfect Texture Balance: We achieve that elusive crispy edge and chewy center by using a higher ratio of brown sugar to white sugar, plus an extra egg yolk. This creates a cookie that is sturdy enough to hold up but soft enough to melt in your mouth.
- Make-Ahead Friendly: This dough actually gets better after chilling. The flavors meld together overnight, and the dough is easier to handle when cold. It’s perfect for busy weeknights when you want fresh cookies but don’t have hours to spare.
- Crowd-Pleaser Status: Whether you are serving them at a potluck, a holiday gathering, or just a Tuesday night snack, these cookies get rave reviews. Kids love the chocolate, and adults appreciate the nuanced butter flavor.
- Simple Ingredients: You likely already have everything in your pantry. No fancy flours or obscure spices. Just good butter, quality chocolate, and a few basics.
What makes this recipe truly special is the extra step of browning the butter. It sounds intimidating, but it’s just cooking butter until it smells like hazelnuts. That small effort adds a layer of sophistication that makes you feel like you spent hours on it. It’s comfort food reimagined—richer, deeper, but with the same soul-soothing satisfaction we all crave.
If you are looking for a dessert that impresses without the stress, this is it. It’s the kind of cookie that makes you close your eyes after the first bite and just smile. Plus, if you love baking, you might also enjoy trying my patriotic chocolate chip cookies for summer parties, or these strawberry shortcake stuffed cookies for a fruity twist.
What Ingredients You Will Need
This recipe relies on high-quality, simple ingredients to deliver bold flavor and satisfying texture. The magic happens in the ratios, so precise measurements matter. Here is what you need to gather before you start.
For the Dough
- Unsalted Butter: 1 cup (226g). You need high-fat butter for the best browning. I recommend brands like Plugra or Kerrygold for their rich flavor. Salted butter can be used, but you must reduce the added salt in the recipe.
- Brown Sugar: 1 ½ cups (300g) packed. Light or dark brown sugar both work. Dark brown sugar will give you a deeper molasses flavor and a chewier texture.
- Granulated Sugar: ½ cup (100g). This helps create those crispy edges. Don’t skip it entirely, or the cookies will spread too much and lack structure.
- Egg Yolk: 1 large egg yolk. This adds richness and moisture. The extra yolk is the secret to that fudgy center.
- Whole Egg: 1 large egg. Provides structure and lift.
- Vanilla Extract: 2 teaspoons. Use pure vanilla, not imitation. It enhances the nutty butter flavor.
- All-Purpose Flour: 2 ¼ cups (280g). Spoon and level your flour for accuracy. Too much flour leads to dry cookies.
- Baking Soda: 1 teaspoon. Helps the cookies spread and brown.
- Salt: 1 teaspoon. Balances the sweetness. Use fine sea salt.
For the Mix-Ins
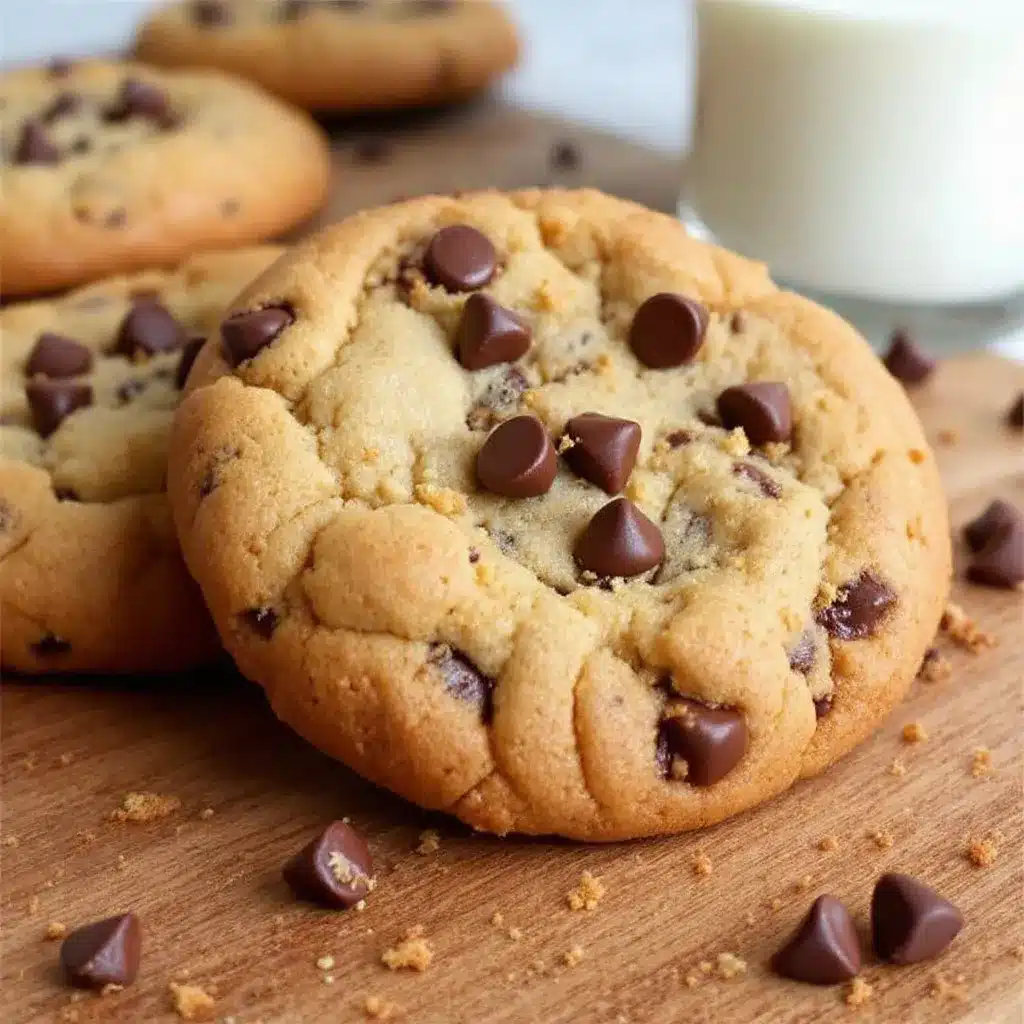
- Chocolate Chips: 1 ½ cups (270g). I prefer semi-sweet chocolate chips for a balanced sweetness. For a more gourmet touch, chop up high-quality chocolate bars into chunks.
- Flaky Sea Salt: For sprinkling on top after baking. Maldon salt is my go-to. It adds a crucial crunch and flavor contrast.
Substitutions and Tips
If you need to make these gluten-free, you can substitute the all-purpose flour with a 1:1 gluten-free baking blend. Just ensure the blend contains xanthan gum, or add ½ teaspoon to the dry ingredients. For a dairy-free version, use a high-quality vegan butter that is designed for baking, though the browning process might vary slightly.
Equipment Needed
You don’t need fancy gadgets to make these cookies, but having the right tools makes the process smoother and the results more consistent.
- Heavy-Bottomed Saucepan: Essential for browning the butter evenly. A stainless steel or light-colored pan lets you see the color change clearly. Avoid dark non-stick pans as they hide the browning process.
- Mixing Bowls: One large bowl for the wet ingredients and one medium bowl for the dry ingredients.
- Electric Mixer: A hand mixer or stand mixer makes creaming the butter and sugars much easier. You can do it by hand, but it takes more arm strength.
- Offset Spatula: Great for scraping down the sides of the bowl and folding in the chocolate chips without overmixing.
- Baking Sheets: Light-colored aluminum sheets are best. Dark sheets can cause the bottoms to burn too quickly.
- Parchment Paper: Always line your baking sheets. It prevents sticking and makes cleanup a breeze. It also helps the cookies bake evenly.
- Cooling Rack: Allows air to circulate around the cookies so they cool evenly and don’t get soggy from trapped steam.
- Cookie Scoop: A medium ice cream scoop or a dedicated cookie scoop ensures uniform size. This helps them bake at the same rate.
Preparation Method
Step 1: Brown the Butter (10 minutes)
Melt the butter in your heavy-bottomed saucepan over medium heat. Stir constantly with a heatproof spatula. The butter will foam up and then settle. Listen for a sizzling sound—that’s the water evaporating. Watch closely as the foam turns a light amber color and you see brown specks at the bottom. It should smell nutty, like toasted hazelnuts. Immediately pour the brown butter into a heatproof bowl to stop the cooking. Chill it in the fridge for 15-20 minutes until it is soft but still pliable. Do not let it harden completely.
Step 2: Cream the Sugars and Butter (3 minutes)
In your large mixing bowl, combine the softened brown butter, brown sugar, and granulated sugar. Beat on medium-high speed for about 3 minutes until the mixture is light, fluffy, and pale. This incorporates air, which helps with the texture. Scrape down the sides of the bowl with your spatula.
Step 3: Add Eggs and Vanilla (2 minutes)
Add the whole egg, egg yolk, and vanilla extract. Mix on medium speed until just combined. Do not overmix here. The batter might look slightly separated, which is normal. It will come together once you add the flour.
Step 4: Combine Dry Ingredients (1 minute)
In a separate medium bowl, whisk together the all-purpose flour, baking soda, and salt. This ensures the leavening agent is evenly distributed so you don’t get bitter spots of baking soda.
Step 5: Mix Dry into Wet (2 minutes)
Gradually add the dry ingredients to the wet ingredients. Mix on low speed until just combined. Stop mixing as soon as you no longer see streaks of flour. Overmixing develops gluten, which leads to tough cookies. Fold in the chocolate chips by hand using your spatula.
Step 6: Chill the Dough (30 minutes to 24 hours)
Cover the bowl with plastic wrap or transfer the dough to an airtight container. Refrigerate for at least 30 minutes. If you can, chill it for 24 hours. This step is crucial. It allows the flour to hydrate fully and the flavors to meld. It also prevents the cookies from spreading too thin in the oven.
Step 7: Bake (12-14 minutes)
Preheat your oven to 350°F (175°C). Line two baking sheets with parchment paper. Scoop uniform balls of dough (about 2 tablespoons each) onto the sheets, spacing them 2 inches apart. Bake for 12-14 minutes. The edges should be golden brown, but the centers should still look slightly underbaked and soft. They will continue to cook on the hot pan after you take them out.
Step 8: Cool and Serve
Let the cookies cool on the baking sheet for 5 minutes. Then, transfer them to a wire rack to cool completely. Sprinkle with flaky sea salt while they are still warm. This helps the salt stick and dissolve slightly into the surface.
Cooking Tips & Techniques
Browning butter is the star of this show, but it requires attention. If you walk away for even a minute, the butter can go from perfect to burnt. Burnt butter tastes bitter and ruins the whole batch. Keep a close eye on the color change from pale yellow to amber. The smell is your best guide—it should be intoxicatingly nutty.
Another common mistake is overmixing the dough. Once you add the flour, mix just until it comes together. If you beat it like a cake batter, your cookies will be tough and dense. We want tender, chewy cookies, not biscuits.
Chilling the dough is non-negotiable for the best texture. If you skip this step, the butter will melt too fast in the oven, causing the cookies to spread into flat, greasy disks. Chilling firms up the fat, so the cookies hold their shape while the inside stays soft.
Use a kitchen scale for accuracy. Cup measurements can vary wildly depending on how tightly you pack the flour. A cup of flour can weigh anywhere from 120g to 150g. Using 150g instead of 120g can make your cookies dry. Precision leads to consistency.
Don’t be afraid to underbake them slightly. The residual heat on the hot baking sheet will finish cooking the center. Pulling them out when the edges are set but the center looks soft ensures a chewy texture. If you bake them until the center looks firm, they will be dry once they cool.
Variations & Adaptations
While the classic version is perfect, you can tweak this recipe to suit your tastes or dietary needs.
Dietary Adjustments
- Gluten-Free: Swap the all-purpose flour for a high-quality 1:1 gluten-free flour blend. Add ½ teaspoon of xanthan gum if your blend doesn’t include it. This helps mimic the elasticity of gluten.
- Dairy-Free: Use a vegan butter stick that is designed for baking. Coconut oil can also work, but it will change the flavor profile slightly. Chill the dough longer if using coconut oil, as it melts at a lower temperature.
- Reduced Sugar: You can reduce the granulated sugar by ¼ cup, but this may affect the crispy edges. The brown sugar provides moisture and chew, so keep that amount consistent.
Flavor Variations
- Chocolate Chunk: Instead of chips, chop up high-quality semi-sweet or dark chocolate bars. This creates pockets of melted chocolate that are more luxurious.
- Pretzel Crunch: Add ½ cup of crushed pretzels to the dough for a sweet and salty kick. The saltiness pairs beautifully with the brown butter.
- White Chocolate Macadamia: Swap the chocolate chips for white chocolate chips and add ½ cup of toasted macadamia nuts. It’s a tropical twist on a classic.
Cooking Method
These cookies can also be made in an air fryer. Cook at 325°F (160°C) for 6-8 minutes. Keep an eye on them as air fryers vary in temperature. Do not overcrowd the basket.
Serving & Storage Suggestions
These cookies are best served at room temperature, allowing the flavors to fully develop. Pair them with a cold glass of milk, a hot cup of coffee, or even a scoop of vanilla ice cream for a classic dessert. They also go well with a slice of grilled apricots with goat cheese if you want a savory-sweet contrast.
Storage
- Room Temperature: Store cookies in an airtight container at room temperature for up to 5 days. Place a slice of bread in the container to keep them soft. The bread will harden, but the cookies will stay moist.
- Freezing Dough: You can freeze the dough balls for up to 3 months. Bake them straight from frozen, adding 1-2 minutes to the bake time.
- Freezing Baked Cookies: Once completely cooled, freeze cookies in a single layer, then transfer to a freezer bag. They will last for 2 months. Thaw at room temperature before serving.
Reheating
If you want that fresh-baked taste, microwave a cookie for 10-15 seconds. It will become soft and gooey instantly. Alternatively, warm them in a 300°F oven for 5 minutes.
Nutritional Information & Benefits
While these are definitely a treat, understanding the nutritional profile helps with portion control. One cookie (approx. 40g) contains roughly 180 calories, 9g of fat, 24g of carbohydrates, and 2g of protein.
The brown butter adds a richness that makes a smaller portion feel more satisfying. The use of dark chocolate chips, if chosen, provides antioxidants and can offer a slight mood boost. The egg yolk adds choline, which is good for brain health.
For those with dietary restrictions, remember that this recipe contains gluten and dairy. The gluten-free adaptation is suitable for celiacs if using certified GF ingredients. Always check labels for allergens. Moderation is key, but there is no shame in enjoying a well-made cookie.
Conclusion
These soft-baked brown butter chocolate chip cookies are worth the extra effort. The browning step adds a depth of flavor that elevates a simple cookie into something memorable. It’s a recipe that rewards patience and attention to detail.
I love making these because they bring people together. Whether it’s a quiet evening at home or a party with friends, they disappear quickly. Customize them with your favorite mix-ins or keep them classic. The base recipe is solid and forgiving.
Please try this recipe and let me know how it turns out. I’d love to hear your variations or any tips you’ve discovered. Share your photos on social media or leave a comment below. Happy baking!
FAQs
Can I use salted butter instead of unsalted?
Yes, but you should reduce the added salt in the recipe by half. Unsalted butter allows you to control the salt content precisely, which is important for balancing the sweetness.
Why do my cookies spread too much?
This usually happens if the butter is too warm when mixed with the sugar, or if the dough wasn’t chilled enough. Make sure your brown butter is cooled to a soft, pliable state before creaming with sugars. Chill the dough for at least 30 minutes.
Can I freeze the cookie dough?
Absolutely. Scoop the dough onto a baking sheet and freeze until solid, then transfer to a freezer bag. You can bake them straight from frozen, just add 1-2 minutes to the baking time.
What is the best chocolate to use?
Semi-sweet chocolate chips are classic, but chopped high-quality chocolate bars create more irregular, melty pockets. For a richer taste, use dark chocolate. Avoid chocolate chips with excessive stabilizers if you want a smooth melt.
How do I know when the butter is properly browned?
Look for a golden amber color and small brown specks at the bottom of the pan. The smell should be nutty, like toasted hazelnuts. If it smells burnt, it’s too late. Start the process again.
Pin This Recipe!
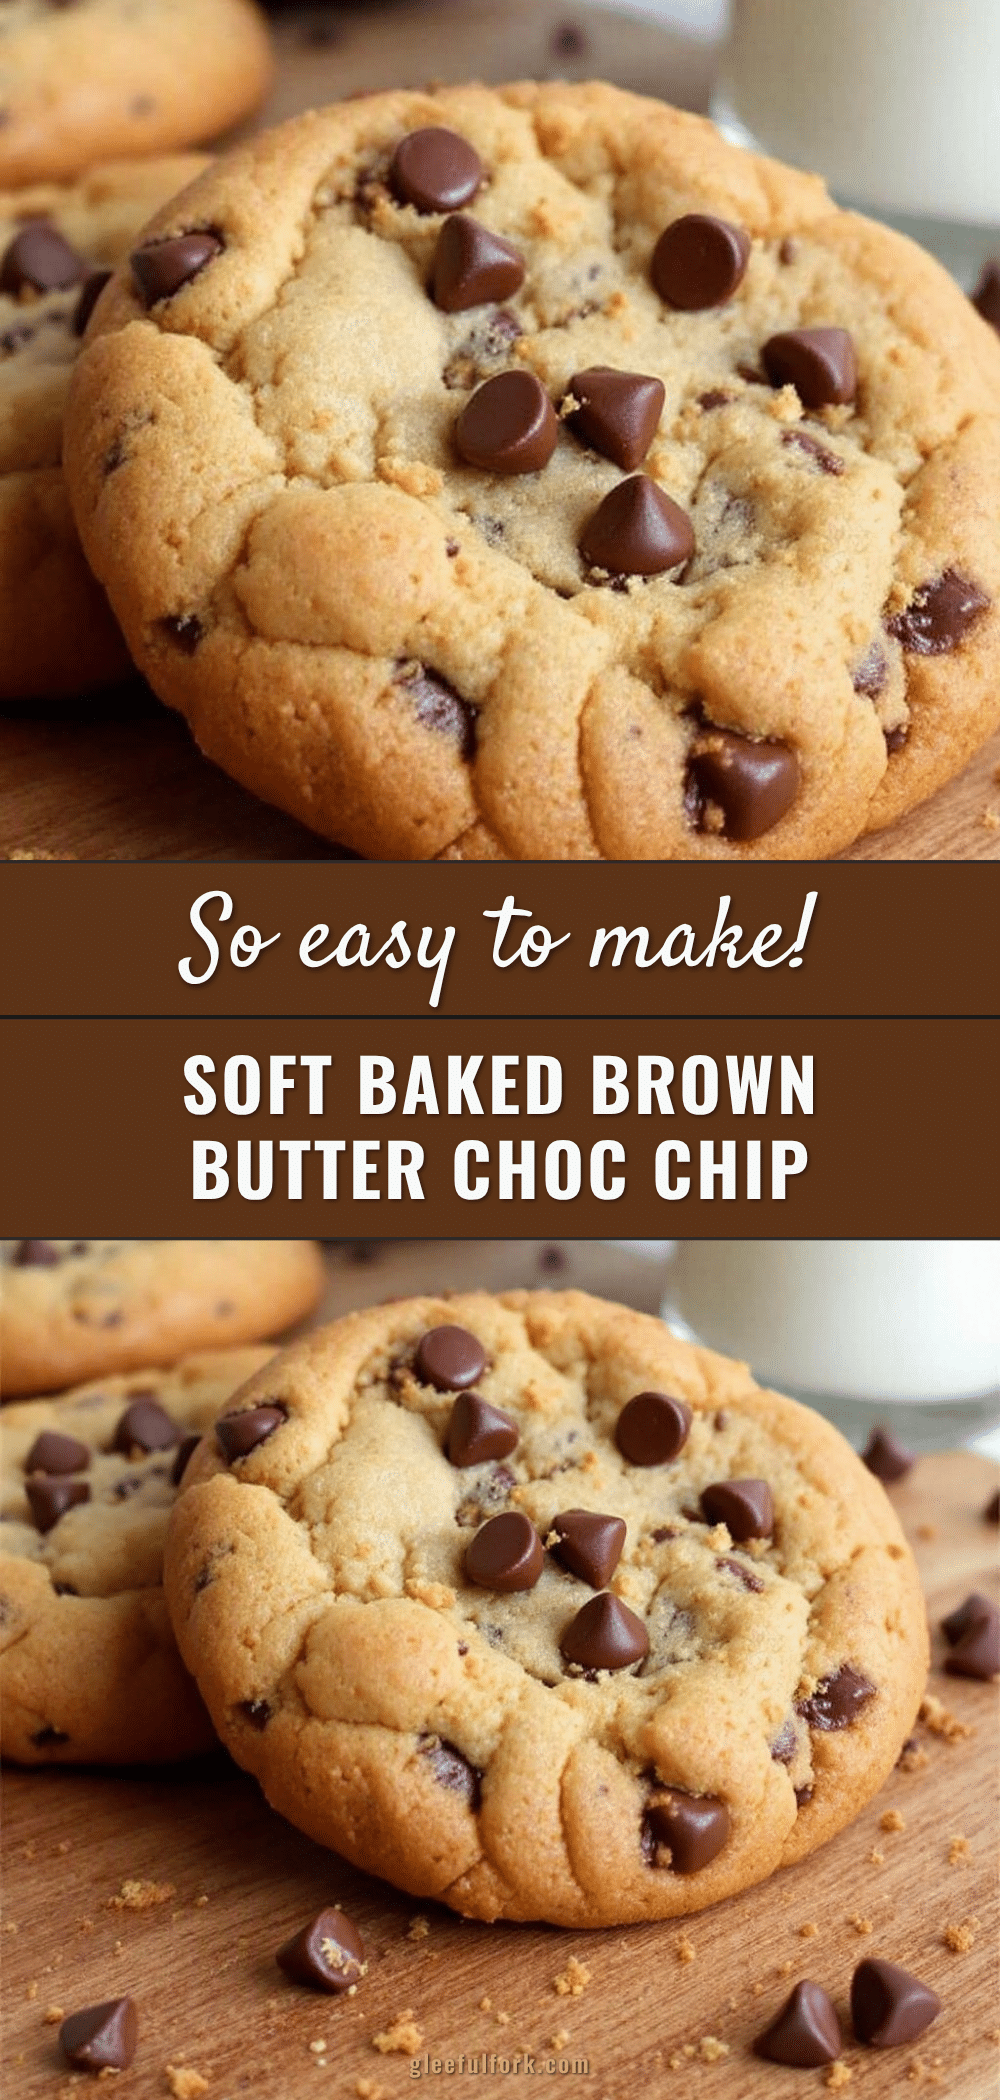
Soft-Baked Brown Butter Chocolate Chip Cookies

These soft-baked brown butter chocolate chip cookies feature a complex, nutty flavor profile and a perfect texture balance with crispy edges and a chewy, fudgy center. The technique of browning the butter adds depth, while chilling the dough ensures they stay soft for days.
- Prep Time: 30 minutes
- Cook Time: 12-14 minutes
- Total Time: 45 minutes
- Yield: Approximately 24 cookies 1x
- Category: Dessert
- Cuisine: American
Ingredients
- 1 cup (226g) unsalted butter
- 1 ½ cups (300g) packed brown sugar
- ½ cup (100g) granulated sugar
- 1 large egg yolk
- 1 large whole egg
- 2 teaspoons pure vanilla extract
- 2 ¼ cups (280g) all-purpose flour
- 1 teaspoon baking soda
- 1 teaspoon fine sea salt
- 1 ½ cups (270g) semi-sweet chocolate chips
- Flaky sea salt (for sprinkling on top)
Instructions
- Brown the butter: Melt butter in a heavy-bottomed saucepan over medium heat, stirring constantly until it foams, turns amber, and smells nutty (about 10 minutes). Pour into a heatproof bowl and chill in the fridge for 15-20 minutes until soft but pliable.
- Cream the sugars and butter: In a large mixing bowl, combine the softened brown butter, brown sugar, and granulated sugar. Beat on medium-high speed for 3 minutes until light, fluffy, and pale. Scrape down the sides of the bowl.
- Add eggs and vanilla: Add the whole egg, egg yolk, and vanilla extract. Mix on medium speed until just combined.
- Combine dry ingredients: In a separate medium bowl, whisk together the all-purpose flour, baking soda, and salt.
- Mix dry into wet: Gradually add the dry ingredients to the wet ingredients. Mix on low speed until just combined, then fold in the chocolate chips by hand.
- Chill the dough: Cover the bowl and refrigerate for at least 30 minutes (or up to 24 hours) to allow flavors to meld and dough to firm up.
- Bake: Preheat oven to 350°F (175°C). Line baking sheets with parchment paper. Scoop uniform dough balls (about 2 tablespoons) onto sheets, spacing them 2 inches apart. Bake for 12-14 minutes until edges are golden but centers look slightly underbaked.
- Cool and serve: Let cookies cool on the baking sheet for 5 minutes, then transfer to a wire rack. Sprinkle with flaky sea salt while still warm.
Notes
Browning butter requires attention; do not walk away as it can burn quickly. Chilling the dough is crucial to prevent excessive spreading and ensure texture. Use a kitchen scale for accuracy with flour measurements. Cookies can be frozen as dough balls for up to 3 months.
Nutrition
- Serving Size: 1 cookie (approx. 40
- Calories: 180
- Sugar: 16
- Sodium: 150
- Fat: 9
- Saturated Fat: 5
- Carbohydrates: 24
- Fiber: 1
- Protein: 2
Keywords: brown butter cookies, chocolate chip cookies, soft baked cookies, chewy cookies, homemade cookies, baking from scratch


