Love this? Save it for later!
Share the inspiration with your friends
I did not trust the idea of making creamy pasta without a separate pot of boiling water and a heavy saucepan for the cheese. Honestly, I thought boiling noodles directly in a dairy-based liquid sounded like a recipe for clumpy, starchy disaster. You know how it goes—milk curdles, cheese separates into oily puddles, and you end up with a bowl of sad, gluey carbohydrates. I was ready to write off the “one-pot” trend as another internet gimmick designed to save dishes but ruin dinner.
My husband had been nagging me for weeks about trying it. He claimed it was easier and somehow tasted better. I rolled my eyes so hard it hurt. We had just come home from a long day, and the last thing I wanted to do was stand over a stove watching a pot bubble ominously. I wanted to boil water, dump in pasta, drain it, make a sauce elsewhere, and call it a night. That was the routine. That was the safety net.
But he insisted. He pointed out that we had leftover parmesan rinds and some heavy cream that needed using up. I agreed, mostly because I didn’t want to argue, and partially because I was too tired to cook anything complicated. I dumped the dry pasta into the pot with the broth and cream. It looked wrong. The noodles were floating awkwardly, and the liquid didn’t look like it would ever thicken properly.
Then came the stirring. I remember standing there, spoon in hand, watching the starch release. It wasn’t magic; it was chemistry. The liquid transformed from a watery mess into a glossy, thick coating that clung to every single noodle. When I tasted it, the skepticism vanished. It was rich, garlicky, and perfectly balanced. There was no oily separation, just a smooth, velvety texture that felt indulgent without the heavy cleanup.
That night changed how I think about weeknight dinners. I didn’t just get a quick meal; I got a method that actually works. The key was realizing that the pasta water isn’t just water—it’s liquid gold for emulsifying the cheese. Now, I make this creamy one-pot garlic parmesan pasta almost every other week. It’s not just easy; it’s reliable. And honestly, once you try it, you’ll wonder why you ever bothered with two pots in the first place.
Why You’ll Love This Recipe
There are plenty of pasta recipes out there, but this one stands out because it solves the biggest headache of cooking dinner: the cleanup. I’ve tested dozens of variations of creamy pasta over the years, from traditional Alfredo to heavier cream-based sauces, and this method consistently delivers the best texture with the least amount of effort. It’s not just about saving time; it’s about getting a restaurant-quality result without the stress.
Here is why this recipe earns a permanent spot in your weekly rotation:
- Quick & Easy: This comes together in under 20 minutes. You start with cold ingredients in one pot, and by the time the pasta is cooked, the sauce is ready. It is perfect for those busy weeknights when you are hungry but exhausted.
- Simple Ingredients: You likely have everything in your kitchen right now. No fancy grocery trips needed. We are talking pantry staples like pasta, broth, garlic, and cheese. It’s comfort food made accessible.
- Perfect for Weeknights: Whether you are rushing from work or dealing with picky eaters, this dish requires minimal attention. You just stir occasionally and wait. It’s great for cozy dinners when you want something hot and satisfying.
- Crowd-Pleaser: Kids love the creamy texture, and adults appreciate the depth of flavor from the roasted garlic and sharp parmesan. It always gets rave reviews because it feels like a treat but tastes like home.
- Unbelievably Delicious: The texture is next-level. Because the starch stays in the pot, the sauce coats every strand rather than sliding off. It’s rich, savory, and deeply satisfying.
What makes this different from the rest is the technique of using the pasta water to create the emulsion. Most people add cream and cheese at the end, which often leads to separation. Here, the starch and liquid reduce together, creating a natural thickener that binds the fat and water. It’s a small tweak that makes a huge difference. This isn’t just another version; it’s the version that actually works every time.
It’s the kind of meal that makes you close your eyes after the first bite. It’s comfort food reimagined—simpler, faster, but with the same soul-soothing satisfaction. Perfect for impressing guests without stress, or turning a simple meal into something memorable. If you are looking for a side dish to pair with this, you might also enjoy my crispy bacon wrapped asparagus bundles for a fresh contrast.
What Ingredients You Will Need
This recipe uses simple, wholesome ingredients to deliver bold flavor and satisfying texture without the fuss. The beauty of this method is that the quality of your ingredients matters more than the quantity. Since the sauce is so minimal, every component shines through. You don’t need expensive imports, but you do need good basics.
- Unsalted Butter: Use real butter, not margarine. It adds the necessary fat for flavor and helps create the emulsion. I recommend Land O’ Lakes or any high-quality European-style butter for richer flavor.
- Garlic Cloves: Fresh garlic is non-negotiable here. Pre-minced jarred garlic lacks the punch you need. You will need about 4-5 cloves, finely minced. Freshness ensures that sharp, aromatic bite that defines this dish.
- Chicken or Vegetable Broth: Low-sodium is best so you can control the saltiness. The broth provides the liquid base for cooking the pasta and adds savory depth. Swanson or Kettle & Fire are reliable choices.
- Heavy Cream: This is what gives the sauce its luxurious mouthfeel. Do not skip this or substitute with skim milk if you want the authentic creamy texture. Whole milk can work but will result in a thinner sauce.
- Uncooked Pasta: Short shapes like penne, rigatoni, or fusilli work best because they trap the sauce. Long pasta like spaghetti can work but requires more stirring to prevent sticking. Look for bronze-die extruded pasta for better sauce adherence.
- Grated Parmesan Cheese: Use freshly grated cheese from a block. Pre-grated cheese contains anti-caking agents (like cellulose) that prevent it from melting smoothly, leading to a grainy sauce. Kraft Grated Parmesan is okay in a pinch, but block is superior.
- Red Pepper Flakes: A pinch adds a subtle heat that balances the richness. It wakes up the palate without making the dish spicy.
- Fresh Parsley: Chopped flat-leaf parsley adds a burst of color and freshness. It cuts through the heaviness of the cheese and cream.
- Salt and Black Pepper: To taste. Since the broth and cheese are salty, start with less and adjust at the end.
If you are dairy-free, you can swap the heavy cream for full-fat coconut cream and use a nutritional yeast-based parmesan alternative, though the texture will differ slightly. For a gluten-free option, use your favorite gluten-free pasta, but note that these often absorb liquid differently, so you may need a splash more broth.
Equipment Needed
You don’t need a fancy kitchen to make this, but having the right tools helps.
- Large Deep Skillet or Dutch Oven: This is the most important piece of equipment. You need a pot with high sides and a wide base. A 12-inch skillet or a 4-quart Dutch oven is ideal. It needs to be wide enough to allow the pasta to cook evenly but deep enough to hold the liquid without boiling over.
- Wooden Spoon or Silicone Spatula: Essential for stirring. Pasta tends to stick to the bottom of the pot, especially as the starch thickens. A sturdy spoon helps scrape the bottom and prevents burning.
- Microplane or Fine Grater: For grating your parmesan cheese fresh. If you don’t have one, a box grater works fine, but a microplane gives you the finest shred, which melts faster and smoother.
- Measuring Cups and Spoons: For accuracy. Cooking is chemistry, and measuring your liquids ensures the pasta cooks at the right rate.
- Tongs: Helpful for tossing the pasta with the sauce at the very end to ensure every strand is coated.
If you don’t have a Dutch oven, a large stockpot works, but be careful not to let it boil over. A non-stick skillet is also a great budget-friendly option that makes cleanup even easier. Just make sure it is deep enough!
Preparation Method
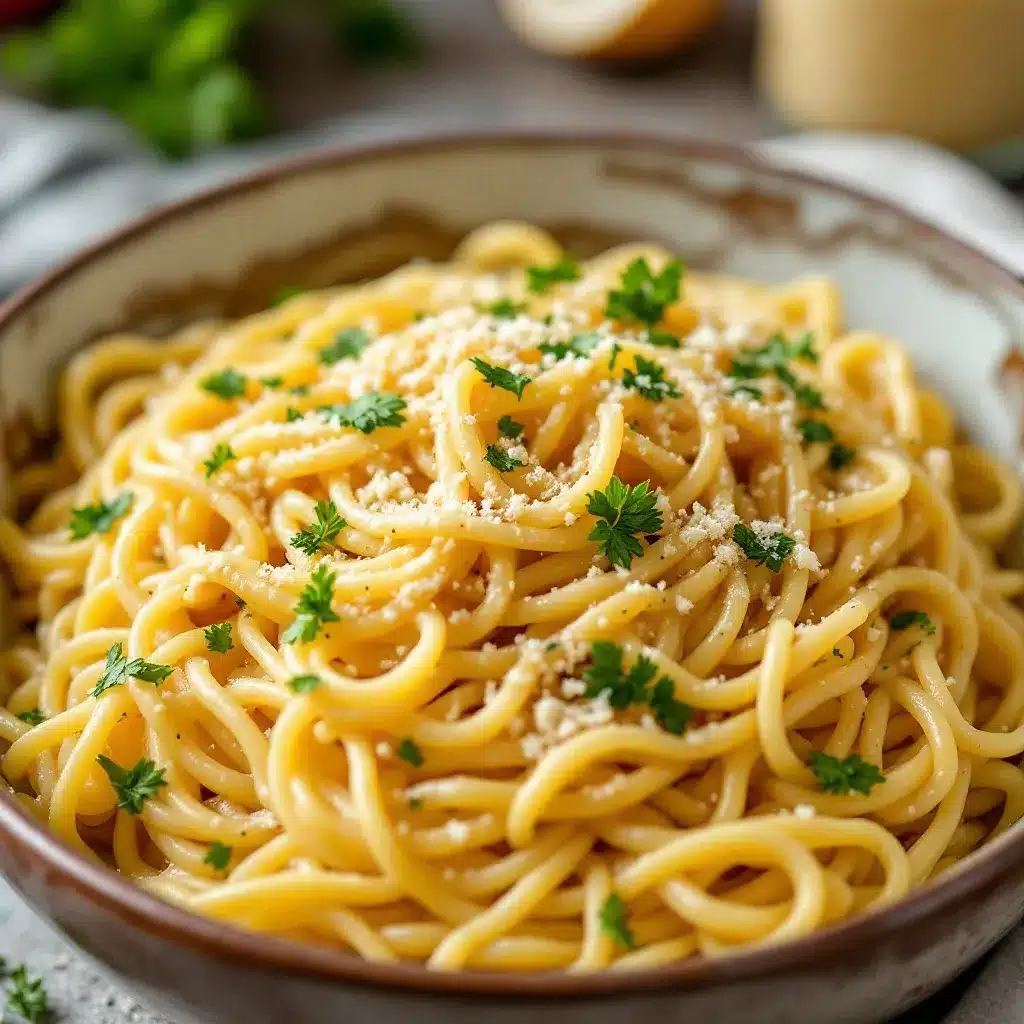
Follow these steps carefully to ensure the pasta cooks evenly and the sauce emulsifies perfectly.
- Melt the Butter (2 minutes): Place your large skillet or Dutch oven over medium heat. Add the unsalted butter and let it melt completely. Do not let it brown; you just want it foamy and fragrant. This takes about 1-2 minutes. If the butter burns, your sauce will taste bitter.
- Sauté the Garlic (1 minute): Add the minced garlic and red pepper flakes to the melted butter. Stir constantly. You only need to cook the garlic for about 60 seconds. It should become fragrant and just starting to turn golden at the edges. If it turns dark brown, remove it from the heat immediately and start over, as burnt garlic ruins the flavor.
- Add Pasta and Liquids (0 minutes prep, 10-12 minutes cook): Pour in the uncooked pasta, chicken broth, and heavy cream. Stir well to combine. The mixture will look very watery at this point. Bring it to a gentle simmer. Do not boil it violently, or the pasta may cook unevenly.
- Cook the Pasta (10-12 minutes): Let the pasta simmer in the liquid. Stir every 2-3 minutes to prevent sticking. As the pasta cooks, it releases starch, which thickens the liquid. You will notice the sauce changing from watery to creamy around the 6-minute mark. If it looks too thick before the pasta is tender, add a splash more broth or water.
- Check for Doneness: Taste a noodle. It should be al dente—firm to the bite but not hard. If it’s still crunchy, keep cooking for another 2-3 minutes. The pasta should be fully cooked before you add the cheese.
- Remove from Heat and Add Cheese (1 minute): Turn off the heat. This is crucial. If you add cheese to a boiling pot, it will seize up and become grainy. Let the pot sit for 30 seconds to cool slightly, then sprinkle in the grated parmesan cheese.
- Emulsify and Serve: Stir vigorously with a wooden spoon or tongs. The residual heat will melt the cheese into the starchy liquid, creating a glossy, thick sauce. If it’s too thick, add a tablespoon of hot water. Taste and season with salt and pepper as needed. Garnish with fresh parsley and serve immediately.
Cooking Tips & Techniques
Mastering this recipe comes down to a few key techniques that separate the pros from the amateurs.
- Stir Regularly: Starch settles at the bottom. If you walk away for too long, you’ll get a burnt layer. Stirring every few minutes ensures even cooking and prevents sticking.
- Control the Heat: Keep the simmer gentle. A rolling boil can cause the liquid to evaporate too quickly before the pasta is cooked, leaving you with dry noodles and no sauce. Low and slow is the way to go.
- Don’t Overcook the Garlic: Garlic burns faster than you think. Keep it moving in the butter. If you’re worried, add the garlic after the liquids have started simmering, though sautéing it first adds more flavor.
- Reserve Pasta Water: While this recipe uses the cooking liquid, having a cup of plain hot water on hand is a safety net. If the sauce gets too thick or starchy, a splash of water can loosen it up instantly.
- Off-Heat Cheese: Never add cheese to a boiling pot. The heat should be off or very low. High heat causes the proteins in the cheese to tighten and squeeze out fat, resulting in a greasy, clumpy mess.
I once tried to speed this up by cranking the heat, and the result was a disaster. The pasta was mushy on the outside and hard on the inside, and the sauce was oily. Lesson learned: patience pays off in creamy pasta.
Variations & Adaptations
While the classic version is perfect, here are some ways to tweak it:
- Protein Boost: Add cooked chicken breast, sliced shrimp, or crispy bacon bits. If using raw meat, cook it first, remove it, then proceed with the recipe, adding it back at the end.
- Vegetable Add-ins: Stir in spinach, kale, or sun-dried tomatoes during the last 2 minutes of cooking. The heat will wilt the greens and integrate them into the sauce.
- Spicy Kick: Add more red pepper flakes or use spicy Italian sausage instead of plain butter for a deeper flavor profile.
- Gluten-Free: Use brown rice pasta or chickpea pasta. Note that these may require slightly more liquid and longer cooking times.
- Dairy-Free: Swap butter for olive oil, heavy cream for full-fat coconut milk, and parmesan for nutritional yeast or a vegan parmesan alternative. The texture will be different but still delicious.
My personal favorite variation is adding roasted red peppers. They add a sweet, smoky flavor that contrasts beautifully with the salty cheese. It’s a great way to use up leftovers from a previous meal.
Serving & Storage Suggestions
Serve this pasta immediately while it is hot and creamy. It pairs wonderfully with a simple green salad, like my fresh zesty zucchini ribbon salad, to cut through the richness. A glass of white wine or crusty bread is also a great accompaniment.
Leftovers can be stored in an airtight container in the refrigerator for up to 3 days. The pasta will continue to absorb the sauce, so it may look thick when cold. To reheat, add a splash of milk or broth and warm gently on the stove over low heat, stirring frequently. You can also microwave it, adding liquid in between intervals to prevent drying out.
Freezing is not recommended for this recipe. The dairy-based sauce may separate upon thawing, and the pasta can become mushy. It is best enjoyed fresh.
Nutritional Information & Benefits
This dish is rich in carbohydrates and calcium from the parmesan cheese. A typical serving provides around 600-700 calories, depending on the pasta type and portion size. It is a good source of energy for active days.
- Calcium: Parmesan cheese is packed with calcium, essential for bone health.
- Protein: The pasta and cheese provide a decent amount of protein, especially if you add chicken or shrimp.
- Considerations: This dish is high in sodium due to the broth and cheese. If you are watching your salt intake, use low-sodium broth and reduce the amount of cheese.
- Gluten: Contains gluten unless gluten-free pasta is used.
I enjoy this as a balanced meal when paired with vegetables. It’s indulgent but satisfying, so a little goes a long way.
Conclusion
This creamy one-pot garlic parmesan pasta is a game-changer for weeknight dinners. It’s easy, delicious, and requires minimal cleanup. I hope you try it and see why I’m so obsessed with it. Customize it with your favorite proteins or veggies to make it your own.
If you make this recipe, please leave a comment below! I love hearing how it turned out for you. Share your variations and tips with the community. And don’t forget to pin this recipe for later!
Frequently Asked Questions
Can I use long pasta like spaghetti?
Yes, but you need to break it in half or stir it more frequently to prevent clumping. Short pasta is easier for this method, but spaghetti works if you are careful.
Why is my sauce too thick?
The pasta absorbs liquid as it sits. If it’s too thick, add a splash of hot water or broth and stir until it reaches your desired consistency.
Can I make this ahead of time?
It is best served fresh. If you must prep ahead, cook the pasta 80% done, then reheat it with the sauce ingredients to finish cooking.
What cheese can I use instead of parmesan?
Pecorino Romano is a sharper alternative. Grana Padano is milder. Avoid pre-grated cheese for the best results.
Is this recipe healthy?
It is a comfort food dish, so it is rich in calories and sodium. You can lighten it by using less cream, more broth, and adding vegetables for bulk.
Pin This Recipe!
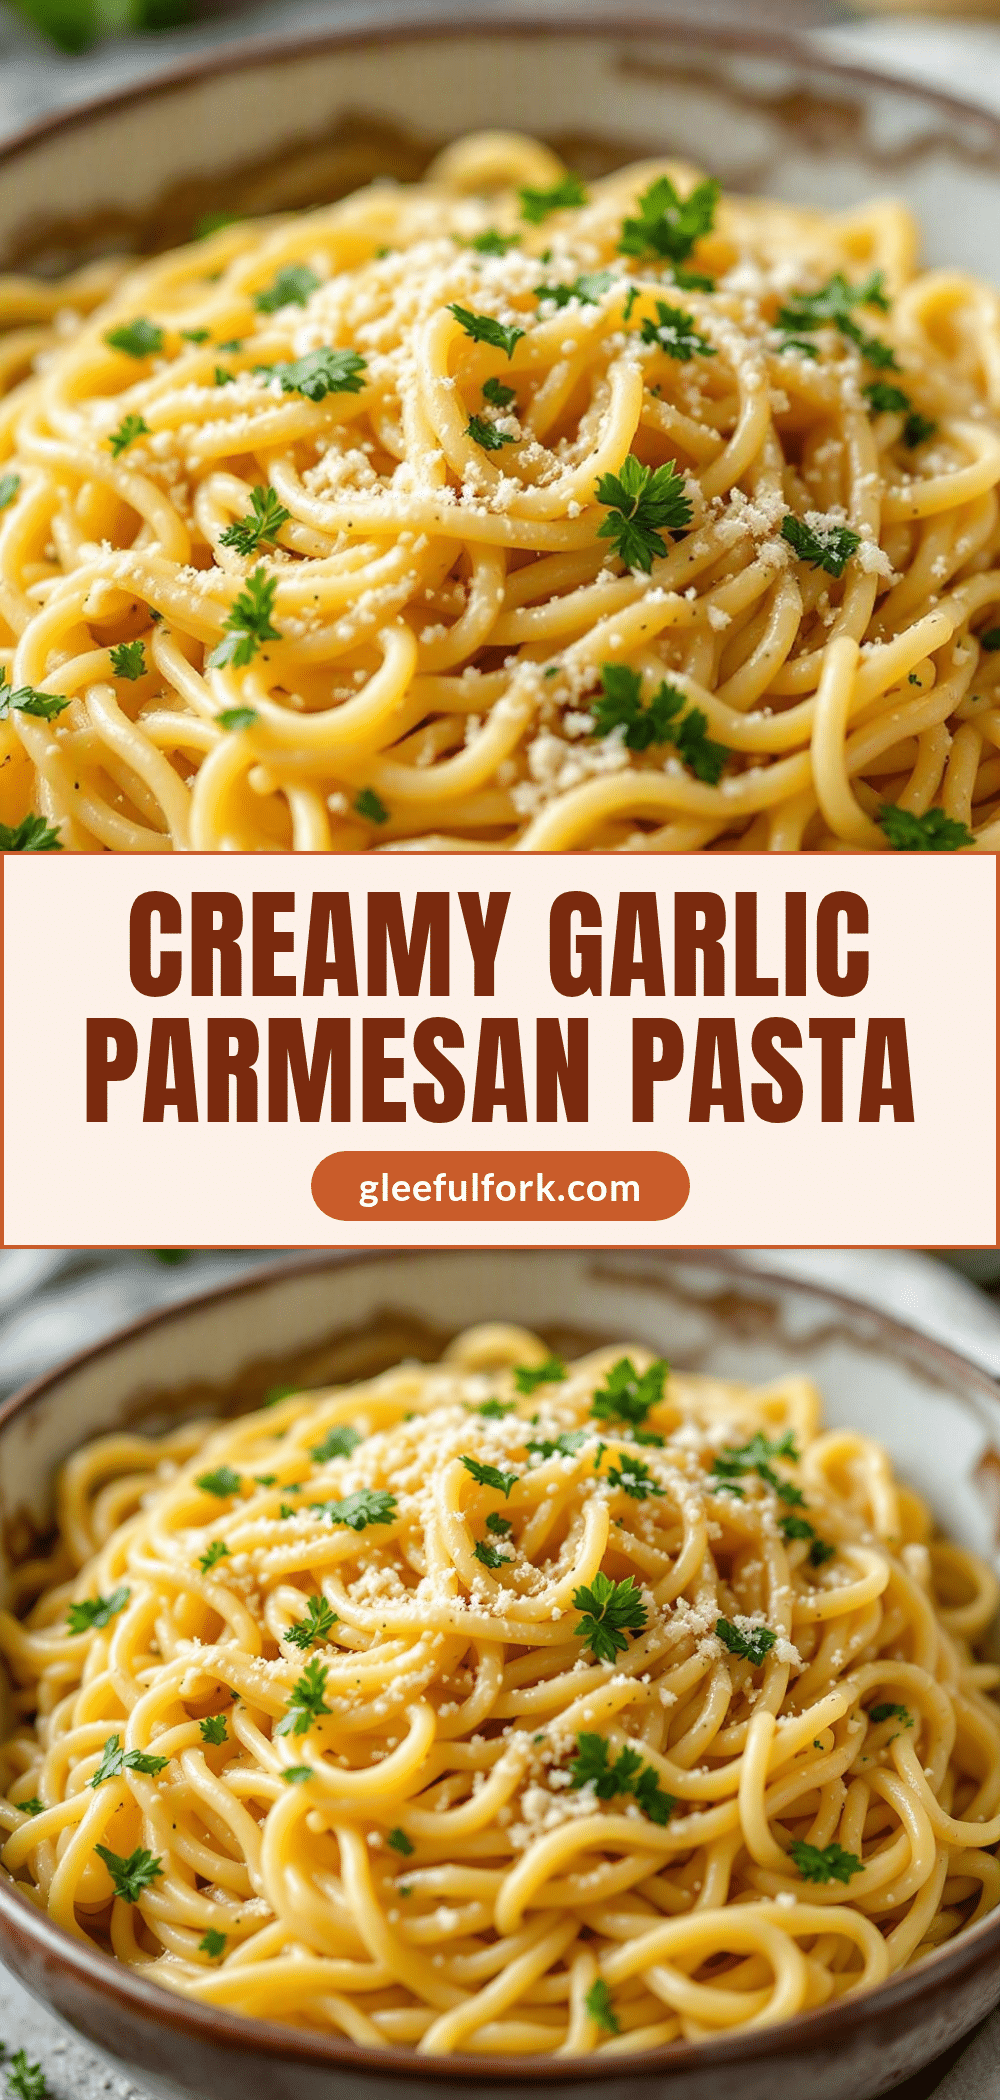
Creamy One-Pot Garlic Parmesan Pasta
A rich, velvety pasta dish made in a single pot using the starch from the pasta to create a natural emulsion with heavy cream and parmesan cheese, resulting in a restaurant-quality meal with minimal cleanup.
- Prep Time: 5 minutes
- Cook Time: 15 minutes
- Total Time: 20 minutes
- Yield: 4 servings
- Category: Main Course
- Cuisine: Italian
Ingredients
- Unsalted butter
- Fresh garlic cloves, finely minced
- Chicken or vegetable broth (low-sodium)
- Heavy cream
- Uncooked short pasta (penne, rigatoni, or fusilli)
- Grated parmesan cheese (freshly grated from a block)
- Red pepper flakes
- Fresh parsley, chopped
- Salt and black pepper to taste
Instructions
- Melt the unsalted butter in a large deep skillet or Dutch oven over medium heat until foamy and fragrant, about 1-2 minutes.
- Add the minced garlic and red pepper flakes, stirring constantly for about 60 seconds until fragrant and just starting to turn golden.
- Pour in the uncooked pasta, chicken broth, and heavy cream. Stir well to combine and bring to a gentle simmer.
- Let the pasta simmer in the liquid for 10-12 minutes, stirring every 2-3 minutes to prevent sticking and ensure even cooking.
- Check for doneness by tasting a noodle; it should be al dente. If too thick before tender, add a splash more broth or water.
- Remove the pot from the heat and let it sit for 30 seconds to cool slightly.
- Sprinkle in the grated parmesan cheese and stir vigorously with a wooden spoon or tongs until the cheese melts and creates a glossy, thick sauce.
- If the sauce is too thick, add a tablespoon of hot water. Taste and season with salt and pepper as needed.
- Garnish with fresh parsley and serve immediately.
Notes
Do not add cheese to a boiling pot as it will seize up and become grainy. Always remove from heat before adding parmesan. For gluten-free, use brown rice or chickpea pasta. For dairy-free, swap butter for olive oil, cream for coconut cream, and parmesan for nutritional yeast. Leftovers can be stored in the refrigerator for up to 3 days; reheat with a splash of milk or broth.
Nutrition
- Serving Size: 1 plate
- Calories: 650
- Sugar: 4
- Sodium: 800
- Fat: 35
- Saturated Fat: 20
- Carbohydrates: 60
- Fiber: 3
- Protein: 20
Keywords: one-pot pasta, creamy garlic parmesan pasta, easy weeknight dinner, quick pasta recipe, gluten-free option, dairy-free option


