Love this? Save it for later!
Share the inspiration with your friends
That specific crinkle of waxed paper — the kind that sounds like dry leaves underfoot — still takes me straight to my in-laws’ farmhouse kitchen in late October. The air outside was crisp, carrying that distinct scent of woodsmoke and damp earth, but inside, the room was warm and heavy with the aroma of roasted squash and sharp cheddar. I remember standing by the heavy oak table, watching my father-in-law arrange slices of prosciutto like rose petals, his hands moving with a quiet, practiced grace. He never measured anything; he just knew, relying on muscle memory and decades of hosting holiday gatherings that blurred the line between dinner party and family reunion.
It wasn’t about fancy plating or Instagram-perfect symmetry. It was about abundance. It was about creating a centerpiece that felt like a hug. I used to think charcuterie was just fancy snacks, but honestly, it’s more like edible art that requires zero cooking skills. You know how some recipes feel like a chore? This one feels like play. I recall the first time I attempted this loaded harvest board, I was terrified I’d gotten it wrong because I didn’t have the “right” cheese knife or the fancy slate board everyone else seemed to own. But then my aunt took a bite of a fig with some brie and sighed that long, satisfied sigh that signals pure comfort. That was the moment I understood.
The Ultimate Loaded Harvest Charcuterie Board isn’t just about feeding a crowd; it’s about creating a vibe. It’s the centerpiece that keeps people lingering at the table long after the main course is gone. I’ve made this board for everything from Halloween parties to casual Sunday suppers, and it never fails to turn a simple gathering into a memorable event. There’s something deeply satisfying about the mix of salty, sweet, crunchy, and creamy all in one glance. Let’s face it, we all love a good snack, but this? This is elevated snacking without the effort. It’s the kind of dish that lets you actually enjoy your guests instead of being stuck in the kitchen flipping burgers.
Why You’ll Love This Recipe
Experience Meets Simplicity
I’ve spent years testing different combinations of meats, cheeses, and accompaniments, and I can tell you with confidence that this harvest board hits the sweet spot between rustic charm and gourmet appeal. Unlike other party platters that require hours of prep, this Ultimate Loaded Harvest Charcuterie Board comes together in under thirty minutes. It’s perfect for busy weeknights or last-minute cravings when you want to impress but don’t have time to cook. The beauty of this recipe lies in its flexibility. You don’t need to be a professional chef to pull this off; you just need a good eye for color and texture.
Simple Ingredients, Complex Flavor
You likely already have most of these items in your pantry or fridge. This recipe relies on pantry staples like crackers, nuts, and dried fruits, combined with high-quality deli meats and cheeses. There’s no fancy grocery trip needed. Whether you are hosting a large holiday dinner or a small get-together, this board scales up or down easily. It’s also naturally gluten-free if you choose the right crackers, making it inclusive for guests with dietary restrictions.
Perfect for Fall Entertaining
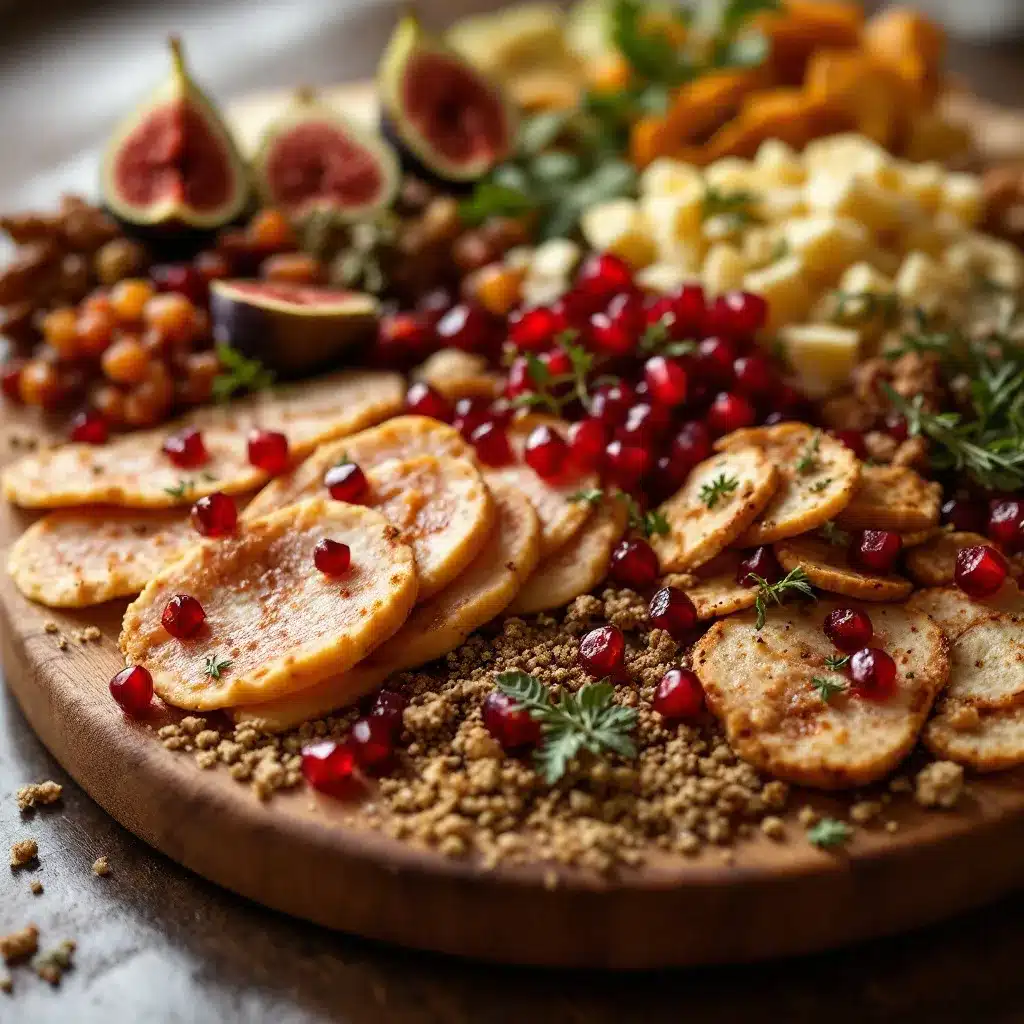
This board is the ultimate crowd-pleaser for autumn gatherings. It’s great for potlucks, bridal showers, or cozy dinners. The warm tones of roasted nuts, deep red grapes, and orange persimmons create a visual feast that matches the season perfectly. It’s comfort food reimagined—healthier, faster, but with the same soul-soothing satisfaction. I’ve seen kids and adults alike go crazy for the sweet and salty combinations, especially the honey-drizzled gouda paired with spicy mustard.
What Makes It Different
Many charcuterie boards are just a pile of meat and cheese. This one is curated. I include roasted elements like candied pecans and warm spiced nuts to add depth. I also suggest using a mix of soft and hard cheeses to provide textural contrast. The addition of fresh and dried fruits balances the saltiness of the meats. It’s not just another version—it’s your best version. This recipe isn’t just good; it’s the kind that makes you close your eyes after the first bite. It’s perfect for impressing guests without stress.
What Ingredients You Will Need
This recipe uses simple, wholesome ingredients to deliver bold flavor and satisfying texture without the fuss. The key to a great harvest board is variety in color, texture, and taste. You want a balance of salty, sweet, crunchy, and creamy. Here is what you need to build the perfect board.
For the Meats
- Prosciutto: Thinly sliced, high-quality Italian ham. The saltiness cuts through the rich cheeses. I recommend buying pre-sliced from a deli counter for the best texture.
- Salami: Hard salami or pepperoni slices. Look for a variety with visible fat marbling for extra flavor.
- Salami: For a milder option, try Genoa salami. It pairs well with sweeter fruits like figs.
For the Cheeses
- Brie: A wheel of brie, room temperature. This adds a creamy, buttery element. Let it sit out for 30 minutes before serving to reach optimal softness.
- Gouda: Smoked gouda cubes. The smokiness complements the autumn theme perfectly. I prefer aged gouda for a firmer texture.
- Cheddar: Sharp cheddar cubes or slices. Adds a tangy kick that balances the sweetness of the fruits.
- Goat Cheese: Log of goat cheese, rolled in herbs. Provides a bright, acidic contrast to the rich meats.
For the Crunch and Sweets
- Mixed Nuts: Roasted almonds, walnuts, and pecans. Toast them lightly for enhanced flavor.
- Dried Figs: Fresh or dried figs. They add a jammy sweetness that pairs beautifully with cheese.
- Grapes: Red and green seedless grapes. Wash and dry thoroughly to prevent sogginess.
- Apples: Thinly sliced crisp apples like Honeycrisp or Gala. Toss with lemon juice to prevent browning.
- Crackers: Assorted water crackers, grain crackers, and pretzel crisps. Ensure a mix of shapes and sizes.
- Honey: Small jars of honey or a honey dipper for drizzling over cheeses.
- Jam: Fig jam or apple butter. Adds a spreadable element for crackers.
Optional Add-Ins
- Olives: Marinated olives for a briny touch.
- Pickles: Cornichons or small gherkins for acidity.
- Chocolate: Dark chocolate squares for a dessert-like finish.
Equipment Needed
You don’t need much to pull this off, but having the right tools makes the process smoother. A large wooden board or slate platter is essential for presentation. I prefer a large rectangular wooden board because it provides ample space and adds a rustic touch. If you don’t have one, a large baking sheet or even a clean, sturdy table covered with parchment paper works.
You’ll need a variety of small bowls or ramekins for dips, jams, and olives. Ceramic or glass bowls in autumnal colors like burnt orange, deep red, or slate gray look great. Cheese knives are helpful, especially for soft cheeses like brie. A cheese wheel cutter or a simple wire cheese slicer works well for hard cheeses. Small tongs or toothpicks are useful for guests to pick up items without touching them directly. If you’re serving hot elements like warmed nuts, a small oven-safe dish is needed.
Preparation Method
Step 1: Prepare the Fruits and Vegetables
Wash and dry all fresh fruits thoroughly. If using grapes, remove them from the stems and pat them dry to prevent moisture from making the board soggy. Slice apples and pears thinly, tossing them with a little lemon juice to prevent browning. If using fresh figs, trim the stems and halve them if they are large. Set aside on a plate until ready to arrange.
Step 2: Arrange the Cheeses
Place your cheese wheel or wedges on the board first. If using a brie wheel, remove the wax coating and place it in the center or off to one side. Cube harder cheeses like cheddar and gouda. Arrange them in clusters, leaving space for other items. This creates visual interest and makes it easy for guests to grab a piece.
Step 3: Fold and Drape the Meats
Take slices of prosciutto and salami. Instead of laying them flat, fold or roll them loosely and place them in piles or fan them out. This adds height and texture to the board. Distribute the meats around the cheeses, ensuring a balanced look.
Step 4: Add the Crunch and Sweets
Fill small bowls with jams, honey, and olives. Place these bowls strategically around the board, filling in gaps. Scatter nuts and dried fruits around the board. Use the nuts to fill smaller spaces between cheeses and meats. Add crackers in piles or fans along the edges.
Step 5: Final Touches
Add fresh herbs like rosemary or thyme sprigs for a pop of green and aroma. Drizzle honey over cheeses if desired. Step back and adjust any items that look too crowded or sparse. The goal is a balanced, abundant look.
Cooking Tips & Techniques
One of the biggest mistakes people make with charcuterie boards is overcrowding. Leave space between items. It looks more elegant and makes it easier for guests to serve themselves. Another tip is to bring cheeses to room temperature before serving. Cold cheese loses its flavor and texture. Take them out of the fridge at least an hour before your guests arrive.
When arranging meats, variety in shape is key. Fold some, roll some, and drape some. This creates visual depth. For fruits, mix colors and sizes. Red grapes against green grapes, dark figs against light cheese. Contrast is your friend. Also, consider the flow of the board. Group similar items together but don’t make it too symmetrical. A little asymmetry feels more natural and inviting.
Variations & Adaptations
This board is highly adaptable. For a vegetarian version, swap the meats for roasted vegetables like eggplant, zucchini, and bell peppers. You can also add hummus or bean dips. For a gluten-free option, use gluten-free crackers or rice cakes. If you’re watching sugar intake, reduce the dried fruits and honey, and increase the nuts and savory items.
For a spicy twist, add jalapeño slices or spicy mustard. For a sweeter profile, add chocolate squares and strawberry jam. You can also switch out cheeses based on seasonality. In spring, try goat cheese with fresh strawberries. In winter, use blue cheese with pears and walnuts. I once tried adding a layer of warm spinach dip in the center, which was a huge hit at a holiday party.
Serving & Storage Suggestions
Serve the board at room temperature for the best flavor. Arrange it just before guests arrive to keep fruits fresh. If you need to prep ahead, store cut fruits and meats separately in the fridge. Assemble the board 30 minutes before serving. Leftover meats and cheeses can be stored in airtight containers in the fridge for up to three days. Fruits should be consumed within a day for best quality. Reheat any warm elements like nuts or dips before serving again.
Nutritional Information & Benefits
This board is rich in protein from the meats and cheeses, and healthy fats from the nuts. It’s also a good source of fiber from the fruits and vegetables. However, it’s high in sodium and calories, so enjoy in moderation. It’s naturally gluten-free if you choose the right crackers. For those with dairy sensitivities, use dairy-free cheeses. The variety of ingredients ensures a range of nutrients, making it a balanced snack option.
Conclusion
The Ultimate Loaded Harvest Charcuterie Board is more than just a plate of food; it’s a centerpiece that brings people together. It’s easy to make, visually stunning, and delicious. I love this recipe because it allows me to be present with my guests while still providing a high-quality experience. It’s the kind of dish that sparks conversation and creates memories. I encourage you to try it and customize it to your liking. Share your creations with me in the comments below. Let’s make this fall season memorable with good food and great company.
Frequently Asked Questions
Can I make this board ahead of time?
Yes, you can prepare most ingredients ahead of time. Store cut fruits and meats separately in the fridge. Assemble the board 30-60 minutes before serving to allow cheeses to come to room temperature and fruits to look fresh.
What is the best cheese for a harvest board?
A mix of soft and hard cheeses is ideal. Brie, gouda, and cheddar are excellent choices. They offer a range of flavors and textures that complement the other ingredients.
How do I keep the board looking fresh?
Keep the board out of direct sunlight and heat. Add fresh herbs and wash fruits just before arranging. Use small bowls for dips to prevent them from drying out.
Can I use this board for a vegetarian party?
Absolutely. Simply omit the meats and add more cheeses, roasted vegetables, hummus, and bean dips. The board will still be abundant and delicious.
What crackers go best with this board?
A mix of water crackers, grain crackers, and pretzel crisps works well. They provide a neutral base that complements the strong flavors of the cheeses and meats.
Pin This Recipe!
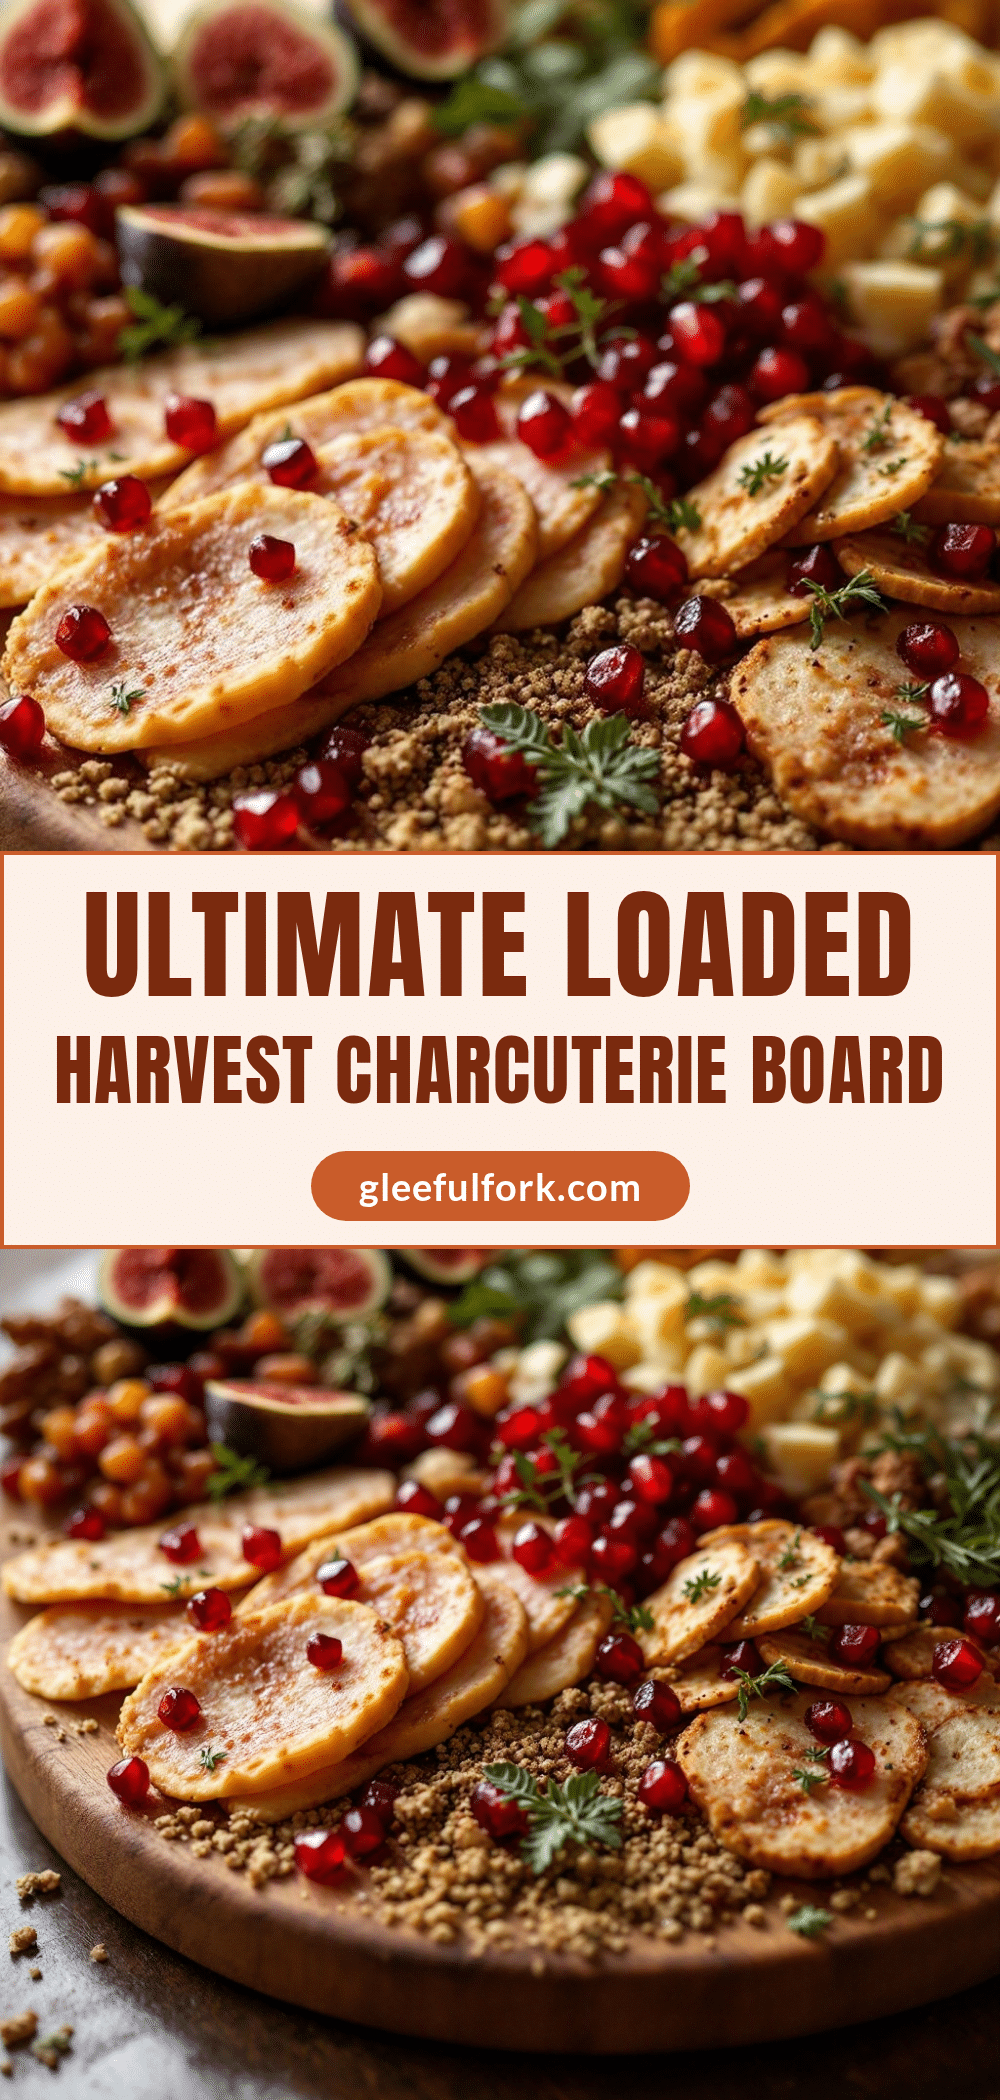
Ultimate Loaded Harvest Charcuterie Board: Easy Fall Party Ideas

A curated, no-cook charcuterie board featuring a mix of cured meats, soft and hard cheeses, roasted nuts, fresh and dried fruits, and artisanal crackers. Perfect for fall entertaining and requiring zero cooking skills.
- Prep Time: 30 minutes
- Cook Time: 0 minutes
- Total Time: 30 minutes
- Yield: 8-10 servings
- Category: Appetizer
- Cuisine: American
Ingredients
- Prosciutto (thinly sliced)
- Hard salami or pepperoni slices
- Genoa salami (optional, for milder flavor)
- Brie cheese wheel (room temperature)
- Smoked Gouda cheese (cubed)
- Sharp cheddar cheese (cubed or sliced)
- Goat cheese log (rolled in herbs)
- Mixed nuts (roasted almonds, walnuts, pecans)
- Fresh or dried figs
- Red and green seedless grapes
- Crisp apples like Honeycrisp or Gala (thinly sliced)
- Assorted crackers (water crackers, grain crackers, pretzel crisps)
- Honey (for drizzling)
- Fig jam or apple butter
- Marinated olives (optional)
- Cornichons or small gherkins (optional)
- Dark chocolate squares (optional)
- Fresh herbs like rosemary or thyme sprigs
Instructions
- Wash and dry all fresh fruits thoroughly. Remove grapes from stems and pat dry.
- Slice apples and pears thinly, tossing with lemon juice to prevent browning. Trim stems from figs and halve if large.
- Place cheese wheels or wedges on the board first. Remove wax coating from Brie if present.
- Cube harder cheeses like cheddar and gouda. Arrange cheeses in clusters, leaving space for other items.
- Fold, roll, or drape slices of prosciutto and salami loosely. Place in piles or fan them out to add height and texture.
- Distribute meats around the cheeses for a balanced look.
- Fill small bowls with jams, honey, and olives. Place these strategically around the board to fill gaps.
- Scatter nuts and dried fruits around the board, using nuts to fill smaller spaces between cheeses and meats.
- Add crackers in piles or fans along the edges.
- Add fresh herbs like rosemary or thyme sprigs for color and aroma. Drizzle honey over cheeses if desired.
- Step back and adjust items to ensure a balanced, abundant, and non-symmetrical look.
Notes
Bring cheeses to room temperature at least one hour before serving for best flavor. Avoid overcrowding the board; leave space between items for elegance. Assemble the board 30-60 minutes before guests arrive. Store cut fruits and meats separately in the fridge if prepping ahead.
Nutrition
- Serving Size: Varied assortment of
- Calories: 450
- Sugar: 18
- Sodium: 850
- Fat: 32
- Saturated Fat: 12
- Carbohydrates: 25
- Fiber: 3
- Protein: 18
Keywords: charcuterie board, fall party ideas, harvest board, no cook recipe, appetizer, entertaining, autumn snacks, cheese board, meat board


