Love this? Save it for later!
Share the inspiration with your friends
It is just past nine on a Tuesday in November, and the only thing I want is these creamy salted caramel apple crisp bars. The house is quiet, save for the hum of the refrigerator and the distant sound of wind rattling the windowpane. I am sitting at my kitchen counter with a mug of tea that has long since gone lukewarm. My eyes are heavy, but my mind is still racing from the day’s work. I need something sweet, but not something that feels like a celebration. Something that feels like a pause.
I pull the baking dish from the oven, the heat hitting my face like a warm blanket. The smell is intoxicating—brown sugar, tart apples, and that deep, nutty aroma of caramelized butter. It fills the small kitchen, pushing away the chill of the evening. I let it cool for a moment, watching the steam rise in thin, curling lines against the dark glass. This recipe has become my anchor during these long, gray weeks.
There is a specific texture I am chasing. It is not just about the apples or the crust. It is about the layer in the middle—the creamy, rich ribbon of salted caramel that holds everything together. I remember the first time I made these. I had burned the caramel in the saucepan, ruining the batch. I was frustrated, ready to order takeout instead. But I started over, slower this time, paying attention to the color changes. That patience paid off.
Now, I make them almost by muscle memory. The way the crumble sticks to my fingers, the way the knife slices through the tender crust without crumbling the base. It is a ritual. A small, sweet rebellion against the monotony of the week. I cut a square, the edges still slightly warm. The first bite is messy, sticky, and perfect. It tastes like autumn, even if it is freezing outside.
I do not make these for guests. Guests require presentation, and presentation requires stress. I make these for me. For the quiet moments when I need to remember that simple pleasures still exist. The salt cuts the sweetness, balancing it just enough to keep you coming back for another piece. It is comfort food, but it is also a little bit of magic.
The best part is that they keep well. I can make a batch on Sunday and eat one every night until they are gone. Or I can save them for a special moment, like this one. The contrast between the crisp, buttery top and the soft, spiced apple filling is what keeps me coming back. It is not complicated. It does not require fancy ingredients or hours of prep. It just requires a little time and a willingness to slow down.
I take another bite, closing my eyes for a second. The warmth spreads through my chest. It is a small thing, really. Just a dessert. But in moments like this, it feels like everything I need.
Why You’ll Love This Recipe
Let’s be honest for a second. Most apple crisp recipes are great, but they are also a bit… standard. You know the type. Crumble on top, baked apples underneath, served with a dollop of whipped cream. It is good, sure. But it lacks that little something extra that makes you stop and think, “Wait, what is in this?” These bars change the game by introducing a layer of creamy salted caramel that acts as the glue for the entire dessert. It is rich, it is indulgent, and it is surprisingly easy to pull off without a culinary degree.
I have tested dozens of versions of apple bars over the years. Some are too dry, some are too soggy, and some have a crust that is more like a biscuit than a crisp. This recipe is the result of trial, error, and a lot of tasting. I wanted a texture that was substantial enough to hold its shape when cut, but tender enough to melt in your mouth. The addition of cream cheese to the caramel layer is the secret weapon here. It adds a tangy richness that cuts through the sweetness of the apples and the brown sugar.
Here is why this recipe deserves a spot in your rotation:
- Quick & Easy: You do not need to make a separate caramel sauce from scratch if you are short on time. Using a high-quality store-bought caramel sauce works perfectly fine here. The whole process comes together in under an hour, making it perfect for a weeknight treat or a last-minute dessert.
- Simple Ingredients: You likely already have most of these items in your pantry. Flour, butter, brown sugar, apples, and cream cheese. No weird, hard-to-find ingredients. It is straightforward cooking at its best.
- Perfect for Meal Prep: Unlike a traditional crisp that is best eaten immediately, these bars actually improve after sitting in the fridge for a few hours. The flavors meld together, and the texture sets up nicely. They are ideal for making ahead for office parties or potlucks.
- Crowd-Pleaser: I have served these to picky eaters and dessert snobs alike. Everyone loves the combination of tart apple and sweet caramel. It is a flavor profile that is universally appealing, especially when finished with a sprinkle of flaky sea salt.
- Unbelievably Delicious: The texture contrast is next-level. You get the crunch of the oat crumble, the softness of the baked apples, and the gooey, creamy center. It is comfort food reimagined—richer and more complex than a standard crisp, but just as satisfying.
What makes this recipe different from the rest is the structural integrity. Many apple bars fall apart because the filling is too runny. By using a thicker caramel layer and ensuring the apples are sliced uniformly, we create a bar that holds its shape. It is not just another version of apple bars—it is the best version. It is the kind of dessert that makes you close your eyes after the first bite and just enjoy the moment.
What Ingredients You Will Need
This recipe uses simple, wholesome ingredients to deliver bold flavor and satisfying texture without the fuss. The key to success here is quality. Since there are not many ingredients, each one plays a significant role. You want apples that hold their shape but become tender, butter that is high quality, and caramel that is rich and smooth.
Here is what you will need to gather:
- For the Crust and Topping:
- All-purpose flour (1 ½ cups) – The base of the crumble. Do not substitute with whole wheat unless you want a denser texture.
- Old-fashioned rolled oats (½ cup) – Adds chewiness and structure. Quick oats will make the crust too powdery.
- Unsalted butter, cold and cubed (½ cup) – Cold butter creates flaky layers. If you use melted butter, the crust will be more cookie-like.
- Granulated sugar (¼ cup) – Adds sweetness and helps with browning.
- Brown sugar, packed (½ cup) – Provides moisture and a deep, molasses-like flavor.
- Cinnamon (1 tsp) – The classic spice for apple desserts. Use ground cinnamon for the best flavor.
- Salt (¼ tsp) – Balances the sweetness and enhances the buttery notes.
- For the Apple Layer:
- Granny Smith apples (3 large, peeled and thinly sliced) – I recommend Granny Smith because they are tart and firm. They do not turn into mush when baked. You can use a mix of Granny Smith and Honeycrisp for a balance of tart and sweet.
- Granulated sugar (2 tbsp) – Helps draw out the juices from the apples.
- Lemon juice (1 tbsp) – Prevents browning and adds brightness.
- Cinnamon (½ tsp) – Adds warmth to the fruit layer.
- For the Creamy Salted Caramel Layer:
- Cream cheese, softened (4 oz) – This is the secret ingredient. It stabilizes the caramel and adds a tangy richness. Use full-fat brick cream cheese, not the spreadable kind in a tub.
- Granulated sugar (¼ cup) – Sweetens the cream cheese layer.
- Vanilla extract (1 tsp) – Adds depth of flavor.
- Store-bought salted caramel sauce (1 cup) – I recommend brands like Smucker’s or homemade if you have time. Look for a sauce that is thick and viscous, not watery.
- Flaky sea salt (for garnish) – Essential for the “salted” part of the name. Maldon is a great brand if you can find it.
When selecting your apples, look for firm ones that have a slight green tint. Avoid Red Delicious, as they tend to be mealy and bland. For the caramel sauce, check the ingredient list. If it starts with corn syrup, it might be too sweet. Look for caramel sauces with real butter and cream. If you decide to make your own caramel, ensure it is cooled slightly before mixing with the cream cheese, or it will curdle.
Equipment Needed
You do not need a lot of fancy gadgets to make these bars. A few basic tools will get you through the process without any hassle. The most important piece of equipment is a 9×13 inch baking dish. Glass or ceramic is preferred because it conducts heat evenly and allows you to see the bottom of the crust as it bakes. If you only have metal, just keep an eye on the edges so they do not burn.
You will also need a large mixing bowl for the crust mixture. A pastry cutter or your fingers work well here. I prefer using my fingers because it is faster and helps me feel when the butter is incorporated correctly. The mixture should look like coarse crumbs. If it is too wet, add more flour. If it is too dry, add a bit more butter.
For the apple layer, a sharp knife and a cutting board are essential. You want thin, even slices so they bake uniformly. A mandoline slicer can help if you are worried about consistency, but be careful with your fingers. A medium saucepan is not strictly necessary if you are using store-bought caramel, but if you decide to warm the caramel to make it easier to spread, a small saucepan or microwave-safe bowl will come in handy.
Finally, a whisk is needed for the cream cheese mixture. A rubber spatula is useful for folding the ingredients together and scraping the sides of the bowl. Do not skip the parchment paper. Lining your baking dish with parchment paper makes removing the bars much easier later. It also means less cleanup, which is always a win in my book.
Preparation Method
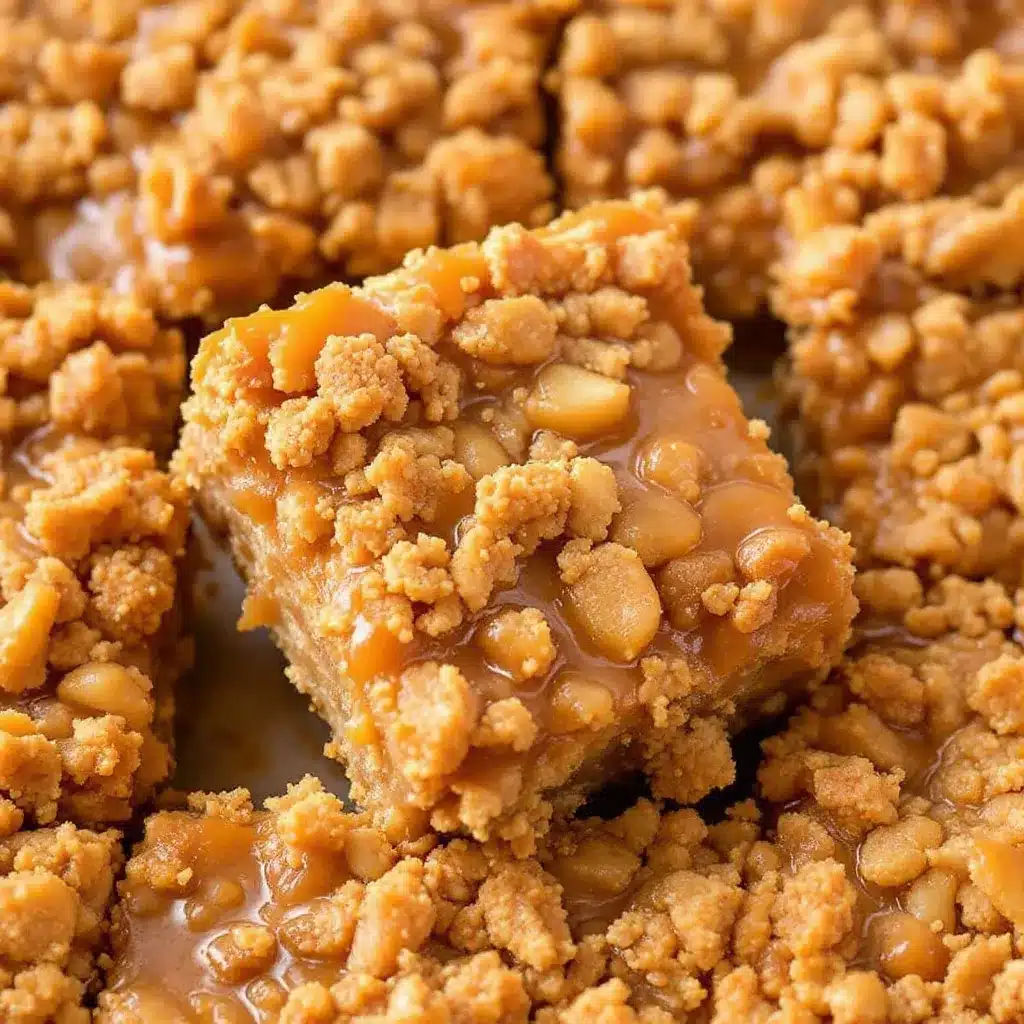
Preparation is key to getting the perfect texture. Follow these steps carefully, and you will have a beautiful batch of bars in no time.
- Preheat and Prep (5 minutes): Start by preheating your oven to 350°F (175°C). Line your 9×13 inch baking dish with parchment paper, leaving an overhang on the sides. This will act as a sling to lift the bars out later. Lightly grease the parchment with butter or cooking spray.
- Make the Crust (10 minutes): In a large mixing bowl, combine the flour, rolled oats, granulated sugar, brown sugar, cinnamon, and salt. Add the cold, cubed butter. Use your fingers or a pastry cutter to work the butter into the dry ingredients. You want the mixture to resemble coarse sand with some pea-sized clumps of butter remaining. This texture ensures a crumbly, tender crust. Press half of this mixture firmly and evenly into the bottom of the prepared baking dish. This will be your bottom crust.
- Prepare the Apples (5 minutes): While the crust is being pressed, peel and slice the apples. Aim for slices that are about ⅛ inch thick. Toss the apple slices with the granulated sugar, lemon juice, and cinnamon in a separate bowl. Let them sit for a few minutes to release some of their juices. Spread the apple mixture evenly over the pressed crust. Do not pile them too high, or the center may not cook properly.
- Make the Creamy Caramel Layer (5 minutes): In a medium bowl, beat the softened cream cheese and sugar until smooth and creamy. Add the vanilla extract and mix again. The mixture should be thick and spreadable. If it is too stiff, you can microwave it for 10 seconds to soften it slightly. Spread this layer evenly over the apples. It will be a thin layer, but it adds so much flavor.
- Add the Caramel Sauce (5 minutes): Warm the salted caramel sauce slightly if it is very thick. You can do this in the microwave in 10-second intervals or in a small saucepan over low heat. Drizzle the caramel over the cream cheese layer. Use a knife or offset spatula to swirl it gently into the cream cheese. Do not mix it completely; you want ribbons of caramel visible. This creates the marbled effect.
- Top with Remaining Crust (5 minutes): Sprinkle the remaining crumble mixture evenly over the caramel layer. Press it down gently so it sticks. This top layer will bake up golden and crunchy.
- Bake (45-50 minutes): Place the baking dish in the preheated oven. Bake for 45 to 50 minutes, or until the top is golden brown and the filling is bubbly around the edges. If the top starts to brown too quickly, cover it loosely with aluminum foil for the last 10 minutes.
- Cool Completely (Crucial Step): Remove the bars from the oven and place them on a wire rack. Let them cool completely at room temperature, which takes at least 2 hours. This step is non-negotiable. If you cut them while warm, they will fall apart. The layers need to set. Once cooled, refrigerate for at least 1 hour for cleaner cuts.
Cooking Tips & Techniques
I have made these bars enough times to know where things can go wrong. Here are some tips to ensure your success.
First, do not rush the cooling process. I know it is tempting to cut into them as soon as they come out of the oven. The smell is irresistible. But the caramel and cream cheese layers are liquid hot. If you cut them now, you will have a mess. Patience is the most important ingredient here.
Second, pay attention to the butter temperature for the crust. If your butter is too soft, the crust will become doughy rather than crumbly. Cube the butter and keep it in the fridge until the moment you are ready to mix. If your kitchen is very warm, you might even want to chill the bowl before mixing.
Third, when spreading the cream cheese layer, do not try to make it perfectly smooth. It does not need to be a frosting. It just needs to cover the apples. Any lumps will melt into the caramel during baking, creating a rich, swirled texture.
Fourth, if your caramel sauce is very thin, it might soak into the apples. To prevent this, ensure the cream cheese layer is thick enough to act as a barrier. If you find the caramel is too runny, you can thicken it slightly by cooking it down on the stove before using.
Finally, always use a sharp knife to cut the bars. A dull knife will crush the crust. Wipe the knife clean between cuts for neat squares. Dusting the blade with a little flour can also help prevent sticking.
Variations & Adaptations
While the classic version is my favorite, there are a few variations you can try to keep things interesting.
- Gluten-Free: You can substitute the all-purpose flour with a 1:1 gluten-free baking flour blend. Ensure the oats you use are certified gluten-free if you have a severe allergy.
- Dairy-Free: Use vegan butter for the crust and a dairy-free cream cheese alternative for the middle layer. There are several good brands available now that mimic the texture of dairy cream cheese well.
- Lower Sugar: Reduce the sugar in the crust by ¼ cup. The apples will still provide enough natural sweetness. You can also use a sugar-free caramel sauce if you are watching your sugar intake.
- Spiced Variation: Add a pinch of nutmeg or cardamom to the apple layer for a warmer, more complex flavor profile. This pairs beautifully with the caramel.
- Chocolate Twist: Drizzle melted dark chocolate over the top after the bars have cooled. The bitterness of the chocolate complements the salted caramel perfectly.
I once tried adding chopped pecans to the crust, and it was delicious. The nuts add a nice crunch and earthiness. If you like nuts, I recommend adding ½ cup of chopped pecans or walnuts to the crust mixture.
Serving & Storage Suggestions
These bars are best served at room temperature or slightly chilled. They are perfect for potlucks, office parties, or a quiet evening at home. They pair well with a cup of coffee or a glass of cold milk. For a more indulgent experience, serve them with a scoop of vanilla ice cream or a dollop of whipped cream.
To store the bars, keep them in an airtight container in the refrigerator. They will last for up to 5 days. If you want to freeze them, cut them into squares first and place them in a single layer in a freezer-safe container. They can be frozen for up to 3 months. Thaw them in the refrigerator overnight before serving.
The flavors develop over time, so these bars often taste even better the next day. The caramel softens the crust slightly, creating a more cohesive texture. If you are making them ahead, I recommend waiting to add the flaky sea salt until just before serving to maintain its crunch.
Nutritional Information & Benefits
While these bars are a treat, they are made with relatively simple ingredients. Apples provide fiber and vitamin C, while the oats offer some whole grain benefits. The cream cheese and caramel add fat and sugar, so they should be enjoyed in moderation.
Each bar contains approximately 350-400 calories, depending on the size of the piece. They are not suitable for low-carb or keto diets due to the high sugar content in the caramel and crust. However, for most people, they are a delicious occasional indulgence. If you have nut allergies, note that the oats are naturally nut-free, but always check labels for cross-contamination.
I view these bars as a way to enjoy seasonal flavors. Apples are at their peak in the fall, and using them in desserts is a great way to celebrate the season. It is a mindful way to eat sweets, focusing on quality ingredients and savoring each bite.
Conclusion
These creamy salted caramel apple crisp bars are more than just a dessert. They are a reminder to slow down and enjoy the simple things in life. The combination of tart apples, sweet caramel, and buttery crust is unbeatable. I hope you try this recipe and make it your own. Feel free to experiment with different spices or add-ins to suit your taste.
If you make these bars, I would love to hear how they turn out. Leave a comment below with your thoughts or share a photo on social media. Tag me so I can see your creations! And if you have any questions, feel free to ask. I am always happy to help.
Enjoy baking, and enjoy every bite. Happy eating!
FAQs
Can I use apple pie filling instead of fresh apples?
It is not recommended. Apple pie filling is usually very sweet and has a thick, artificial texture. Fresh apples provide the right balance of tartness and texture. If you must use canned, drain the excess syrup and toss the apples with extra cinnamon to compensate.
How do I prevent the crust from becoming soggy?
Press the bottom crust firmly and bake it for a few minutes before adding the apples if you are worried. Also, ensure the apples are sliced thinly and evenly so they release their juices into the filling rather than soaking the crust. The cream cheese layer also acts as a barrier.
Can I freeze these bars before baking?
Yes, you can assemble the bars and freeze them before baking. Wrap the dish tightly in plastic wrap and foil. When ready to bake, let them thaw in the refrigerator overnight, then bake as directed, adding a few extra minutes if needed.
What kind of caramel sauce works best?
Look for a thick, viscous caramel sauce. Thin sauces may make the bars too wet. Brands like Smucker’s or homemade caramel are great choices. Avoid caramel dips that are very runny.
Why did my bars fall apart when I cut them?
This usually happens if the bars are cut while they are still warm. The layers need time to set. Make sure you cool the bars completely at room temperature and then refrigerate them for at least an hour before cutting.
Pin This Recipe!
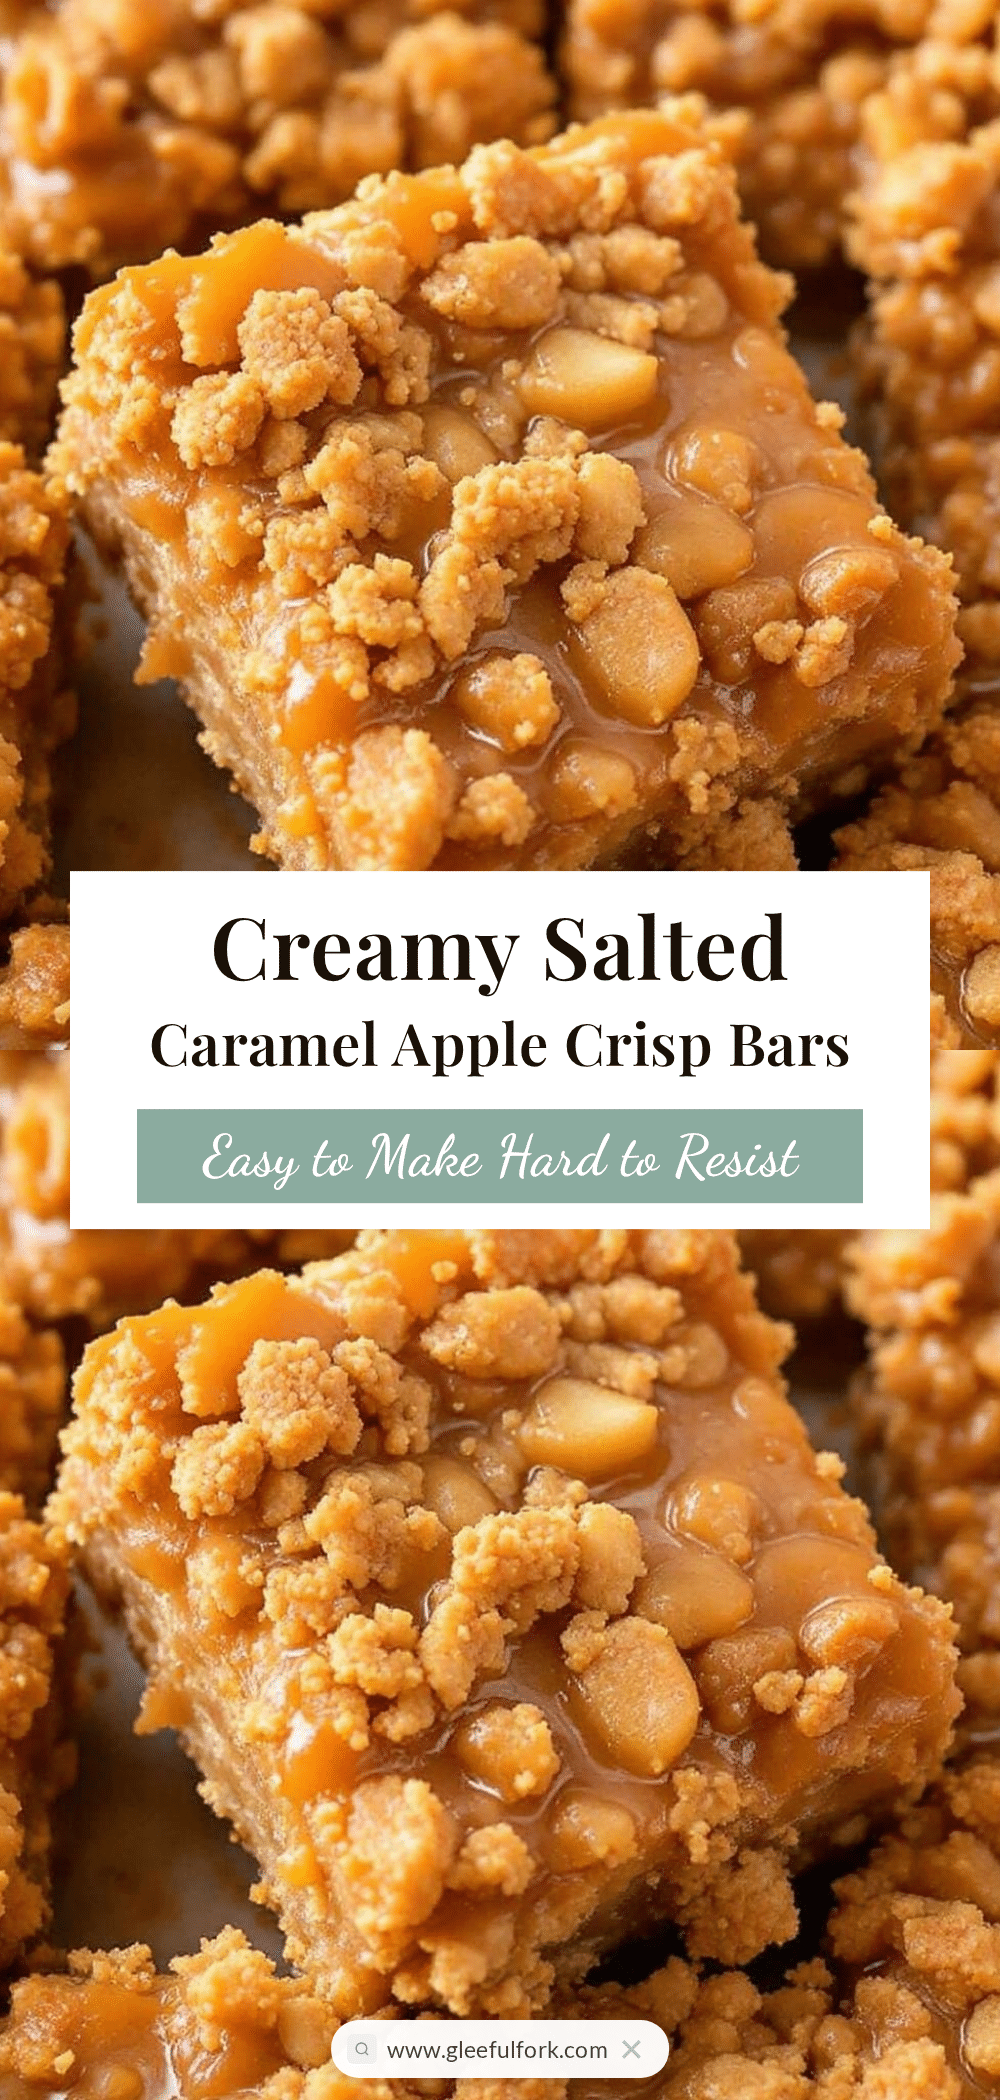
Creamy Salted Caramel Apple Crisp Bars
A rich and indulgent fall dessert featuring a buttery oat crust, tart spiced apples, and a creamy salted caramel layer stabilized with cream cheese. These bars offer a perfect balance of sweet and salty flavors with a satisfying texture contrast.
- Prep Time: 20 minutes
- Cook Time: 45 minutes
- Total Time: 65 minutes
- Yield: 12 servings 1x
- Category: Dessert
- Cuisine: American
Ingredients
- 1 ½ cups all-purpose flour
- ½ cup old-fashioned rolled oats
- ½ cup unsalted butter, cold and cubed
- ¼ cup granulated sugar
- ½ cup brown sugar, packed
- 1 tsp ground cinnamon
- ¼ tsp salt
- 3 large Granny Smith apples, peeled and thinly sliced
- 2 tbsp granulated sugar
- 1 tbsp lemon juice
- ½ tsp ground cinnamon
- 4 oz cream cheese, softened
- ¼ cup granulated sugar
- 1 tsp vanilla extract
- 1 cup store-bought salted caramel sauce
- Flaky sea salt, for garnish
Instructions
- Preheat oven to 350°F (175°C). Line a 9×13 inch baking dish with parchment paper, leaving an overhang on the sides, and lightly grease.
- In a large bowl, combine flour, oats, ¼ cup granulated sugar, brown sugar, cinnamon, and salt. Add cold cubed butter and work it in with fingers or a pastry cutter until the mixture resembles coarse sand with pea-sized clumps.
- Press half of the crumble mixture firmly into the bottom of the prepared baking dish to form the base crust.
- Toss sliced apples with 2 tbsp granulated sugar, lemon juice, and ½ tsp cinnamon. Spread evenly over the crust.
- In a medium bowl, beat softened cream cheese and ¼ cup granulated sugar until smooth. Mix in vanilla extract. Spread this layer evenly over the apples.
- Slightly warm the salted caramel sauce to make it spreadable. Drizzle over the cream cheese layer and swirl gently with a knife to create ribbons; do not mix completely.
- Sprinkle the remaining crumble mixture evenly over the caramel layer and press down gently.
- Bake for 45-50 minutes until the top is golden brown and filling is bubbly. Cover with foil if browning too quickly.
- Cool completely at room temperature for at least 2 hours, then refrigerate for at least 1 hour before cutting to ensure the bars set properly.
- Cut into squares and garnish with flaky sea salt before serving.
Notes
Do not cut the bars while warm, as the layers will fall apart. Ensure butter is cold for a flaky crust. Use firm apples like Granny Smith to prevent mushiness. The bars improve in flavor after sitting in the fridge overnight.
Nutrition
- Serving Size: 1 bar
- Calories: 375
- Sugar: 38
- Sodium: 180
- Fat: 18
- Saturated Fat: 10
- Carbohydrates: 52
- Fiber: 2
- Protein: 4
Keywords: apple crisp, salted caramel, cream cheese bars, fall dessert, easy baking, comfort food, apple dessert, caramel bars


