Love this? Save it for later!
Share the inspiration with your friends
My husband took one bite, stopped mid-chew, and just pointed at the plate with his fork. That was it—no words, just the kind of frantic, wide-eyed pointing that says you need to taste this right now. I already knew they were good, because I’d snuck one while they were cooling on the wire rack (honestly, can you blame me?). But his reaction told me these Crispy Brown Sugar Bacon-Wrapped Green Beans were more than just good—they were the kind of thing that makes people stop talking and just eat.
I wasn’t trying to reinvent the wheel when I made them. It was a Tuesday, I had a bunch of fresh green beans from the farmers’ market, and a half-opened pack of bacon in the fridge. The brown sugar part came from a happy accident—I was making my bacon-wrapped asparagus bundles and thought, why not try it with green beans and a sweet twist? So I tossed some brown sugar into the mix, crossed my fingers, and hoped for the best.
The first batch came out of the oven looking like little caramelized presents. The bacon was shatter-crisp, the sugar had turned into this sticky, glossy glaze, and the green beans inside were still bright and tender—not mushy, not raw, just right. I pulled one off the tray and the bacon crackled when I bit into it. Honestly, I stood there in the kitchen eating three more before I even plated them.
That’s the thing about this recipe. It starts with simple ingredients you probably already have, but it ends up tasting like something you’d order at a fancy restaurant and feel smug about. And when you see someone’s face light up after that first bite—well, that’s the part that keeps me coming back to the kitchen.
Why You’ll Love This Recipe
These are not your average green beans. Let me tell you why this recipe works and why it’s become my go-to for everything from holiday dinners to lazy Sunday snacking.
- Quick & Easy: You’re looking at about 10 minutes of prep and 20 minutes in the oven. That’s it. No marinating, no complicated techniques—just wrap, sprinkle, and bake.
- Simple Ingredients: Green beans, bacon, brown sugar, and a pinch of salt. If you’ve got those four things, you’re already halfway there. No specialty grocery runs required.
- Perfect for Parties: These disappear fast at potlucks, game days, and holiday gatherings. I’ve brought them to Easter brunch and Thanksgiving dinner, and they’re always the first empty platter on the table.
- Crowd-Pleaser: Kids love the sweet-salty combo. Adults love the bacon. Vegetarians? Well, okay, maybe not for them—but everyone else goes nuts.
- Unbelievably Delicious: The contrast between the crispy, candied bacon and the tender green beans is next-level. It’s like a vegetable that thinks it’s dessert.
What sets this recipe apart from other bacon-wrapped veggie recipes is the brown sugar technique. Most recipes just wrap and bake, but the sugar here does something special. It caramelizes into a thin, crackly shell around the bacon, adding this deep, almost smoky sweetness that balances the savory pork perfectly. I’ve tested this with regular bacon, thick-cut bacon, and even turkey bacon—and every single time, the brown sugar makes it better.
This is the kind of recipe that makes you feel like a kitchen genius with almost zero effort. It’s comfort food, sure, but it’s also the kind of dish that makes people ask for the recipe before they’ve even finished chewing. And honestly? That never gets old.
What Ingredients You Will Need
This recipe uses simple, everyday ingredients to create something that tastes far more complex than it is. Here’s what you’ll need and why each one matters.
- Fresh green beans (1 pound or 450g): Look for bright, crisp beans that snap when you bend them. Avoid any that are limp, wrinkled, or have brown spots. I prefer standard green beans, but haricots verts (the thinner French variety) work beautifully too—just reduce the cooking time by a couple minutes since they’re more delicate.
- Thin-cut bacon (12 ounces or 340g): This is important—use thin-cut, not thick-cut. Thick bacon takes too long to crisp up, and by the time it’s done, the green beans can overcook. I’ve had great results with Wright Brand and Oscar Mayer. If you can find applewood-smoked bacon, even better—it adds a subtle sweetness that plays nicely with the brown sugar.
- Brown sugar (⅓ cup or 65g, packed): Light or dark brown sugar both work, but dark brown sugar gives a deeper, more molasses-like flavor. Pack it firmly into your measuring cup for the right amount. Don’t use granulated sugar here—it won’t caramelize the same way and you’ll miss that sticky, candied coating.
- Salt (½ teaspoon or 3g): Go with fine sea salt or kosher salt. The bacon is already salty, so you don’t need much—just a light sprinkle to enhance the green beans. If you’re using a saltier bacon brand, you can skip this altogether.
- Black pepper (¼ teaspoon or 1g, optional): A tiny bit of freshly cracked black pepper adds a subtle warmth that cuts through the sweetness. Totally optional, but I never skip it.
- Garlic powder (¼ teaspoon or 1g, optional): This is my little secret addition. It doesn’t make the beans taste garlicky—it just rounds out the flavors and adds a savory depth that makes the whole thing more interesting.
Ingredient Substitutions:
- Green beans: You can use frozen green beans in a pinch—just thaw them completely and pat them bone-dry with paper towels before wrapping. Extra moisture will steam the bacon instead of crisping it.
- Bacon: Turkey bacon works for a lighter option, but it won’t get as crispy and the flavor is milder. If using turkey bacon, brush a tiny bit of oil on the beans before wrapping to help with browning.
- Brown sugar: Coconut sugar or maple sugar can substitute 1:1, though the caramelization will be slightly less pronounced. For a sugar-free version, try a monk fruit brown sugar blend—it works surprisingly well.
I recommend buying your green beans fresh and prepping them the same day for the best texture. If you need to prep ahead, wash and trim the beans, then store them in a paper towel-lined bag in the fridge for up to 2 days.
Equipment Needed
You don’t need a fancy kitchen to pull these off. Here’s what you’ll need:
- Baking sheet (13×18 inch or standard half-sheet pan): A rimmed baking sheet is best—it catches any sugar that drips off during baking and makes cleanup way easier. I’ve used my Nordic Ware sheet for years and it’s never let me down.
- Wire rack (fits inside the baking sheet): This is the secret to crispy bacon on all sides. The rack lifts the beans off the pan so air circulates underneath, preventing soggy bottoms. If you don’t have one, you can place the bundles directly on the pan—just flip them halfway through baking.
- Parchment paper or aluminum foil: Line your baking sheet for easy cleanup. The caramelized sugar can get sticky, and scrubbing it off a pan is no fun.
- Sharp knife or kitchen shears: For trimming the green bean ends and cutting the bacon strips in half. Shears are faster, but a knife works fine.
- Small bowl: For mixing the brown sugar, salt, and pepper together before coating.
- Tongs: For flipping the bundles halfway through baking without burning your fingers.
Budget-friendly tip: If you don’t own a wire rack, you can crumple up a few pieces of aluminum foil into small coils and place the bundles on top of them inside the pan. It’s not perfect, but it does create enough airflow to help the bottoms crisp up.
Preparation Method
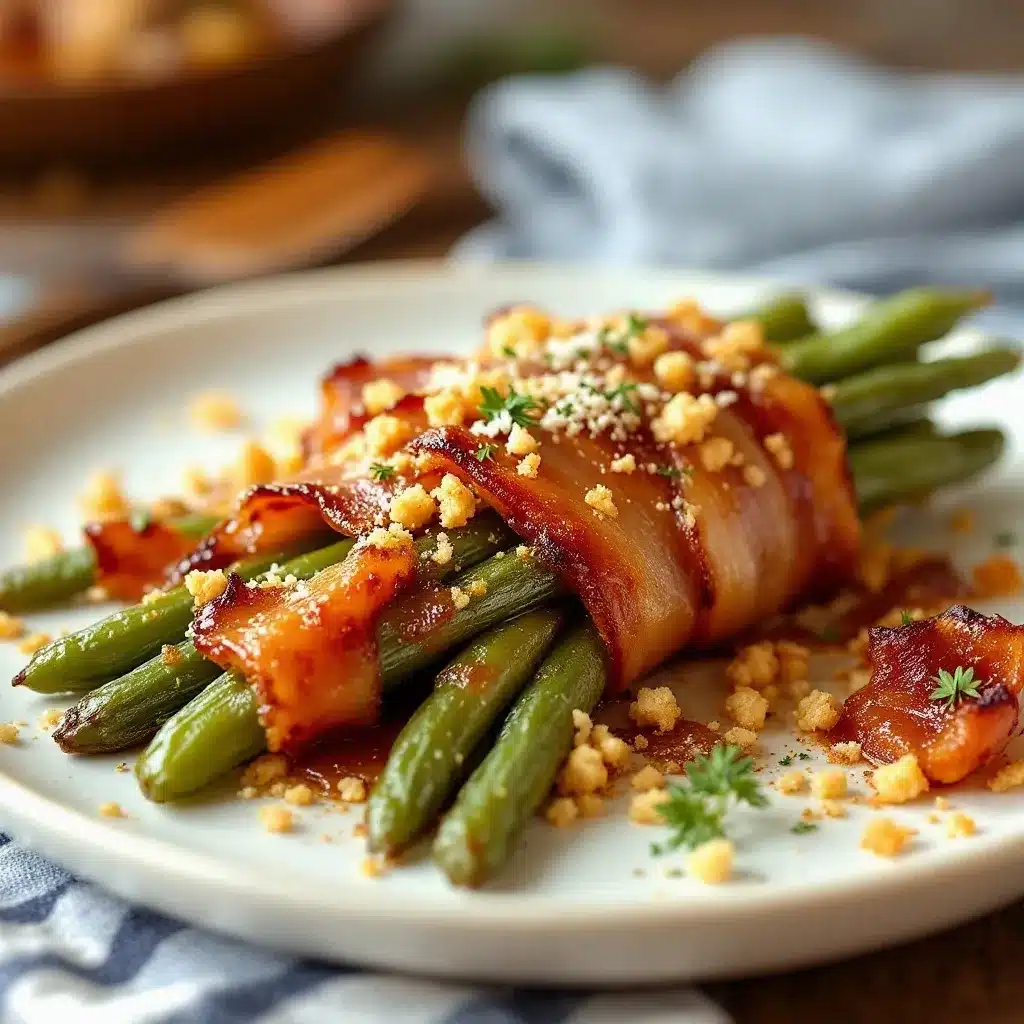
Let’s get cooking. Here’s exactly how to make these, step by step.
- Preheat your oven to 400°F (200°C). Place one rack in the middle of the oven. Line your baking sheet with parchment paper or foil, then place the wire rack on top if you’re using one.
- Prep the green beans. Rinse them under cold water and pat dry with a clean kitchen towel or paper towels. Trim off the stem ends—you can snap them off by hand or cut them in a big bunch with a knife. Leave the curly tail ends on for a rustic look. You should have about 40 to 50 individual beans depending on size.
- Prep the bacon. Lay the bacon strips flat on a cutting board and cut each strip in half crosswise. You want each piece to be about 3 to 4 inches long—just long enough to wrap around a small bundle of beans. If your bacon is very long, you can trim a little off the fatty end.
- Make the brown sugar coating. In a small bowl, combine the packed brown sugar, salt, black pepper, and garlic powder (if using). Mix with your fingers or a fork until everything is evenly distributed. The sugar should look like damp sand.
- Assemble the bundles. Gather 4 to 5 green beans together in a small bundle. Take one half-strip of bacon and wrap it snugly around the middle of the bundle. The bacon should overlap just slightly—not too tight, not too loose. Place the bundle seam-side down on the wire rack or baking sheet. Repeat with the remaining beans and bacon.
- Coat with brown sugar. Take a generous pinch of the brown sugar mixture and sprinkle it evenly over each bacon-wrapped bundle. Don’t dump it all on one spot—try to coat the exposed bacon surface. The sugar will look messy now, but it melts and evens out in the oven. Use about ½ teaspoon per bundle.
- Bake for 20 to 25 minutes. Place the baking sheet in the oven and bake for 10 minutes. After 10 minutes, use tongs to carefully flip each bundle over. Sprinkle a tiny pinch of the remaining brown sugar on the newly exposed side. Bake for another 10 to 15 minutes, until the bacon is deep golden brown and crispy, and the sugar is bubbling and caramelized.
- Check for doneness. The bacon should look dark amber and feel firm when you tap it with a fork. The green beans should be tender but still have a slight snap—not mushy. If you want them extra crispy, leave them in for 2 to 3 more minutes, but watch closely—sugar can burn fast.
- Cool and serve. Remove the baking sheet from the oven and let the bundles rest on the rack for 3 to 5 minutes. The bacon will continue to crisp as it cools. Transfer to a serving platter and serve warm.
Sensory cues: At the 10-minute mark, you should smell the bacon fat rendering and the sugar starting to caramelize—it’s a sweet, smoky, irresistible aroma. When you flip them, the bottoms should be lightly browned and the bacon should look slightly translucent around the edges. By the end, the sugar will be bubbling and dark amber, and the bacon will look glossy and tight around the beans.
My personal tip: Don’t crowd the bundles on the pan. Leave at least an inch of space between each one so the hot air can circulate. If you pack them too tightly, the bacon steams instead of crisps, and you’ll end up with sad, floppy bacon. Nobody wants that.
Cooking Tips & Techniques
I’ve made these more times than I can count, and I’ve learned a few things the hard way. Here’s what I wish someone had told me.
The bacon thickness trap. The first time I made these, I used thick-cut bacon because I thought it would be more impressive. Big mistake. The bacon took forever to cook through, and by the time it was crispy, the green beans were limp and sad. Stick with thin-cut bacon. It crisps up in the same time it takes the beans to cook, and that’s the whole point.
Don’t skip the wire rack. I know it’s an extra thing to wash, but it makes a huge difference. The rack lifts the bundles up so the heat can reach the bottoms. Without it, the bacon sits in its own rendered fat and the sugar turns into a sticky puddle underneath. If you don’t have a rack, flip the bundles halfway through and bake them directly on parchment—it’s not perfect, but it works.
Watch the sugar. Brown sugar burns faster than you think. Around the 18-minute mark, start checking every 2 minutes. You’re looking for deep amber color and bubbling sugar—not black edges or smoking. If your oven runs hot, reduce the temperature to 375°F (190°C) and bake for a few extra minutes.
Batch size matters. This recipe scales beautifully, but don’t double it on one pan. If you’re making a big batch for a party, use two baking sheets and rotate them halfway through. Overcrowding leads to steaming, and steaming leads to disappointment.
My biggest failure: I once tried to make these in an air fryer because I was impatient and didn’t want to wait for the oven to preheat. The sugar melted off the bacon and dripped onto the heating element, creating a smoky mess that set off the fire alarm. The beans were unevenly cooked and the bacon was chewy. Learn from my mistakes—stick with the oven for this one.
Timing strategy: If you’re serving these alongside a main dish, assemble the bundles up to 2 hours ahead and keep them in the fridge. Then just sprinkle the sugar on right before baking. This way you’re only 20 minutes away from serving when you pop them in the oven.
Variations & Adaptations
One of the best things about this recipe is how easy it is to change up. Here are some variations I’ve tried and loved.
Spicy Brown Sugar Bacon-Wrapped Green Beans: Add ¼ teaspoon of cayenne pepper or red pepper flakes to the brown sugar mixture. The heat cuts through the sweetness beautifully and gives the whole thing a sweet-and-spicy kick. I made these for a Super Bowl party and they were gone in 10 minutes flat.
Maple-Bacon Version: Swap the brown sugar for 3 tablespoons of pure maple syrup. Brush it onto the bacon-wrapped bundles instead of sprinkling. The maple flavor is more delicate than brown sugar, so the bacon flavor really shines through. Just be careful—maple syrup burns faster than brown sugar, so check them at the 15-minute mark.
Balsamic Glaze Finish: Skip the brown sugar altogether and bake the bacon-wrapped beans plain. When they come out of the oven, drizzle them with a good-quality balsamic glaze (the thick, syrupy kind). The tangy acidity balances the salty bacon perfectly. This version feels a little more grown-up and pairs beautifully with grilled steak or roasted chicken.
Parmesan-Crusted: After sprinkling the brown sugar, add a light dusting of finely grated Parmesan cheese on top. The cheese melts and crisps up into these amazing little crunchy bits. It adds a savory, umami layer that’s absolutely addictive. Just use real Parmesan, not the stuff in the green can.
Keto-Friendly Adaptation: Replace the brown sugar with a monk fruit-based brown sugar substitute (I like Lakanto’s golden variety). The texture and caramelization are remarkably similar, and you get the same sweet-salty magic without the carbs. The bacon still crisps up beautifully, and the green beans stay perfectly tender.
My favorite variation: I once made these with a sprinkle of everything bagel seasoning on top of the brown sugar. The sesame seeds and garlic flakes added this incredible crunch and savory pop. It sounds weird, but trust me—it works. I’ve made them that way for every party since.
Serving & Storage Suggestions
These are best served warm, right after they come out of the oven. The bacon is at its crispiest, the sugar is still glossy, and the green beans have that perfect tender-crisp texture.
Serving temperature: Serve them within 10 to 15 minutes of pulling them from the oven. They’re still delicious at room temperature (I’ve eaten plenty that way), but the bacon loses some of its shatter-crispness as they cool. If you’re serving them at a buffet, keep them on a warm plate or in a low oven (200°F) for up to 30 minutes.
Presentation ideas: Arrange the bundles in a circular pattern on a white platter, with the bacon seams facing down. Sprinkle a few fresh parsley or chives on top for color. For a holiday party, arrange them in a wreath shape with a small bowl of dipping sauce in the center—sriracha mayo or ranch dressing both work great.
What to serve with them: These bundles are incredible alongside a classic smoked brisket or a juicy grilled steak. They also work beautifully as part of a holiday spread with roasted turkey or ham. For a lighter meal, serve them with a fresh honey mustard coleslaw and some crusty bread.
Storage instructions: Leftover bundles can be stored in an airtight container in the refrigerator for up to 3 days. The bacon will soften as they sit, so don’t expect them to be as crispy as fresh-baked. To reheat, place them on a wire rack over a baking sheet and warm them in a 350°F (175°C) oven for 5 to 7 minutes. The microwave will make the bacon chewy and sad—avoid it if you can.
Freezer tips: You can freeze the assembled, unbaked bundles for up to 3 months. Arrange them on a baking sheet and freeze until solid (about 2 hours), then transfer to a freezer bag. When you’re ready to bake, place them frozen on a wire rack, sprinkle with brown sugar, and add 5 to 7 minutes to the baking time. Don’t thaw them first—they’ll get soggy.
Flavor development: Honestly, these are best fresh. The magic is in the contrast between crispy bacon and tender beans, and that doesn’t improve with time. But if you have leftovers, chop them up and toss them into a salad or a bowl of rice for an easy lunch the next day.
Nutritional Information & Benefits
Here’s the approximate nutritional breakdown for one serving (about 4 to 5 bundles, based on 6 servings total):
| Nutrient | Amount per Serving |
|---|---|
| Calories | 245 |
| Total Fat | 16g |
| Saturated Fat | 6g |
| Cholesterol | 35mg |
| Sodium | 620mg |
| Total Carbohydrates | 18g |
| Dietary Fiber | 3g |
| Sugars | 13g |
| Protein | 9g |
Health benefits of key ingredients: Green beans are a good source of vitamin C, vitamin K, and fiber. They’re also packed with antioxidants like flavonoids and carotenoids that support overall health. Bacon gets a bad rap, but it does provide protein and B vitamins—just keep portions reasonable. The brown sugar is mostly for flavor, so this isn’t a health food, but it’s a treat that includes a vegetable, so I call that a win.
Dietary considerations: This recipe is naturally gluten-free and low-carb (about 4g net carbs per serving if you use a sugar substitute). It’s not suitable for vegetarian, vegan, or dairy-free diets due to the bacon. If you’re watching your sodium intake, look for low-sodium bacon and skip the added salt in the sugar mixture.
Potential allergens: Bacon can contain sulfites and nitrates, which some people are sensitive to. Look for uncured, nitrate-free bacon if this is a concern. Other than that, this recipe is free of the top eight allergens—no dairy, eggs, nuts, soy, or wheat.
My personal take: I don’t pretend these are a health food. They’re a special occasion dish—the kind you make for holidays, parties, or when you just need something that feels indulgent. But honestly? Getting my kids to eat green beans has never been easier, and I’ll take that as a win any day.
Conclusion
These Crispy Brown Sugar Bacon-Wrapped Green Beans are the kind of recipe that makes you look like a hero with almost no effort. They’re sweet, salty, crispy, and tender all at once—and they come together in under 30 minutes with ingredients you probably already have in your kitchen.
I love this recipe because it proves that simple food, made with a little care and a few smart tricks, can be absolutely unforgettable. It’s not about fancy techniques or hard-to-find ingredients. It’s about knowing that a little brown sugar and a good wrap of bacon can turn a humble green bean into the star of the party.
I’d love to hear how these turn out for you. Did you try a variation? Did your family fight over the last one? Drop a comment below and let me know—I read every single one, and your stories honestly make my day. And if you loved these, try my bacon-wrapped asparagus bundles next—they’re the perfect side dish for any occasion.
Now go make some magic in your kitchen. You’ve got this.
Frequently Asked Questions
Can I make these ahead of time for a party?
Yes! You can assemble the bundles up to 2 hours ahead and keep them in the fridge. Just add the brown sugar right before baking. If you need to go further ahead, freeze the assembled (unsugared) bundles for up to 3 months and bake from frozen, adding 5 to 7 minutes to the cooking time.
Why did my bacon come out chewy instead of crispy?
This usually happens for one of three reasons: you used thick-cut bacon, you overcrowded the pan, or you didn’t use a wire rack. Thin-cut bacon, proper spacing, and good air circulation are the keys to crispy results. Also, make sure your oven is fully preheated before the bundles go in.
Can I use frozen green beans instead of fresh?
You can, but you need to thaw them completely and pat them bone-dry with paper towels before wrapping. Any extra moisture will steam the bacon instead of crisping it. Fresh green beans really do give the best texture here, so I recommend using them when possible.
How do I prevent the brown sugar from burning?
Keep an eye on the oven during the last 5 minutes of baking. Brown sugar burns quickly once it starts to darken. If your oven runs hot, reduce the temperature to 375°F (190°C) and bake for a few extra minutes. Using a wire rack also helps because the sugar isn’t sitting directly on the hot pan.
Can I cook these on a grill instead of in the oven?
You can, but it’s tricky. The sugar tends to drip off and cause flare-ups on the grill. If you want to try it, use indirect heat (around 375°F) and place the bundles on a piece of foil or a grill-safe pan. Watch them closely and flip halfway through. I prefer the oven for more consistent results, but the grill adds a nice smoky flavor if you’re careful.
Pin This Recipe!
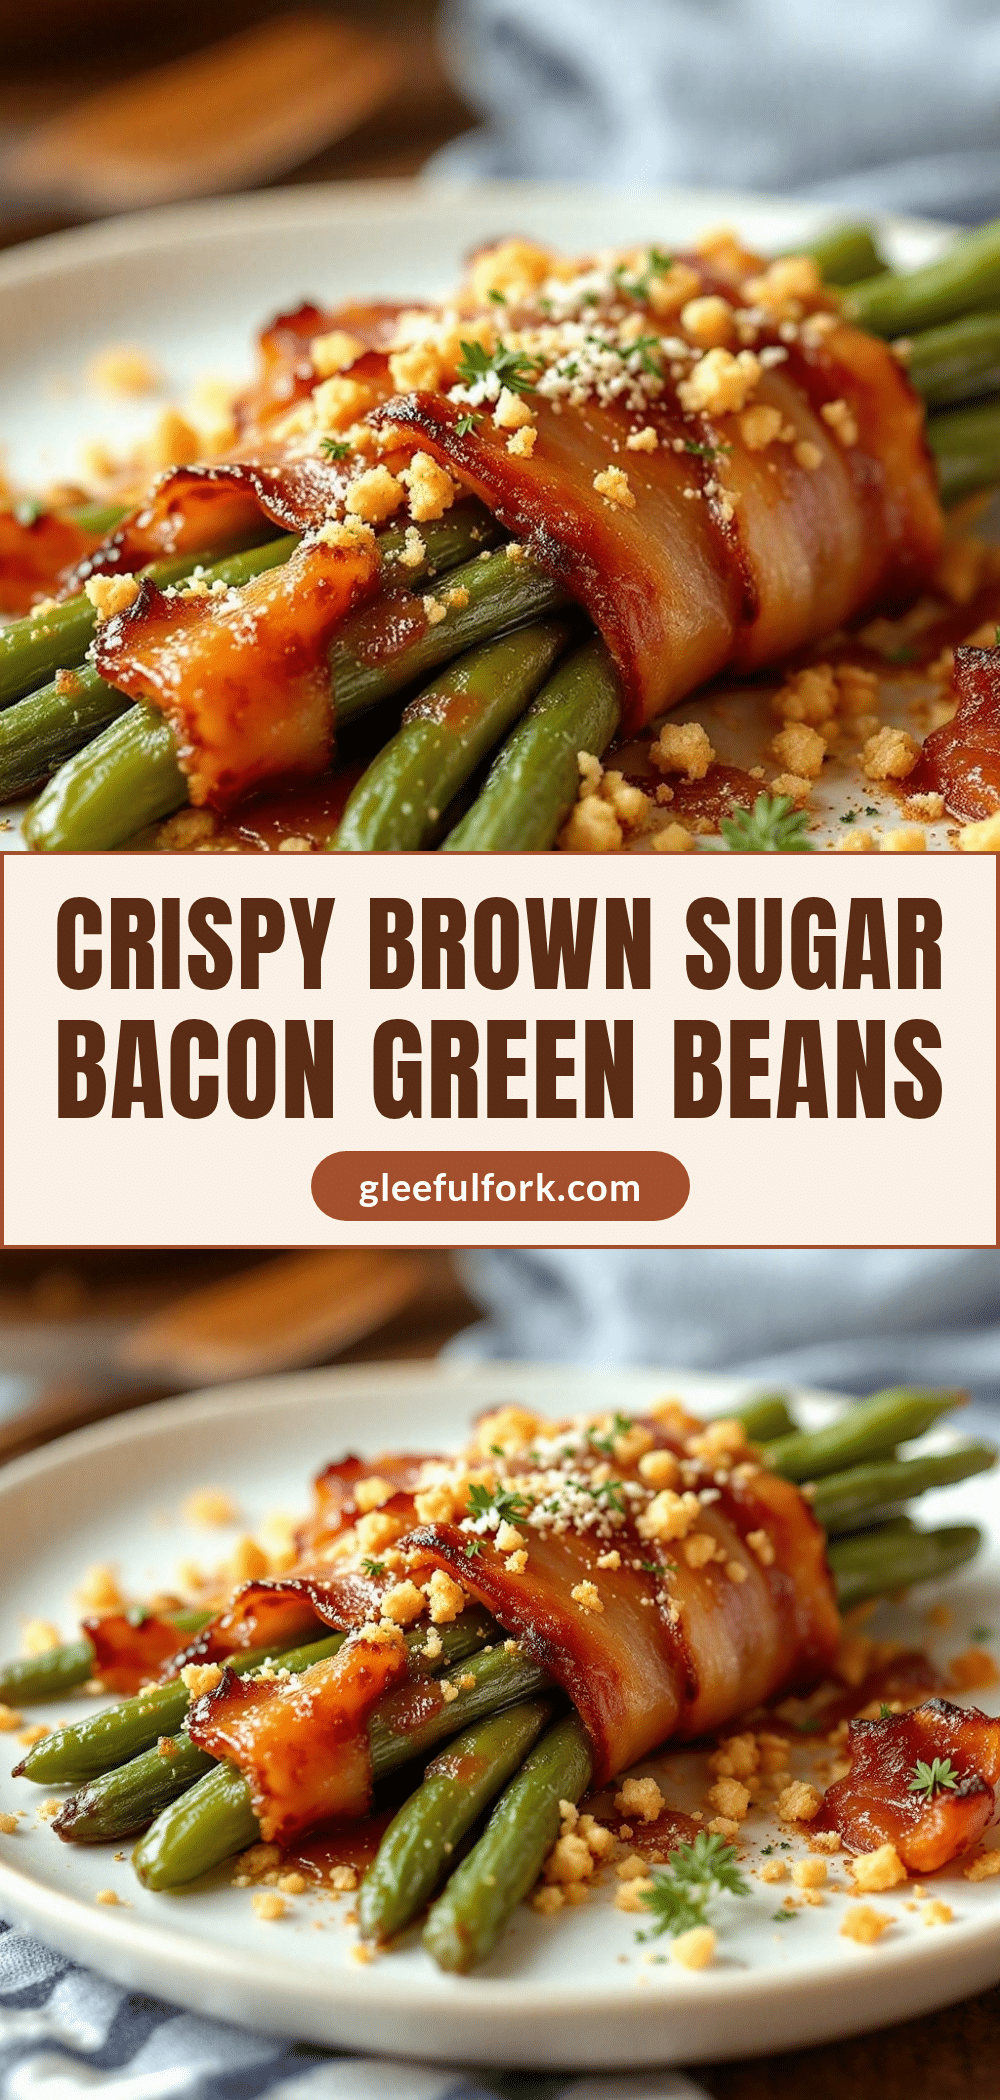
Crispy Brown Sugar Bacon-Wrapped Green Beans: Easy Appetizer

These crispy, sweet-and-salty bacon-wrapped green beans are coated in brown sugar and baked until the bacon is shatter-crisp and the beans are tender. Perfect for parties, holidays, or a quick snack.
- Prep Time: 10 minutes
- Cook Time: 20 minutes
- Total Time: 30 minutes
- Yield: 6 servings 1x
- Category: Appetizer
- Cuisine: American
Ingredients
- 1 pound (450g) fresh green beans
- 12 ounces (340g) thin-cut bacon
- ⅓ cup (65g) packed brown sugar (light or dark)
- ½ teaspoon (3g) fine sea salt or kosher salt
- ¼ teaspoon (1g) black pepper (optional)
- ¼ teaspoon (1g) garlic powder (optional)
Instructions
- Preheat oven to 400°F (200°C). Line a baking sheet with parchment paper or foil and place a wire rack on top if using.
- Rinse green beans and pat dry. Trim stem ends; leave curly tails on for a rustic look.
- Cut each bacon strip in half crosswise to make pieces about 3-4 inches long.
- In a small bowl, combine brown sugar, salt, pepper, and garlic powder (if using). Mix well.
- Gather 4-5 green beans into a bundle. Wrap one half-strip of bacon snugly around the middle, overlapping slightly. Place seam-side down on the wire rack or baking sheet. Repeat with remaining beans and bacon.
- Sprinkle a generous pinch (about ½ teaspoon) of the brown sugar mixture evenly over each bundle, coating the exposed bacon.
- Bake for 10 minutes. Flip each bundle with tongs, then sprinkle a tiny pinch of remaining sugar on the newly exposed side.
- Bake for another 10-15 minutes, until bacon is deep golden brown and crispy, and sugar is bubbling and caramelized. Check frequently after 18 minutes to prevent burning.
- Remove from oven and let rest on the rack for 3-5 minutes. The bacon will continue to crisp as it cools. Transfer to a platter and serve warm.
Notes
Use thin-cut bacon for best results; thick-cut takes too long to crisp and may overcook the beans. A wire rack is key for crispy bacon on all sides—if you don’t have one, flip the bundles halfway through baking. Watch the sugar closely in the last 5 minutes to prevent burning. Assemble bundles up to 2 hours ahead and refrigerate; add sugar just before baking. For freezing, assemble unsugared bundles, freeze on a baking sheet, then transfer to a freezer bag for up to 3 months; bake from frozen, adding 5-7 minutes to cooking time.
Nutrition
- Serving Size: 4-5 bundles
- Calories: 245
- Sugar: 13
- Sodium: 620
- Fat: 16
- Saturated Fat: 6
- Carbohydrates: 18
- Fiber: 3
- Protein: 9
Keywords: bacon wrapped green beans, brown sugar bacon wrapped green beans, crispy green beans, easy appetizer, holiday appetizer, party appetizer


