Love this? Save it for later!
Share the inspiration with your friends
Dumping a bag of mini marshmallows into a pot while a six-year-old in a crooked cat ears headband tugged at my apron and yelled “are they done yet?”—that’s where this started. It was forty-five minutes before the school Halloween party, I had promised to bring a treat, and I’d completely forgotten until I walked past the pantry and spotted that sad box of Rice Krispies shoved behind a bag of lentils.
Honestly, I almost grabbed a store-bought bag of cookies. But then I remembered the little jar of candy eyeballs I’d bought on a whim last week, sitting next to the cinnamon. And something clicked. Not a fancy, complicated click—just a simple, “oh, I can totally do this” kind of moment.
I melted the butter, stirred in the marshmallows, and watched that sticky, glorious mess come together. By the time I was pressing the mixture into the pan, my daughter had abandoned the cat ears and was carefully placing candy eyes on top, one by one, like she was decorating the world’s most edible monster collection. The whole thing took maybe fifteen minutes of active work. And when we walked into that classroom with a tray of grinning, googly-eyed treats, you’d think we’d brought a three-tiered cake.
These Easy Halloween Rice Krispie Treats with Candy Eyes became our thing after that. They’re not fancy, and they’re not trying to be. They’re just fun—the kind of recipe that makes you feel like a good parent (or a good party guest) without actually breaking a sweat. And honestly? That’s exactly the kind of recipe we all need sometimes.
Why You’ll Love This Recipe
I’ve tested this recipe more times than I can count—through sticky-fingered toddler helpers, distracted multitasking, and one memorable incident where I forgot the butter entirely (don’t do that). Every single time, these treats come out perfectly. Here’s why they’re a winner:
- Quick & Easy: From start to finish, you’re looking at about 20 minutes. That includes the time it takes to convince your kids not to eat all the candy eyes before they make it onto the treats.
- Simple Ingredients: Butter, marshmallows, Rice Krispies cereal, and candy eyes. That’s it. No obscure baking supplies, no specialty flours, no trips to three different stores.
- Perfect for Halloween Parties: Whether it’s a school event, a neighborhood gathering, or just a spooky movie night at home, these treats fit right in. They’re portable, they don’t melt, and they make people smile.
- Crowd-Pleaser: I’ve yet to meet a kid (or adult, if we’re being honest) who can resist a Rice Krispie treat. Add candy eyes, and suddenly it’s the most exciting thing on the dessert table.
- Unbelievably Fun: There’s something about those little googly eyes that transforms a simple snack into a character. My daughter named one of ours “Blinky” and refused to eat him for three days.
What makes this recipe different from every other Rice Krispie treat out there is the timing. Most recipes tell you to work fast before the mixture hardens. I’ve learned that if you let the marshmallow mixture cool just slightly—about two minutes off the heat—before stirring in the cereal, you get a much more even coating and the treats stay softer longer. It’s a tiny tweak, but it makes a real difference.
This is the recipe you turn to when you want to look like you put in effort without actually putting in effort. It’s comfort food dressed up in a Halloween costume, and it works every single time.
What Ingredients You Will Need
This recipe relies on a handful of pantry staples and one fun specialty ingredient. The beauty of it is that you probably already have most of these on hand, especially if you’ve got a kid who loves cereal and a butter dish in the fridge.
- 3 tablespoons unsalted butter – I use salted butter in a pinch (just skip the added salt), but unsalted gives you more control over the flavor. I’m partial to Land O’Lakes for consistent results, but any brand works fine. Cut it into a few pats so it melts evenly.
- 1 package (10 ounces) mini marshmallows – Standard mini marshmallows are perfect here. Jet-Puffed is my go-to brand because they melt smoothly without turning into a stringy mess. If you’re using jumbo marshmallows, you’ll need about 40 of them, and they’ll take a minute longer to melt. Avoid “miniature” marshmallows that are too tiny—they can burn before the butter fully incorporates.
- 6 cups Rice Krispies cereal – The original is best for that signature snap, but store brands work too. Just make sure it’s fresh—stale cereal will give you a sad, chewy treat instead of that light, crispy texture. If your box has been open for more than a few weeks, buy a new one.
- 1/4 teaspoon vanilla extract (optional) – This isn’t traditional, but I add it because it rounds out the sweetness and makes the treats taste more “homemade.” Pure vanilla is better than imitation, but honestly, in a recipe this simple, use what you’ve got.
- Pinch of salt (optional) – A tiny pinch of flaky sea salt (like Maldon) or just regular kosher salt cuts through the sweetness and makes the butter flavor pop. I skip it if I’m using salted butter.
- Candy eyes – You want the edible kind, not the craft store ones. Wilton makes great candy eyes that come in a little jar. You can find them at craft stores, party supply shops, or online. I buy two jars because my kids “test” them before they go on the treats. You’ll need about 30-40 for a full batch, depending on how many eyes you give each monster.
For decorating beyond the eyes, you can grab some orange and black sprinkles, a tube of black frosting gel for drawing mouths, or even some pretzel sticks for antlers. But honestly? The eyes alone are enough to make these treats unforgettable.
Equipment Needed
You don’t need a fancy kitchen to pull these off. Here’s what you’ll need:
- Large pot (4-quart or larger) – You need room to stir everything without spilling marshmallow goo onto your stovetop. A heavy-bottomed pot works best because it distributes heat evenly and reduces the chance of scorching.
- Rubber spatula or wooden spoon – Silicone spatulas are my favorite because they scrape the pot clean and don’t scratch your cookware. But a good old wooden spoon works perfectly too.
- 9×13-inch baking pan – This gives you treats that are about 3/4-inch thick—perfect for holding their shape without being too dense. If you only have an 8×8 pan, your treats will be thicker and chewier, which some people prefer.
- Parchment paper or wax paper – Line your pan with parchment, leaving some overhang on two sides. This creates “handles” that let you lift the whole block of treats out cleanly. Wax paper works in a pinch but can stick a little.
- Butter or non-stick spray – Grease your spatula and your hands generously. Trust me on this one. Marshmallow mixture sticks to everything, and there’s nothing worse than trying to press it into the pan while it clings to your fingers like a sticky monster.
- Small bowl for candy eyes – Just something to hold them while you decorate. A ramekin or a small prep bowl works great.
That’s it. No stand mixer, no food processor, no special gadgets. If you’ve got a stove and a pan, you’re in business.
Preparation Method
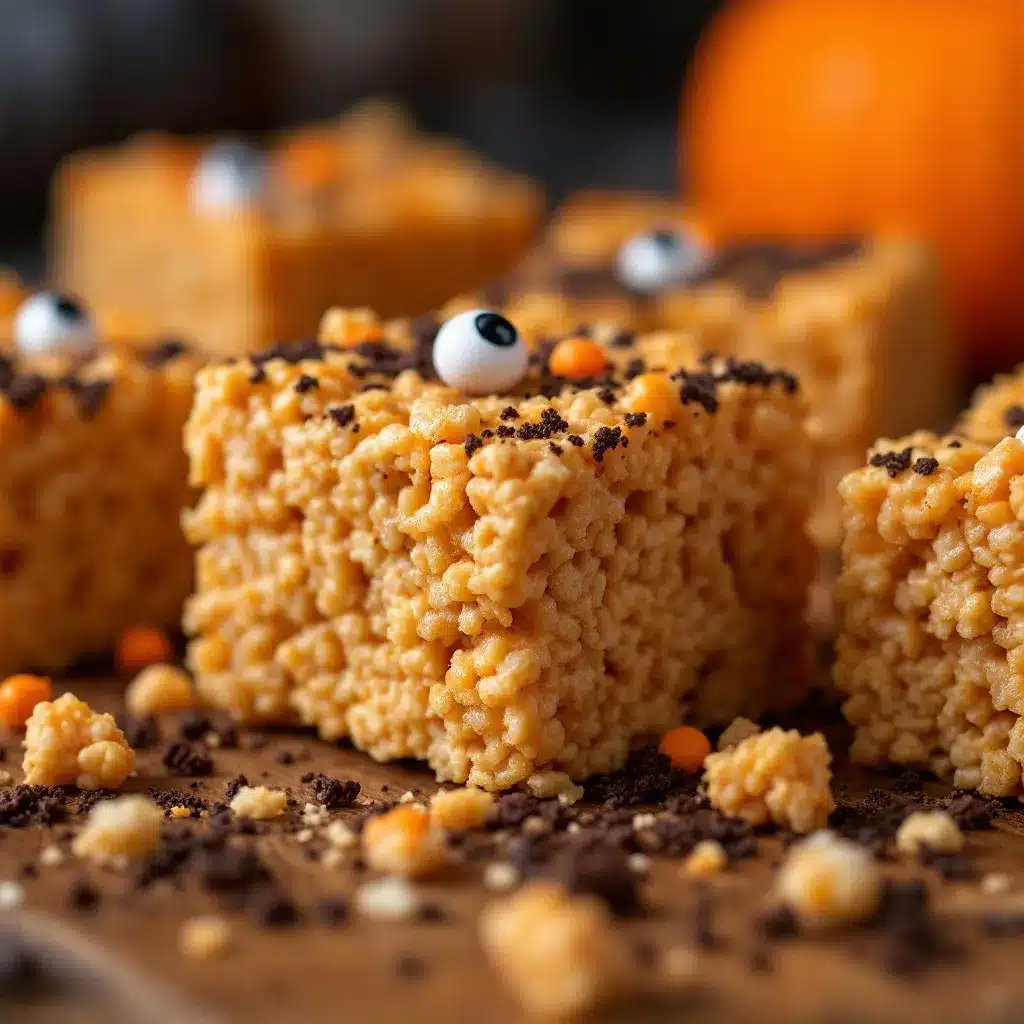
Alright, let’s get cooking. This is straightforward, but I’ve learned a few tricks along the way that make the difference between “meh” treats and “oh my gosh, can I have another?” treats.
- Prep your pan. Line a 9×13-inch baking pan with parchment paper, leaving about 2 inches of overhang on the long sides. Lightly spray the parchment with non-stick cooking spray or rub it with a thin layer of butter. Set it aside.
- Melt the butter. Place your large pot over medium-low heat. Add the 3 tablespoons of butter and let it melt slowly, swirling the pot occasionally. You want it fully melted but not bubbling or browning. If the butter starts to sizzle loudly, your heat is too high—turn it down. Burnt butter will ruin the flavor, and there’s no coming back from that.
- Add the marshmallows. Dump the entire 10-ounce bag of mini marshmallows into the pot. Stir constantly with your rubber spatula or wooden spoon. The marshmallows will start to puff up and then collapse into a smooth, gooey pool. This takes about 4-5 minutes. Keep stirring—don’t walk away. Marshmallows can go from perfectly melted to scorched in about 30 seconds.
- Remove from heat and add vanilla and salt. As soon as the marshmallows are completely smooth (no lumps!), pull the pot off the burner. Stir in the vanilla extract and the pinch of salt if you’re using them. This is also where you’d add a drop of orange food coloring if you want orange monsters—stir it in now.
- Let it cool for 2 minutes. This is my secret step. Set the pot aside and let the marshmallow mixture sit for about 2 minutes. It should still be warm and liquid, but not piping hot. If you add the cereal immediately, the treats will be hard and crunchy. If you wait too long, the mixture will set and you won’t be able to stir in the cereal evenly. Two minutes is the sweet spot.
- Add the Rice Krispies. Pour the 6 cups of cereal into the pot. Fold gently with your spatula, scraping from the bottom and turning the mixture over itself. Don’t stir vigorously—you’ll crush the cereal and end up with dense, sad treats. Fold until you don’t see any white marshmallow streaks. This should take about 30 seconds.
- Transfer to the pan. Scrape the mixture into your prepared pan. Don’t dump it all in one pile—try to spread it out as evenly as you can.
- Press it down. Here’s where the non-stick spray saves your sanity. Spray your spatula (or your hands) generously with cooking spray. Gently press the mixture into an even layer. Don’t smash it flat—you want some texture, not a brick. If you’re using your hands, work quickly because the mixture will start to stick as it cools. I usually press from the center outward, making sure the corners are filled.
- Add the candy eyes immediately. While the mixture is still warm and slightly tacky, press the candy eyes into the surface. I like to do pairs of two eyes, spaced about an inch apart, all over the top. You can make them look silly, spooky, or just plain weird. Let your inner kid take over. Press them in gently but firmly—they should sit flush with the surface, not perched on top where they’ll fall off.
- Let them set. Allow the treats to cool completely at room temperature, about 30 minutes. Don’t put them in the fridge—that can make them hard and rubbery. Once they’re fully set, use the parchment handles to lift the whole block out of the pan. Place it on a cutting board.
- Cut into squares. Use a sharp knife to cut the treats into squares. I go for 12 large squares (about 3×3 inches each) or 24 smaller ones for a party. If the knife starts to stick, spray it with a little cooking spray or run it under hot water between cuts.
Cooking Tips & Techniques
I’ve made these treats more times than I care to count, and I’ve learned a few things the hard way. Here’s what I wish someone had told me before my first attempt:
Low and slow is the rule. Medium-low heat is your friend. High heat makes marshmallows seize up and turn into a sticky, stringy mess that won’t incorporate properly. If you see steam rising aggressively from the pot, you’re too hot. Back it off.
Don’t over-stir the cereal. I know it’s tempting to keep mixing until everything looks perfect, but every fold after the marshmallow is fully incorporated just breaks the cereal down. You want those little crisp pockets, not a uniform paste. Fold 10-12 times max, then stop.
Use a wet knife for clean cuts. Run your knife under hot water and wipe it dry between each cut. The heat helps the blade slide through the sticky treats without dragging. It’s a small thing, but it makes your squares look bakery-level pretty.
One time I forgot the butter. I was rushing, distracted by a toddler who’d decided to paint her face with yogurt. I melted the marshmallows straight into a dry pot. They burned on the bottom, turned brown, and smelled like a campfire gone wrong. The treats were inedible. Don’t skip the butter—it’s not just for flavor, it’s for texture and preventing disaster.
Timing tip: If you’re making these for a party, you can prep the pan and measure the cereal ahead of time. The actual cooking takes less than 10 minutes, so you can make them right before you leave and they’ll be perfectly set by the time you arrive.
Variations & Adaptations
Once you’ve mastered the basic recipe, the fun really begins. Here are some ways I’ve tweaked these treats over the years:
- Monster Mash: Add a few drops of green or purple food coloring to the marshmallow mixture before adding the cereal. The color won’t be neon-bright (the cereal dilutes it), but you’ll get a fun, subtle tint that makes the treats look even more Halloween-y.
- Chocolate Drizzle: Melt 1/2 cup of semi-sweet chocolate chips with 1 teaspoon of coconut oil (microwave in 20-second bursts, stirring between each). Drizzle it over the finished treats before the candy eyes go on. The chocolate sets up firm and adds a rich layer of flavor. My kids call these “spider web treats.”
- Peanut Butter Monster: Stir 1/3 cup of creamy peanut butter into the marshmallow mixture right after you remove it from the heat. It adds a savory-sweet depth that’s absolutely addictive. If you’re bringing these to a school event, check for peanut allergies first.
- Gluten-Free Friendly: Rice Krispies are made from rice, so they’re naturally gluten-free. But not all brands are certified gluten-free due to cross-contamination. If you need certified GF, look for the “Gluten-Free” label on the box. I’ve also made these with Cocoa Krispies for a chocolate version—also delicious.
- Spooky Shapes: Instead of cutting squares, press the mixture into a silicone mold shaped like pumpkins, ghosts, or bats. Just spray the mold with non-stick spray first, press the mixture in firmly, and let it set completely before popping them out. This is a great option if you’re making treat bags for a class party.
I tried the peanut butter version last year for a Halloween movie night, and honestly, it might be my new favorite. The peanut butter makes the treats a little softer and gives them a subtle savory note that balances the sweetness. Just be prepared for sticky fingers—in the best way possible.
Serving & Storage Suggestions
These treats are best served at room temperature, straight from the pan or arranged on a platter. The candy eyes stay put better if you don’t stack them, so if you’re layering them in a container, put a sheet of parchment paper between each layer.
For serving: I like to arrange them on a black or orange platter for maximum Halloween vibes. You can add a few fake spider webs or plastic spiders around the edges for a fun presentation. If you’re serving them at a party, cut them into smaller squares so people can grab one without committing to a full-sized treat.
Complementary dishes: These pair beautifully with a warm mug of apple cider or a glass of cold milk. If you’re building a Halloween snack table, they go great alongside savory loaded deviled eggs with crispy bacon and jalapeño for a sweet-and-savory balance. Or serve them after a batch of crispy BBQ bacon-wrapped jalapeño poppers for the ultimate party spread.
Storage: Store leftover treats in an airtight container at room temperature. They’ll stay fresh for up to 3 days. After that, they start to get a little chewy and lose their signature crunch. Don’t refrigerate them—the cold air makes them hard and stale-tasting.
Freezing: You can freeze these treats for up to 2 months. Wrap each square individually in plastic wrap, then place them in a freezer-safe bag. Thaw at room temperature for about 30 minutes before serving. The texture won’t be quite as perfect as fresh, but they’re still delicious. I’ve frozen them for Halloween parties in November before—they hold up well.
Flavor development: These treats are actually best the day they’re made. The cereal stays crispiest, and the marshmallow is at its softest. By day two, they’ll still be good, but that fresh-from-the-pan magic fades. So eat them quickly—I know you will.
Nutritional Information & Benefits
Let’s be honest—these are a treat, not a health food. But here’s a rough breakdown for one large square (based on 12 servings per batch):
- Calories: 185
- Fat: 6g
- Saturated Fat: 3.5g
- Carbohydrates: 33g
- Sugar: 18g
- Protein: 1.5g
- Sodium: 135mg
On the bright side, Rice Krispies are fortified with iron and B vitamins, so there’s that. The butter provides a small amount of vitamin A. And honestly? Sometimes the benefit of a recipe isn’t in the nutrition label—it’s in the way it brings people together. These treats make kids laugh, make parents feel accomplished, and make Halloween parties a little more magical. That counts for something.
If you’re looking for a lower-sugar option, you can use a sugar-free marshmallow brand (they exist, though the texture is slightly different). But for a once-a-year Halloween treat, I say go all out. Life’s too short for sad, healthy candy.
Conclusion
These Easy Halloween Rice Krispie Treats with Candy Eyes have become a non-negotiable part of our October. They’re the recipe I turn to when I need a guaranteed win—something that takes almost no effort but makes everyone smile. My daughter now insists on being the official “eye placer,” and honestly, I wouldn’t have it any other way.
What I love most about this recipe is that it’s a blank canvas. You can make them as simple or as elaborate as you want. One batch can be green monsters with chocolate drizzle, another can be orange pumpkins with pretzel stem antlers. The possibilities are endless, and the mess is minimal.
I’d love to see how yours turn out! Drop a comment below and tell me what creative twists you tried—did you add sprinkles? Use different colored eyes? Turn them into spiders with pretzel legs? Share your photos and tag me so I can see your spooky creations. And if you’re looking for another easy Halloween treat, try these firecracker cheesecake bars for a show-stopping dessert that’s still simple to make.
Happy Halloween, and may your treats be crispy, your eyes be googly, and your kitchen stay (mostly) clean!
Frequently Asked Questions
Can I use jumbo marshmallows instead of mini marshmallows?
Yes, you can. You’ll need about 40 jumbo marshmallows to replace one 10-ounce bag of minis. They take a little longer to melt, so be patient and stir constantly. The end result is the same, so use whatever you have on hand.
Why did my Rice Krispie treats turn out hard and crunchy?
This usually happens when you add the cereal to the marshmallow mixture while it’s still too hot, or when you press the mixture too firmly into the pan. Let the marshmallow mixture cool for 2 minutes off the heat before adding the cereal, and press gently—don’t smash. Also, make sure you’re using fresh cereal. Stale cereal won’t soften properly.
Can I make these treats ahead of time?
Absolutely. You can make them up to 2 days in advance. Store them in an airtight container at room temperature. Don’t refrigerate them, or they’ll get hard. If you’re making them more than 2 days ahead, freeze them instead. Thaw at room temperature for 30 minutes before serving.
Are candy eyes safe to eat?
Yes, as long as you buy edible candy eyes from a reputable brand. Look for them in the baking aisle of craft stores or party supply shops. Wilton and other baking brands make them specifically for decorating. Do not use craft store eyes that are not labeled as edible—those are not food-safe.
Can I use a different cereal instead of Rice Krispies?
Yes! You can use Cocoa Krispies, Fruity Pebbles, or even a generic crisp rice cereal. Just keep in mind that different cereals have different textures and sweetness levels. Cocoa Krispies will give you a chocolatey treat, while Fruity Pebbles will add a bright, fruity flavor and color. Adjust the marshmallow quantity slightly if needed—some cereals are more absorbent than others.
Pin This Recipe!
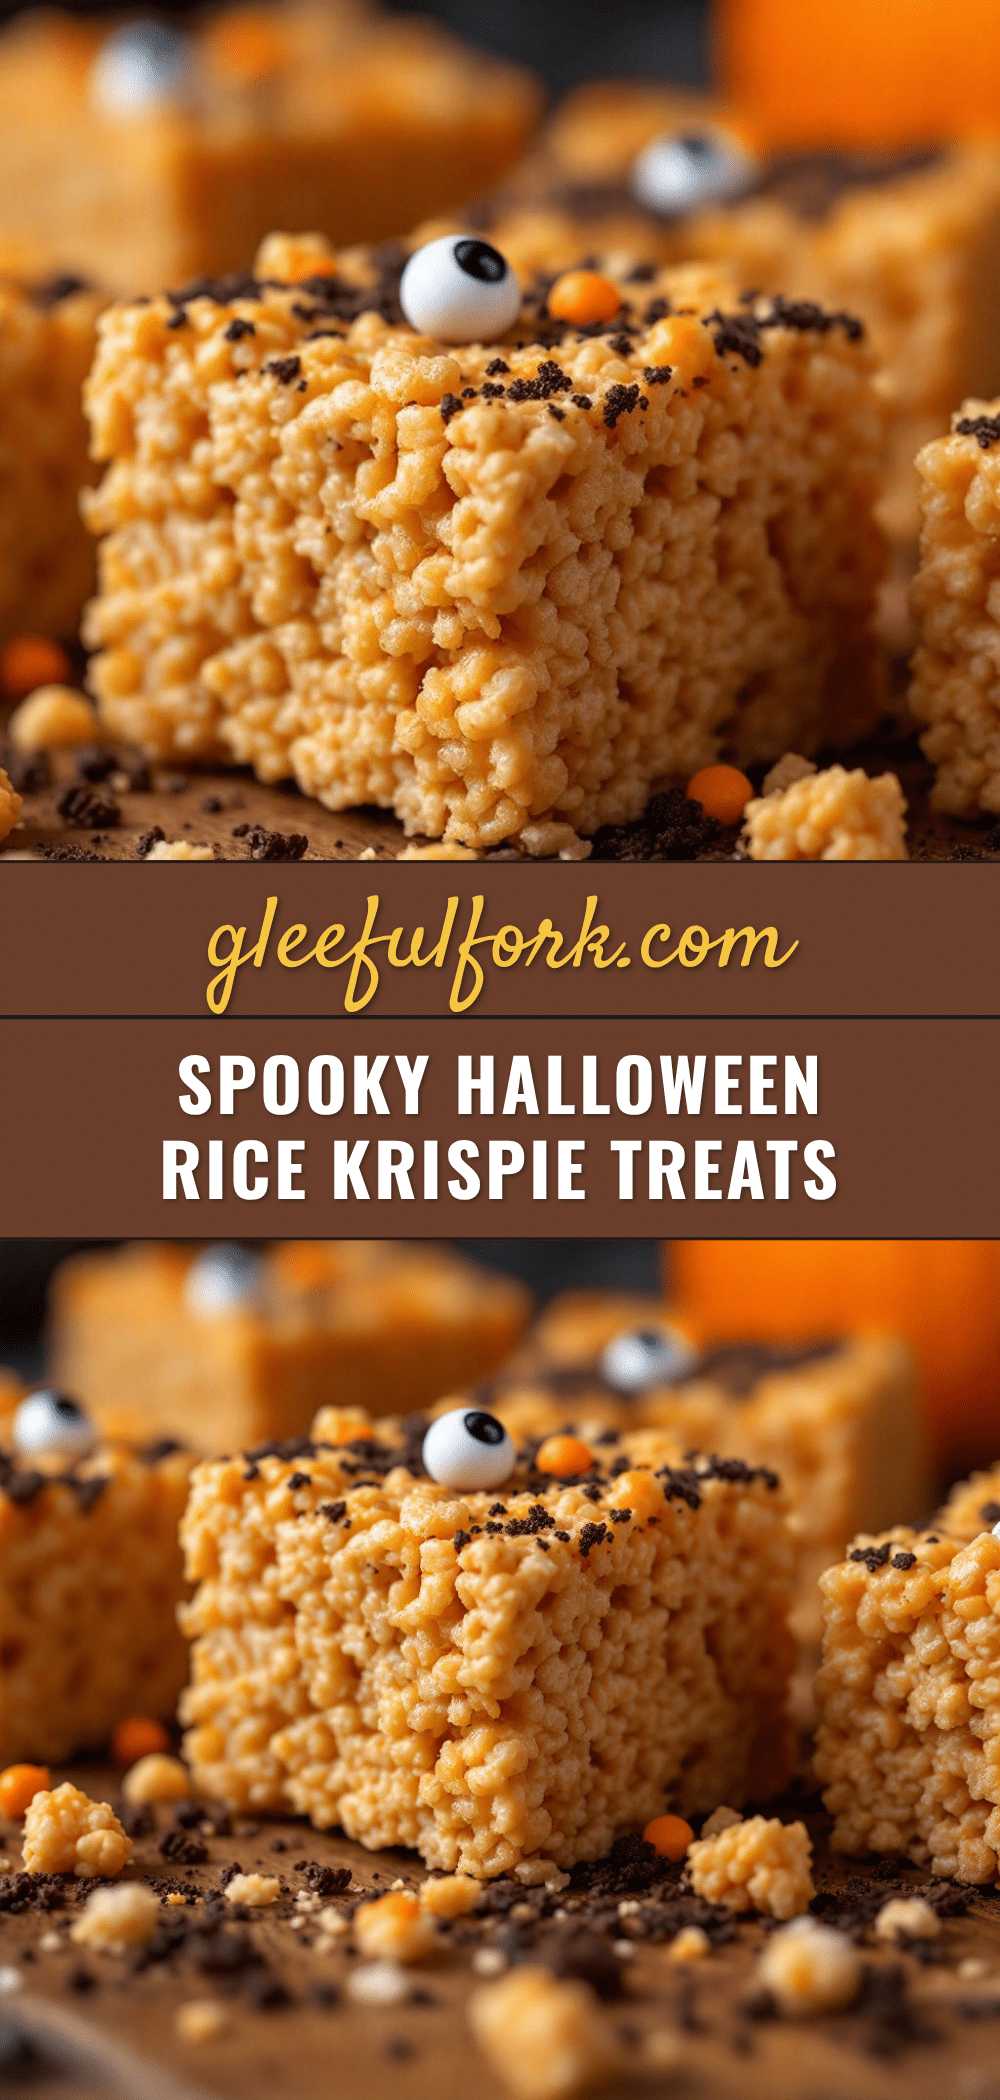
Easy Halloween Rice Krispie Treats With Candy Eyes
Quick and easy Halloween Rice Krispie treats topped with googly candy eyes. A fun, no-fuss recipe that’s perfect for school parties, Halloween gatherings, or spooky movie nights.
- Prep Time: 5 minutes
- Cook Time: 10 minutes
- Total Time: 45 minutes
- Yield: 12 servings 1x
- Category: Dessert
- Cuisine: American
Ingredients
- 3 tablespoons unsalted butter
- 1 package (10 ounces) mini marshmallows
- 6 cups Rice Krispies cereal
- 1/4 teaspoon vanilla extract (optional)
- Pinch of salt (optional)
- Candy eyes (about 30-40)
Instructions
- Prep your pan. Line a 9×13-inch baking pan with parchment paper, leaving about 2 inches of overhang on the long sides. Lightly spray the parchment with non-stick cooking spray or rub it with a thin layer of butter. Set it aside.
- Melt the butter. Place your large pot over medium-low heat. Add the 3 tablespoons of butter and let it melt slowly, swirling the pot occasionally. You want it fully melted but not bubbling or browning.
- Add the marshmallows. Dump the entire 10-ounce bag of mini marshmallows into the pot. Stir constantly with your rubber spatula or wooden spoon. The marshmallows will start to puff up and then collapse into a smooth, gooey pool. This takes about 4-5 minutes.
- Remove from heat and add vanilla and salt. As soon as the marshmallows are completely smooth (no lumps!), pull the pot off the burner. Stir in the vanilla extract and the pinch of salt if you’re using them.
- Let it cool for 2 minutes. Set the pot aside and let the marshmallow mixture sit for about 2 minutes. It should still be warm and liquid, but not piping hot.
- Add the Rice Krispies. Pour the 6 cups of cereal into the pot. Fold gently with your spatula, scraping from the bottom and turning the mixture over itself. Fold until you don’t see any white marshmallow streaks. This should take about 30 seconds.
- Transfer to the pan. Scrape the mixture into your prepared pan. Try to spread it out as evenly as you can.
- Press it down. Spray your spatula (or your hands) generously with cooking spray. Gently press the mixture into an even layer. Don’t smash it flat—you want some texture.
- Add the candy eyes immediately. While the mixture is still warm and slightly tacky, press the candy eyes into the surface. Press them in gently but firmly.
- Let them set. Allow the treats to cool completely at room temperature, about 30 minutes. Don’t put them in the fridge.
- Cut into squares. Use a sharp knife to cut the treats into squares. I go for 12 large squares (about 3×3 inches each) or 24 smaller ones for a party.
Notes
Let the marshmallow mixture cool for 2 minutes off the heat before adding the cereal for a more even coating and softer treats. Don’t over-stir the cereal to keep the treats light and crispy. Use a wet knife for clean cuts.
Nutrition
- Serving Size: 1 large square
- Calories: 185
- Sugar: 18
- Sodium: 135
- Fat: 6
- Saturated Fat: 3.5
- Carbohydrates: 33
- Protein: 1.5
Keywords: Halloween treats, Rice Krispie treats, candy eyes, easy dessert, no-bake, kid-friendly, party snack


