Love this? Save it for later!
Share the inspiration with your friends
My nephew Leo, who is four, announced last October that he wanted to make a “spooky treat” for his preschool Halloween party. Not a costume, not a craft—a treat. He was very specific. I had been looking for a dessert that actually looked like something you’d find in a witch’s kitchen but didn’t require any actual baking. The kind of thing a kid could help with without me worrying about a hot oven or a stand mixer. For a while, I just accepted that Halloween desserts for little hands meant store-bought cookies or candy bags. That felt a little flat.
Then I remembered dirt cups. The ones we used to make in the 90s, with chocolate pudding and crushed Oreos, topped with a gummy worm peeking out. (I am not exaggerating—I made these at a sleepover in fourth grade and thought I was a culinary genius.) The version I make now is even simpler. Seven ingredients. No heat required if you use pre-made pudding cups, though I prefer making the pudding from a box because it tastes better. The whole thing comes together in about fifteen minutes of active time.
The dirt cups ended up being the hit of the party. Leo told everyone he was the “worm farmer.” I watched a room full of four-year-olds giggle at the sight of gummy worms crawling out of chocolate “dirt,” and I realized this was one of those recipes that just sticks. Not because it’s fancy. Because it’s fun. And honestly, sometimes that’s the whole point.
Why You’ll Love This Recipe
- Quick and Easy : Comes together in about 15 minutes of active time. The hardest part is crushing the cookies, which kids love to do.
- Seven Simple Ingredients : No fancy shopping trips. You probably have most of this in your pantry right now.
- Perfect for Halloween Parties : Classroom celebrations, trunk-or-treats, or a spooky movie night at home.
- Crowd-Pleaser : Kids devour these. Adults sneak them, too. I have seen it happen.
- No-Bake and Kid-Friendly : Zero oven time. Little hands can help with every step—crushing, stirring, layering.
What makes this recipe different from the rest is the texture. I use a specific ratio of pudding to crushed cookies so you get that real “dirt” feel—not too wet, not too dry. The gummy worms stay chewy, and the pudding stays creamy. It’s not just another version. It’s the one that makes you smile before you even take a bite.
This is the kind of dessert that turns a regular October afternoon into a memory. It’s comfort food for the Halloween season—silly, sweet, and completely satisfying.
What Ingredients You Will Need
This recipe uses simple, pantry-friendly ingredients to create a dessert that looks complicated but isn’t. Each component plays a role in the texture and the visual effect.
For the Pudding Base
- 1 (3.9-ounce) box instant chocolate pudding mix (I prefer Jell-O brand for consistent texture. The cook-and-serve kind won’t set the same way, so stick with instant.)
- 2 cups cold whole milk (Whole milk gives the creamiest result. You can use 2% in a pinch, but the pudding will be slightly thinner. For a dairy-free version, use oat milk or full-fat coconut milk.)
For the Dirt Layer
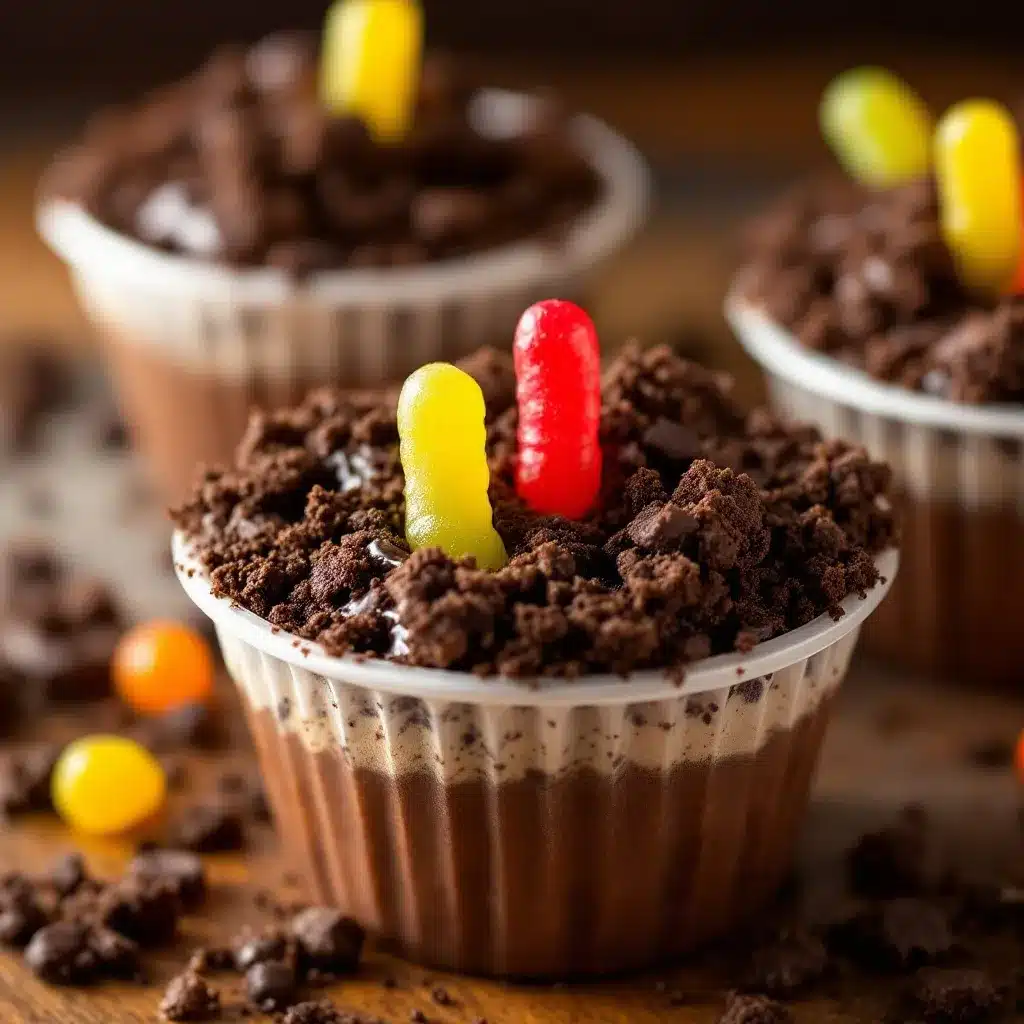
- 15 chocolate sandwich cookies (Oreos are the classic choice. Remove the cream filling if you want a darker “dirt” color. I leave it in because it adds a little sweetness and texture.)
For the Topping and Garnish
- 1 cup frozen whipped topping, thawed (Cool Whip or a store brand works fine. You can also use homemade whipped cream if you prefer.)
- 12 gummy worms (I use sour gummy worms for a tangy contrast. Regular ones work, too. Look for the kind that are long and flexible so they look like they are crawling out of the dirt.)
- Optional: 1 tablespoon chocolate shavings or crushed graham crackers (For extra “dirt” texture on top. Not necessary, but it looks nice.)
Ingredient Notes
You can find gummy worms in the candy aisle at most grocery stores. I like the Trolli brand sour worms because they hold their shape well and don’t get too sticky. If you are making these ahead of time, wait to add the gummy worms until just before serving so they don’t soften too much.
Equipment Needed
- 6 small clear cups or glasses (4-ounce to 6-ounce size works best. Clear cups let you see the layers, which is half the fun. I use small mason jars or plastic party cups.)
- Mixing bowl and whisk (For the pudding. A hand whisk works fine.)
- Ziploc bag and rolling pin (For crushing the cookies into fine crumbs. A food processor works, too, but the bag method is more fun for kids.)
- Measuring cups and spoons
- Spatula or spoon (For layering.)
- Small offset spatula or butter knife (Optional, for smoothing the whipped topping.)
If you don’t have a rolling pin, use the bottom of a heavy skillet or a wine bottle. I have done this many times. It works perfectly.
Preparation Method
- Make the pudding. In a medium mixing bowl, whisk together the instant chocolate pudding mix and 2 cups cold whole milk. Whisk for about 2 minutes until the mixture thickens. It will look thin at first, then suddenly it will set. Let it sit for 5 minutes to fully firm up. (If you are using a dairy-free milk, it may take an extra minute to thicken.)
- Crush the cookies. Place 15 chocolate sandwich cookies in a large Ziploc bag. Seal the bag, pressing out as much air as possible. Use a rolling pin to crush the cookies into fine crumbs. You want some tiny pieces and a little bit of powder—like real dirt. Let the kids help with this part. It is very satisfying.
- Prepare the cups. Set out 6 clear cups or glasses. Spoon about 2 tablespoons of the crushed cookie crumbs into the bottom of each cup. This is the first “dirt” layer. Gently press it down with the back of a spoon.
- Add the pudding layer. Spoon about ¼ cup of the chocolate pudding over the cookie crumbs in each cup. Spread it evenly with the back of the spoon. Tap the cup gently on the counter to settle the pudding.
- Add the whipped topping. Spoon about 2 tablespoons of thawed whipped topping over the pudding layer. Smooth it gently with a small offset spatula or the back of a spoon. This layer helps the “dirt” stick and adds a creamy contrast.
- Top with the remaining cookie crumbs. Sprinkle the remaining crushed cookies evenly over the whipped topping. Use about 1 to 2 tablespoons per cup. You want a thick, even layer that completely covers the white whipped topping. This is the final “dirt” layer.
- Add the gummy worms. Gently push 2 gummy worms into the top of each cup so they look like they are crawling out of the dirt. Leave part of the worm visible. I like to curl one worm over the edge of the cup for a playful effect.
- Chill before serving. Refrigerate the dirt cups for at least 30 minutes before serving. This lets the layers set and the flavors meld. If you are making them more than a few hours ahead, wait to add the gummy worms until just before serving so they stay chewy.
Cooking Tips & Techniques
I have made these dirt cups probably a dozen times, including one memorable occasion where I forgot to chill the pudding and ended up with soup. Here is what I learned.
Use instant pudding, not cook-and-serve. Cook-and-serve pudding requires heat and takes longer to set. Instant pudding sets in the fridge quickly, which is the whole point of a no-bake dessert. I learned this the hard way when I grabbed the wrong box at the store.
Crush the cookies finely but not to dust. You want some texture. A few larger crumbs are fine—they add to the “dirt” look. If you pulverize them completely, the texture gets a little one-note. I use a rolling pin and stop when I see a mix of fine crumbs and small pieces.
Let the pudding sit for the full 5 minutes. I know it is tempting to rush, but the pudding needs that time to set properly. If you layer it too soon, it will be runny and the layers will blend together.
Don’t skip the whipped topping layer. It acts as a barrier between the pudding and the cookie crumbs. Without it, the crumbs get soggy within an hour. The whipped topping keeps them crunchy.
Add the gummy worms right before serving. If you add them too early, they absorb moisture from the pudding and whipped topping and become soft and sticky. I add them within 30 minutes of serving for the best texture.
Multitask while the pudding sets. While the pudding is chilling, crush the cookies and set up your cups. This saves time and keeps the process smooth.
Variations & Adaptations
Dairy-Free Version
Use a dairy-free instant chocolate pudding mix (some brands are accidentally vegan) and swap the milk for oat milk or full-fat coconut milk. Use a dairy-free whipped topping like CocoWhip. The texture will be slightly different, but it still works beautifully.
Peanut Butter Cup Dirt Cups
Add a layer of peanut butter between the pudding and the whipped topping. Use about 1 teaspoon per cup, spread into a thin layer. The salty peanut butter pairs perfectly with the chocolate. I tried this on a whim one afternoon and it is now my favorite variation.
Spider Web Dirt Cups
For a different Halloween look, skip the gummy worms and pipe a spider web on top of the whipped topping using melted white chocolate or a thin drizzle of caramel syrup. Add a plastic spider on top. This is great if you have kids who are scared of worms (yes, that is a real thing).
Gluten-Free Version
Use gluten-free chocolate sandwich cookies. Several brands make them, and they taste almost identical. The rest of the ingredients are naturally gluten-free, so this is an easy swap.
Pumpkin Patch Dirt Cups
For a fall twist, replace the gummy worms with small candy pumpkins or candy corn. Use orange and green sprinkles on top for a “patch” look. This works for Thanksgiving, too.
Serving & Storage Suggestions
Serve these dirt cups chilled, straight from the fridge. The contrast between the cold, creamy pudding and the crunchy cookie crumbs is the whole point. I like to present them on a tray with a few extra gummy worms scattered around for a dramatic effect.
These pair well with a warm drink like hot apple cider or a pumpkin spice latte. For a kids’ party, serve them alongside crispy BBQ bacon-wrapped jalapeño poppers for a sweet-and-savory spread. They also work beautifully after a meal of crispy beer can chicken with bold Cajun dry rub—the smoky flavors balance the sweetness.
Storage: Store assembled dirt cups (without gummy worms) in the refrigerator, covered, for up to 3 days. The cookie crumbs will soften slightly over time, but they still taste good. Add the gummy worms just before serving.
Freezing: I do not recommend freezing these. The pudding and whipped topping will separate when thawed, and the texture becomes grainy.
Reheating: These are served cold. No reheating needed.
The flavors develop nicely after a few hours in the fridge. The pudding gets creamier, and the cookie crumbs absorb a little moisture, which some people actually prefer. If you like a crunchier texture, add a fresh layer of crushed cookies on top just before serving.
Nutritional Information & Benefits
Here are the approximate nutritional values per serving (1 dirt cup, based on 6 servings):
- Calories: 290
- Fat: 12g
- Saturated Fat: 6g
- Carbohydrates: 42g
- Sugar: 30g
- Protein: 5g
- Fiber: 1g
- Sodium: 320mg
This is a treat, not a health food, and that is okay. The milk and pudding provide a small amount of calcium and protein. The gummy worms are pure sugar, but they add fun and texture. If you want to lighten it up, use reduced-fat milk and a light whipped topping. You can also use sugar-free pudding mix to cut the sugar in half.
For those with dietary restrictions: This recipe contains dairy and gluten. See the variations section for dairy-free and gluten-free adaptations. Gummy worms often contain gelatin, so they are not vegetarian or vegan. Look for vegan gummy worms if needed.
Conclusion
These Easy Halloween Dirt Cups with Gummy Worms are the kind of recipe that makes you feel like a hero with almost no effort. Seven ingredients. Fifteen minutes of work. A result that makes kids squeal and adults smile. That is a win in my book.
I love this recipe because it is pure, unapologetic fun. It is not trying to be fancy or sophisticated. It is chocolate pudding with crushed cookies and a gummy worm sticking out of it. And honestly, that is exactly what Halloween dessert should be.
I hope you make these with someone you love—a kid, a friend, or just yourself on a cozy October evening. Customize them however you like. Add sprinkles. Use different candy. Make them your own.
If you try this recipe, I would love to hear about it. Leave a comment below or tag me in your photos. Happy Halloween, friends. Go make some dirt.
Frequently Asked Questions
Can I use homemade chocolate pudding instead of instant?
Yes, you can use homemade chocolate pudding. Just make sure it is fully chilled and thickened before layering. Homemade pudding is often thinner than instant, so let it set in the fridge for at least 2 hours before assembling the cups.
How far ahead can I make these dirt cups?
You can assemble the cups (without the gummy worms) up to 2 days in advance. Store them covered in the refrigerator. Add the gummy worms within 30 minutes of serving so they stay chewy and don’t get soggy.
What if I don’t have clear cups?
You can use any small cup or bowl. Clear cups are best because they show off the layers, but the taste is the same no matter what you use. Small mason jars, ramekins, or even paper cups work fine.
Can I use a different type of cookie?
Absolutely. Chocolate wafer cookies, gluten-free chocolate cookies, or even crushed chocolate graham crackers work well. The key is to use a dark chocolate cookie that resembles dirt. Avoid vanilla or golden cookies—they won’t look right.
How do I keep the gummy worms from getting sticky?
Add the gummy worms just before serving. If you add them too early, the moisture from the pudding and whipped topping will soften them. For the best texture, wait until you are ready to serve, then push them into the dirt layer.
Pin This Recipe!
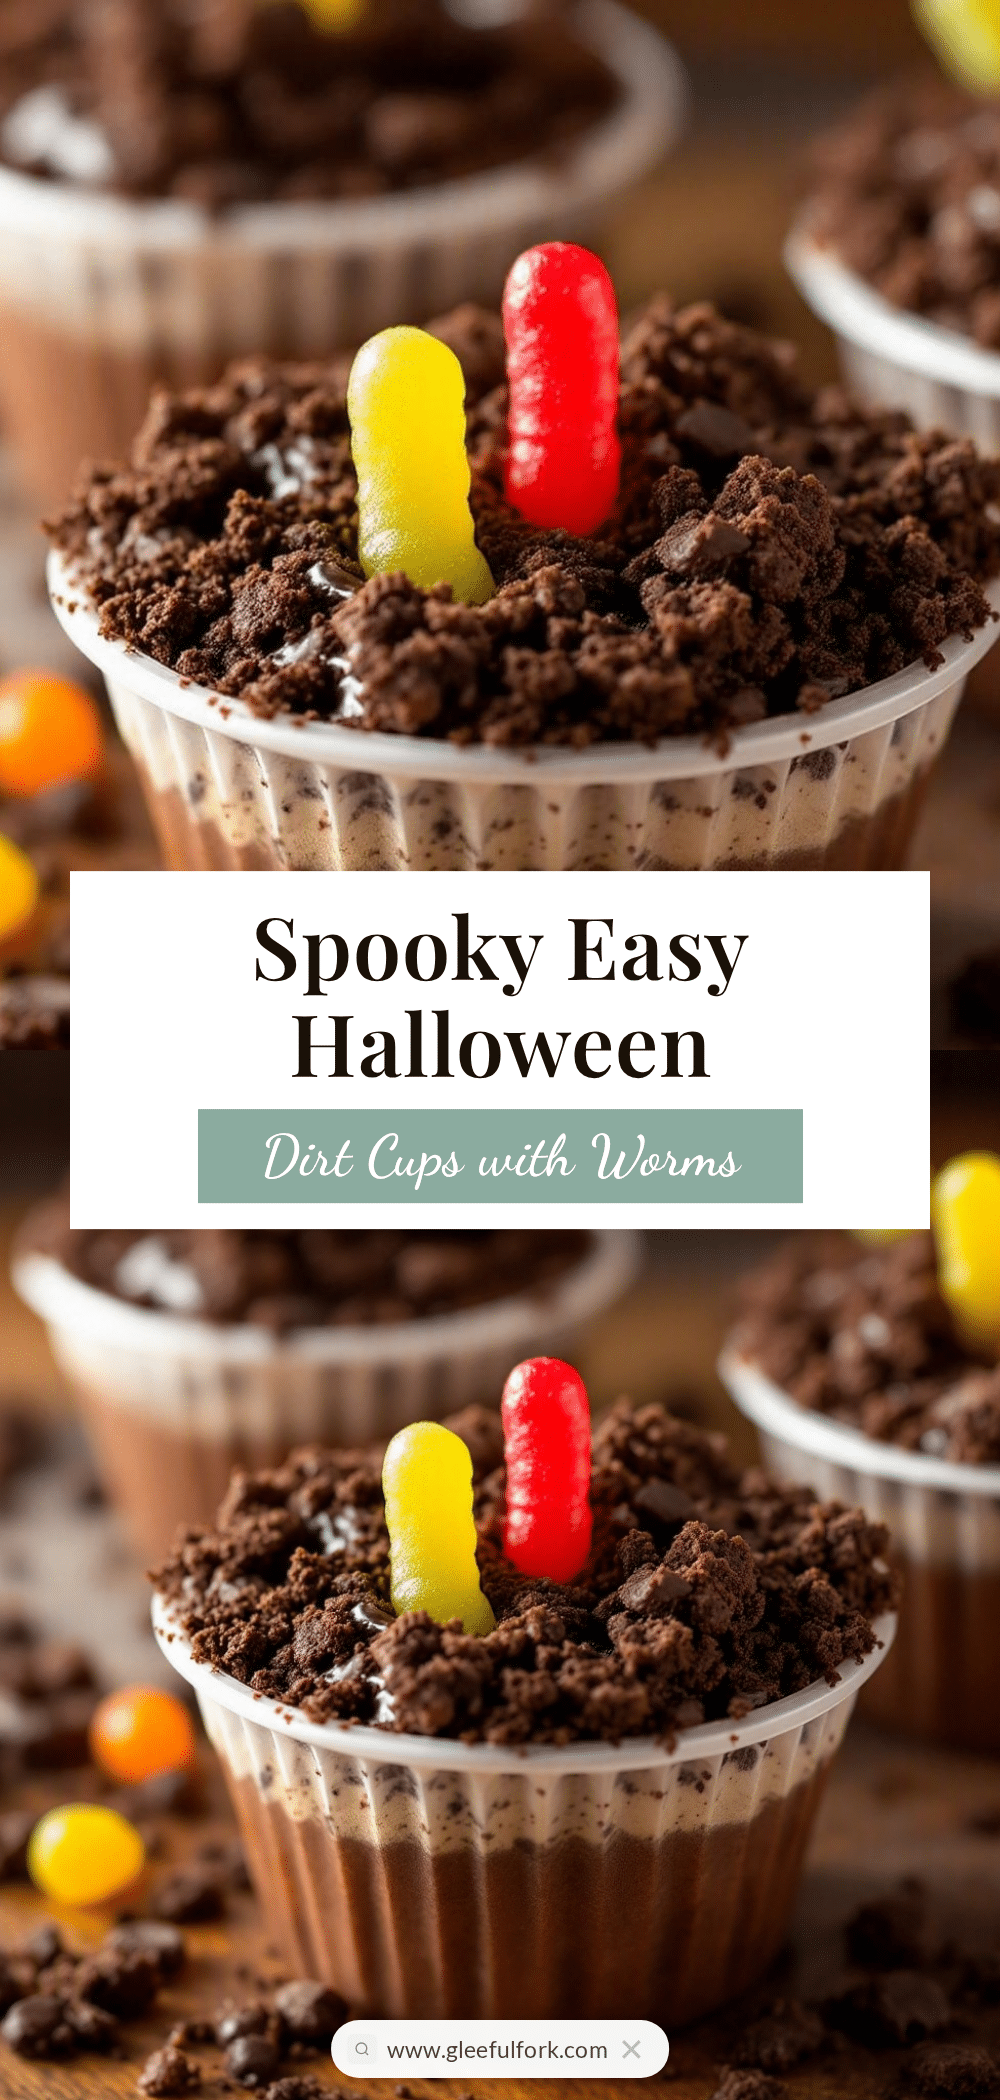
Easy Halloween Dirt Cups with Gummy Worms (7 Ingredients)

These no-bake dirt cups are made with chocolate pudding, crushed Oreos, and gummy worms for a fun and spooky Halloween treat that kids love to help make.
- Prep Time: 15 minutes
- Cook Time: 0 minutes
- Total Time: 45 minutes
- Yield: 6 servings 1x
- Category: Dessert
- Cuisine: American
Ingredients
- 1 (3.9-ounce) box instant chocolate pudding mix
- 2 cups cold whole milk
- 15 chocolate sandwich cookies (e.g., Oreos)
- 1 cup frozen whipped topping, thawed
- 12 gummy worms
- Optional: 1 tablespoon chocolate shavings or crushed graham crackers
Instructions
- In a medium mixing bowl, whisk together the instant chocolate pudding mix and 2 cups cold whole milk. Whisk for about 2 minutes until the mixture thickens. Let it sit for 5 minutes to fully firm up.
- Place 15 chocolate sandwich cookies in a large Ziploc bag. Seal the bag, pressing out as much air as possible. Use a rolling pin to crush the cookies into fine crumbs.
- Set out 6 clear cups or glasses. Spoon about 2 tablespoons of the crushed cookie crumbs into the bottom of each cup. Gently press it down with the back of a spoon.
- Spoon about ¼ cup of the chocolate pudding over the cookie crumbs in each cup. Spread it evenly with the back of the spoon. Tap the cup gently on the counter to settle the pudding.
- Spoon about 2 tablespoons of thawed whipped topping over the pudding layer. Smooth it gently with a small offset spatula or the back of a spoon.
- Sprinkle the remaining crushed cookies evenly over the whipped topping. Use about 1 to 2 tablespoons per cup. You want a thick, even layer that completely covers the white whipped topping.
- Gently push 2 gummy worms into the top of each cup so they look like they are crawling out of the dirt. Leave part of the worm visible.
- Refrigerate the dirt cups for at least 30 minutes before serving. If making more than a few hours ahead, wait to add the gummy worms until just before serving.
Notes
Use instant pudding, not cook-and-serve. Crush cookies finely but not to dust. Let pudding sit for full 5 minutes. Don’t skip whipped topping layer. Add gummy worms right before serving. Multitask while pudding sets.
Nutrition
- Serving Size: 1 dirt cup
- Calories: 290
- Sugar: 30
- Sodium: 320
- Fat: 12
- Saturated Fat: 6
- Carbohydrates: 42
- Fiber: 1
- Protein: 5
Keywords: Halloween dirt cups, gummy worms, no-bake dessert, chocolate pudding, Oreo dirt cups, kid-friendly Halloween treat


