Love this? Save it for later!
Share the inspiration with your friends
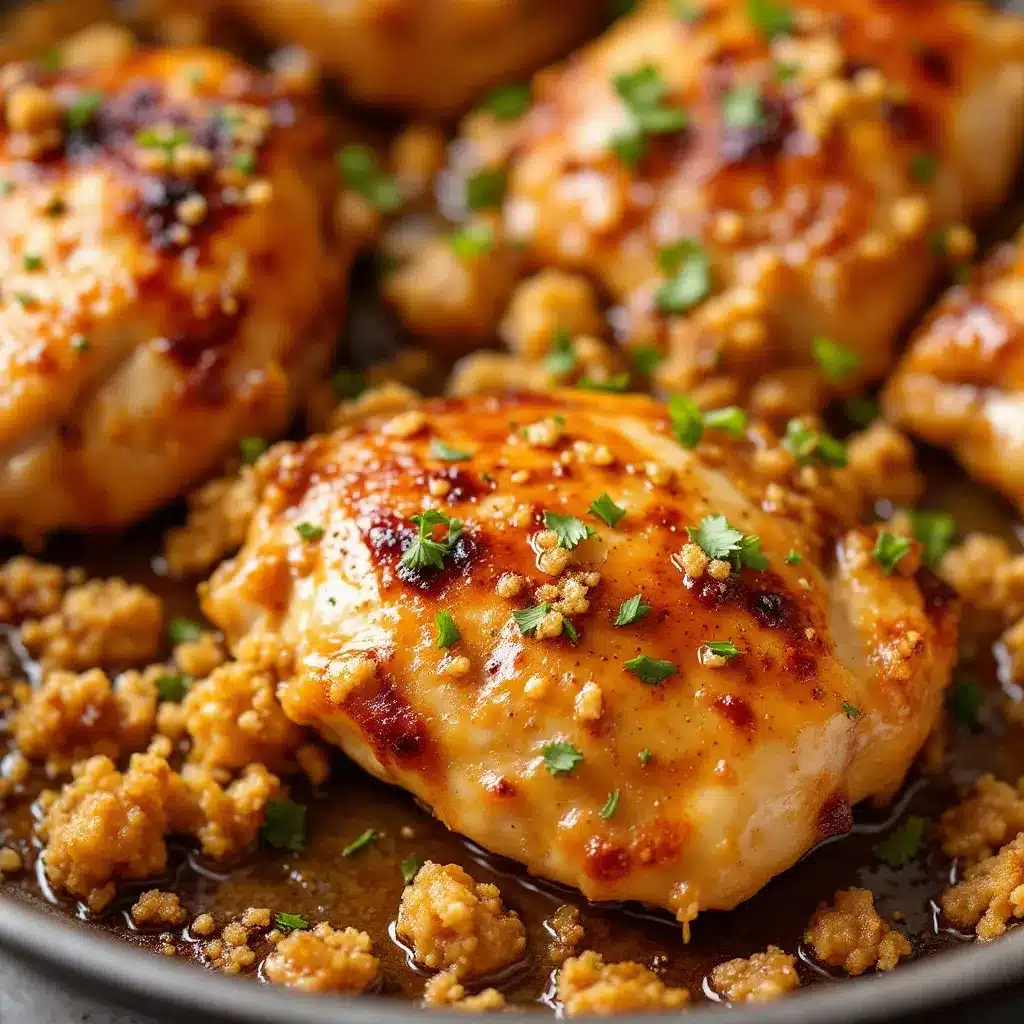
The glossy, almost lacquered sheen on these honey garlic chicken thighs is what I made this for — everything else is secondary. That deep amber glaze catching the light, so thick it barely drips off the spoon, clinging to every ridge of crisped skin like it knows exactly what it’s doing. I stood over the pan for a solid minute just tilting it back and forth, watching the sauce pool and slide, before I even thought about serving it.
Honestly, I stumbled into this one-pan honey garlic chicken situation on a Tuesday night when my fridge was down to chicken thighs, a half-empty jar of honey, and garlic that was starting to sprout. Not exactly inspiring. But I was tired — the kind of tired where even takeout feels like too much effort — and I needed something that would come together without a lot of thinking. So I threw these thighs in a hot skillet, let them get good and brown (because let’s face it, that’s where the flavor lives), and started building the sauce right in the same pan.
I didn’t have a plan. I just kept adding things that made sense — a splash of soy sauce here, a squeeze of lemon there — and somehow, it worked. Better than worked. The kind of dinner that makes you forget you were exhausted twenty minutes ago. That’s the thing about easy one-pan honey garlic chicken thighs: they don’t ask for much, but they deliver like they’ve been in the oven for hours. The sauce reduces into this sticky, savory-sweet coating that feels fancy but comes from stuff you probably already have. And the clean-up? One pan. That’s it.
This recipe stuck because it proved something I keep forgetting: you don’t need a complicated plan to make a memorable meal. Sometimes you just need a hot pan, a little patience, and the willingness to trust your instincts.
Why You’ll Love This Recipe
I’ve made these easy one-pan honey garlic chicken thighs more times than I can count, and every single time, someone asks for the recipe. That’s not me bragging — that’s just the kind of reaction this dish gets. It’s one of those rare recipes that checks every box without trying too hard.
- Quick & Easy : From fridge to table in about 35 minutes. No marinating, no complicated steps, no standing over the stove stirring for ages.
- Simple Ingredients : Honey, soy sauce, garlic, chicken thighs, and a few pantry staples. That’s it. No fancy grocery runs required.
- Perfect for Busy Weeknights : This is the dinner you make when you’re short on time but still want something that feels like a real meal — not a sad bowl of cereal.
- Crowd-Pleaser : I’ve served these to picky kids, skeptical in-laws, and friends who swear they don’t like chicken thighs. Empty plates all around.
- Unbelievably Delicious : The sauce caramelizes into this sticky, glossy glaze that’s equal parts savory and sweet. It’s the kind of flavor that makes you scrape the pan with a spoon after everyone’s left the table.
What makes this version different from the hundreds of honey garlic chicken recipes out there? Two things. First, I don’t sear the thighs and then transfer them to a baking dish — everything happens in one skillet, which means the sauce reduces right around the chicken and gets intensely concentrated. Second, I add a touch of apple cider vinegar at the end. It sounds weird, I know, but that little hit of acidity cuts through the sweetness and keeps the whole thing from feeling cloying. It’s a trick I picked up from making crispy garlic butter grilled street corn — that same balance of rich and bright.
This is the kind of recipe that makes you close your eyes after the first bite. It’s comfort food reimagined — faster, simpler, but with the same soul-soothing satisfaction. Perfect for impressing guests without stress, or turning a random Tuesday into something worth remembering.
What Ingredients You Will Need
This recipe uses simple, wholesome ingredients to deliver bold flavor and satisfying texture without the fuss. Most of these are pantry staples you probably already have, which is exactly the point.
- Bone-in, skin-on chicken thighs (6-8 thighs, about 2.5 lbs) — These are non-negotiable for the best results. The skin crisps up beautifully in the pan, and the bone keeps the meat juicy. If you must use boneless skinless thighs, reduce cooking time by about 8 minutes and expect less crispy skin.
- Honey (1/3 cup) — Use a good quality honey here. I prefer a mild wildflower honey, but any liquid honey works. Avoid honey that’s crystallized or too thick, as it won’t incorporate as smoothly into the sauce.
- Soy sauce (1/4 cup) — Regular soy sauce, not low-sodium. The saltiness balances the honey. If you’re gluten-free, tamari or coconut aminos work beautifully. I’ve tested both, and tamari gives the closest flavor.
- Garlic (6 cloves, minced) — Fresh garlic only, please. Pre-minced jarred garlic has a different flavor profile and won’t give you the same aromatic punch. Trust me on this one — I learned the hard way.
- Apple cider vinegar (2 tablespoons) — This is my secret ingredient. It brightens the sauce and keeps it from being one-note sweet. You can substitute rice vinegar or white wine vinegar in a pinch.
- Chicken broth (1/4 cup) — Adds depth and helps deglaze the pan after searing. Use low-sodium if you’re watching salt intake.
- Olive oil (2 tablespoons) — For searing. Avocado oil works too, but I like the subtle flavor olive oil adds.
- Salt and black pepper — To taste. Go easy on the salt since the soy sauce adds plenty.
- Optional garnish : Fresh parsley, sesame seeds, sliced green onions — these aren’t essential, but they make the dish look restaurant-worthy in about ten seconds.
One thing I’ve learned from years of testing: don’t skip patting the chicken thighs dry with paper towels before seasoning. That step makes the difference between decent crispy skin and absolutely crackling, golden-brown skin. It’s a small thing, but it matters.
If you’re looking for a side that pairs perfectly with these saucy thighs, I highly recommend a fresh honey mustard coleslaw — the tangy crunch is a wonderful contrast to the rich, sticky chicken.
Equipment Needed
This is one of those rare recipes where you barely need anything beyond the basics. Here’s what you’ll need:
- Large heavy-bottomed skillet (12-inch) — Cast iron is ideal for even heat distribution and that perfect sear, but a stainless steel or non-stick pan works fine. Just make sure it’s oven-safe if you’re finishing the chicken in the oven (though this stovetop version doesn’t require it).
- Tongs — For flipping the chicken without piercing the skin. A spatula works too, but tongs give you more control.
- Measuring cups and spoons — This recipe isn’t super fussy, but accurate measurements help the sauce come out right.
- Small bowl — For whisking together the sauce ingredients before adding them to the pan.
- Sharp knife and cutting board — For mincing garlic and prepping any garnishes.
I’ve made this in a cheap non-stick skillet from the grocery store and in my prized cast iron pan, and honestly? Both worked great. The cast iron gave a slightly better sear, but the non-stick version was easier to clean. If you’re using stainless steel, just be prepared for a bit more sticking — deglazing with the broth takes care of most of it.
Preparation Method
- Prep the chicken (5 minutes). Pat the chicken thighs dry with paper towels — this is crucial for crispy skin. Season generously on both sides with salt and pepper. Don’t be shy with the seasoning; the skin needs it.
- Heat the pan (2 minutes). Place your skillet over medium-high heat and add the olive oil. Let it get hot — you should see it shimmer, but not smoke. A drop of water should sizzle instantly when it hits the pan.
- Sear the chicken (12-14 minutes). Place the chicken thighs skin-side down in the hot pan. Don’t crowd them — work in batches if needed. Let them cook undisturbed for 6-7 minutes until the skin is deep golden brown and crispy. Flip and cook for another 5-6 minutes on the other side. The chicken should be cooked through (internal temperature of 165°F) or close to it at this point.
- Remove the chicken and make the sauce (3 minutes). Transfer the seared thighs to a plate and pour off all but about 1 tablespoon of the rendered fat. Reduce heat to medium. Add the minced garlic and cook for 30 seconds until fragrant — don’t let it burn, or it’ll turn bitter. Pour in the chicken broth and scrape up any browned bits from the bottom of the pan with a wooden spoon. This is called deglazing, and it’s where a ton of flavor lives.
- Build the glaze (2 minutes). Whisk together the honey, soy sauce, and apple cider vinegar in your small bowl. Pour this mixture into the pan and stir to combine. Let it bubble and thicken for about 2 minutes — it should reduce slightly and look glossy.
- Return the chicken to the pan (5 minutes). Place the chicken thighs back in the skillet, skin-side up. Spoon some of the sauce over the tops. Let everything simmer together for 4-5 minutes, basting occasionally with the sauce. The sauce will continue to reduce and thicken into a sticky glaze.
- Rest and serve (5 minutes). Remove from heat and let the chicken rest in the pan for 5 minutes. This allows the juices to redistribute and the sauce to set up a bit more. Garnish with fresh parsley, sesame seeds, or sliced green onions if using.
A few notes from personal experience: If your sauce seems too thin at the end, don’t panic. Just let it simmer for another minute or two while the chicken rests on a plate — it’ll thicken as it reduces. Also, if you notice the sauce getting too dark or starting to stick toward the end, add a splash of water or broth to loosen it up. Every stovetop runs a little differently, so trust your eyes more than the timer.
For a complete meal that comes together just as easily, try serving these thighs alongside a fresh cowboy caviar — the bright, acidic flavors are a fantastic counterpoint to the rich honey garlic glaze.
Cooking Tips & Techniques
After making these easy one-pan honey garlic chicken thighs probably fifty times (not exaggerating), I’ve picked up a few tricks that make a real difference.
Don’t move the chicken too early. This is the most common mistake I see. When you put chicken skin-side down in a hot pan, it needs time to develop that golden crust. If you try to flip it after 3 minutes and it’s sticking, it’s not ready. Wait until the skin releases naturally — usually around 6-7 minutes. I learned this the hard way after peeling half the skin off a batch and ending up with sad, patchy thighs.
Watch the garlic like a hawk. Minced garlic goes from fragrant to burnt in about 15 seconds. I’ve ruined more sauces than I care to admit by walking away at the wrong moment. Add the garlic, stir it constantly, and have your liquids ready to pour in immediately.
Let the sauce do its thing. The glaze will look thin when you first add the chicken back to the pan. That’s fine. As it simmers, the honey caramelizes and the sauce reduces into this incredible sticky coating. Don’t rush this step — those last few minutes are where the magic happens.
Use a meat thermometer if you’re unsure. Chicken thighs are forgiving (they stay juicy even if slightly overcooked), but 165°F is the safe zone. I usually pull them at 160°F and let carryover cooking do the rest while they rest.
Batch searing matters. If your pan is too crowded, the chicken will steam instead of sear. Cook in two batches if needed. It takes a few extra minutes but makes a huge difference in texture.
One failure I’ll never forget: I once tried to double the sauce recipe thinking more is always better. It didn’t reduce properly and ended up watery and thin. Stick to the proportions — they’re designed to reduce to exactly the right consistency.
Variations & Adaptations
This recipe is surprisingly flexible. Here are some variations I’ve tested and loved:
- Spicy Honey Garlic Chicken : Add 1/2 teaspoon of red pepper flakes or a minced Thai chili along with the garlic. The heat cuts through the sweetness beautifully. I make this version when I’m cooking just for myself.
- Garlic Lovers Version : Double the garlic to 12 cloves. Yes, really. Roast half of them whole alongside the chicken for a milder, sweeter garlic flavor, and mince the rest for the sauce. It’s intense but incredible.
- Lemon Honey Garlic : Replace the apple cider vinegar with fresh lemon juice and add a teaspoon of lemon zest to the sauce. The citrus brightens everything up and makes it feel lighter — perfect for spring or summer.
- Low-Sodium Option : Use low-sodium soy sauce or coconut aminos, and reduce the salt in the seasoning. The flavor will still be robust, just less salty.
- Oven-Finished Version : After searing and making the sauce, transfer the skillet to a 400°F oven for 15-20 minutes instead of finishing on the stovetop. This gives you a slightly more caramelized glaze and lets you walk away completely.
I once made a maple version by swapping the honey for maple syrup (because I ran out of honey mid-recipe). It was different — less floral, more woodsy — but honestly, it was still delicious. Don’t be afraid to experiment.
Serving & Storage Suggestions
These easy one-pan honey garlic chicken thighs are best served hot, straight from the pan, with plenty of sauce spooned over the top. The glaze is the star, so don’t skimp on it.
What to serve with them: Rice is the classic choice — white, brown, or jasmine all work. The rice soaks up that extra sauce beautifully. Mashed potatoes are also fantastic, especially if you’re feeling indulgent. For something lighter, steamed broccoli or a simple green salad balances the richness. I’m particularly fond of serving them with a fresh probiotic cucumber salad — the cool, tangy crunch is a perfect contrast.
Storage: Leftovers keep well in an airtight container in the refrigerator for up to 4 days. The sauce will thicken as it cools, almost like a jelly. Don’t worry — it loosens up when reheated.
Reheating: The best way to reheat is in a skillet over medium-low heat with a splash of water or broth to thin the sauce. Cover the pan to keep the chicken moist. Microwave works in a pinch, but the skin won’t be as crispy. I’ve also reheated them in a 350°F oven for about 10 minutes with good results.
Freezing: These freeze well for up to 3 months. Let them cool completely, then transfer to a freezer-safe container with the sauce. Thaw overnight in the refrigerator before reheating. The texture of the skin won’t be quite as crisp after freezing, but the flavor holds up beautifully.
One thing I’ve noticed: the flavors actually meld and deepen overnight. Leftovers the next day are often even better than the fresh version — the garlic mellows, the honey soaks in, and everything becomes more cohesive.
Nutritional Information & Benefits
Here’s the approximate nutritional breakdown per serving (based on 6 servings, using bone-in skin-on thighs):
| Nutrient | Amount per Serving |
|---|---|
| Calories | 385 |
| Protein | 28g |
| Fat | 22g |
| Saturated Fat | 6g |
| Carbohydrates | 18g |
| Fiber | 0g |
| Sugar | 16g |
| Sodium | 680mg |
Chicken thighs are a great source of protein, iron, and B vitamins, especially B12 and niacin, which support energy metabolism. The skin does add fat, but it’s also where most of the flavor lives — and honestly, a little fat keeps you full and satisfied.
This recipe is naturally gluten-free if you use tamari or coconut aminos instead of soy sauce. It’s not low-carb due to the honey, but you can reduce the honey to 1/4 cup if you’re watching sugar intake. The apple cider vinegar adds a probiotic-friendly touch, though cooking does reduce its live culture content.
From a wellness perspective, this is the kind of meal that feels indulgent but isn’t actually that heavy. It’s real food — protein, healthy fats, minimal processed ingredients — that happens to taste like comfort. That’s a win in my book.
Conclusion
These easy one-pan honey garlic chicken thighs have become my go-to answer for the question everyone asks: “What should I make for dinner?” They’re fast enough for a Tuesday, fancy enough for company, and forgiving enough for beginner cooks. The glaze caramelizes into something that tastes like you spent hours on it, when really, it’s just honey, soy sauce, garlic, and a little patience.
What I love most about this recipe is how it proves that simple doesn’t mean boring. You don’t need a dozen ingredients or complicated techniques to make a meal that feels special. Sometimes you just need a hot pan, good chicken, and the willingness to let the sauce do its thing.
I’d love to hear how yours turn out. Did you add your own twist? Serve it with something unexpected? Burn the garlic and start over like I’ve done more times than I’ll admit? Drop a comment below and let me know — your kitchen adventures might inspire someone else’s dinner tonight.
Happy cooking, friend. Go make that one pan dirty — it’s worth it.
Frequently Asked Questions
Can I use boneless skinless chicken thighs for this recipe?
Yes, but the cooking time will be shorter (about 4-5 minutes per side for searing) and you won’t get the crispy skin. The sauce will still be delicious, though. Just watch the internal temperature closely so they don’t dry out.
Why is my sauce not thickening?
This usually happens if the heat is too low or if there’s too much liquid in the pan. Turn the heat up to medium-high and let it simmer uncovered for a few more minutes. The sauce should bubble and reduce visibly. If it’s still thin, mix 1 teaspoon of cornstarch with 2 teaspoons of cold water and stir it in.
Can I make this recipe in advance?
Absolutely. You can sear the chicken and make the sauce up to 2 days ahead, then reheat everything together in the skillet when you’re ready to serve. The flavors actually get better overnight. Just add a splash of broth when reheating to loosen the sauce.
What can I substitute for honey?
Maple syrup or agave nectar work well as substitutes. Maple syrup gives a slightly different flavor profile (more woodsy, less floral), while agave is more neutral. Brown sugar dissolved in a little warm water also works in a pinch, though the texture will be slightly different.
How do I prevent the garlic from burning?
Keep the heat at medium (not high) when you add the garlic, and stir it constantly. Have your liquids measured and ready to pour in immediately after the garlic becomes fragrant — usually about 30 seconds. If you see it turning brown, add the liquid right away to stop the cooking process.
Pin This Recipe!
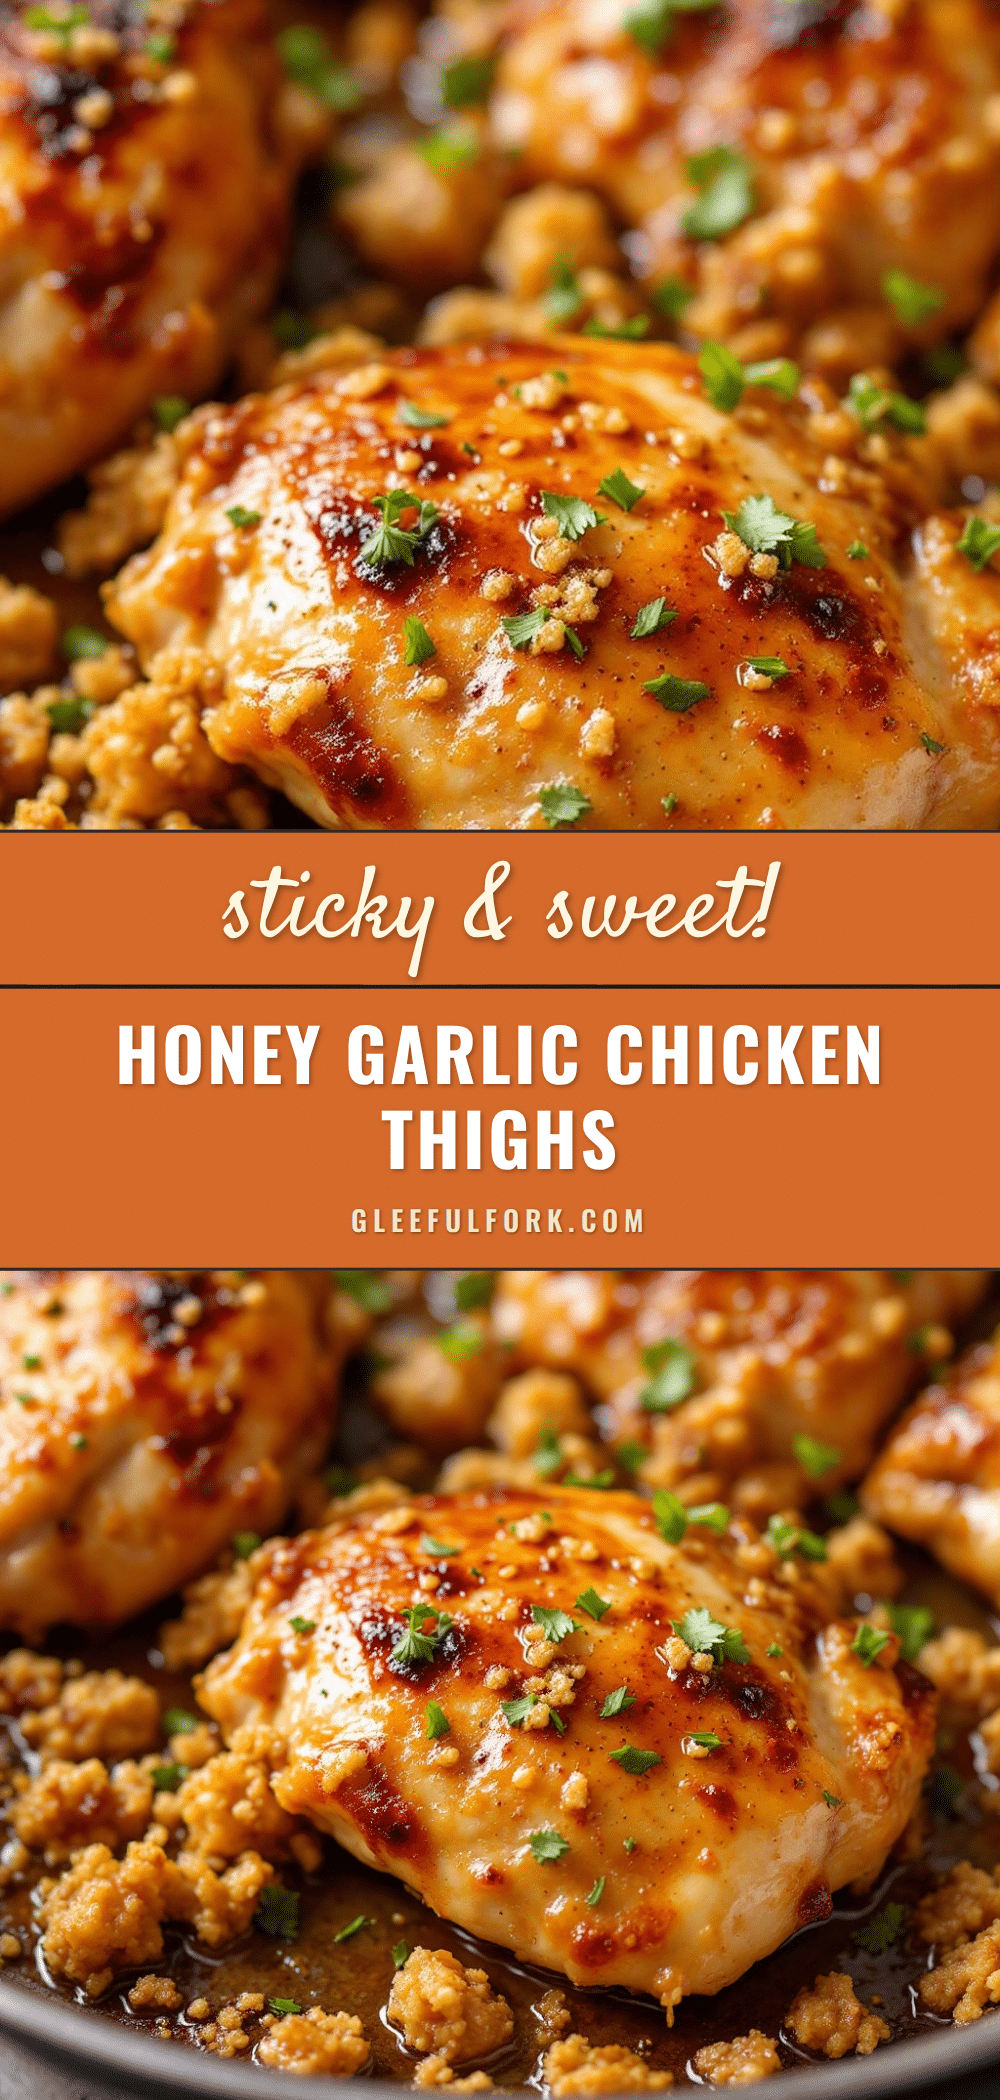
Easy One-Pan Honey Garlic Chicken Thighs: Perfect Weeknight Dinner

These honey garlic chicken thighs are seared to perfection and coated in a sticky, savory-sweet glaze made with honey, soy sauce, and garlic. Ready in about 35 minutes, this one-pan meal is perfect for busy weeknights and delivers restaurant-quality flavor with minimal effort.
- Prep Time: 10 minutes
- Cook Time: 25 minutes
- Total Time: 35 minutes
- Yield: 6 servings 1x
- Category: Main Course
- Cuisine: American
Ingredients
- 6–8 bone-in, skin-on chicken thighs (about 2.5 lbs)
- 1/3 cup honey
- 1/4 cup soy sauce
- 6 cloves garlic, minced
- 2 tablespoons apple cider vinegar
- 1/4 cup chicken broth
- 2 tablespoons olive oil
- Salt and black pepper to taste
- Optional garnish: fresh parsley, sesame seeds, sliced green onions
Instructions
- Pat the chicken thighs dry with paper towels and season generously on both sides with salt and pepper.
- Heat olive oil in a large heavy-bottomed skillet over medium-high heat until shimmering.
- Place the chicken thighs skin-side down in the hot pan. Cook undisturbed for 6-7 minutes until the skin is deep golden brown and crispy. Flip and cook for another 5-6 minutes on the other side until cooked through (internal temperature of 165°F).
- Transfer the seared thighs to a plate and pour off all but about 1 tablespoon of the rendered fat. Reduce heat to medium.
- Add the minced garlic and cook for 30 seconds until fragrant. Pour in the chicken broth and scrape up any browned bits from the bottom of the pan.
- In a small bowl, whisk together honey, soy sauce, and apple cider vinegar. Pour into the pan and stir to combine. Let bubble and thicken for about 2 minutes.
- Return the chicken to the pan, skin-side up. Spoon some sauce over the tops. Simmer for 4-5 minutes, basting occasionally, until the sauce reduces to a sticky glaze.
- Remove from heat and let rest in the pan for 5 minutes. Garnish with fresh parsley, sesame seeds, or sliced green onions if desired.
Notes
Don’t move the chicken too early; let the skin release naturally for the best sear. Watch the garlic carefully to prevent burning. If the sauce seems too thin, let it simmer a few more minutes. For a spicier version, add red pepper flakes with the garlic. Leftovers keep well in the refrigerator for up to 4 days.
Nutrition
- Serving Size: 1 serving (1 thigh w
- Calories: 385
- Sugar: 16
- Sodium: 680
- Fat: 22
- Saturated Fat: 6
- Carbohydrates: 18
- Protein: 28
Keywords: honey garlic chicken, one-pan chicken, easy weeknight dinner, chicken thighs, sticky chicken, skillet chicken


