Love this? Save it for later!
Share the inspiration with your friends
I figured a no-bake pumpkin pie would be a compromise dessert—something you make when you want the flavor but can’t be bothered with the fuss. It took about one slice for that assumption to fall apart completely.
The first time I made this, I was staring down a Thanksgiving guest list that had somehow doubled overnight. My oven was already occupied with a brisket (a whole other story), and I needed a dessert that wouldn’t demand oven space or constant attention. So I grabbed a can of pumpkin, some cream cheese, and a box of graham crackers, figuring I’d throw together something “good enough.”
What came out of the fridge that night was anything but a compromise. The filling set up silky and firm—no gelatin required—with that warm, spiced flavor that tastes like autumn in a bowl. The crust, pressed in by hand, stayed buttery and crisp without a single minute in the oven. And honestly? I liked it better than most baked pumpkin pies I’d had. It was lighter, creamier, and somehow more pumpkin-forward, like the squash finally got to be the star instead of an eggy custard.
That pie became the surprise hit of the meal. People asked for the recipe before they asked for seconds of the turkey. And I realized something: easy doesn’t have to mean second-best. Sometimes it means the best version was hiding in plain sight, waiting for you to stop overcomplicating things.
Why You’ll Love This Recipe
This easy no-bake pumpkin pie with graham cracker crust has become my go-to for every fall gathering, and not just because it saves oven space. Here’s why it keeps showing up on my table:
- No Oven Required: Your oven is free for the main event—whether that’s a beer can chicken or a batch of roasted veggies. This pie chills out in the fridge while you handle everything else.
- Simple Ingredients: Cream cheese, pumpkin puree, whipped topping, and pantry spices. Nothing weird, nothing hard to find.
- Make-Ahead Friendly: This pie actually needs at least 6 hours to set, which means you can make it the day before and cross one thing off your to-do list.
- Crowd-Pleaser: I’ve served this to pumpkin pie purists and self-proclaimed “pumpkin haters.” Both groups asked for the recipe.
- Perfect for Beginners: If you can stir and press, you can make this pie. No blind baking, no water baths, no stress.
What makes this version different from the dozens of no-bake pumpkin pies out there? It’s the texture. Most recipes use instant pudding mix, which gives you that artificial, wobbly feel. Mine uses cream cheese as the base, creating a filling that’s rich and sliceable without being heavy. It’s the kind of dessert that makes people close their eyes after the first bite—and that’s not something you hear about a no-bake pie very often.
What Ingredients You Will Need
This recipe relies on a handful of simple ingredients that work together to create something surprisingly luxurious. Most of these are pantry staples, which is exactly what you want when holiday chaos hits.
- Graham Cracker Crumbs (1 ½ cups / about 12 full sheets): You can buy pre-crushed crumbs or crush your own in a food processor. I prefer crushing my own—the texture is more consistent, and you avoid the dusty, too-fine consistency of store-bought crumbs.
- Granulated Sugar (⅓ cup for crust, plus ½ cup for filling): Regular white sugar works best here. It dissolves easily into the cream cheese and gives the crust just enough sweetness to balance the graham crackers.
- Unsalted Butter (6 tablespoons, melted): Use unsalted so you control the salt level. If you only have salted butter on hand, skip the pinch of salt in the crust.
- Cream Cheese (8 ounces, softened): Full-fat cream cheese is non-negotiable here. Low-fat versions contain more water and will give you a softer, less stable filling. Let it sit on the counter for at least 30 minutes before starting.
- Pumpkin Puree (1 cup / half a 15-ounce can): Not pumpkin pie filling—that’s pre-sweetened and spiced. You want pure pumpkin puree. Libby’s is my go-to brand for consistent texture and flavor.
- Whipped Topping (1 ½ cups, thawed): I use Cool Whip for convenience and stability, but you can use homemade stabilized whipped cream if you prefer. Just make sure whatever you use is fully thawed and not icy.
- Powdered Sugar (¼ cup): This helps stabilize the filling and gives it a silky texture without graininess.
- Pumpkin Pie Spice (1 ½ teaspoons): Store-bought is fine, but I make my own with cinnamon, nutmeg, ginger, and a tiny pinch of cloves. You get a fresher, more aromatic result.
- Vanilla Extract (1 teaspoon): Pure vanilla extract makes a noticeable difference here. Imitation vanilla works in a pinch, but the real stuff adds depth that complements the pumpkin.
- Pinch of Salt: Just enough to balance the sweetness and brighten the pumpkin flavor.
Equipment Needed
You don’t need much for this recipe, which is part of the appeal. Here’s what you’ll need:
- 9-inch Pie Plate: A standard glass or ceramic pie dish works perfectly. Metal pie pans work too, but glass lets you see if the crust is evenly pressed.
- Mixing Bowls: You’ll need a medium bowl for the crust and a larger one for the filling.
- Electric Hand Mixer or Stand Mixer: You can mix the filling by hand if your cream cheese is properly softened, but a mixer makes it silky smooth in minutes.
- Measuring Cups and Spoons: Accurate measurements matter more in no-bake desserts since there’s no oven to correct texture issues.
- Rubber Spatula: For scraping every last bit of filling into the crust. Waste not, want not.
- Plastic Wrap: To cover the pie while it chills. You don’t want it absorbing fridge odors.
If you don’t have a pie plate, a 9-inch springform pan works beautifully and makes for an impressive presentation. Just note that the slices will be taller, so you’ll get slightly fewer servings.
Preparation Method
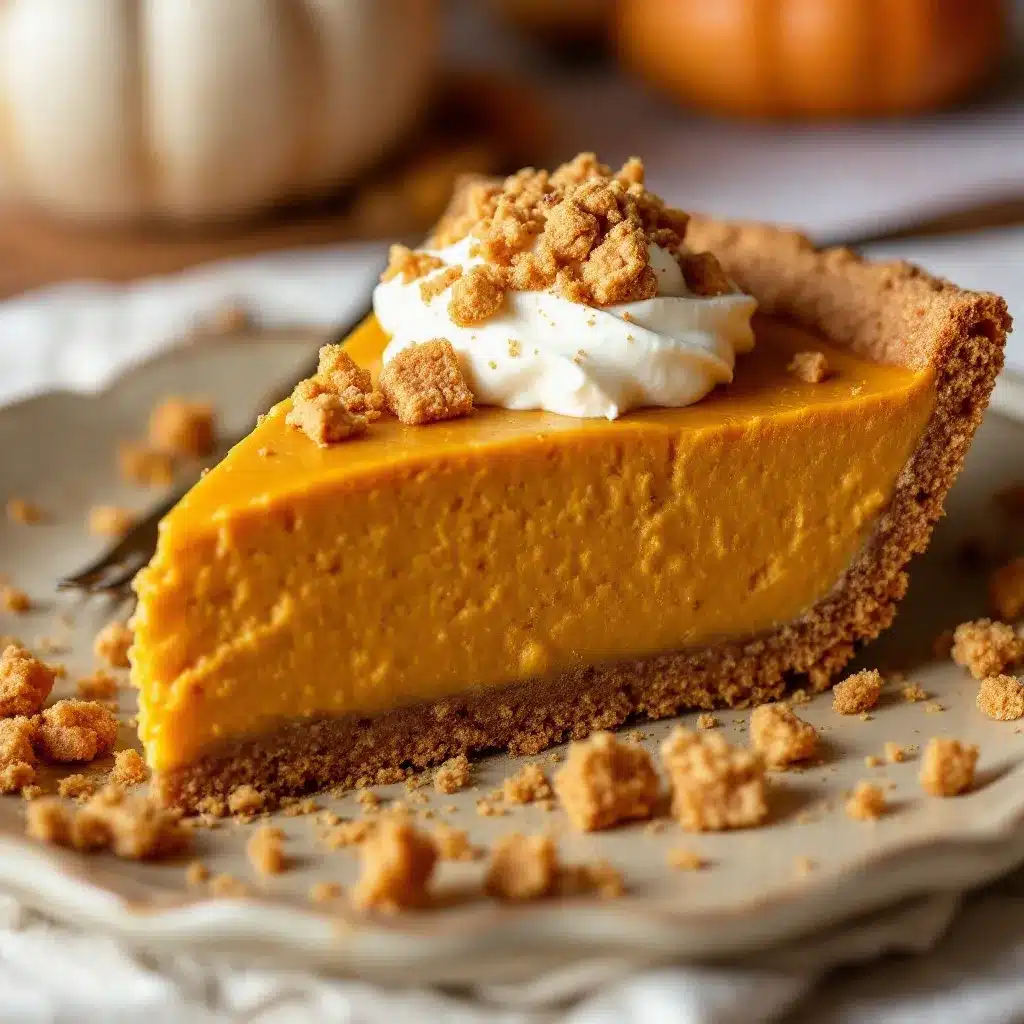
Let’s walk through this step by step. I’ve made this pie more times than I can count, and these are the little details that make the difference between a good pie and a great one.
- Make the crust: In a medium bowl, combine 1 ½ cups graham cracker crumbs, ⅓ cup granulated sugar, and a pinch of salt. Pour in 6 tablespoons melted butter and stir with a fork until every crumb is moistened. The mixture should look like wet sand and hold together when you squeeze it in your fist.
- Press the crust: Dump the mixture into your pie plate and press it firmly into the bottom and up the sides. Use the bottom of a measuring cup or a flat glass to get it even and compact. Pay special attention to the edges—if they’re too thick, they’ll crumble when you cut. Aim for about ¼ inch thickness throughout. Pop the crust in the fridge while you make the filling.
- Beat the cream cheese: In a large bowl, beat 8 ounces softened cream cheese with ½ cup granulated sugar and ¼ cup powdered sugar until smooth and fluffy, about 2 minutes. Scrape down the sides and beaters halfway through. No lumps allowed here—they’ll show up in the final texture.
- Add the pumpkin: Add 1 cup pumpkin puree, 1 ½ teaspoons pumpkin pie spice, 1 teaspoon vanilla extract, and a pinch of salt. Beat on medium speed until fully combined and smooth. The mixture will look thick and slightly darker than the cream cheese alone.
- Fold in the whipped topping: Gently fold in 1 ½ cups thawed whipped topping using a rubber spatula. Don’t stir vigorously—you want to keep the airy texture. Fold until you see no more white streaks. The filling should be light, fluffy, and a beautiful pale orange.
- Fill the crust: Spoon the filling into the chilled crust and spread it evenly. Use the back of a spoon or an offset spatula to smooth the top right to the edges. Give the pie plate a few gentle taps on the counter to settle any air bubbles.
- Chill: Cover the pie loosely with plastic wrap and refrigerate for at least 6 hours, but overnight is better. This is the hardest part—waiting. The filling needs time to set up firm enough to slice cleanly. Don’t rush it.
- Serve: When you’re ready to serve, run a thin knife around the edge of the pie plate to release the crust. Slice with a sharp knife, wiping it clean between cuts for picture-perfect slices. Add a dollop of whipped cream and a dusting of cinnamon if you’re feeling fancy.
Cooking Tips & Techniques
I’ve learned a few things the hard way so you don’t have to. Here are the tips that make this pie foolproof:
Softened cream cheese isn’t optional. Cold cream cheese will leave you with lumpy filling no matter how long you beat it. Let it sit on the counter for at least 30 minutes, or cut it into cubes and microwave it in 10-second bursts until it’s soft to the touch.
Don’t overmix after adding the whipped topping. You want to preserve those air bubbles for a light, mousse-like texture. Overmixing deflates the topping and gives you a dense, heavy pie.
Press the crust firmly. A loose crust will crumble when you cut the pie. Use the bottom of a measuring cup and really lean into it. I’ve had a few crust disasters in my early days, and they all trace back to not pressing hard enough.
Taste the filling before you pour it. This is your last chance to adjust. Need more spice? Add it now. Want it sweeter? A little more sugar. Trust your palate—you’re the one eating it.
Patience is a virtue. I know 6 hours feels like forever, but cutting into a pie that hasn’t fully set is heartbreaking. The filling will be soft and sloppy, and your beautiful crust will turn into a soggy mess. Give it the full chilling time.
Variations & Adaptations
This pie is endlessly adaptable, and I’ve tried most of these variations myself. Here are some of my favorites:
- Gluten-Free Version: Swap the graham crackers for gluten-free graham crackers or crushed gluten-free shortbread cookies. Everything else is naturally gluten-free.
- Dairy-Free Version: Use dairy-free cream cheese (Kite Hill is my favorite) and a coconut-based whipped topping. The texture will be slightly softer, so chill it overnight for best results.
- Spiced-Up Version: Add ¼ teaspoon cayenne pepper or a pinch of black pepper to the filling. The heat plays beautifully with the pumpkin and makes the pie feel more grown-up.
- Chocolate Graham Crust: Use chocolate graham crackers or chocolate wafer cookies for the crust. The chocolate-pumpkin combo is surprisingly good—like a pumpkin truffle in pie form.
- Maple Pumpkin Pie: Replace ¼ cup of the granulated sugar with pure maple syrup. The maple flavor deepens the pumpkin spice and adds a cozy, fall-forward note.
I once made a chocolate graham version for a friend who claimed to hate pumpkin pie. She ate two slices. Sometimes the right twist is all it takes to convert a skeptic.
Serving & Storage Suggestions
This pie is best served cold, straight from the fridge. Let it sit at room temperature for about 5 minutes before slicing to take the chill off, but don’t let it sit longer than 15 minutes or the filling will start to soften.
For presentation, I like to pipe a ring of whipped cream around the edge and sprinkle a little cinnamon or nutmeg on top. A few candied pecans or a drizzle of caramel sauce takes it over the top for holiday gatherings.
Storage: Cover the pie tightly with plastic wrap or aluminum foil and refrigerate for up to 4 days. The flavor actually improves after day one as the spices meld with the cream cheese. I’ve never had leftovers last longer than that, but I’ve heard the pie freezes well too.
Freezing: Wrap the fully chilled pie (without toppings) in a layer of plastic wrap, then a layer of foil, and freeze for up to 2 months. Thaw in the refrigerator overnight before serving. Add whipped cream after thawing.
Nutritional Information & Benefits
Here’s the rough nutritional breakdown for one slice (based on 8 servings):
- Calories: approximately 320
- Fat: 18g
- Carbohydrates: 38g
- Protein: 4g
- Fiber: 2g
- Sugar: 26g
Pumpkin is packed with vitamin A (over 200% of your daily needs per cup) and fiber, which helps with digestion and keeps you feeling full. The cream cheese adds calcium and protein, so this isn’t just empty calories—it’s a dessert that actually offers some nutritional value. That said, it’s still a treat, and I’m not here to pretend otherwise. Enjoy it in moderation and savor every bite.
If you’re watching your sugar intake, you can reduce the sugar in the filling to ⅓ cup without sacrificing texture. The sweetness will be more subtle, but the pumpkin flavor will shine through even more.
Conclusion
This easy no-bake pumpkin pie with graham cracker crust has become my secret weapon for fall entertaining. It’s the dessert that looks like you spent hours on it but actually comes together in about 20 minutes of active work. The filling is creamy, the crust is buttery, and the whole thing tastes like autumn in a slice.
I love this recipe because it proves that you don’t need an oven, a pastry degree, or a lot of fancy ingredients to make something truly memorable. It’s the kind of pie that makes people ask, “Wait, you made this? It’s so good!” And that never gets old.
I’d love to hear how yours turns out. Did you try a variation? Add a special topping? Serve it at a holiday dinner? Drop a comment below and let me know—I read every single one. And if you loved this recipe, share it with a friend who needs a stress-free dessert in their life. Happy baking (or, you know, chilling)!
Frequently Asked Questions
Can I use pumpkin pie filling instead of pumpkin puree?
I wouldn’t recommend it. Pumpkin pie filling is pre-sweetened and already spiced, so it throws off the sugar and spice balance in this recipe. Stick with pure pumpkin puree for the best results.
How long does this pie need to chill?
At least 6 hours, but overnight is ideal. The filling needs time to firm up enough to slice cleanly. If you’re in a hurry, you can pop it in the freezer for 2-3 hours, but keep an eye on it—you don’t want it frozen solid.
Can I make this pie ahead of time?
Absolutely. In fact, I prefer making it a day ahead. The flavors meld together overnight, and it takes one thing off your plate for the big day. Just keep it covered in the fridge until you’re ready to serve.
Can I use homemade whipped cream instead of Cool Whip?
Yes, but you’ll need to stabilize it. Whip 1 cup heavy cream with 2 tablespoons powdered sugar until stiff peaks form, then fold it into the filling. Homemade whipped cream is softer than Cool Whip, so the pie might be slightly less firm.
How do I get clean slices?
Use a sharp knife and wipe it clean between each cut. Run the knife under hot water, dry it off, then slice. This gives you those picture-perfect slices without dragging the filling through the crust.
Pin This Recipe!
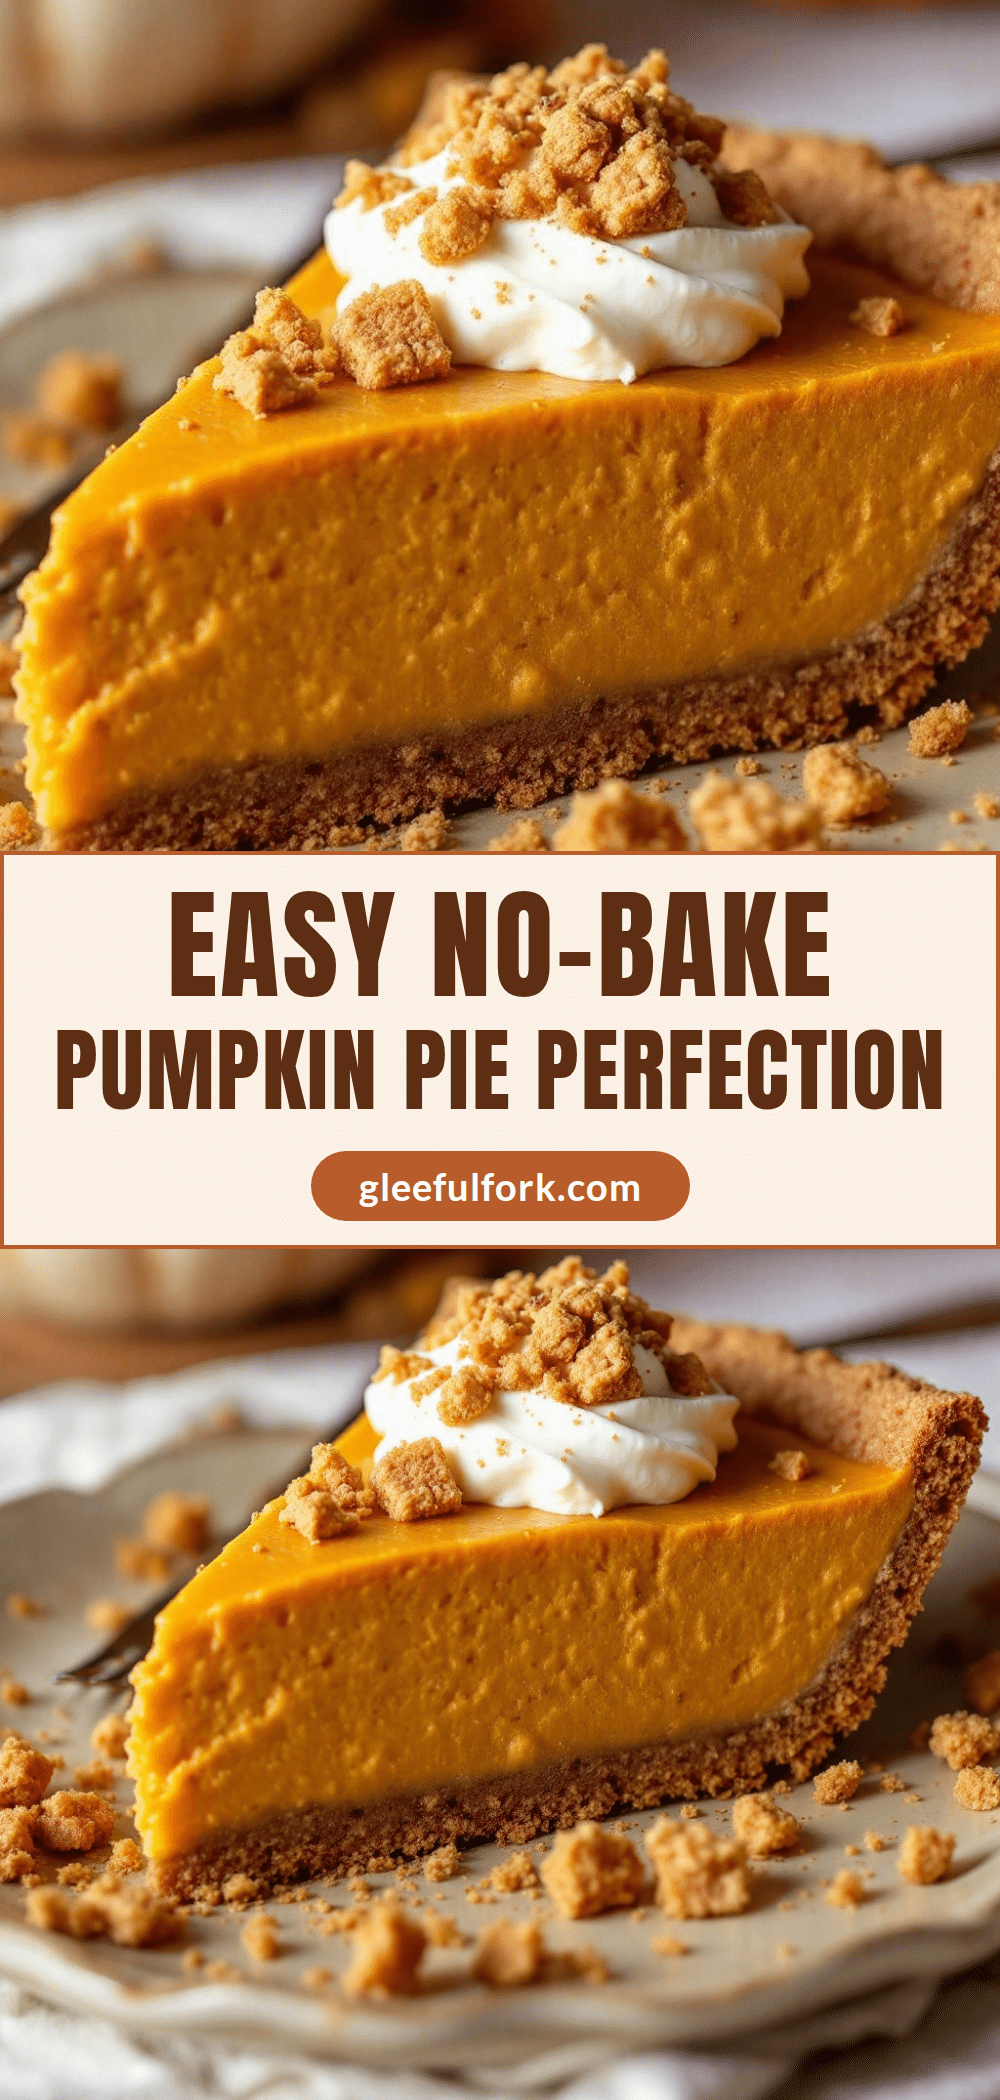
Easy No-Bake Pumpkin Pie with Graham Cracker Crust
A creamy, no-bake pumpkin pie with a buttery graham cracker crust that sets up silky and firm without gelatin. Perfect for Thanksgiving or any fall gathering, this make-ahead dessert frees up oven space and is a crowd-pleaser.
- Prep Time: 20 minutes
- Cook Time: 0 minutes
- Total Time: 6 hours 20 minutes (includes chilling time)
- Yield: 8 servings 1x
- Category: Dessert
- Cuisine: American
Ingredients
- 1 ½ cups graham cracker crumbs (about 12 full sheets)
- ⅓ cup granulated sugar (for crust)
- 6 tablespoons unsalted butter, melted
- Pinch of salt (for crust)
- 8 ounces cream cheese, softened
- ½ cup granulated sugar (for filling)
- ¼ cup powdered sugar
- 1 cup pumpkin puree (half a 15-ounce can)
- 1 ½ teaspoons pumpkin pie spice
- 1 teaspoon vanilla extract
- Pinch of salt (for filling)
- 1 ½ cups whipped topping (thawed, such as Cool Whip)
Instructions
- Make the crust: In a medium bowl, combine 1 ½ cups graham cracker crumbs, ⅓ cup granulated sugar, and a pinch of salt. Pour in 6 tablespoons melted butter and stir with a fork until every crumb is moistened. The mixture should look like wet sand and hold together when squeezed.
- Press the crust: Dump the mixture into a 9-inch pie plate and press it firmly into the bottom and up the sides. Use the bottom of a measuring cup or a flat glass to get it even and compact, aiming for about ¼ inch thickness. Pop the crust in the fridge while you make the filling.
- Beat the cream cheese: In a large bowl, beat 8 ounces softened cream cheese with ½ cup granulated sugar and ¼ cup powdered sugar until smooth and fluffy, about 2 minutes. Scrape down the sides and beaters halfway through.
- Add the pumpkin: Add 1 cup pumpkin puree, 1 ½ teaspoons pumpkin pie spice, 1 teaspoon vanilla extract, and a pinch of salt. Beat on medium speed until fully combined and smooth.
- Fold in the whipped topping: Gently fold in 1 ½ cups thawed whipped topping using a rubber spatula. Fold until no white streaks remain. The filling should be light, fluffy, and pale orange.
- Fill the crust: Spoon the filling into the chilled crust and spread it evenly. Smooth the top with the back of a spoon or an offset spatula. Give the pie plate a few gentle taps on the counter to settle any air bubbles.
- Chill: Cover the pie loosely with plastic wrap and refrigerate for at least 6 hours, but overnight is better. The filling needs time to set up firm enough to slice cleanly.
- Serve: When ready to serve, run a thin knife around the edge of the pie plate to release the crust. Slice with a sharp knife, wiping it clean between cuts. Add a dollop of whipped cream and a dusting of cinnamon if desired.
Notes
Softened cream cheese is essential for a smooth filling. Let it sit at room temperature for at least 30 minutes. Do not overmix after adding whipped topping to keep the texture light. Press the crust firmly to prevent crumbling. Chill for at least 6 hours, preferably overnight. For gluten-free, use gluten-free graham crackers. For dairy-free, use dairy-free cream cheese and coconut-based whipped topping.
Nutrition
- Serving Size: 1 slice (1/8 of pie)
- Calories: 320
- Sugar: 26
- Sodium: 250
- Fat: 18
- Saturated Fat: 10
- Carbohydrates: 38
- Fiber: 2
- Protein: 4
Keywords: no-bake pumpkin pie, easy pumpkin pie, graham cracker crust, Thanksgiving dessert, make-ahead pie, fall dessert, no oven pumpkin pie


