Love this? Save it for later!
Share the inspiration with your friends
“Mom, can you make those peanut butter balls again?” My daughter asked this halfway through a Tuesday afternoon, homework spread across the kitchen table. She wasn’t talking about dessert. She meant the little energy bites I’d thrown together in a panic the night before her first soccer practice of the season. That moment of panic turned into something I now make every single week without fail.
I remember staring into my pantry thinking there had to be something better than granola bars full of ingredients I couldn’t pronounce. The bananas on the counter were speckled and sad. The peanut butter jar had maybe a third left. And there was my answer, sitting right there between the rolled oats and the chocolate chips.
These easy peanut butter banana energy bites for school lunches have become our go-to. They’re not fancy. They’re not complicated. But honestly, they save me every single morning when I’m packing lunches and running late. The best part? My kids actually eat them without complaining.
Why You’ll Love This Recipe
After testing about six different versions of no-bake energy bites, this one stuck. It’s the one I keep coming back to, and here’s why it works so well for real families.
- Quick & Easy: From start to finish, these take about 15 minutes. No oven, no stove, no complicated steps. Just mix, roll, and chill.
- Simple Ingredients: You probably have everything already. Oats, peanut butter, banana, honey, chocolate chips. That’s it.
- Perfect for School Lunches: These hold up beautifully in lunchboxes. No melting, no crumbling, no mess. Just grab and go.
- Crowd-Pleaser: My picky eater loves these. My husband steals them from the fridge. Even the neighbor’s kid asked for the recipe.
- Unbelievably Delicious: The banana keeps them soft and naturally sweet. The peanut butter adds richness. The chocolate chips? Well, they make everything better.
What makes this version different from the dozens of energy ball recipes out there is the banana. Most recipes use dates or honey alone as a binder. The banana adds moisture and sweetness without making things sticky or overwhelming. It’s the kind of recipe that makes you feel good about what you’re feeding your kids.
These easy peanut butter banana energy bites for school lunches have that perfect texture. Not too dry, not too wet. Just right for little hands to grab on the way out the door.
What Ingredients You Will Need
This recipe uses simple, wholesome ingredients that work together to create something genuinely satisfying. No weird health food store finds required.
- Rolled oats – 1 cup (use certified gluten-free if needed). Old-fashioned oats work best here. Quick oats will work but give a softer texture.
- Creamy peanut butter – ½ cup. I prefer natural peanut butter with no added sugar. Just peanuts and salt. If your peanut butter is very oily, stir it well before measuring.
- Ripe banana – 1 medium, mashed well. The spottier the better. A very ripe banana adds more sweetness and binds everything together nicely.
- Honey – 2 tablespoons. Maple syrup works too if you want a vegan option. Adjust to taste depending on how sweet your banana is.
- Mini chocolate chips – ¼ cup. I like Enjoy Life brand for allergy-friendly options, but any mini chips work. The mini size distributes more evenly.
- Ground flaxseed – 1 tablespoon (optional but recommended). Adds extra fiber and helps with binding. You won’t taste it.
- Vanilla extract – ½ teaspoon. Pure vanilla makes a difference here. Skip it if you don’t have it.
- Pinch of salt – Only if your peanut butter is unsalted. It balances the sweetness.
For the peanut butter, I’ve tested this with Jif and Whole Foods 365 brand. Both work fine, but the natural stuff gives a cleaner flavor. If you’re using a very thick peanut butter, you might need an extra tablespoon of honey to help things stick together.
One thing I learned the hard way – don’t use old oats. Fresh oats have better texture and absorb moisture more evenly. If your oats have been sitting in the pantry for a year, they might make the bites taste stale.
Equipment Needed
You don’t need much for this recipe. That’s kind of the point.
- Large mixing bowl – Any bowl works. I use a ceramic one because it doesn’t slide around.
- Fork or potato masher – For mashing the banana. A fork works perfectly fine.
- Measuring cups and spoons – Standard set. Nothing fancy.
- Rubber spatula – For mixing everything together. A wooden spoon works too, but the spatula gets into the corners better.
- Cookie scoop or tablespoon – For portioning. I use a small cookie scoop that holds about 1 tablespoon. It makes perfectly uniform balls.
- Parchment-lined baking sheet – For chilling the bites. A plate works in a pinch.
- Airtight container – For storage. Glass or plastic, doesn’t matter.
If you don’t have a cookie scoop, just use your hands. The mixture is sticky, so wet your hands slightly before rolling. That trick came from making about a hundred batches before I figured it out.
Preparation Method
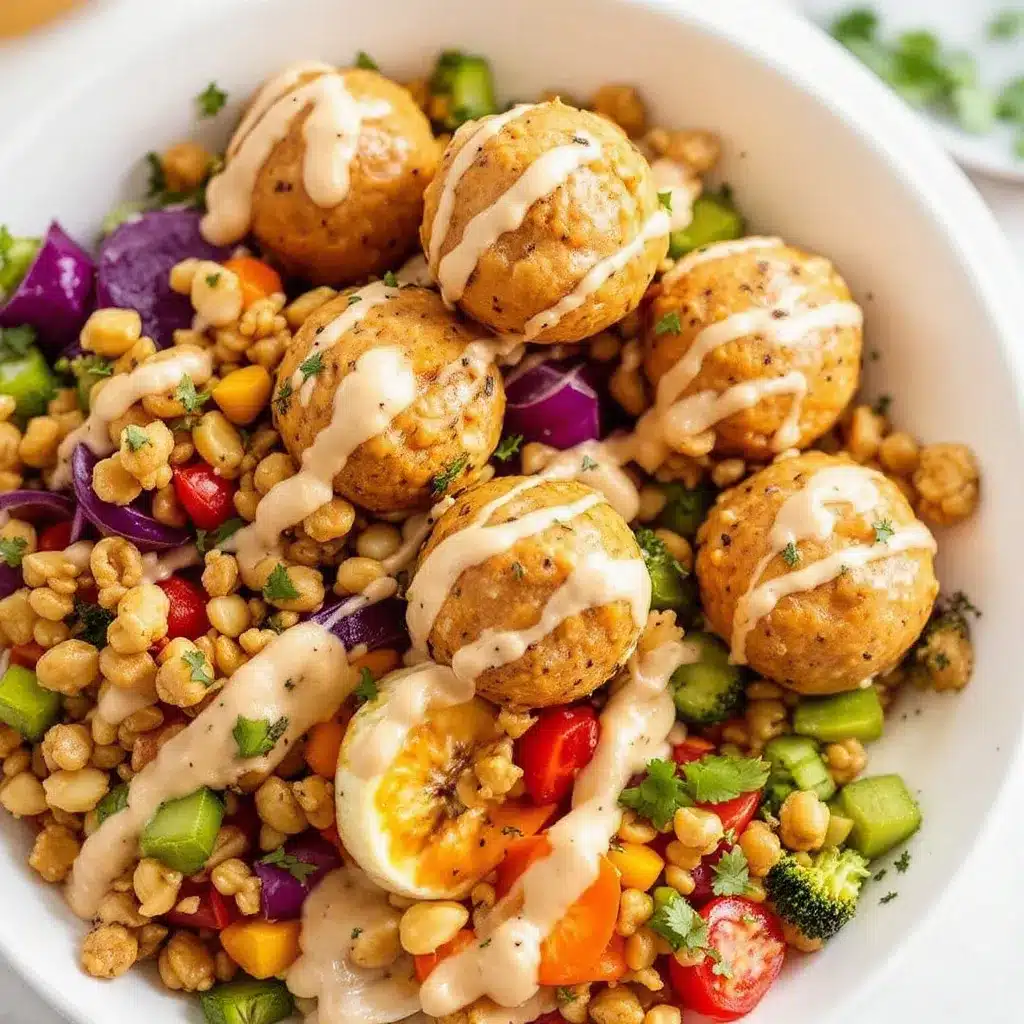
This is where the magic happens. Follow these steps and you’ll have perfect energy bites every time.
- Mash the banana. In your large mixing bowl, mash the ripe banana until it’s mostly smooth. A few small lumps are fine. You want about ⅓ cup of mashed banana. If your banana is huge, use three-quarters of it.
- Add the wet ingredients. Add the peanut butter, honey, and vanilla extract to the mashed banana. Stir until everything is well combined. The mixture should look uniform and slightly glossy. If it looks separated, keep stirring – it will come together.
- Mix the dry ingredients. Add the rolled oats, ground flaxseed (if using), and a pinch of salt. Stir until no dry oats remain. This takes about a minute of vigorous stirring. The mixture will be thick and slightly sticky.
- Fold in the chocolate chips. Add the mini chocolate chips and fold them in gently. Make sure they’re evenly distributed throughout the mixture. You don’t want one bite to have all the chocolate.
- Chill the mixture. Cover the bowl and refrigerate for 15-20 minutes. This step is crucial. Chilling makes the mixture easier to handle and helps the flavors meld together. I’ve skipped this step before and regretted it – the bites were too sticky to roll neatly.
- Roll into balls. Using a cookie scoop or your hands, portion the mixture into 1-tablespoon-sized balls. Roll them firmly between your palms. Wet your hands slightly if the mixture sticks too much. You should get about 14-16 bites.
- Chill again. Place the rolled bites on a parchment-lined baking sheet. Refrigerate for at least 30 minutes before serving. This firms them up and makes them hold their shape perfectly.
- Transfer to storage. Once chilled, move the bites to an airtight container. Keep them refrigerated until you’re ready to pack them in lunches.
A quick note – the mixture will feel too wet at first. Don’t panic. The oats absorb moisture as the mixture sits. After the first chill, the texture transforms into something perfectly rollable. This is normal and expected.
If the mixture is still too sticky after chilling, add another tablespoon of oats. If it’s too dry and crumbly, add a teaspoon of honey or a splash of milk. Adjust as needed based on your specific ingredients.
Cooking Tips & Techniques
I’ve made these easy peanut butter banana energy bites for school lunches probably fifty times by now. Here’s what I’ve learned along the way.
Don’t over-mix. Stir just until everything comes together. Over-mixing can make the texture gummy, especially if your banana is very ripe. Stop when you don’t see any more dry oats.
Use room temperature ingredients. Cold peanut butter is harder to mix. Let it sit out for 10 minutes before starting. Your banana should be at room temperature too. This makes everything combine more smoothly.
Wet hands are your friend. Keep a small bowl of water nearby when rolling. Dip your fingers in water before each ball. This prevents sticking without adding extra oats that would dry out the mixture.
Size matters. Stick to 1 tablespoon per bite. Larger bites are harder for little hands to hold and take longer to soften at room temperature. Smaller bites dry out faster. One tablespoon is the sweet spot.
Trust the chill time. I once rushed the process and only chilled for 10 minutes. The bites fell apart in the lunchbox. My daughter came home with a bag of crumbs. Learn from my mistake – give them the full chill time.
Batch prep is genius. Double the recipe and freeze half. On busy mornings, I grab a few from the freezer and toss them directly into lunchboxes. They thaw by lunchtime. This has saved me more mornings than I can count.
Variations & Adaptations
This recipe is incredibly flexible. Here are some ways to switch things up.
Nut-free version: Swap the peanut butter for sunflower seed butter or Wow Butter. The flavor changes slightly, but the texture stays the same. Just note that sunflower seed butter can turn green when mixed with baking soda – not an issue here since we’re not baking.
Vegan option: Use maple syrup instead of honey. The flavor is slightly different but still delicious. Make sure your chocolate chips are dairy-free too.
Gluten-free adaptation: Use certified gluten-free oats. Everything else in the recipe is naturally gluten-free. This is an easy swap that makes a big difference for sensitive tummies.
Add-in ideas: Try shredded coconut, chopped nuts, dried fruit, or seeds. My personal favorite variation adds 2 tablespoons of chia seeds and ¼ cup of dried cranberries. It tastes like a fancy granola bar.
Lower sugar option: Skip the honey entirely if your banana is very ripe. The banana provides enough sweetness on its own. Use unsweetened peanut butter and dark chocolate chips for even less sugar.
Seasonal twist: In fall, add ½ teaspoon of pumpkin pie spice and swap the chocolate chips for white chocolate. In summer, use dried mango instead of chocolate chips for a tropical vibe.
I tried a version with almond butter once and it was good, but the texture was slightly drier. If you use almond butter, add an extra tablespoon of honey to compensate.
Serving & Storage Suggestions
These easy peanut butter banana energy bites for school lunches are best served cold or at room temperature. Straight from the fridge, they have a firm, satisfying texture. After sitting out for an hour, they soften slightly but still hold their shape.
For school lunches, I pack 2-3 bites in a small container. They pair beautifully with a fresh honey mustard coleslaw for a complete lunch that feels balanced and satisfying. The sweetness of the bites contrasts nicely with the tangy dressing.
Refrigerator storage: Keep in an airtight container for up to 5 days. Place parchment paper between layers to prevent sticking. They actually taste better on day two after the flavors have had time to meld.
Freezer storage: These freeze beautifully. Place the bites in a single layer on a baking sheet and freeze for 1 hour. Transfer to a freezer-safe bag or container. They’ll keep for up to 3 months. Thaw overnight in the fridge or for 15 minutes at room temperature.
Room temperature: If you’re packing for a lunch that won’t be refrigerated, these hold up fine for about 4-6 hours. In hot weather, add an extra tablespoon of oats to help them stay firm.
One thing I love about these bites is how the flavors develop. The banana flavor becomes more pronounced after a day in the fridge. The oats soften slightly and the chocolate chips get little melty spots. It’s like they get better with age.
Nutritional Information & Benefits
Here’s the approximate nutrition for one energy bite (based on 16 bites per batch):
| Nutrient | Amount per bite |
|---|---|
| Calories | 95 |
| Protein | 3g |
| Carbohydrates | 12g |
| Fiber | 2g |
| Sugar | 6g |
| Fat | 5g |
| Saturated Fat | 1.5g |
| Sodium | 35mg |
These bites pack a surprising amount of nutrition. The oats provide steady energy from complex carbohydrates. The peanut butter adds protein and healthy fats that keep kids full until lunch. Bananas contribute potassium and natural sweetness without refined sugar.
Ground flaxseed adds omega-3 fatty acids and extra fiber, which supports digestive health. If you have picky eaters who won’t touch vegetables, this is a sneaky way to add nutrients they need.
These easy peanut butter banana energy bites for school lunches are naturally dairy-free if you use dairy-free chocolate chips. They’re also egg-free and soy-free. The main allergens to watch for are peanuts and gluten (from oats).
From a wellness perspective, I love that these bites give my kids real food energy. No artificial ingredients, no preservatives, no weird chemicals. Just simple ingredients doing good things for growing bodies.
Conclusion
These easy peanut butter banana energy bites for school lunches have become more than just a recipe in our house. They’re a solution to the daily lunchbox struggle. They’re a way to send my kids to school with something homemade that I know they’ll actually eat.
The beauty of this recipe is how forgiving it is. You can make substitutions, adjust sweetness, add whatever you have on hand. It always works. It always tastes good. And it always makes mornings a little easier.
I encourage you to make these your own. Add cinnamon if that’s your thing. Use almond butter if peanuts aren’t allowed. Throw in some dried cherries because why not. The base recipe is solid, but the variations are endless.
If you try these, let me know how they turn out. Comment below with your favorite add-ins or substitutions. I love hearing how different families make this recipe their own. And if your kids love them as much as mine do, you’ll be making these for years to come.
Here’s to easier mornings, happier lunchboxes, and one less thing to worry about.
Frequently Asked Questions
Can I use quick oats instead of rolled oats?
Yes, you can. Quick oats will give a softer, more uniform texture. The bites will be less chewy and more tender. If that sounds good to you, go for it. Just know the texture will be different from the original recipe.
How long do these energy bites last in the fridge?
They stay fresh for up to 5 days in an airtight container in the refrigerator. I find they taste best between days 2 and 4. After day 5, the texture starts to get a bit dry, but they’re still safe to eat.
Can I make these without chocolate chips?
Absolutely. The chocolate chips are optional. You can leave them out entirely or swap them for dried fruit, seeds, or chopped nuts. I’ve made a version with dried cranberries and pumpkin seeds that my kids love.
My mixture is too dry. What should I do?
If your mixture seems dry and crumbly, add a teaspoon of honey or a splash of milk (dairy or non-dairy). Stir well and let it sit for 5 minutes. The oats will absorb the moisture and the mixture should come together. If it’s still dry, add another teaspoon of liquid.
Can I use these as a pre-workout snack?
Yes, these work great as a pre-workout snack for both kids and adults. The combination of carbs from the oats and banana with protein from the peanut butter provides steady energy. I grab two before my morning runs and they keep me going without weighing me down. For a post-workout treat, try pairing them with peanut butter cup brownie cheesecake bars for a truly indulgent recovery snack.
Pin This Recipe!
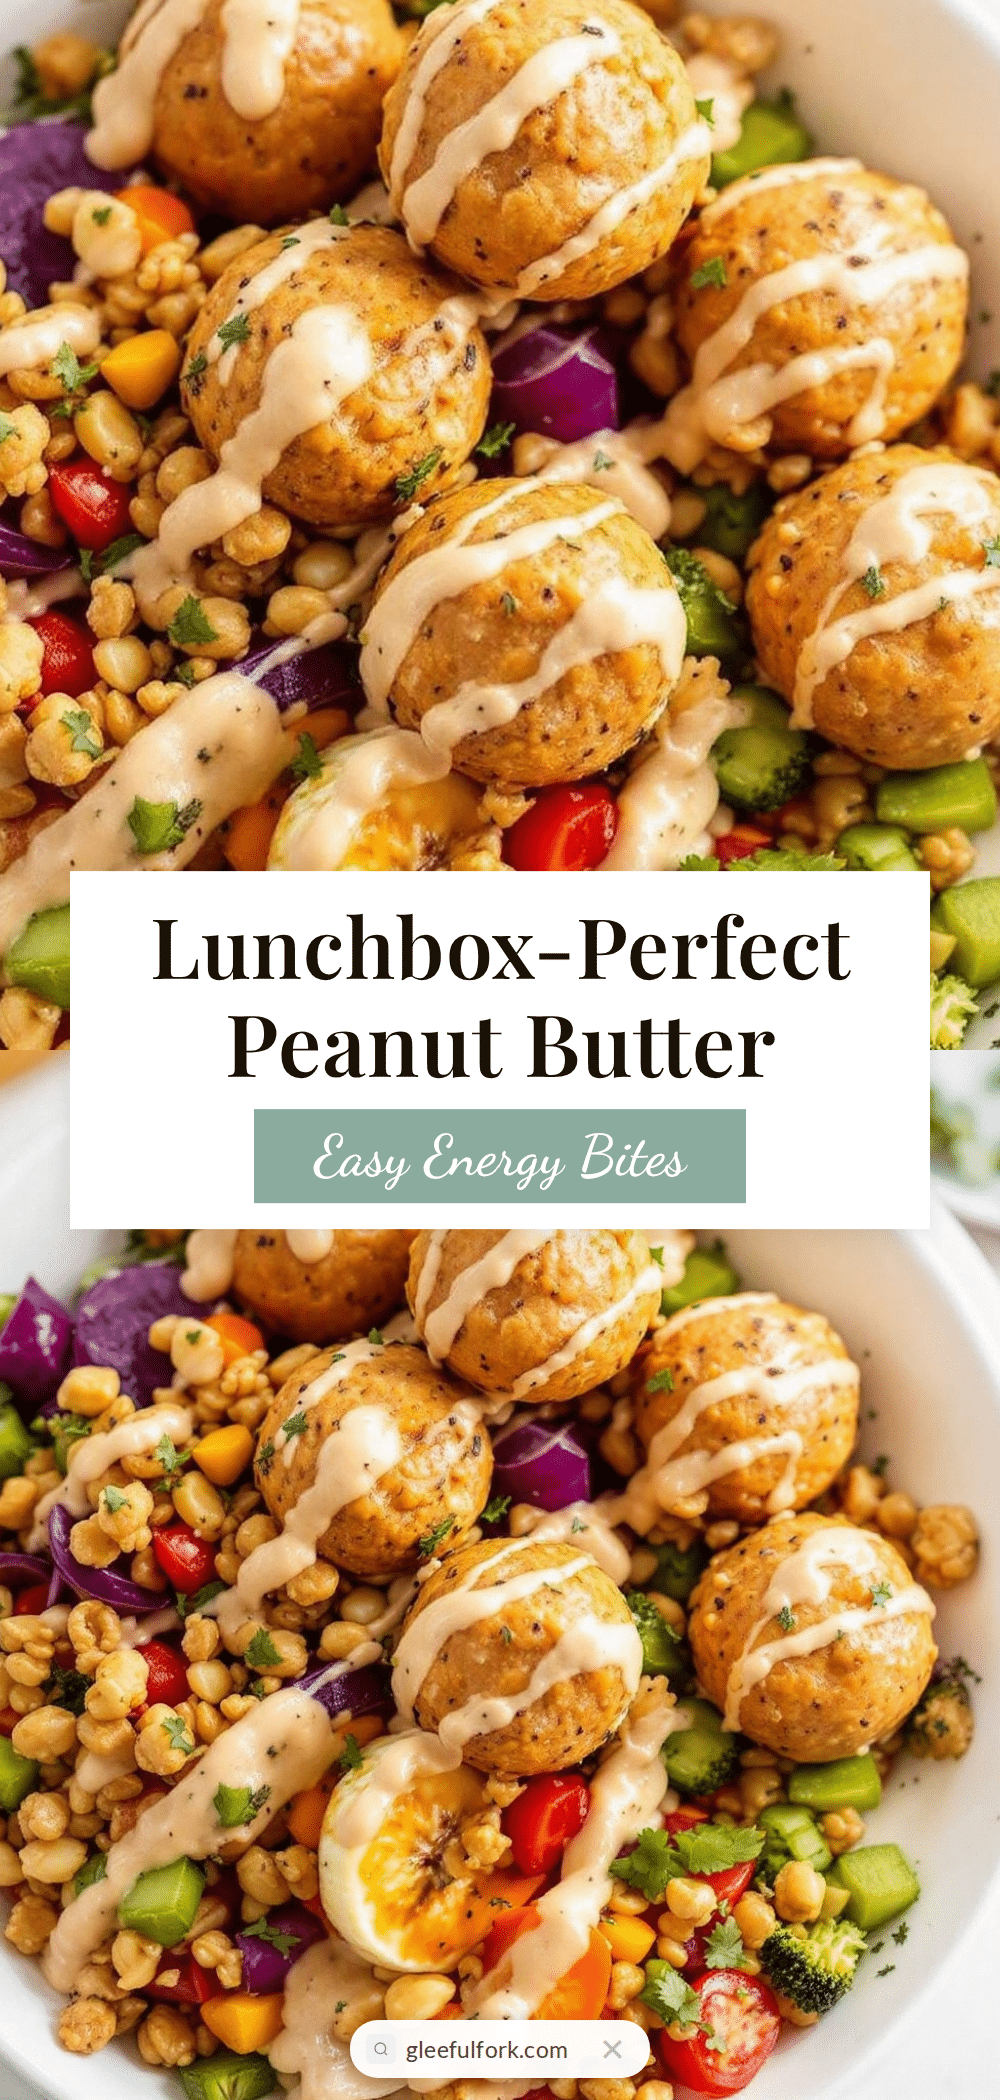
Easy Peanut Butter Banana Energy Bites for School

These no-bake energy bites combine ripe banana, peanut butter, oats, and chocolate chips for a quick, healthy snack perfect for school lunches. Ready in 15 minutes, they’re a crowd-pleaser that holds up beautifully in lunchboxes.
- Prep Time: 15 minutes
- Cook Time: 0 minutes
- Total Time: 45 minutes (includes chilling)
- Yield: 14-16 bites 1x
- Category: Snack
- Cuisine: American
Ingredients
- 1 cup rolled oats (use certified gluten-free if needed)
- ½ cup creamy peanut butter (natural preferred)
- 1 medium ripe banana, mashed well
- 2 tablespoons honey (or maple syrup for vegan)
- ¼ cup mini chocolate chips
- 1 tablespoon ground flaxseed (optional)
- ½ teaspoon vanilla extract
- Pinch of salt (if peanut butter is unsalted)
Instructions
- Mash the banana in a large mixing bowl until mostly smooth (about ⅓ cup).
- Add peanut butter, honey, and vanilla extract to the mashed banana. Stir until well combined and slightly glossy.
- Add rolled oats, ground flaxseed (if using), and a pinch of salt. Stir vigorously until no dry oats remain (about 1 minute).
- Fold in mini chocolate chips until evenly distributed.
- Cover the bowl and refrigerate for 15-20 minutes to make the mixture easier to handle.
- Using a cookie scoop or your hands, portion the mixture into 1-tablespoon-sized balls. Roll firmly between palms; wet hands slightly if sticky. Makes about 14-16 bites.
- Place rolled bites on a parchment-lined baking sheet and refrigerate for at least 30 minutes before serving.
- Transfer chilled bites to an airtight container and keep refrigerated until ready to pack.
Notes
The mixture will feel too wet at first; the oats absorb moisture as it sits. If too sticky after chilling, add another tablespoon of oats. If too dry, add a teaspoon of honey or splash of milk. Wet hands slightly when rolling to prevent sticking. Batch prep and freeze for busy mornings.
Nutrition
- Serving Size: 1 bite
- Calories: 95
- Sugar: 6
- Sodium: 35
- Fat: 5
- Saturated Fat: 1.5
- Carbohydrates: 12
- Fiber: 2
- Protein: 3
Keywords: energy bites, peanut butter banana, no-bake, school lunch, healthy snack, gluten-free option, vegan option


