Love this? Save it for later!
Share the inspiration with your friends
I was standing in the frozen food aisle last October, staring at a box of pre-made appetizers that cost way too much and looked, honestly, kind of sad. A random kid ran past me, wrapped in a bedsheet with toilet paper trailing behind him, and it hit me — the mummy costume. That’s when the idea for these Easy Mummy Wrapped Sausage Halloween Bites popped into my head, and I almost laughed out loud right there next to the frozen pizza. I mean, why had I never thought of this before? A sausage wrapped in dough strips with little mustard eyes — it’s so simple it’s almost stupid.
I grabbed a pack of cocktail sausages and a can of crescent roll dough, practically jogging to the checkout. Let me tell you, my family thought I had finally lost it when I came home and started wrapping little dough strips around sausages at 4 PM on a random Tuesday. But when those golden, crispy mummies came out of the oven, all lined up on the tray like a little army, even my skeptical husband grabbed three before I could put the mustard eyes on. That first batch got devoured so fast I had to make a second round, and that’s when I knew this recipe was something special.
Maybe you’ve been there — scrambling for a Halloween party appetizer that looks impressive but doesn’t require a culinary degree or a trip to three different stores. These mummy bites are the answer. They’re creepy-cute, endlessly customizable, and they come together in about 20 minutes flat. Plus, they’re the kind of thing that makes both kids and adults light up when they see them. I’ve been making these for three Halloweens now, and they’ve never let me down. Not once.
Why You’ll Love This Recipe
Listen, I’ve tested a lot of Halloween recipes over the years. Some were complicated. Some were messy. Some looked great but tasted like cardboard. These Easy Mummy Wrapped Sausage Halloween Bites are none of those things. They’re the real deal — and here’s why you’ll fall for them too.
- Quick & Easy: From start to finish, you’re looking at about 20 minutes. That’s faster than most frozen appetizers, and way more impressive.
- Simple Ingredients: You need exactly four main ingredients, and three of them are probably in your kitchen right now. No specialty stores required.
- Perfect for Halloween Parties: Whether it’s a school potluck, a neighbor gathering, or just a spooky movie night at home, these bites fit right in.
- Crowd-Pleaser: Kids go nuts for them because they look fun. Adults go nuts for them because they taste amazing. It’s a win-win.
- Unbelievably Delicious: The flaky, buttery dough wrapped around a juicy, savory sausage with just a hint of mustard — it’s simple comfort food that hits every single time.
What makes these different from every other sausage roll out there? It’s the presentation, honestly. The uneven, slightly messy wrapping is what makes them look like actual mummies. It’s not about perfection — it’s about character. And that little dab of mustard for eyes? Pure genius. I’ve tried making them with fancy pastry dough, homemade puff pastry, and even biscuit dough, but crescent roll dough is the winner every time. It bakes up golden, flaky, and just slightly sweet, which balances the savory sausage perfectly.
This recipe isn’t just good — it’s the kind that makes you close your eyes after the first bite. It’s comfort food reimagined for Halloween, with the same soul-soothing satisfaction but a whole lot more fun. Perfect for impressing guests without stress, or turning a simple snack into something memorable.
What Ingredients You Will Need
This recipe uses simple, everyday ingredients to deliver big flavor and adorable presentation without any fuss. You probably have most of these already, which is part of the magic.
- Cocktail sausages or little smokies: 1 package (about 12-14 ounces). I prefer Hillshire Farm Lit’l Smokies for their texture and flavor, but any brand works. Look for ones that are relatively uniform in size so they cook evenly.
- Crescent roll dough: 1 can (8 ounces). Pillsbury is my go-to, but store brands work fine too. The key is getting the kind that separates into triangles, not sheets — those triangles are perfect for cutting into strips.
- Yellow mustard: For the eyes. You can use Dijon or spicy brown mustard for a different flavor, but classic yellow gives the best “mummy” look.
- Egg wash: 1 large egg beaten with 1 tablespoon of water. This gives the dough that gorgeous golden-brown finish. If you’re out of eggs, a splash of milk works too, though the color won’t be as rich.
- Optional seasonings: A pinch of garlic powder, onion powder, or everything bagel seasoning on top before baking adds extra flavor. I sometimes add a sprinkle of sesame seeds for a slightly nutty taste.
- Non-stick cooking spray or parchment paper: For lining your baking sheet. I’ve learned the hard way that these can stick if you’re not careful.
For a fun twist, try using different types of sausages. I’ve made these with mini chicken sausages, turkey smokies, and even vegetarian sausages (though those need a slightly shorter baking time). If you’re feeling adventurous, you can wrap the sausages in bacon first and then add the dough strips — just know that adds about 5-7 minutes to the baking time and makes them a bit greasier. Totally worth it for special occasions, though.
One thing I’ve learned from making these dozens of times: don’t overthink the dough. You want the strips to be about 1/2 inch wide and roughly 3-4 inches long. They don’t need to be perfect. In fact, the more uneven they are, the more authentic your mummies will look. Trust me on this.
Equipment Needed
You don’t need a fancy kitchen to pull these off. Here’s what you’ll need:
- Baking sheet: A standard half-sheet pan works perfectly. If you only have a smaller one, just work in batches.
- Parchment paper or silicone baking mat: I prefer parchment for easy cleanup. Silicone mats work great too, but the bottoms might not get quite as crispy.
- Sharp knife or pizza cutter: For cutting the crescent roll dough into strips. A pizza cutter makes it way faster, but a knife works fine.
- Small bowl: For the egg wash.
- Pastry brush: For applying the egg wash. If you don’t have one, the back of a spoon works in a pinch.
- Toothpicks: Optional, but helpful for dabbing on the mustard eyes without making a mess.
- Cooling rack: Not essential, but it helps the bites stay crispy instead of getting soggy on the bottom.
I’ve made these with nothing but a knife and a baking sheet before, and they turned out great. Don’t let equipment stop you from trying this recipe.
Preparation Method
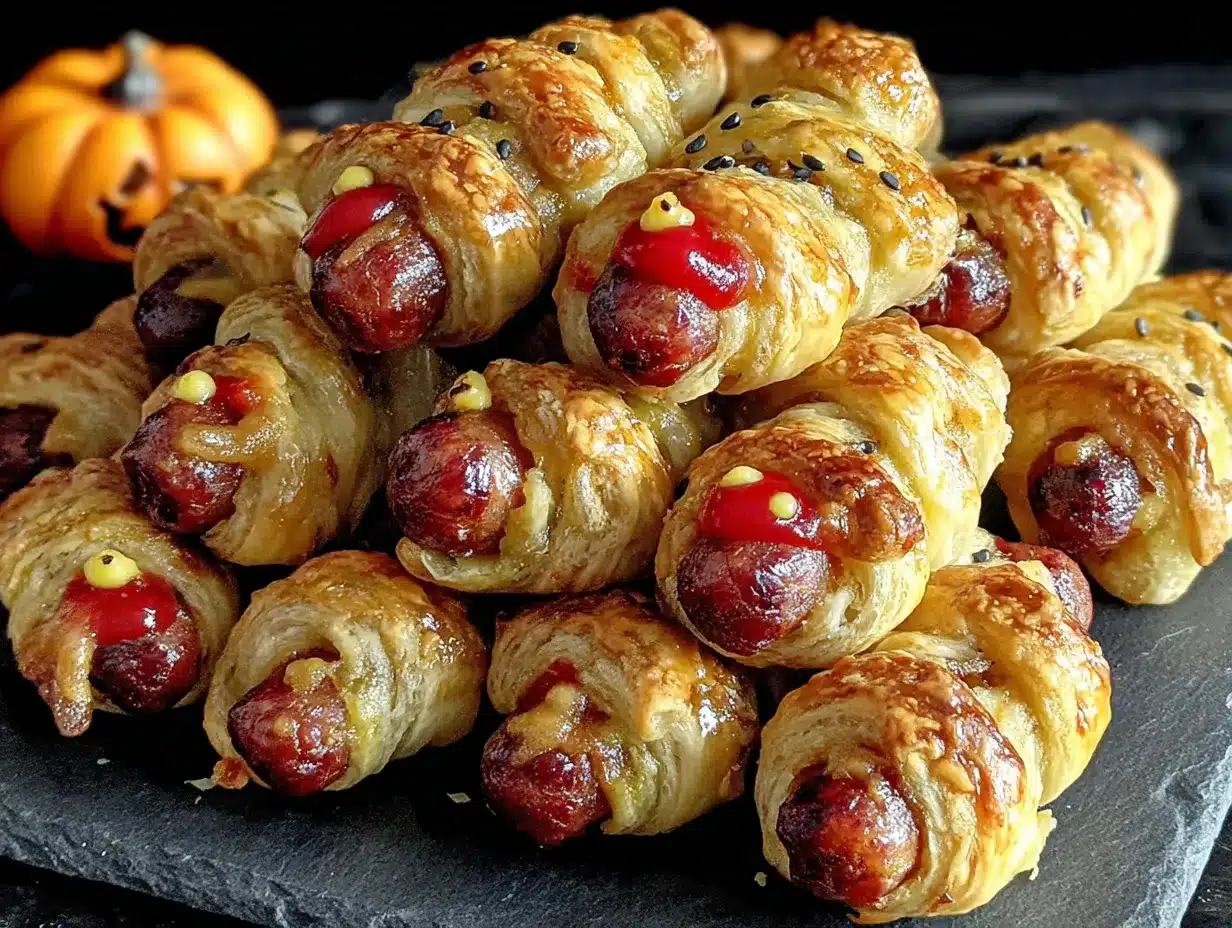
- Preheat your oven to 375°F (190°C). Line a baking sheet with parchment paper or lightly spray with non-stick cooking spray. This step is crucial — I once forgot the parchment and spent 20 minutes scraping dough off the pan. Not fun.
- Unroll the crescent roll dough and separate it along the perforated lines into 8 triangles. Place them on a clean cutting board or work surface.
- Cut each triangle lengthwise into strips. You want strips about 1/2 inch wide. A pizza cutter makes this super easy, but a sharp knife works too. You should get about 4-5 strips per triangle, depending on how wide you cut them. Don’t stress about perfection — uneven strips add character.
- Take one cocktail sausage and start wrapping a dough strip around it. Leave a small gap near the top for the “face.” The dough should overlap slightly as you wrap, creating that mummy bandage look. Don’t wrap too tightly — the dough will expand as it bakes, and you want some texture.
- Repeat with the remaining sausages and dough strips. You’ll have some dough left over, which you can either discard or bake alongside the mummies for snacking (my kids love the extra crispy strips).
- Place the wrapped sausages on the prepared baking sheet, spacing them about 1 inch apart. They won’t spread much, but a little breathing room helps them brown evenly.
- Brush each mummy with the egg wash. This is what gives them that beautiful golden-brown color. Don’t skip this step — I’ve made mummies without it, and they look pale and sad.
- Bake for 10-12 minutes, or until the dough is golden brown and the sausages are heated through. Your kitchen will smell amazing at this point. I usually check at the 10-minute mark and add a minute or two if needed.
- Remove from the oven and let cool on the baking sheet for 2-3 minutes. This allows the dough to set slightly so it doesn’t fall apart when you add the eyes.
- Add the mustard eyes: Using a toothpick or the tip of a knife, dab a tiny amount of yellow mustard on each mummy where the eyes should go. Two small dots per mummy. Don’t make them too big — you want cute, not scary.
- Serve warm or at room temperature. These are best within an hour of baking, but they’re still delicious the next day (if they last that long).
One tip I wish someone had told me: if the dough strips are too sticky to handle, lightly dust your hands and work surface with flour. This happens more with humid weather or certain brands of dough. Also, if you’re making these ahead of time, you can assemble them completely (minus the egg wash and baking) and refrigerate for up to 4 hours. Just add an extra minute or two to the baking time.
Cooking Tips & Techniques
After three Halloweens of making these, I’ve collected a few tricks that make a real difference.
Don’t overwork the dough. Crescent roll dough is delicate, and handling it too much can make it tough. Cut your strips quickly and wrap them loosely. The less you fuss, the flakier the result.
Space matters. I learned this the hard way when I tried to cram 20 mummies onto one small baking sheet. They ended up touching each other, and the dough didn’t crisp up properly. Give them at least an inch of space.
Watch the oven. Every oven runs a little differently. My first batch ever came out burnt because I trusted the timer instead of my eyes. Start checking at 10 minutes, and look for a deep golden brown — not pale, not dark.
Make the eyes the star. I’ve tried ketchup, sriracha, and even melted cheese for the eyes, but yellow mustard is the winner. It’s bright, recognizable, and adds a tiny tangy kick that cuts through the richness. Just don’t use too much — a little dab’ll do ya.
Double the batch. Seriously. I’ve never made enough of these. One package of sausages makes about 12-14 mummies, which sounds like a lot until you see how fast they disappear. For a party, I’d plan on 3-4 mummies per person, minimum.
Variations & Adaptations
One of the best things about this recipe is how easy it is to tweak. Here are some of my favorite variations:
- Spicy Mummies: Use spicy Italian sausages or add a pinch of cayenne pepper to the dough before wrapping. You can also use sriracha instead of mustard for the eyes — it gives them a red-eyed zombie look.
- Cheesy Mummies: Cut small strips of cheddar or mozzarella cheese and wrap them alongside the sausage. The cheese melts and oozes out slightly, making them even more decadent. Just be careful — the cheese gets hot.
- Vegetarian Mummies: Use vegetarian cocktail sausages or even small pieces of firm tofu that have been marinated in soy sauce and liquid smoke. The baking time stays the same.
- Breakfast Mummies: Swap the cocktail sausages for breakfast sausage links and serve them with maple syrup for dipping. I made these for a Halloween brunch once, and they were a huge hit.
- Gluten-Free Mummies: Use gluten-free crescent roll dough or puff pastry. The texture will be slightly different, but the flavor is still fantastic. Just check the baking time on your specific dough.
I once tried a version where I wrapped the sausages in bacon first, then added the dough strips. It was incredible but also incredibly messy. Would I do it again? Absolutely. Just for a special occasion, not a regular Tuesday.
Serving & Storage Suggestions
These mummies are best served warm, right after the mustard eyes go on. The contrast between the warm, flaky dough and the cool, tangy mustard is perfection. Arrange them on a platter with a few spooky decorations — I like to put them on a black plate with some fake spiderwebs around the edges. It’s cheesy, but guests love it.
For dipping, I recommend ketchup, barbecue sauce, or honey mustard. The sweetness of honey mustard pairs especially well with the savory sausage. If you’re feeling fancy, a sriracha mayo dipping sauce is amazing — just mix equal parts mayonnaise and sriracha with a squeeze of lime juice.
Storage: Leftover mummies (if you have any) can be stored in an airtight container in the refrigerator for up to 3 days. The dough will soften slightly, but they’re still tasty. To reheat, pop them in a 350°F oven for 5-7 minutes, or until warmed through. The microwave works in a pinch, but the dough won’t be as crispy.
Freezing: You can freeze unbaked mummies for up to 2 months. Assemble them completely (without the egg wash), place them on a baking sheet, and freeze until solid. Then transfer to a freezer bag. When you’re ready to bake, add the egg wash and bake straight from frozen, adding 3-5 minutes to the baking time.
One thing I’ve noticed: the flavors actually meld together a bit after a day in the fridge. The mustard soaks into the dough slightly, and everything becomes more cohesive. They’re not as pretty the next day, but they might be even tastier.
Nutritional Information & Benefits
Per serving (about 3 mummies):
- Calories: 280
- Protein: 12g
- Fat: 18g
- Carbohydrates: 18g
- Fiber: 0g
- Sugar: 4g
- Sodium: 680mg
These are definitely a treat, not an everyday snack. But let’s be real — it’s Halloween. A little indulgence is part of the fun. The protein from the sausages helps keep you full, and the small portions make it easy to enjoy without overdoing it.
If you’re watching your sodium, look for low-sodium cocktail sausages and reduce the added salt. You can also use turkey or chicken sausages for a leaner option. For a lower-carb version, skip the dough and wrap the sausages in bacon instead — just bake until the bacon is crispy.
These are not gluten-free unless you use a specific gluten-free dough. They also contain eggs (in the wash) and dairy (in the dough), so keep that in mind for any allergies.
Conclusion
These Easy Mummy Wrapped Sausage Halloween Bites are everything I want in a holiday recipe: simple, fun, and absolutely delicious. They look like you spent hours on them, but they come together in about 20 minutes with ingredients from your regular grocery store. That’s the kind of magic I can get behind.
I love that this recipe brings people together. Every time I make them, I watch friends and family light up when they see the little mustard eyes. It’s a small thing, but it makes the whole Halloween season feel special. And honestly, isn’t that what cooking is all about? Creating moments that people remember.
Now I want to hear from you. Are you going to try these for your Halloween party? Have you made something similar before? Drop a comment below and let me know how they turned out. And if you come up with a fun variation, share that too — I’m always looking for new ideas. Happy Halloween, and happy cooking!
Frequently Asked Questions
Can I make these ahead of time?
Absolutely! You can assemble the mummies (without the egg wash) up to 4 hours ahead and keep them in the refrigerator. When you’re ready to bake, just add the egg wash and pop them in the oven. You can also freeze them unbaked for up to 2 months.
What can I use instead of crescent roll dough?
Puff pastry works great, though it’s a bit richer and takes a minute or two longer to bake. You can also use refrigerated biscuit dough, but it won’t be as flaky. For a gluten-free option, use gluten-free crescent roll dough or puff pastry.
Can I use hot dogs instead of cocktail sausages?
Sure! Just cut each hot dog into 3-4 pieces and wrap them the same way. You might need to adjust the baking time slightly since hot dogs are thicker. Start checking at 12 minutes.
How do I keep the dough from unraveling?
Make sure you overlap the dough strips slightly as you wrap, and press the end of the strip gently against the sausage to seal it. The egg wash also helps the layers stick together during baking. If you’re really worried, you can use a toothpick to hold the end in place (just remove it before serving).
What dipping sauces go best with these?
Ketchup is the classic choice, but honey mustard, barbecue sauce, and sriracha mayo are all fantastic. For a Halloween twist, try a “blood” sauce made from ketchup mixed with a little hot sauce — it’s creepy and delicious.
Pin This Recipe!
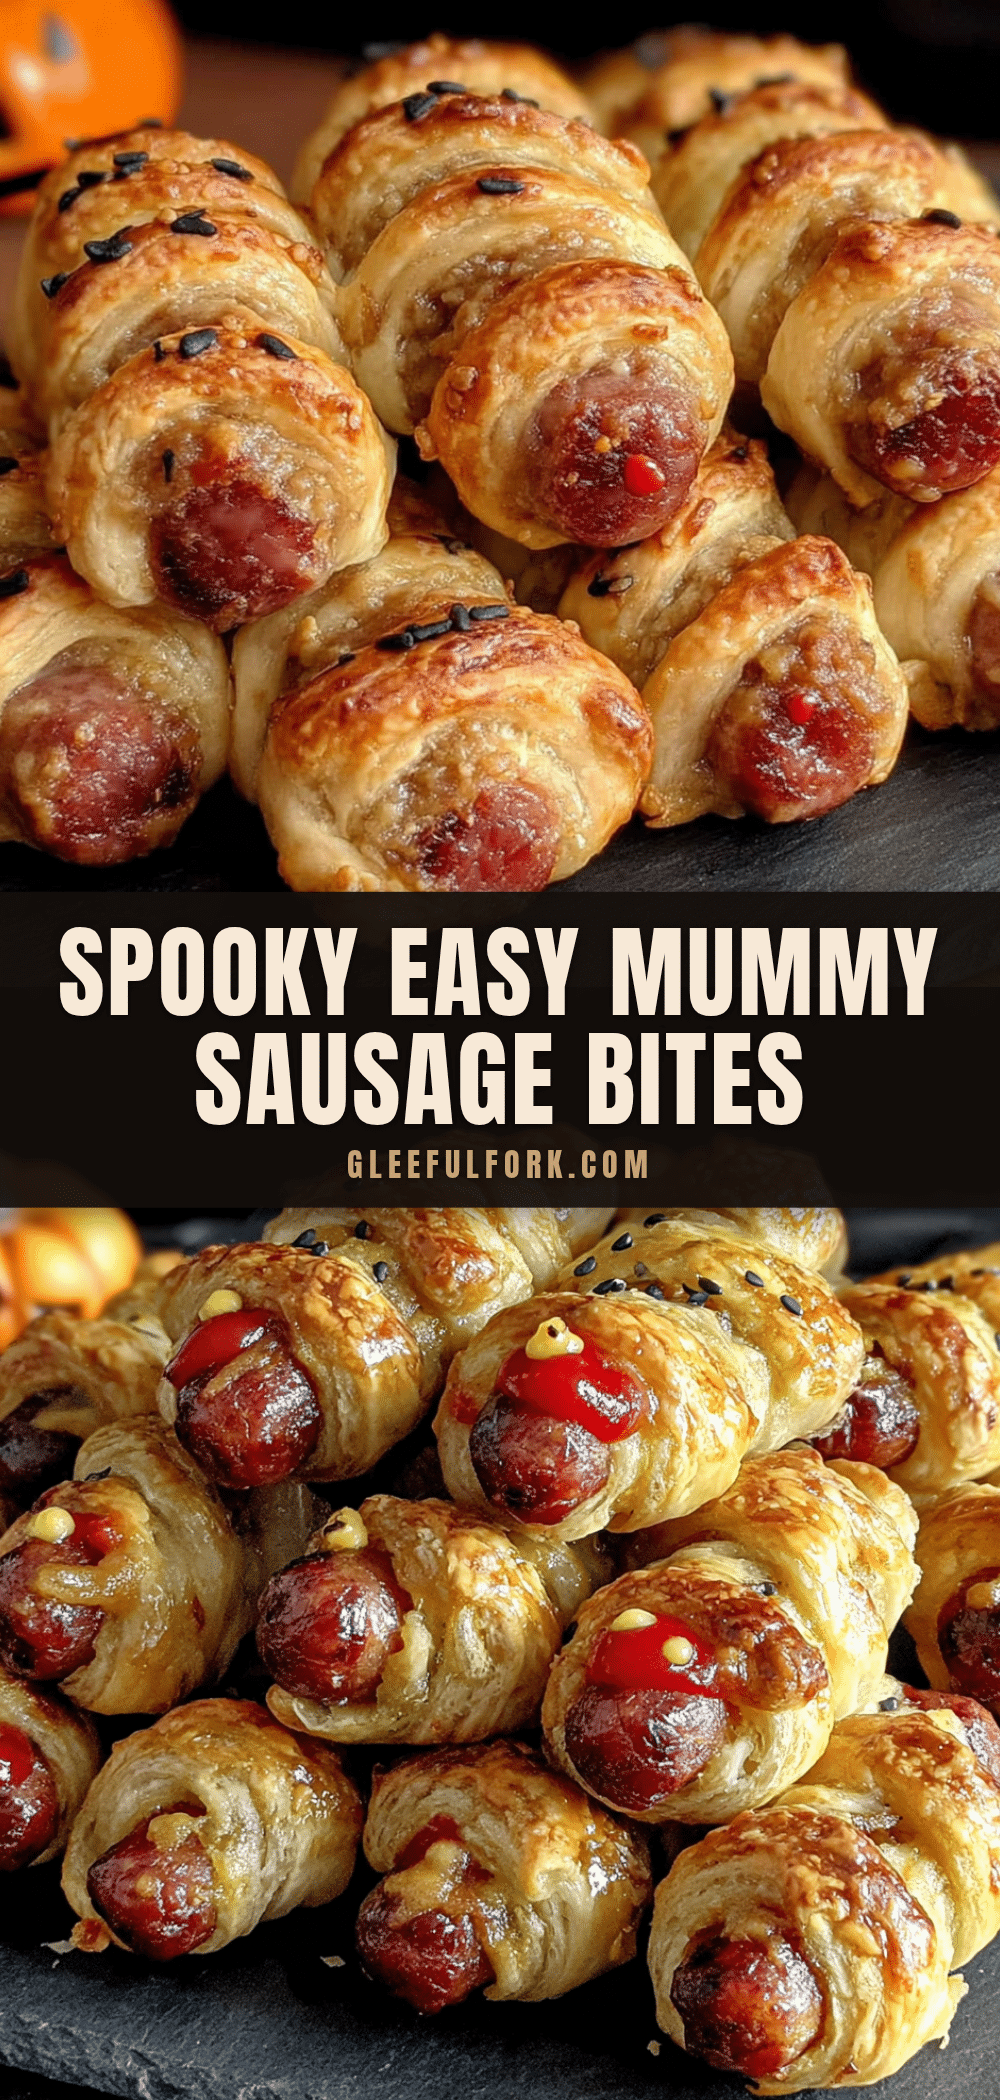
Easy Mummy Wrapped Sausage Bites: Perfect Halloween Appetizer

These Easy Mummy Wrapped Sausage Halloween Bites are a quick, fun, and delicious appetizer perfect for Halloween parties. Made with just four main ingredients, they come together in about 20 minutes and are sure to be a crowd-pleaser.
- Prep Time: 10 minutes
- Cook Time: 12 minutes
- Total Time: 22 minutes
- Yield: 4 servings (about 12-14 mummies) 1x
- Category: Appetizer
- Cuisine: American
Ingredients
- 1 package (12-14 ounces) cocktail sausages or little smokies
- 1 can (8 ounces) crescent roll dough
- Yellow mustard (for eyes)
- 1 large egg (for egg wash)
- 1 tablespoon water (for egg wash)
- Non-stick cooking spray or parchment paper (for baking sheet)
- Optional: garlic powder, onion powder, everything bagel seasoning, sesame seeds
Instructions
- Preheat your oven to 375°F (190°C). Line a baking sheet with parchment paper or lightly spray with non-stick cooking spray.
- Unroll the crescent roll dough and separate it along the perforated lines into 8 triangles. Place them on a clean cutting board or work surface.
- Cut each triangle lengthwise into strips about 1/2 inch wide. You should get about 4-5 strips per triangle.
- Take one cocktail sausage and start wrapping a dough strip around it, leaving a small gap near the top for the ‘face.’ Overlap the dough slightly as you wrap. Repeat with remaining sausages and dough strips.
- Place the wrapped sausages on the prepared baking sheet, spacing them about 1 inch apart.
- Brush each mummy with the egg wash (1 egg beaten with 1 tablespoon water).
- Bake for 10-12 minutes, or until the dough is golden brown and the sausages are heated through.
- Remove from the oven and let cool on the baking sheet for 2-3 minutes.
- Using a toothpick or the tip of a knife, dab a tiny amount of yellow mustard on each mummy for eyes (two small dots per mummy).
- Serve warm or at room temperature.
Notes
For best results, don’t overwork the dough. Space mummies at least 1 inch apart on the baking sheet. Start checking at 10 minutes to avoid burning. Yellow mustard gives the best ‘mummy’ look. Double the batch for parties (plan on 3-4 mummies per person). Unbaked mummies can be refrigerated up to 4 hours or frozen up to 2 months.
Nutrition
- Serving Size: 3 mummies
- Calories: 280
- Sugar: 4
- Sodium: 680
- Fat: 18
- Saturated Fat: 6
- Carbohydrates: 18
- Protein: 12
Keywords: Halloween appetizer, mummy sausage bites, easy Halloween recipe, cocktail sausages, crescent roll dough, party snack


