Love this? Save it for later!
Share the inspiration with your friends
There used to be a tiny bakery on the corner of Elm and 3rd that made the most incredible black velvet cupcakes. They weren’t just Halloween-themed—they were a year-round obsession. When the bakery closed suddenly two winters ago, I honestly felt a little lost. No other cupcake came close to that deep, dark color and the impossibly tender crumb.
After twelve tries—twelve, let me tell you—I finally cracked the code. The secret wasn’t a special ingredient but a specific technique. I burned through four batches of butter, stained my countertops a terrifying shade of gray, and probably consumed enough black cocoa to last a lifetime.
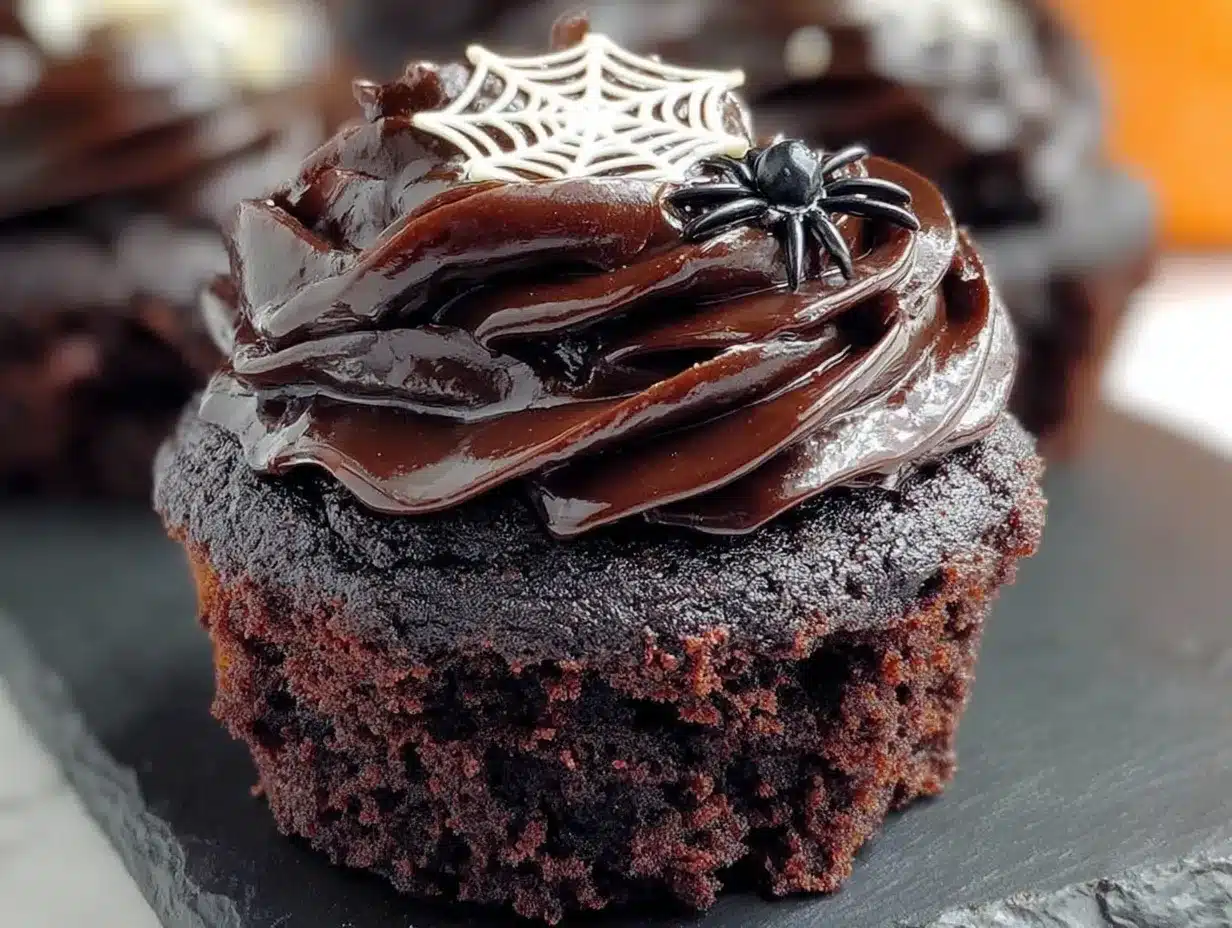
These Perfect Black Velvet Halloween Cupcakes with Spiderweb Icing are the result of that slightly obsessive journey. They’re everything I missed from that little bakery: the rich, almost chocolatey flavor, the velvety texture, and that dramatic black color that doesn’t taste artificial. The spiderweb icing is just the icing on the cake—literally. You know that feeling when you take a bite of something and it instantly transports you back to a specific memory? That’s what these cupcakes do for me. Maybe they’ll create a new Halloween tradition for you, too.
Why You’ll Love This Recipe
These aren’t your average Halloween cupcakes. I’ve tested this recipe more times than I care to admit, and here’s why it’s earned a permanent spot in my fall baking rotation.
- Stunning Visual Impact: The deep black color is completely natural-looking (no scary artificial dyes here) and the spiderweb icing is surprisingly easy to pull off.
- Perfectly Moist Texture: The combination of buttermilk and oil creates a crumb that stays tender for days—not dry and crumbly like some black cocoa recipes.
- Simple Ingredients: You likely have most of these in your pantry already. No hunting down obscure baking supplies.
- Make-Ahead Friendly: Bake the cupcakes a day ahead and ice them when you’re ready. They actually taste better the next day.
- Crowd-Pleaser for All Ages: Kids love the spooky design, and adults appreciate the sophisticated flavor. It’s the perfect Halloween party dessert.
What makes this recipe different from the rest is the technique. Instead of relying on loads of food coloring, we use black cocoa powder—the same stuff used in Oreos—for that authentic color and a subtle chocolate flavor. The spiderweb icing isn’t just for show; the cream cheese buttercream balances the dark cocoa beautifully. This is comfort food with a spooky twist: familiar, satisfying, but with a dramatic Halloween makeover.
What Ingredients You Will Need
This recipe uses simple, wholesome ingredients to deliver that signature black velvet color and tender crumb. Most are pantry staples, but a few key players make all the difference.
For the Cupcakes
- All-purpose flour – 1 ½ cups (190g) – Spoon and level it for the most accurate measurement.
- Black cocoa powder – ½ cup (50g) – This is the star. I prefer the brand “Rodelle” for its deep color and smooth flavor. Regular Dutch-process cocoa will work but won’t give you that true black color.
- Granulated sugar – 1 cup (200g) – Adds sweetness and helps with browning (even in black cupcakes).
- Baking soda – 1 teaspoon – Helps the cupcakes rise and creates a tender crumb.
- Salt – ½ teaspoon – Balances the sweetness and enhances the cocoa flavor.
- Vegetable oil – ½ cup (120ml) – Keeps the cupcakes incredibly moist. Canola or any neutral oil works.
- Buttermilk – ¾ cup (180ml) – The acidity reacts with the baking soda for a light texture. No buttermilk? Add 1 tablespoon of lemon juice to regular milk and let it sit for 5 minutes.
- Large eggs – 2, at room temperature – Room-temperature eggs incorporate more air for a lighter crumb.
- Vanilla extract – 2 teaspoons – Use pure vanilla, not imitation, for the best flavor.
- White vinegar – 1 teaspoon – Sounds weird, but it reacts with the baking soda for extra lift. Trust me on this one.
- Black food coloring (optional) – 1-2 teaspoons – If you want an even darker, more intense black. I use “Americolor Super Black” gel for best results.
For the Cream Cheese Spiderweb Icing
- Cream cheese – 8 oz (226g), softened – Full-fat is best for a stable icing that pipes well.
- Unsalted butter – ½ cup (113g), softened – Let it sit out for at least an hour.
- Powdered sugar – 4 cups (480g), sifted – Sifting prevents lumps in your icing.
- Vanilla extract – 1 teaspoon – Adds warmth to the tangy cream cheese.
- Pinch of salt – Just a tiny bit to cut the sweetness.
- White icing – ¼ cup (for the spiderweb design) – Any store-bought white icing works, or make a small batch of royal icing.
Equipment Needed
You don’t need a professional bakery setup for these cupcakes, but a few tools will make the process much smoother.
- Standard 12-cup muffin tin – Non-stick is fine, but I recommend lining it with paper cupcake liners for easy removal.
- Black or Halloween-themed cupcake liners – These really make the spiderweb design pop.
- Electric hand mixer or stand mixer – For creaming the butter and cream cheese. A whisk and some elbow grease work too, but your arm will thank you for the mixer.
- Large mixing bowls – At least two: one for dry ingredients, one for wet.
- Wire whisk – For combining dry ingredients evenly.
- Rubber spatula – For scraping down the bowl and folding in the final ingredients.
- Piping bag with a round tip – A #12 round tip or just a zip-top bag with the corner snipped off works perfectly.
- Small offset spatula – For smoothing the icing. A butter knife works in a pinch.
- Toothpick or skewer – For creating the spiderweb design.
If you don’t have a piping bag, honestly, a sturdy zip-top bag with a tiny hole cut in the corner does the job just fine. I’ve used that method more times than I can count.
Preparation Method
Let’s get baking! This recipe takes about 20 minutes of active prep and 18-20 minutes to bake. The icing and decorating add another 15 minutes.
- Preheat your oven to 350°F (175°C). Line your muffin tin with 12 cupcake liners. If you’re using black liners, you won’t even see the cupcake color—it’s a fun little surprise when you peel them off.
- Whisk the dry ingredients together. In a large bowl, combine the flour, black cocoa powder, sugar, baking soda, and salt. Whisk until everything is evenly distributed. The cocoa tends to clump, so break up any lumps with your whisk.
- Mix the wet ingredients. In a separate bowl, whisk together the vegetable oil, buttermilk, eggs, vanilla extract, and white vinegar. If you’re using the optional black food coloring, add it now. The mixture will look a bit like thin, grayish mud—don’t worry, that’s normal.
- Combine wet and dry ingredients. Pour the wet mixture into the dry ingredients. Use a rubber spatula to fold everything together gently. Mix just until no streaks of flour remain. Overmixing will make the cupcakes tough. The batter will be thin—thinner than regular cake batter. That’s exactly what you want.
- Fill the cupcake liners. Use a cookie scoop or a spoon to fill each liner about ⅔ full. An ice cream scoop with a release mechanism makes this step so much cleaner. I use a 2-tablespoon scoop for consistent sizing.
- Bake for 18-20 minutes. The cupcakes are done when a toothpick inserted into the center comes out clean or with a few moist crumbs. The tops should spring back when lightly touched. Don’t overbake—black cocoa makes it harder to see the color change, so rely on the toothpick test.
- Cool completely. Let the cupcakes cool in the pan for 5 minutes, then transfer them to a wire rack to cool completely. I know it’s tempting, but don’t ice them while they’re warm or the icing will melt into a puddle.
- Make the cream cheese icing. While the cupcakes cool, beat the softened cream cheese and butter together until smooth and fluffy—about 2 minutes. Gradually add the sifted powdered sugar, one cup at a time, beating on low speed. Add the vanilla and salt, then increase to medium speed and beat for another minute until light and airy. If the icing is too thick, add a tablespoon of milk. If it’s too thin, add more powdered sugar.
- Ice the cupcakes. Use an offset spatula or piping bag to spread or pipe a smooth layer of icing over each cooled cupcake. A generous swirl looks beautiful, but a flat, smooth surface works best for the spiderweb design.
- Create the spiderweb design. Pipe three to four concentric circles of white icing on top of each cupcake, starting from the center and working outward. Then, use a toothpick or skewer to drag lines from the center to the edge, creating the web effect. Wipe the toothpick clean between each line for the cleanest look.
Cooking Tips & Techniques
After making these cupcakes more times than I’d like to admit, I’ve picked up a few tricks that make a real difference.
- Don’t skip the vinegar. I know it sounds bizarre, but the vinegar reacts with the baking soda to create extra lift. You can’t taste it at all—I promise. I forgot it once and the cupcakes came out dense and flat.
- Room temperature ingredients matter. Cold eggs and buttermilk won’t emulsify properly with the oil, leading to a denser crumb. Let them sit on the counter for 30 minutes before you start.
- Black cocoa is naturally less sweet. Don’t be tempted to reduce the sugar. The bitterness of the cocoa needs that sweetness to balance out. The first time I made these, I cut the sugar by a quarter cup and regretted it instantly.
- For the cleanest spiderweb lines, chill the iced cupcakes for 10 minutes. This firms up the cream cheese icing so the white icing doesn’t sink in. I learned this the hard way after my first batch turned into a gray, muddy mess.
- Use a toothpick, not a knife. A toothpick creates thinner, more precise lines. A knife tends to drag too much icing and blur the design.
Variations & Adaptations
This recipe is flexible—here are a few ways to make it your own.
- Gluten-Free Version: Swap the all-purpose flour with a 1:1 gluten-free baking blend. I’ve used Bob’s Red Mill with great results. Add 1 teaspoon of xanthan gum if your blend doesn’t already include it.
- Dairy-Free Adaptation: Use full-fat coconut milk mixed with 1 tablespoon of lemon juice instead of buttermilk, and vegan cream cheese and butter for the icing. The texture will be slightly denser but still delicious.
- Chocolate Lover’s Twist: Add ½ cup of dark chocolate chips to the batter before baking. They sink to the bottom and create a fudgy surprise layer.
- Spiderweb Variations: Instead of white icing, use orange or green colored icing for the web. Or skip the web entirely and top each cupcake with a plastic spider ring for instant kid-approved fun.
- Mini Cupcakes: Bake in mini muffin tins for 10-12 minutes. Perfect for Halloween parties where you want a bite-sized treat.
Serving & Storage Suggestions
These cupcakes are best served at room temperature. The cream cheese icing softens beautifully, and the cake is at its most tender. Arrange them on a black cake stand or a platter lined with orange and black napkins for maximum Halloween effect.
For storage, keep them in an airtight container in the refrigerator for up to 4 days. The cream cheese icing needs to stay chilled if you’re not serving them immediately. Let them sit at room temperature for 15 minutes before serving to take the chill off.
You can freeze the un-iced cupcakes for up to 3 months. Wrap each one tightly in plastic wrap, then place them in a freezer bag. Thaw overnight in the refrigerator, then bring to room temperature before icing and decorating.
The flavors actually develop overnight. I honestly prefer these cupcakes on day two—the black cocoa mellows out and the crumb becomes even more tender. Just don’t ice them until you’re ready to serve.
Nutritional Information & Benefits
Here’s the approximate nutritional breakdown for one cupcake (based on 12 servings, with icing):
| Nutrient | Amount per Cupcake |
|---|---|
| Calories | 385 |
| Total Fat | 18g |
| Saturated Fat | 8g |
| Carbohydrates | 52g |
| Sugar | 38g |
| Protein | 4g |
While these are definitely a treat, black cocoa powder is rich in antioxidants—more so than regular cocoa. The cream cheese adds a small amount of calcium and protein. For a lighter version, you can reduce the icing amount or use a low-fat cream cheese. But honestly, Halloween is about indulgence, and these cupcakes are worth every bite. If you have dietary restrictions, the gluten-free and dairy-free variations above work beautifully.
Conclusion
These Perfect Black Velvet Halloween Cupcakes with Spiderweb Icing are the kind of recipe that becomes a tradition. They’re dramatic enough to impress at a party but simple enough to whip up on a random October afternoon just because. The deep, dark color and tender crumb capture everything I loved about that little bakery—and now they’re part of my own Halloween celebrations.
Don’t be afraid to make them your own. Maybe you’ll add orange sprinkles, or use a ghost-shaped cookie cutter for a different design. That’s the beauty of baking—it’s personal. I’d love to hear how yours turn out. Drop a comment below and tell me about your favorite Halloween baking memory, or share a photo of your spiderweb design. And if you’re looking for more spooky season inspiration, try my spiderweb dip or pumpkin sheet cake for another crowd-pleasing treat. Happy baking, and may your cupcakes be perfectly dark and your spiderwebs perfectly spooky!
Frequently Asked Questions
Can I use regular cocoa powder instead of black cocoa?
Yes, but the color will be dark brown, not black. Add an extra tablespoon of black food coloring to compensate. The flavor will also be more intensely chocolatey and less Oreo-like.
Why did my cupcakes turn out gray instead of black?
This usually happens when you don’t use enough black cocoa powder or food coloring. Make sure you’re measuring the cocoa correctly (spoon and level it) and don’t skip the optional food coloring if you want that dramatic black color.
Can I make the spiderweb icing ahead of time?
Absolutely. The cream cheese icing can be made up to 3 days in advance and stored in the refrigerator. Let it come to room temperature and re-whip it for a minute before piping.
How do I get clean spiderweb lines?
Chill the iced cupcakes for 10 minutes before adding the white circles. Use a toothpick and wipe it clean after each line. Drag from the center outward, not the other way around.
Can I freeze the fully decorated cupcakes?
I don’t recommend it. The cream cheese icing can become watery when thawed. Freeze the un-iced cupcakes instead, then ice and decorate them fresh on the day you plan to serve them.
Pin This Recipe!
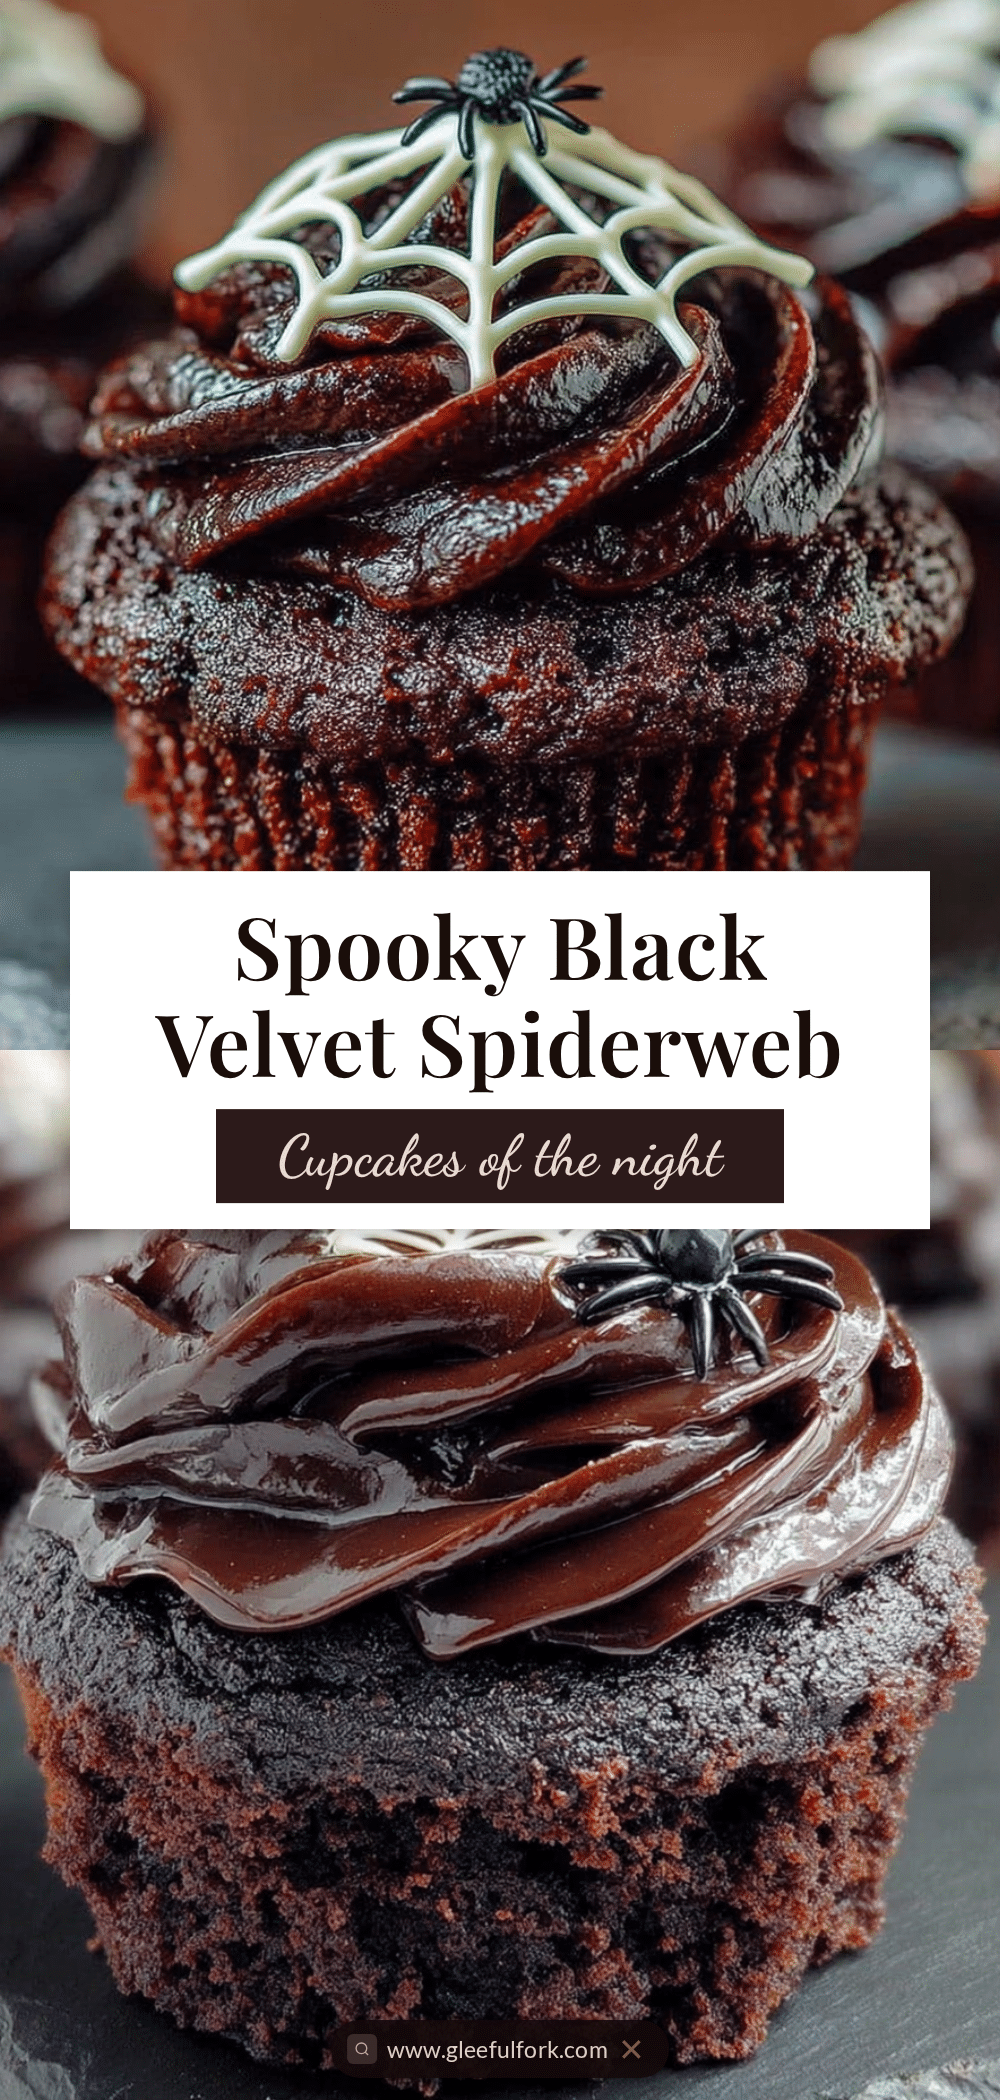
Perfect Black Velvet Cupcakes: Easy Spiderweb Halloween Recipe
These Perfect Black Velvet Halloween Cupcakes with Spiderweb Icing are rich, moist, and feature a dramatic black color from black cocoa powder. The cream cheese icing with a spiderweb design makes them a stunning and delicious Halloween treat.
- Prep Time: 20 minutes
- Cook Time: 18-20 minutes
- Total Time: 38-40 minutes
- Yield: 12 servings 1x
- Category: Dessert
- Cuisine: American
Ingredients
- 1 ½ cups (190g) all-purpose flour
- ½ cup (50g) black cocoa powder
- 1 cup (200g) granulated sugar
- 1 teaspoon baking soda
- ½ teaspoon salt
- ½ cup (120ml) vegetable oil
- ¾ cup (180ml) buttermilk
- 2 large eggs, at room temperature
- 2 teaspoons vanilla extract
- 1 teaspoon white vinegar
- 1–2 teaspoons black food coloring (optional)
- 8 oz (226g) cream cheese, softened
- ½ cup (113g) unsalted butter, softened
- 4 cups (480g) powdered sugar, sifted
- 1 teaspoon vanilla extract
- Pinch of salt
- ¼ cup white icing (for spiderweb design)
Instructions
- Preheat your oven to 350°F (175°C). Line your muffin tin with 12 cupcake liners.
- In a large bowl, whisk together the flour, black cocoa powder, sugar, baking soda, and salt until evenly distributed.
- In a separate bowl, whisk together the vegetable oil, buttermilk, eggs, vanilla extract, white vinegar, and optional black food coloring.
- Pour the wet mixture into the dry ingredients. Fold gently with a rubber spatula until just combined. The batter will be thin.
- Fill each cupcake liner about ⅔ full using a cookie scoop or spoon.
- Bake for 18-20 minutes, until a toothpick inserted into the center comes out clean or with a few moist crumbs.
- Let the cupcakes cool in the pan for 5 minutes, then transfer to a wire rack to cool completely.
- While the cupcakes cool, beat the softened cream cheese and butter together until smooth and fluffy, about 2 minutes.
- Gradually add the sifted powdered sugar, one cup at a time, beating on low speed. Add vanilla and salt, then beat on medium speed for 1 minute until light and airy.
- Ice the cooled cupcakes with a smooth layer of cream cheese icing using an offset spatula or piping bag.
- Pipe 3-4 concentric circles of white icing on top of each cupcake, starting from the center and working outward.
- Use a toothpick or skewer to drag lines from the center to the edge, creating a spiderweb effect. Wipe the toothpick clean between each line.
Notes
Don’t skip the vinegar; it reacts with baking soda for extra lift. Use room temperature ingredients for best texture. Black cocoa is less sweet, so don’t reduce sugar. For clean spiderweb lines, chill iced cupcakes for 10 minutes before adding white circles. Use a toothpick for precise lines. Cupcakes can be stored in an airtight container in the refrigerator for up to 4 days. Un-iced cupcakes can be frozen for up to 3 months.
Nutrition
- Serving Size: 1 cupcake
- Calories: 385
- Sugar: 38
- Fat: 18
- Saturated Fat: 8
- Carbohydrates: 52
- Protein: 4
Keywords: Halloween cupcakes, black velvet cupcakes, spiderweb cupcakes, black cocoa cupcakes, cream cheese frosting, Halloween dessert


