Love this? Save it for later!
Share the inspiration with your friends
My sophomore year of high school, I was convinced I had it all figured out. I’d wake up at 5:45 AM, grab a granola bar, and sprint to the bus stop. Lunch was whatever was in the vending machine—usually a bag of pretzels and a Gatorade. By third period, I was starving, and by sixth period, I was practically falling asleep at my desk. My mom tried to pack me lunches for a while, but honestly, I was picky and she was busy, and the sandwiches always got soggy by noon. It was a mess.
Then, one random Tuesday, my friend Chloe pulled out this container at lunch. It was filled with rice, chicken, and broccoli, and it actually looked good. Not sad, not wilted, not a squished sandwich. She said her older sister made five of them every single Sunday. Five bowls, five days, done. I was skeptical—I mean, doesn’t food get weird after a few days? But she insisted it worked. So I tried it. That first week, I made a simple bowl with ground beef, corn, and black beans. I honestly didn’t expect it to last, but by Thursday, I was actually looking forward to lunch. No vending machine, no hangry meltdowns, no spending my allowance on overpriced snacks.
That was three years ago, and I haven’t looked back. These Easy High School Meal-Prep Lunch Bowls for 5 Days changed everything for me. They’re forgiving, flexible, and perfect for someone who has zero time in the morning. You can make them on a Sunday afternoon, throw them in the fridge, and grab one on your way out the door. No thinking, no stress. Maybe you’ve been there—staring into the fridge at 7 AM, hoping something edible appears. These bowls are the answer. Let me show you how to make them.
Why You’ll Love This Recipe
Let’s be real: high school is chaotic. Between classes, clubs, homework, and trying to have a social life, who has time to think about lunch? These meal-prep bowls take that pressure off completely. Here’s why they’re a total game-changer:
- Quick & Easy: You’ll spend about an hour on Sunday, and then you’re set for the entire school week. No daily prep, no morning rush.
- Simple Ingredients: Everything is from a standard grocery store. You probably already have salt, pepper, and oil in your pantry.
- Perfect for Busy Students: Whether you’re in a rush between classes or need something to eat during a study hall, these bowls are portable and satisfying.
- Crowd-Pleaser: I’ve made these for friends, and even the picky eaters go back for seconds. The flavors are mild but delicious, and everyone can customize their own.
- Unbelievably Budget-Friendly: Making five lunches for the price of maybe two fast-food meals? Yes, please. Your wallet will thank you.
What makes these bowls different from just throwing leftovers in a container? It’s the balance. The grains stay fluffy, the protein stays juicy, and the veggies keep their crunch. The trick is in the layering and the sauce. I’ve tested this method more times than I can count, and it works every single time. This isn’t just another meal prep idea—it’s the one that actually tastes good on day five. Trust me, I learned the hard way what doesn’t work (soggy lettuce, anyone?).
This recipe is the kind that makes you feel like you’ve got your life together. It’s comfort food that’s actually good for you, and it gives you one less thing to stress about during the school week. Honestly, that’s priceless.
What Ingredients You Will Need
This recipe uses simple, pantry-friendly ingredients that come together to create a balanced, satisfying lunch. No fancy superfoods or specialty items here—just good, honest food that tastes great and keeps you full through sixth period.
- Cooked Grains (5 cups total, about 1 cup per bowl): I use white rice because it’s cheap and reheats well, but brown rice, quinoa, or even couscous work great. For a low-carb option, try cauliflower rice.
- Protein (1.5 to 2 pounds, cooked and seasoned): My go-to is ground turkey or lean ground beef. You can also use diced chicken breast, shredded rotisserie chicken, or even canned black beans for a vegetarian version. I prefer 93% lean ground turkey—it’s not too dry and takes on flavor beautifully.
- Roasted Vegetables (about 4 cups total): Broccoli florets, bell peppers (any color), and zucchini are my favorites. They roast up sweet and tender. You can also use frozen mixed vegetables if you’re short on time—just thaw and pat them dry before roasting.
- Black Beans (1 can, 15 ounces, drained and rinsed): Adds fiber and makes the bowls more filling. If you don’t like beans, skip them or use chickpeas instead.
- Corn (1 can, 15 ounces, drained, or 1.5 cups frozen): Sweet corn adds a pop of color and a little crunch. Frozen corn works perfectly—just let it thaw or add it frozen right to the bowl (it will thaw by lunchtime).
- Shredded Cheese (1 cup, optional): Cheddar, Monterey Jack, or a Mexican blend melts nicely. Omit for dairy-free.
- Sauce (about 1/4 cup per bowl): I make a simple lime-cilantro dressing (recipe below), but bottled salsa, ranch, or even a squeeze of hot sauce works. The sauce is what keeps the bowls from feeling dry on day four.
- Fresh Toppings (optional but recommended): Fresh cilantro, diced avocado (add on the day you eat it), sliced green onions, or a squeeze of lime juice. These brighten everything up.
For the Lime-Cilantro Dressing:
- 1/2 cup plain Greek yogurt (or sour cream)
- Juice of 2 limes (about 3 tablespoons)
- 1/4 cup fresh cilantro, finely chopped
- 1 clove garlic, minced
- 1/4 teaspoon salt
- 1/4 teaspoon cumin
- 2 tablespoons olive oil or water (to thin)
I recommend using full-fat Greek yogurt for the creamiest dressing. If you’re dairy-free, a simple vinaigrette of olive oil, lime juice, and salt works just as well.
Equipment Needed
You don’t need a professional kitchen to make these bowls, but a few key tools make the process much smoother.
- 5 Meal-Prep Containers (about 3-cup capacity each): Glass or BPA-free plastic with tight-fitting lids. I use glass because they don’t stain or hold odors, but plastic is lighter for carrying to school.
- Baking Sheet (1 large, rimmed): For roasting the vegetables. A half-sheet pan works best.
- Large Skillet or Pan: For cooking the ground meat or chicken. A non-stick pan makes cleanup easier.
- Medium Pot: For cooking rice or grains. A rice cooker works too if you have one.
- Cutting Board and Chef’s Knife: For chopping veggies and cilantro.
- Mixing Bowl: For whisking the dressing.
- Measuring Cups and Spoons: For portioning ingredients evenly.
If you don’t have a baking sheet, you can roast veggies in a cast-iron skillet or even an air fryer (at 375°F for about 10 minutes). For the dressing, a jar with a lid works just as well as a bowl—just shake it up. I’ve made these bowls with the bare minimum equipment, and they still turned out great. Don’t let a lack of fancy tools stop you.
Preparation Method
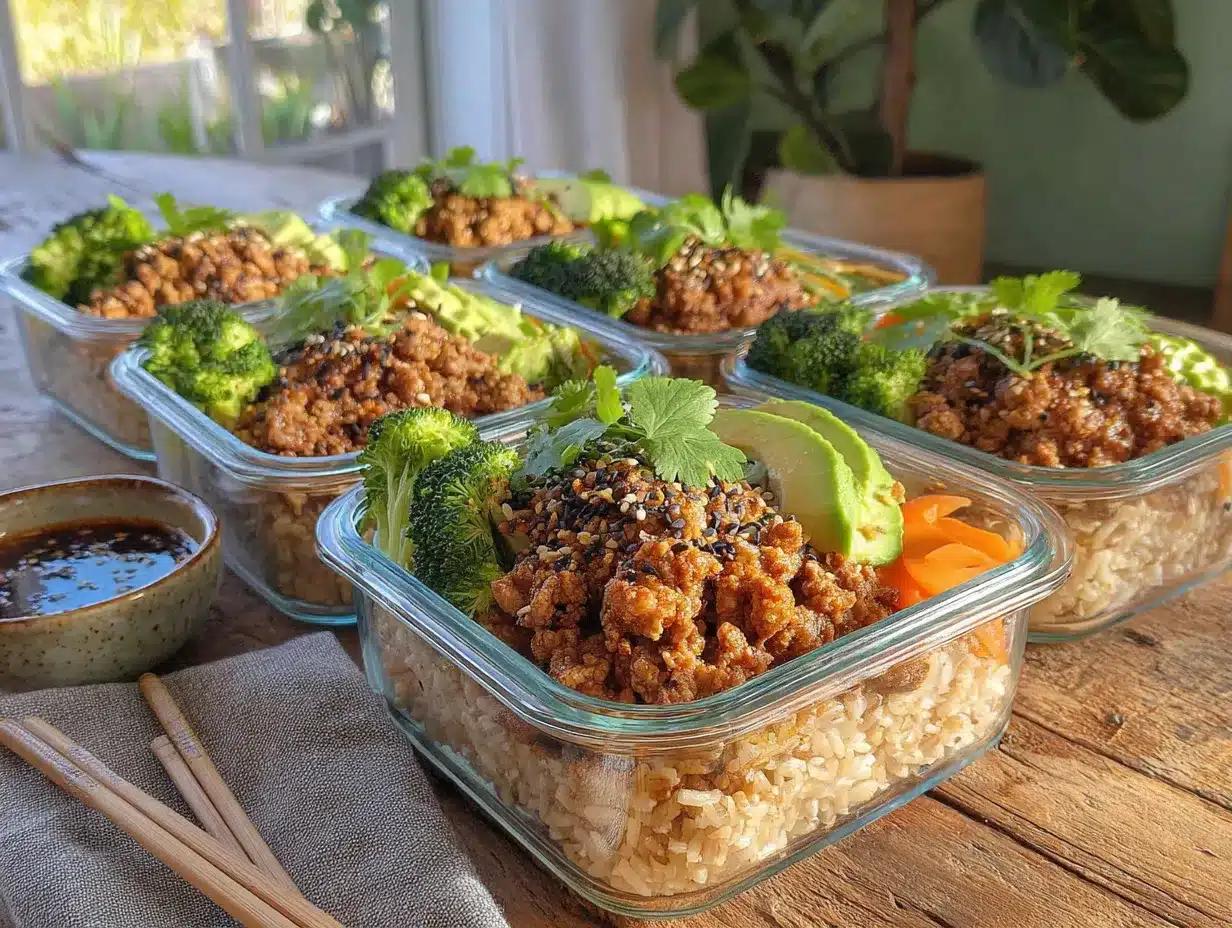
This method is designed to be efficient. You’ll cook everything at once, then assemble the bowls. Total active time is about 45 minutes, plus 15 minutes for assembly.
- Cook the Grains: Start your rice or quinoa according to package directions. For 5 cups of cooked rice, you’ll need about 2 cups of dry rice and 4 cups of water. Bring to a boil, then cover and simmer for 15-18 minutes. Fluff with a fork and let it cool slightly. (Pro tip: spread it on a plate to cool faster—this prevents it from getting mushy in the containers.)
- Preheat Oven to 400°F: While the rice cooks, preheat your oven. Line a baking sheet with parchment paper for easy cleanup.
- Prep the Vegetables: Wash and chop your broccoli into small florets (about 1-inch pieces). Dice bell peppers into 1/2-inch squares. Slice zucchini into half-moons. Toss all the veggies on the baking sheet with 2 tablespoons of olive oil, 1/2 teaspoon salt, and 1/4 teaspoon black pepper. Spread them in a single layer. Roast for 20-25 minutes, stirring halfway through, until they’re tender and slightly browned at the edges.
- Cook the Protein: While the veggies roast, heat a large skillet over medium-high heat. Add 1 teaspoon of oil. Add your ground turkey or beef (about 1.5 pounds). Break it apart with a spatula and cook for 6-8 minutes, until no longer pink. Season with 1 teaspoon chili powder, 1/2 teaspoon cumin, 1/2 teaspoon garlic powder, and 1/2 teaspoon salt. If using diced chicken, cook for 8-10 minutes, stirring occasionally, until cooked through. Drain any excess fat if needed.
- Prepare the Dressing: In a small bowl, whisk together the Greek yogurt, lime juice, cilantro, garlic, salt, and cumin. Add olive oil or water a tablespoon at a time until it reaches a pourable consistency. Taste and adjust salt or lime as needed. This dressing will keep for the whole week in the fridge.
- Warm the Beans and Corn: In a small microwave-safe bowl, combine the drained black beans and corn. Microwave for 1 minute, or until warm. Alternatively, you can add them to the skillet after the meat is done and stir for 1-2 minutes to warm through.
- Assemble the Bowls: Divide the rice evenly among the 5 containers (about 1 cup each). Top each with an even portion of the cooked protein (about 1/3 to 1/2 cup). Add the roasted vegetables, then a spoonful of beans and corn. Sprinkle with cheese if using. Drizzle about 2 tablespoons of the dressing over each bowl, but keep it on the side of the container if you prefer (I like to mix it all in on the day I eat it).
- Cool and Store: Let the bowls cool completely on the counter for about 20-30 minutes before putting the lids on. This prevents condensation from making everything soggy. Once cool, seal the lids and refrigerate.
Sensory Cues: Your kitchen should smell like roasted veggies and warm spices. The broccoli will look bright green and slightly caramelized. The meat should be browned and fragrant. The dressing should be creamy and tangy—give it a taste to make sure the lime comes through.
Cooking Tips & Techniques
I’ve made these bowls at least fifty times, and I’ve learned a few things the hard way. Here’s how to get it right every time.
Don’t Overcook the Vegetables: Mushy broccoli is a tragedy. Roast them just until they’re tender-crisp. They’ll soften a bit more in the fridge, so stopping a minute early is better than a minute late. If you’re using frozen veggies, pat them dry with a paper towel before roasting—extra moisture is the enemy of browning.
Season in Layers: Don’t just season the meat and call it a day. Season the rice with a pinch of salt and a squeeze of lime. Season the veggies with salt and pepper. Season the beans with a little cumin. Each layer should taste good on its own. When you eat the bowl together, the flavors will be balanced and bright.
Keep the Sauce Separate (or Not): If you’re worried about sogginess, store the dressing in a small container and add it right before eating. I’ve done it both ways, and honestly, for these bowls, mixing the dressing in on Sunday is fine. The grains and veggies hold up well. But if you’re using delicate greens like spinach, definitely keep the sauce separate.
Let Everything Cool Before Sealing: This is the most important tip. If you put hot food in a container and seal it, steam will create condensation, and your lunch will be soggy by Tuesday. Spread the rice out on a plate. Let the meat rest on the cutting board. Let the veggies sit on the baking sheet. Give it all 20-30 minutes to come to room temperature before you pack it up.
Reheating the Right Way: If you have access to a microwave at school, these bowls reheat perfectly in 2-3 minutes. Stir halfway through. If you don’t have a microwave, these bowls are actually pretty good cold—like a hearty salad. The roasted veggies are still tasty, and the dressing keeps everything moist.
My Biggest Failure: The first time I made these, I used too much dressing and added it while everything was still warm. By Wednesday, the rice was a mushy mess. I almost gave up on meal prep entirely. But I adjusted—less dressing, cooler ingredients—and now it’s foolproof. Learn from my mistake.
Variations & Adaptations
One of the best things about these bowls is how customizable they are. Here are a few ways to switch them up.
Vegetarian Version: Skip the meat and double up on the black beans. Add some roasted sweet potatoes for extra heartiness. You can also crumble in some firm tofu or tempeh, seasoned with the same chili powder and cumin.
Low-Carb / Keto: Replace the rice with cauliflower rice (roast it on the same baking sheet as the veggies, but watch it—it cooks faster, about 10-12 minutes). Use full-fat cheese and add a few slices of avocado on the day you eat it. The dressing with Greek yogurt is perfect for this.
Spicy Southwest: Add a diced jalapeño to the roasted veggies. Mix a teaspoon of chipotle powder into the meat seasoning. Top with a spoonful of salsa or pickled red onions. This version has a nice kick that wakes you up during a long school day.
Asian-Inspired: Swap the lime-cilantro dressing for a soy-ginger vinaigrette (soy sauce, rice vinegar, sesame oil, ginger, garlic). Use edamame instead of black beans, and top with sesame seeds and sliced green onions. Cook the protein with a little soy sauce and ginger instead of chili powder.
Breakfast for Lunch: Use breakfast sausage crumbles instead of ground beef. Add roasted potatoes instead of rice. Top with a fried egg (add it fresh) and a drizzle of sriracha. This is my personal favorite when I’m feeling nostalgic for weekend breakfasts.
Serving & Storage Suggestions
These bowls are designed to be eaten cold or reheated, so they’re incredibly versatile.
Serving Temperature: I prefer them reheated, but they’re genuinely good cold. If you’re eating them cold, let them sit out for 10 minutes to take the chill off. The flavors actually pop more at room temperature.
Presentation: In the container, it looks like a colorful layered bowl. When you’re ready to eat, stir everything together so the dressing coats every bite. If you’re feeling fancy, add a sprinkle of fresh cilantro or a squeeze of lime right before eating.
Storage: These bowls will last in the refrigerator for up to 5 days. Make sure the lids are sealed tight to prevent them from absorbing other fridge odors. I store them on the middle shelf where the temperature is most consistent.
Freezing: You can freeze these bowls for up to 2 months, but I recommend freezing them without the dressing and fresh toppings. Thaw overnight in the fridge, then reheat and add dressing before serving. The texture of the veggies will be slightly softer after freezing, but it’s still a solid lunch option for busy weeks.
How Flavors Develop: Honestly, these bowls taste even better on day 2 or 3. The flavors meld together, and the dressing soaks into the rice just enough. By day 4, the veggies are a little softer, but still delicious. Day 5 is still good—just make sure to give it a good stir.
Nutritional Information & Benefits
These bowls are balanced and nutrient-dense, making them a great choice for growing teenagers (and adults too).
Estimated Nutrition Per Bowl (with ground turkey, rice, veggies, beans, corn, cheese, and dressing):
- Calories: 450-500
- Protein: 30-35 grams
- Carbohydrates: 45-50 grams
- Fat: 15-18 grams
- Fiber: 8-10 grams
Health Benefits: The protein from the turkey and beans keeps you full and focused through afternoon classes. The fiber from the vegetables and beans supports digestion and steady energy levels. The lime-cilantro dressing provides a dose of probiotics (from the Greek yogurt) and vitamin C from the lime juice. This is a lunch that fuels your brain and body—no more afternoon slumps.
Dietary Considerations: This recipe is naturally gluten-free (just check your spice blends for additives). To make it dairy-free, skip the cheese and use a dairy-free yogurt or vinaigrette for the dressing. It’s also nut-free and egg-free as written.
Potential Allergens: Dairy (from cheese and yogurt). If you’re sensitive to dairy, the substitutions above work perfectly.
Personal Wellness Perspective: I used to think “healthy lunch” meant a sad salad. These bowls changed my mind. They’re satisfying in a way that keeps me from reaching for chips an hour later. It’s real food, made ahead, and it makes me feel good—both physically and mentally, knowing I’ve got one less thing to worry about.
Conclusion
These Easy High School Meal-Prep Lunch Bowls for 5 Days are more than just a recipe—they’re a system. They take the guesswork out of lunch, save you money, and actually taste good. Whether you’re a busy student, a parent packing lunches, or just someone who wants to eat better without spending hours in the kitchen, these bowls are for you.
I love that this recipe is forgiving. You can swap ingredients based on what you have, adjust the seasonings to your taste, and it still works. It’s not a rigid formula—it’s a framework. And honestly, that’s what makes it so reliable. You can make it your own.
So this Sunday, give it a try. Spend an hour in the kitchen, and you’ll be thanking yourself on Wednesday when lunch is ready and waiting. If you make these bowls, I’d love to hear how they turned out. Leave a comment below and tell me what variations you tried. Did you add hot sauce? Swap the rice for quinoa? I want to know! Share this recipe with a friend who needs a lunch upgrade, and let’s make school days a little easier, one bowl at a time. Happy prepping!
Frequently Asked Questions
Can I use frozen vegetables instead of fresh?
Absolutely. Frozen broccoli, bell peppers, and mixed vegetables work well. Just thaw them first and pat them dry with a paper towel to remove excess moisture before roasting. This helps them brown instead of steam.
How do I keep the rice from getting hard in the fridge?
The key is to slightly undercook the rice by a minute or two, and to let it cool completely before sealing the container. Also, the dressing adds moisture that helps keep the rice tender. If your rice does get hard, sprinkle a teaspoon of water over it before reheating.
Can I meal prep these bowls for more than 5 days?
I wouldn’t recommend it. The vegetables start to lose their texture after about 5 days, and the flavors can become a bit flat. If you want to prep for longer, freeze the bowls (without dressing) and thaw as needed. They’ll keep in the freezer for up to 2 months.
What if I don’t have a microwave at school?
No problem! These bowls are delicious cold. The roasted vegetables are still tasty, and the dressing keeps everything moist. You can also pack them with a small ice pack to keep them cool until lunch. If you prefer warm food, try packing them in a thermos-style food jar.
Can I use a different protein every day?
Yes! You can cook a few different proteins on Sunday and mix them up. For example, make ground turkey for Monday and Tuesday, and diced chicken for Wednesday through Friday. Just store them separately in the fridge and assemble each bowl with the protein you want that day. It keeps things interesting.
Pin This Recipe!
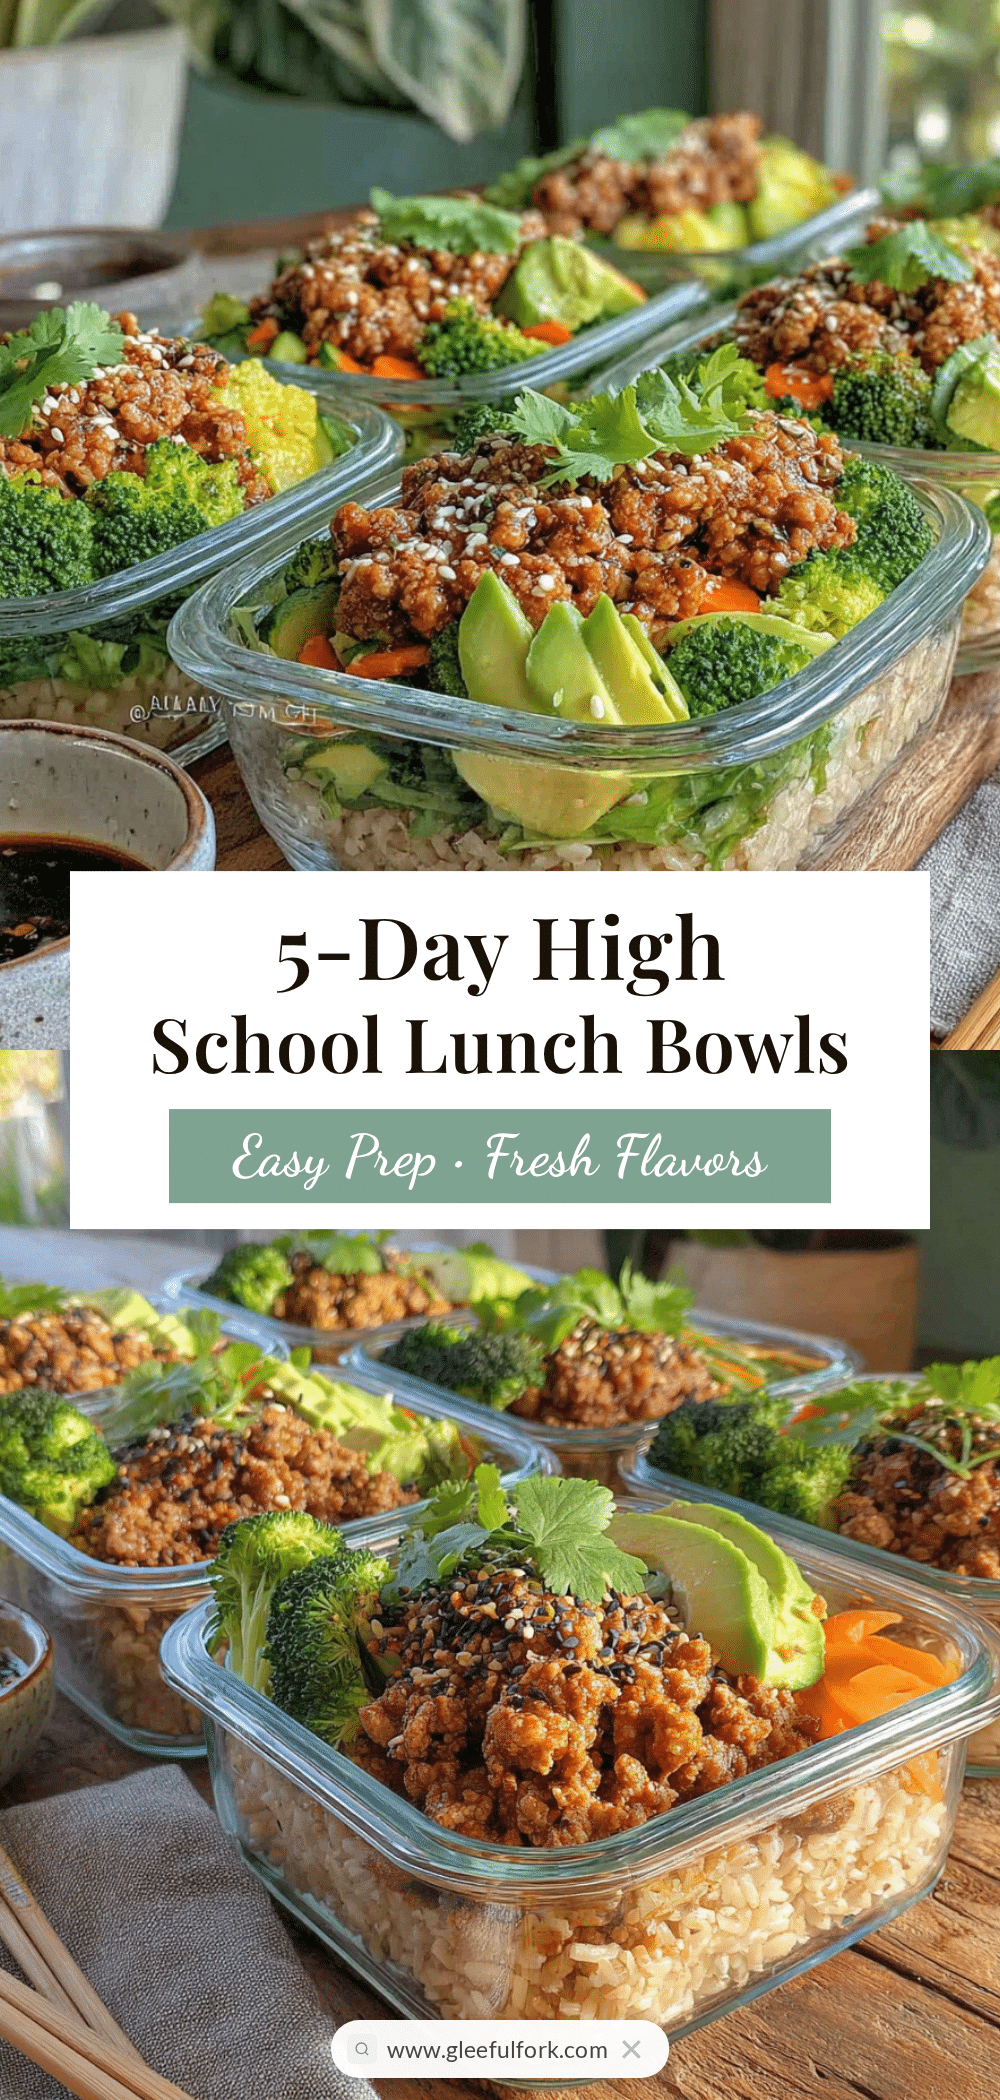
Easy High School Meal-Prep Lunch Bowls for 5 Days
These easy meal-prep lunch bowls are perfect for busy high school students. Make five balanced, delicious bowls on Sunday and enjoy a stress-free lunch all week long.
- Prep Time: 15 minutes
- Cook Time: 30 minutes
- Total Time: 45 minutes
- Yield: 5 servings 1x
- Category: Main Course
- Cuisine: American
Ingredients
- 5 cups cooked grains (white rice, brown rice, quinoa, or couscous)
- 1.5 to 2 pounds ground turkey or lean ground beef (or diced chicken, shredded rotisserie chicken, or canned black beans for vegetarian)
- 4 cups mixed vegetables (broccoli florets, bell peppers, zucchini)
- 1 can (15 ounces) black beans, drained and rinsed
- 1 can (15 ounces) corn, drained (or 1.5 cups frozen corn)
- 1 cup shredded cheese (cheddar, Monterey Jack, or Mexican blend, optional)
- For the Lime-Cilantro Dressing:
- 1/2 cup plain Greek yogurt (or sour cream)
- Juice of 2 limes (about 3 tablespoons)
- 1/4 cup fresh cilantro, finely chopped
- 1 clove garlic, minced
- 1/4 teaspoon salt
- 1/4 teaspoon cumin
- 2 tablespoons olive oil or water (to thin)
- 2 tablespoons olive oil (for roasting vegetables)
- 1/2 teaspoon salt (for vegetables)
- 1/4 teaspoon black pepper (for vegetables)
- 1 teaspoon chili powder (for meat)
- 1/2 teaspoon cumin (for meat)
- 1/2 teaspoon garlic powder (for meat)
- 1/2 teaspoon salt (for meat)
Instructions
- Cook the grains according to package directions. For 5 cups of cooked rice, use about 2 cups dry rice and 4 cups water. Bring to a boil, cover, and simmer for 15-18 minutes. Fluff with a fork and let cool slightly.
- Preheat oven to 400°F. Line a baking sheet with parchment paper.
- Wash and chop vegetables: broccoli into 1-inch florets, bell peppers into 1/2-inch squares, zucchini into half-moons. Toss with 2 tablespoons olive oil, 1/2 teaspoon salt, and 1/4 teaspoon black pepper. Spread in a single layer on the baking sheet. Roast for 20-25 minutes, stirring halfway through, until tender and slightly browned.
- While vegetables roast, heat a large skillet over medium-high heat with 1 teaspoon oil. Add ground turkey or beef (about 1.5 pounds). Cook for 6-8 minutes, breaking apart, until no longer pink. Season with 1 teaspoon chili powder, 1/2 teaspoon cumin, 1/2 teaspoon garlic powder, and 1/2 teaspoon salt. Drain excess fat if needed.
- Prepare the dressing: In a small bowl, whisk together Greek yogurt, lime juice, cilantro, garlic, salt, and cumin. Add olive oil or water a tablespoon at a time until pourable. Adjust seasoning to taste.
- In a small microwave-safe bowl, combine drained black beans and corn. Microwave for 1 minute until warm. Alternatively, warm in the skillet after cooking meat for 1-2 minutes.
- Assemble the bowls: Divide rice evenly among 5 containers (about 1 cup each). Top each with an even portion of cooked protein (about 1/3 to 1/2 cup). Add roasted vegetables, then a spoonful of beans and corn. Sprinkle with cheese if using. Drizzle about 2 tablespoons of dressing over each bowl, or keep dressing on the side.
- Let bowls cool completely on the counter for 20-30 minutes before sealing lids. This prevents condensation. Once cool, seal and refrigerate.
Notes
Let everything cool completely before sealing to prevent sogginess. The bowls taste even better on day 2 or 3 as flavors meld. For best texture, slightly undercook the rice by a minute or two. If reheating, microwave for 2-3 minutes, stirring halfway. These bowls can also be eaten cold.
Nutrition
- Serving Size: 1 bowl
- Calories: 475
- Sugar: 6
- Sodium: 680
- Fat: 16.5
- Saturated Fat: 5
- Carbohydrates: 47.5
- Fiber: 9
- Protein: 32.5
Keywords: meal prep, lunch bowls, high school lunch, easy lunch, healthy lunch, budget-friendly, make-ahead


