Love this? Save it for later!
Share the inspiration with your friends
I wasn’t trying to be a Pinterest mom. Honestly, the whole rainbow fruit bento box lunch idea started on a Thursday morning when I had a half-eaten container of blueberries, a slightly bruised mango, and a four-year-old who had recently declared that “normal” lunches were “boring.” It was 7:45 AM, I was still in my slippers, and my daughter was sitting at the kitchen table with her arms crossed like a tiny, adorable union negotiator. That morning, I just started slicing. I didn’t have a plan, just a knife, a cutting board, and a desperate need to avoid another breakfast standoff. I arranged the fruit in color order—red strawberries, orange mango, yellow pineapple, green grapes, and those sad little blueberries—and slid the box across the table. She looked at it, looked at me, and said, “It’s a rainbow, Mommy.” And that was it. The bento box was empty when she came home, and she asked for “the rainbow lunch” again the next day. I mean, I’ve made a lot of things that ended up in the dog’s bowl, but this one stuck. Maybe you’ve been there—the morning scramble, the picky eater, the feeling that you’re losing the lunch battle before it even starts. This rainbow fruit bento box isn’t fancy, but it’s the recipe that saved my mornings. And honestly, I keep making it because watching a kid light up over a lunchbox full of color never gets old.
Why You’ll Love This Rainbow Fruit Bento Box Lunch
Let me tell you something I learned the hard way: kindergarteners eat with their eyes first. If it looks fun, they’ll try it. If it looks like “adult food,” good luck. This rainbow fruit bento box has been tested on multiple five-year-olds (including my own), and it passes the picky-eater test every single time. Here’s why this version is different from just throwing fruit in a container.
- Quick & Easy: You can assemble this in under 15 minutes, even on a chaotic school morning. I’ve timed myself. It’s faster than making a sandwich some days.
- Simple Ingredients: No fancy grocery trips needed. You likely already have most of these fruits in your kitchen or can grab them in the produce aisle without a second thought.
- Perfect for Kindergarten Lunches: It’s visually appealing, portion-controlled, and easy for little hands to manage. No utensils required for most of it.
- Crowd-Pleaser: I’ve sent this to school with my daughter, brought it to playdates, and even packed it for road trips. Kids and parents alike always comment on how pretty it looks.
- Unbelievably Delicious: The combination of sweet, tart, and juicy fruits creates a flavor party in a tiny box. It’s not just healthy—it’s genuinely satisfying.
What makes this recipe different from just “cutting up fruit”? It’s the intentional color arrangement and the mix of textures. I use a combination of firm fruits (like apples) and soft fruits (like berries) so every bite feels different. Plus, the rainbow presentation makes it feel like a treat, not a chore. This isn’t just another lunch—it’s the lunch that makes your kid feel special without you spending hours in the kitchen. It’s the kind of bento box that makes you close your eyes after that first bite of perfectly ripe mango.
What Ingredients You Will Need
This rainbow fruit bento box uses simple, wholesome ingredients to deliver a burst of color and nutrition without the fuss. The beauty of this recipe is its flexibility—you can swap fruits based on what’s in season or what your child prefers. Here’s what you’ll need to build each color of the rainbow.
For the Red Layer
- Strawberries, hulled and sliced (about 1/2 cup per box)
- Optional: raspberries or watermelon cubes (if strawberries aren’t available)
- Tip: Look for bright red, fragrant strawberries for the sweetest flavor. I personally prefer Driscoll’s when they’re in season.
For the Orange Layer
- Mango, peeled and cut into small cubes (about 1/3 cup per box)
- Optional: cantaloupe or orange segments (use a knife to remove the pith)
- Sourcing note: If mangoes aren’t ripe, use canned mango in juice (drained) as a backup. I’ve done this in a pinch, and it works.
For the Yellow Layer
- Pineapple, cut into small chunks (about 1/3 cup per box)
- Optional: banana slices (tossed in a little lemon juice to prevent browning) or yellow bell pepper strips (if your kid is adventurous)
- Personal tip: Fresh pineapple is best, but canned pineapple chunks in juice work well too. Just drain them thoroughly.
For the Green Layer
- Green grapes, halved lengthwise (about 1/3 cup per box)
- Optional: kiwi slices or green apple cubes (tossed in lemon water to prevent browning)
- Substitution: If grapes are a choking hazard for your child, use thinly sliced cucumber or honeydew melon instead.
For the Blue/Purple Layer
- Blueberries (about 1/4 cup per box)
- Optional: blackberries or purple grapes (halved)
- Selection tip: Look for firm, plump blueberries that are deep blue in color. I recommend buying organic if possible, as berries tend to have more pesticide residue.
Optional Add-Ins
- A small container of yogurt for dipping (Greek yogurt works great)
- A few pretzel sticks for a salty crunch
- A tiny cookie or fruit leather as a “surprise” in the corner
- Fresh mint leaves for garnish (makes it look extra fancy)
Equipment Needed
You don’t need a professional kitchen to make this rainbow fruit bento box. Here’s what I use, along with some budget-friendly alternatives if you’re just starting out.
- Bento Box or Lunch Container: I use a PlanetBox stainless steel bento box because it has separate compartments and is dishwasher safe. But honestly, a simple divided container from the dollar store works just as well. The key is having separate sections to keep the colors from mixing.
- Sharp Paring Knife: A good knife makes all the difference when cutting fruit. I use a Victorinox paring knife (about $10) and it’s perfect for small, precise cuts. If you don’t have one, a regular chef’s knife works, just be careful with small fruits.
- Cutting Board: I prefer a wooden cutting board because it’s gentle on knives, but a plastic one is fine. Just make sure it’s large enough to hold all your fruit without crowding.
- Melon Baller (Optional): If you want to get fancy, a melon baller creates perfect little spheres of fruit. My daughter thinks these are “magic balls” and eats them first. Not necessary, but fun.
- Small Cookie Cutters (Optional): I have a set of mini star and heart cutters that I use for special occasions. Cutting fruit into shapes takes an extra two minutes but makes the bento box look like a work of art.
- Storage Containers: If you’re prepping fruit ahead of time, airtight glass containers keep everything fresh. I have a set of Pyrex snapware that I use for weekend prep.
Preparation Method
Let’s get into the actual process. I’ve broken this down into clear steps so you can follow along without stress. Take your time—this is supposed to be fun, not a race.
- Wash all your fruit thoroughly. Run the strawberries, grapes, blueberries, and any other fruit under cool water. Pat them dry with a clean kitchen towel. Wet fruit makes the bento box soggy, so drying is important. I learned this the hard way when my daughter’s lunch turned into a fruit soup.
- Prep the strawberries (red layer). Remove the green tops with your paring knife. Slice the strawberries into thin rounds, about 1/4 inch thick. If the strawberries are large, cut them into quarters instead. Aim for uniform pieces so they fit nicely in the compartment.
- Cut the mango (orange layer). Slice off the two “cheeks” of the mango by cutting along each side of the flat pit. Score the flesh in a grid pattern without cutting through the skin. Then, scoop out the cubes with a spoon. This method gives you perfect little mango squares. Take your time—mangoes can be slippery.
- Prepare the pineapple (yellow layer). If you’re using fresh pineapple, cut off the top and bottom, then stand it upright. Slice off the skin in strips, following the curve of the fruit. Cut the pineapple into rings, then into small chunks about the size of a blueberry. Canned pineapple just needs to be drained and cut if the pieces are large.
- Halve the grapes (green layer). For safety, always cut grapes lengthwise for kindergarten-aged kids. This prevents choking. Place a handful of grapes on your cutting board and slice them in half from top to bottom. If you’re using green apple, cut it into thin matchsticks or small cubes and toss them in a bowl with a squeeze of lemon juice to prevent browning.
- Rinse the blueberries (blue/purple layer). Blueberries are the easiest—just give them a quick rinse and pat them dry. Pick out any that are mushy or shriveled. If you’re using blackberries, halve them lengthwise so they’re easier to eat.
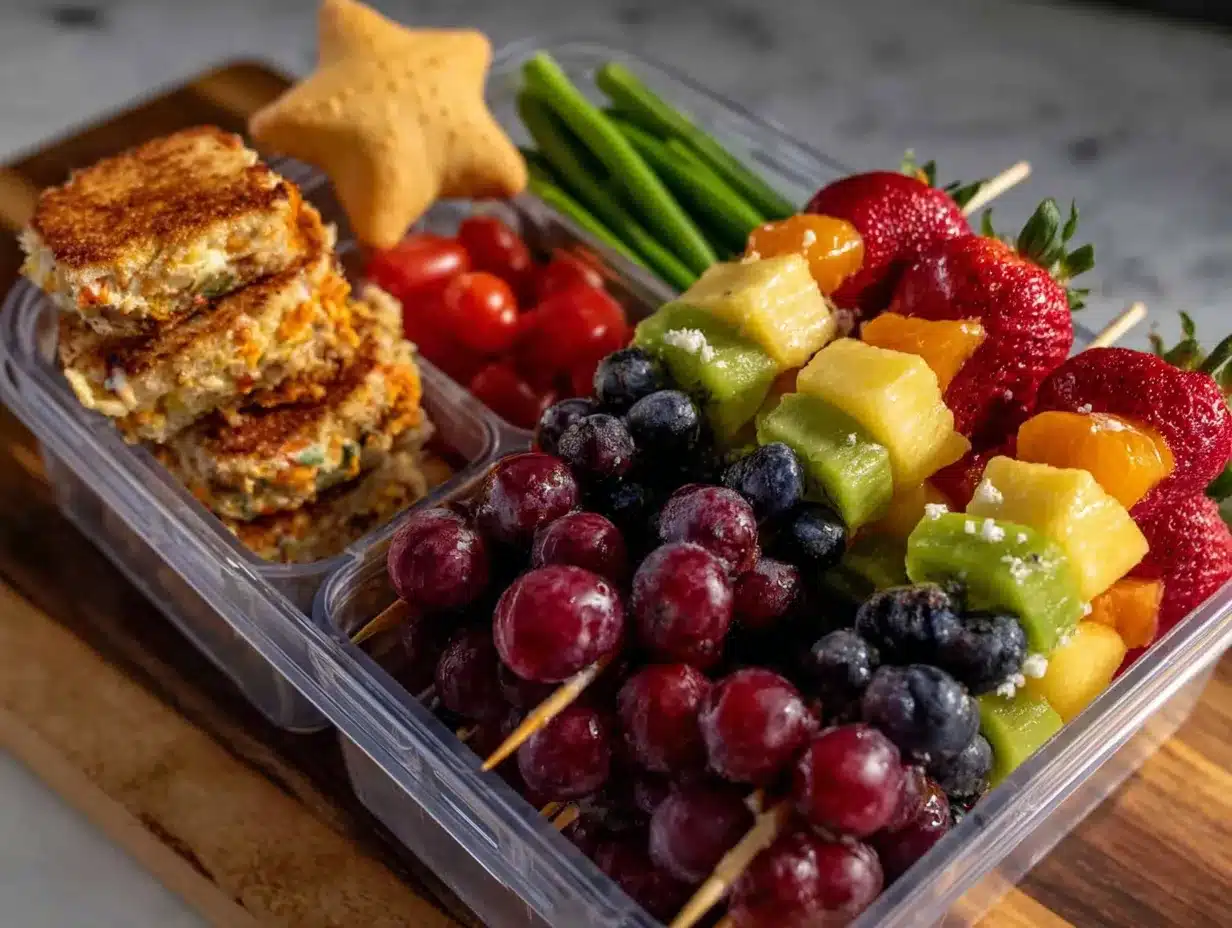
- Arrange the fruit in rainbow order. Open your bento box and start placing the fruit in the compartments. If you have a single container, arrange the fruit in rows: red on one end, then orange, yellow, green, and blue/purple on the other end. If you have separate compartments, assign one color to each section. This is where the magic happens—the visual appeal is what makes this lunch special.
- Add any optional extras. If you’re including yogurt, pretzels, or a small treat, place them in a separate compartment or a small silicone cup. Don’t mix the fruit with the extras, or everything will get soggy.
- Seal the box and refrigerate. Close the lid tightly and store the bento box in the refrigerator until it’s time to pack the lunch. This can be done the night before, but I prefer to assemble it in the morning for maximum freshness.
- Pack it in a lunch bag with an ice pack. Fruit needs to stay cold to stay safe. Add a small ice pack to the lunch bag, especially if your child won’t eat lunch until later in the day.
Cooking Tips & Techniques
I’ve made this rainbow fruit bento box more times than I can count, and I’ve definitely made my share of mistakes. Here are the lessons I’ve learned so you don’t have to repeat them.
Prevent browning on apples and bananas. This was a disaster the first time I tried it. I sliced a banana in the morning, and by lunch, it was a brown, unappetizing mess. The trick is to toss sliced apples, pears, or bananas in a little lemon juice or lime juice. Just a teaspoon will do. Alternatively, you can use a commercial product like Fruit-Fresh, but lemon juice works perfectly.
Cut fruit into uniform sizes. This isn’t just about looks—it’s about ease of eating. Kindergarteners have small hands and mouths. If you cut strawberries into thick chunks and grapes into tiny pieces, the eating experience is inconsistent. Aim for pieces that are all roughly the same size, about 1/2 inch to 3/4 inch. This makes it easier for little fingers to pick them up and for little mouths to chew them safely.
Use a melon baller for soft fruits. This is a game-changer for mangoes, cantaloupe, and honeydew. A melon baller creates perfect little spheres that look professional and are easy to eat. Plus, it’s faster than cutting cubes. I bought a melon baller for $3 at a kitchen supply store, and it’s one of my most-used tools now.
Layer fruit strategically to prevent sogginess. If you’re using multiple fruits, place the firmest fruits (like apples and pineapple) on the bottom and the softest fruits (like berries) on top. This prevents the berries from getting crushed and leaking juice onto everything else. Also, make sure all fruit is completely dry before packing.
Prep fruit the night before to save time. I know mornings are chaotic. If you’re short on time, wash, dry, and cut all the fruit the night before. Store each fruit in a separate airtight container in the refrigerator. In the morning, just grab the containers and assemble the bento box. This cuts assembly time down to about 3 minutes.
Don’t overfill the box. This is a mistake I made early on. I wanted the bento box to look overflowing and abundant, but that just made it hard to close the lid and even harder for my daughter to eat without making a mess. Leave a little space in each compartment so the fruit can breathe and the lid closes easily.
Test the lunch before sending it to school. I know this sounds silly, but try a small portion of the fruit yourself before packing it. If the pineapple is too tart or the mango isn’t ripe enough, you’ll know before your child rejects it at lunch. I’ve had to switch out fruits at the last minute more times than I’d like to admit.
Variations & Adaptations
One of the best things about this rainbow fruit bento box is how customizable it is. Here are some variations I’ve tried and loved.
Seasonal Rainbow Bento Box
In the summer, I swap in watermelon for the red layer and use fresh peaches instead of mango. In the fall, I use sliced pear (tossed in lemon juice) for the green layer and add pomegranate seeds for the red layer. In winter, I rely on citrus fruits like blood oranges and grapefruit. The rainbow stays intact, but the flavors change with the seasons. It keeps things interesting for both me and my daughter.
Dairy-Free Dipping Option
If your child loves dipping fruit in yogurt but you’re avoiding dairy, try coconut yogurt or a simple nut butter thinned with a little water. My daughter actually prefers almond butter with apple slices now. Just be sure to check your school’s policy on nut products before sending nut butter to school.
Low-Sugar Rainbow Bento Box
For kids who are sensitive to sugar, focus on lower-sugar fruits like berries, green apples, and kiwi. Skip the mango and pineapple, which are higher in natural sugars. You can also add cucumber slices or jicama sticks for crunch without the sugar. The rainbow still looks beautiful, and your child still gets a healthy, satisfying lunch.
Fun Shapes Bento Box
This is my personal favorite variation. Use small cookie cutters to cut fruit into stars, hearts, or animal shapes. I have a set of mini dinosaur cutters that I use for special occasions. It takes an extra 5 minutes, but the look on my daughter’s face when she opens her lunchbox is absolutely worth it. Pro tip: Cut the shapes from thick slices of fruit like apple, pineapple, or mango.
Savory-Sweet Rainbow Bento Box
If your child prefers savory snacks, add some cheese cubes (white cheddar or mozzarella) to the yellow layer and cucumber slices to the green layer. You can also add a few cherry tomatoes to the red layer. The rainbow stays intact, but the flavor profile shifts from sweet to balanced. My daughter calls this her “grown-up lunch.”
Serving & Storage Suggestions
This rainbow fruit bento box is best served cold, straight from the refrigerator. The cold temperature keeps the fruit crisp and refreshing. If you’re packing it for lunch, add an ice pack to the lunch bag to keep it chilled until your child eats.
Presentation ideas: For a special treat, arrange the fruit in a rainbow arc across the bento box instead of in straight lines. It looks like a real rainbow and makes the lunch feel like a gift. You can also add a small note or sticker to the lid for an extra surprise.
What to serve with it: This bento box pairs beautifully with a simple sandwich (like turkey and cheese or peanut butter and jelly), a small handful of crackers, or a cheese stick. For a drink, pack water or milk. Avoid sugary juices, as they can make the fruit feel heavy.
Storage instructions: If you’re prepping this bento box the night before, keep it in the refrigerator with the lid tightly sealed. Do not add the ice pack until the morning. The bento box will stay fresh for up to 24 hours in the refrigerator. For longer storage, prep the fruit separately and assemble the box in the morning.
How flavors develop over time: This is best eaten fresh. The fruit starts to release juice after a few hours, which can make the bento box soggy. If you must prep it ahead, use the firmest fruits (apples, grapes, pineapple) and avoid very juicy fruits (watermelon, oranges) until the morning of.
Reheating: Do not reheat this bento box. It’s meant to be served cold. If your child prefers room-temperature fruit, let the bento box sit out for 10-15 minutes before serving.
Nutritional Information & Benefits
Here’s an estimated nutritional breakdown for one rainbow fruit bento box (based on the ingredients listed above, without any optional add-ins).
| Nutrient | Amount per Serving |
|---|---|
| Calories | 120-150 |
| Total Fat | 0.5-1g |
| Sodium | 0-5mg |
| Total Carbohydrates | 30-35g |
| Dietary Fiber | 4-5g |
| Sugars | 20-25g (natural) |
| Protein | 1-2g |
| Vitamin C | 60-80% DV |
| Vitamin A | 10-15% DV |
| Potassium | 200-300mg |
Health benefits of key ingredients: Strawberries and blueberries are packed with antioxidants that support a healthy immune system. Mangoes are rich in vitamin A, which is great for eye health. Pineapple contains bromelain, an enzyme that aids digestion. Grapes provide hydration and natural energy. This bento box is naturally gluten-free, dairy-free, and vegan, making it suitable for a wide range of dietary needs.
Dietary considerations: This recipe is free from the top eight allergens (dairy, eggs, peanuts, tree nuts, soy, wheat, fish, shellfish) as written. However, if you add optional ingredients like yogurt or nut butter, be mindful of potential allergens. Always check with your child’s school about their specific allergy policies.
Personal wellness perspective: I love that this lunch is naturally sweet without any added sugar. It gives my daughter energy for the afternoon without the crash that comes from processed snacks. Plus, the variety of colors means she’s getting a range of vitamins and minerals in one meal. It’s one less thing for me to worry about.
Conclusion
This rainbow fruit bento box lunch has become a staple in our house, and I honestly think it will become one in yours too. It’s simple, it’s beautiful, and it makes kindergarteners actually excited about eating fruit. I love that I can customize it based on what’s in season, what’s on sale, or what my daughter is in the mood for. It’s not a rigid recipe—it’s a framework for creating a lunch that feels special without requiring hours of effort.
I encourage you to try this recipe and make it your own. Swap in your child’s favorite fruits, experiment with different shapes, or add a little surprise in the corner. The rainbow is just a starting point. What matters is that you’re making lunch with love, and your child will feel that in every bite.
Have you tried making a rainbow fruit bento box? I’d love to hear about your experience in the comments below. What fruits did you use? Did your child love it? Share your tips, your photos, and your own variations. Let’s build a community of parents who are making lunchtime fun, one colorful box at a time. Happy packing!
Frequently Asked Questions
Can I make this rainbow fruit bento box the night before?
Yes, you can assemble it the night before and store it in the refrigerator. However, for the freshest results, I recommend prepping the fruit the night before and assembling the bento box in the morning. If you do assemble it the night before, use firm fruits like apples and grapes, and avoid very juicy fruits like watermelon or oranges until the morning.
What if my child doesn’t like a certain fruit?
No problem at all! The rainbow is flexible. Simply swap out the disliked fruit for another fruit in the same color family. For example, if your child doesn’t like strawberries, use raspberries or watermelon instead. The goal is to have a colorful, appealing lunch, not to follow a strict ingredient list.
How do I keep the fruit from turning brown?
For apples, pears, and bananas, toss the slices in a little lemon juice or lime juice before packing. You can also use a commercial anti-browning product like Fruit-Fresh. For other fruits like grapes and berries, browning isn’t an issue as long as they’re fresh and properly stored.
Is this lunch safe for a child with food allergies?
As written, this recipe is free from the top eight allergens (dairy, eggs, peanuts, tree nuts, soy, wheat, fish, shellfish). However, if you add optional ingredients like yogurt or nut butter, be mindful of potential allergens. Always check with your child’s school about their specific allergy policies before sending any food to school.
How long will this bento box stay fresh in a lunch bag?
With a good ice pack, this bento box will stay fresh for up to 4-5 hours in a lunch bag. The fruit should remain crisp and cold. If your child’s lunch is earlier in the day, it will be perfectly fine. For later lunches, consider using a frozen water bottle or an extra ice pack to keep things cool.
Pin This Recipe!
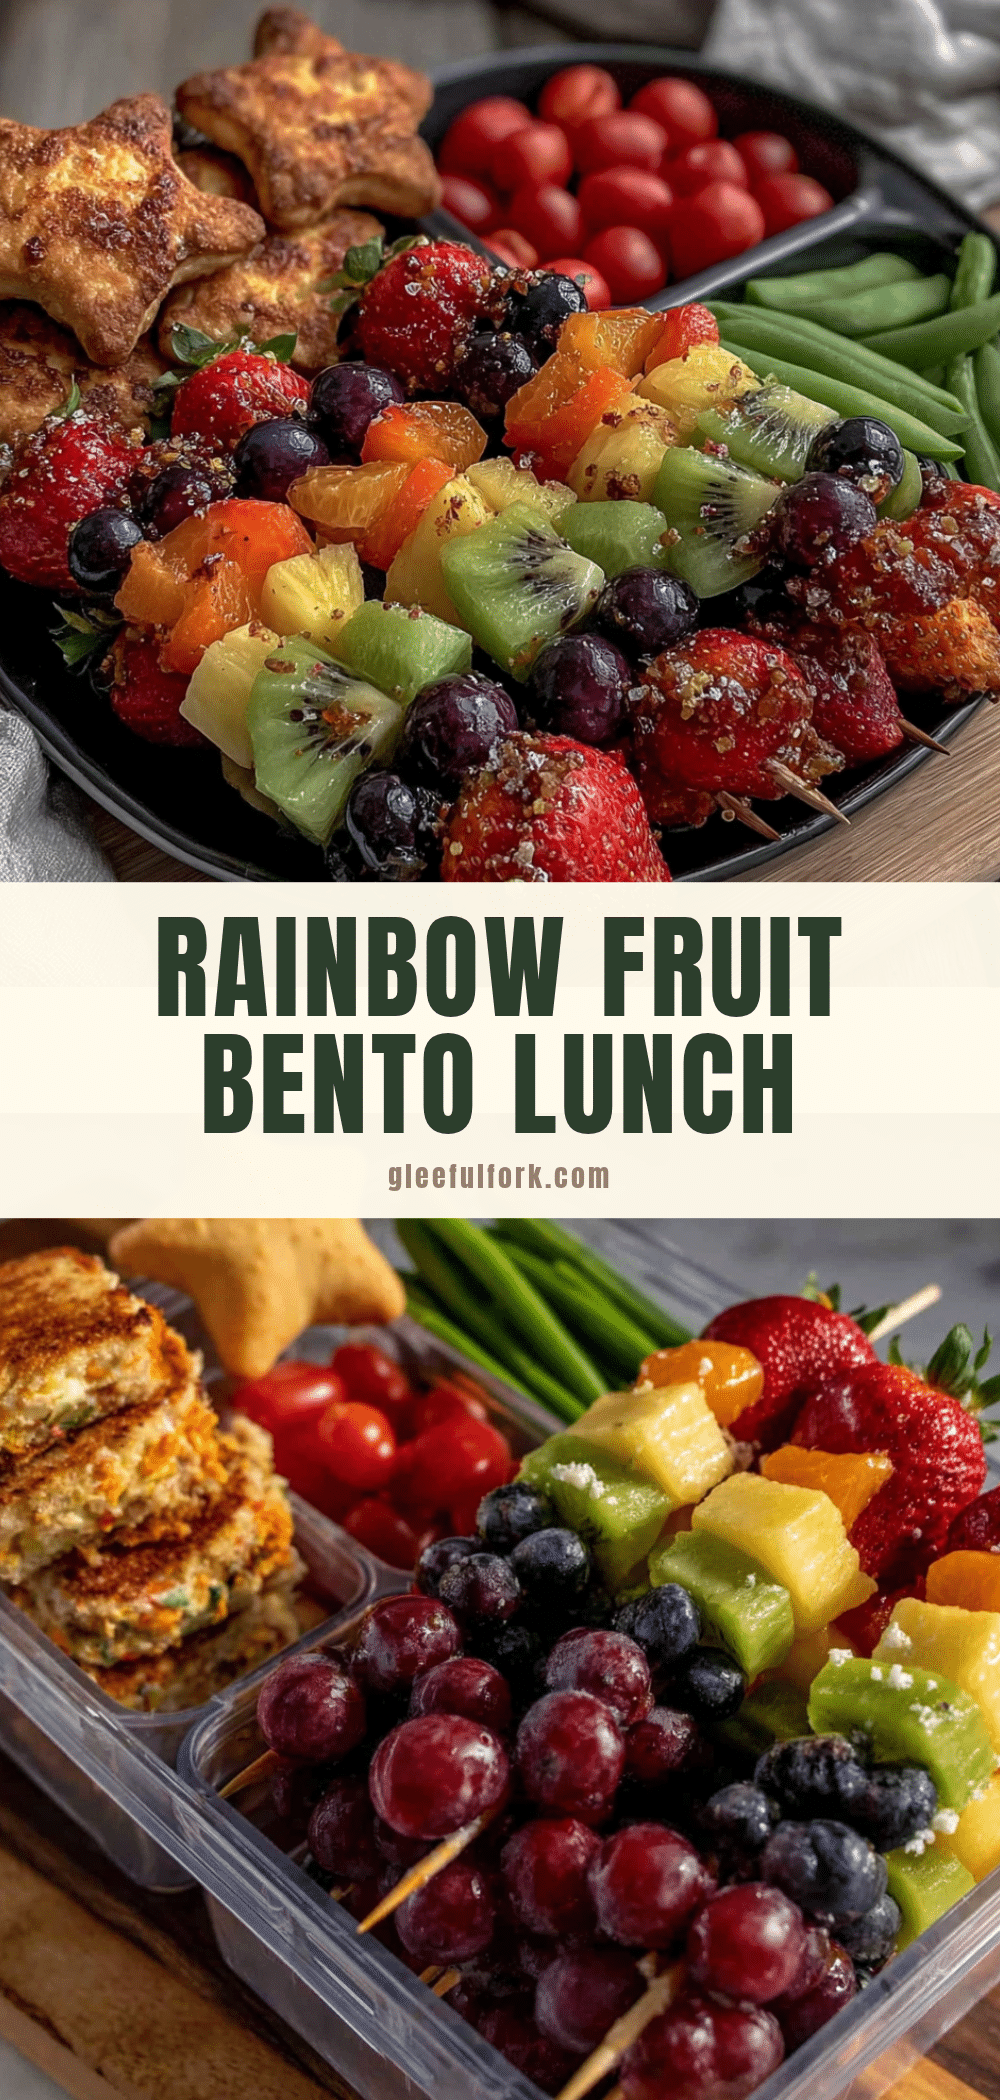
Best Rainbow Fruit Bento Box Lunch for Kindergarten Kids
A colorful and fun rainbow fruit bento box that makes kindergarteners excited about eating fruit. Quick to assemble, visually appealing, and perfect for picky eaters.
- Prep Time: 15 minutes
- Cook Time: 0 minutes
- Total Time: 15 minutes
- Yield: 1 serving
- Category: Lunch
- Cuisine: American
Ingredients
- Strawberries, hulled and sliced (about 1/2 cup per box)
- Mango, peeled and cut into small cubes (about 1/3 cup per box)
- Pineapple, cut into small chunks (about 1/3 cup per box)
- Green grapes, halved lengthwise (about 1/3 cup per box)
- Blueberries (about 1/4 cup per box)
- Optional: yogurt for dipping
- Optional: pretzel sticks
- Optional: small cookie or fruit leather
- Optional: fresh mint leaves for garnish
Instructions
- Wash all your fruit thoroughly. Run the strawberries, grapes, blueberries, and any other fruit under cool water. Pat them dry with a clean kitchen towel.
- Prep the strawberries (red layer). Remove the green tops with your paring knife. Slice the strawberries into thin rounds, about 1/4 inch thick. If the strawberries are large, cut them into quarters instead.
- Cut the mango (orange layer). Slice off the two ‘cheeks’ of the mango by cutting along each side of the flat pit. Score the flesh in a grid pattern without cutting through the skin. Then, scoop out the cubes with a spoon.
- Prepare the pineapple (yellow layer). If using fresh pineapple, cut off the top and bottom, then stand it upright. Slice off the skin in strips, following the curve of the fruit. Cut the pineapple into rings, then into small chunks about the size of a blueberry. Canned pineapple just needs to be drained and cut if the pieces are large.
- Halve the grapes (green layer). For safety, always cut grapes lengthwise for kindergarten-aged kids. Place a handful of grapes on your cutting board and slice them in half from top to bottom.
- Rinse the blueberries (blue/purple layer). Blueberries are the easiest—just give them a quick rinse and pat them dry. Pick out any that are mushy or shriveled.
- Arrange the fruit in rainbow order. Open your bento box and start placing the fruit in the compartments. If you have a single container, arrange the fruit in rows: red on one end, then orange, yellow, green, and blue/purple on the other end.
- Add any optional extras. If you’re including yogurt, pretzels, or a small treat, place them in a separate compartment or a small silicone cup.
- Seal the box and refrigerate. Close the lid tightly and store the bento box in the refrigerator until it’s time to pack the lunch.
- Pack it in a lunch bag with an ice pack. Fruit needs to stay cold to stay safe. Add a small ice pack to the lunch bag, especially if your child won’t eat lunch until later in the day.
Notes
For best results, use firm fruits like apples and pineapple on the bottom and soft fruits like berries on top to prevent sogginess. Toss apples, pears, or bananas in lemon juice to prevent browning. Prep fruit the night before to save time in the morning. Do not overfill the box; leave a little space in each compartment.
Nutrition
- Serving Size: 1 bento box
- Calories: 120150
- Sugar: 2025
- Sodium: 5
- Fat: 0.51
- Carbohydrates: 3035
- Fiber: 45
- Protein: 12
Keywords: rainbow fruit bento box, kindergarten lunch, healthy lunch for kids, fruit lunch, bento box for kids, easy lunch, picky eater lunch


