Love this? Save it for later!
Share the inspiration with your friends
I was standing in line at a dusty farmers market in Albuquerque, fanning myself with a straw hat and regretting my decision to wear jeans in September, when the woman behind me—a tiny, silver-haired lady gripping a canvas bag like it held state secrets—started talking about chile. Not just any chile. Hatch chiles. She told me about her grandmother’s method for roasting them over an open flame until the skin blistered and the smell made you weak in the knees. I nodded along, sweating, half-listening, until she said something that snapped me to attention. “You take those roasted chiles,” she said, “and you make a queso so creamy it’ll ruin every other dip for you.” I asked her for the recipe, expecting a guarded family secret. Instead, she pulled a crumpled napkin from her bag and handed it over. “It’s not complicated,” she said. “That’s the point.” I stuffed that napkin in my pocket, forgot about it for two months, and found it again while cleaning out my car. That afternoon, I made this Creamy Roasted Hatch Chili Con Queso Dip for the first time. And honestly? I haven’t bought a single jar of store-bought queso since. Maybe you’ve been there—chasing that perfect, velvety, slightly smoky cheese dip that tastes like it came from a restaurant but doesn’t require a culinary degree to pull off. This is that recipe. It stayed with me because it’s unpretentious, forgiving, and absolutely unstoppable at a party.
Why You’ll Love This Recipe
Let me tell you why this Creamy Roasted Hatch Chili Con Queso Dip has earned a permanent spot in my rotation. I’ve tested it a dozen times—through burned batches, over-chopped chiles, and one particularly tragic incident with a too-hot skillet—and every tweak brought me closer to this version. Here’s what makes it stand out:
- Quick & Easy: From start to finish, you’re looking at about 20 minutes. That’s faster than ordering takeout, and way more satisfying.
- Simple Ingredients: No obscure cheeses or specialty creamers. You likely have most of this in your fridge right now.
- Perfect for Game Day: Whether it’s football season, a casual get-together, or just a Tuesday that feels like it needs something warm and cheesy, this dip delivers.
- Crowd-Pleaser: I’ve watched people who swear they’re “not queso people” go back for thirds. It’s that good.
- Unbelievably Delicious: The roasted Hatch chiles bring a smoky depth that cuts through the richness of the cheese in a way that feels almost unfair.
What makes this different from every other queso recipe out there? Two things. First, the roasting technique—I char the chiles myself, which gives the dip a subtle smokiness you can’t fake with canned stuff. Second, the balance. I blend sharp cheddar with Monterey Jack for meltability, and I sneak in a touch of cream cheese for that ultra-smooth texture that doesn’t separate. This isn’t just another queso. It’s the one that makes you close your eyes after the first bite. It’s comfort food reimagined—faster, bolder, but with the same soul-soothing satisfaction. Perfect for impressing guests without stress, or turning a simple snack into something memorable.
What Ingredients You Will Need
This recipe relies on a handful of simple, wholesome ingredients to deliver that bold, smoky flavor and velvety texture. Most are pantry or fridge staples, which makes this dip dangerously easy to throw together on a whim.
- Fresh Hatch chiles (4-5 medium, about 8 ounces total) – These are the star. Look for them during late summer and early fall. If you can’t find Hatch, Anaheim or poblano peppers work well too.
- Sharp cheddar cheese (8 ounces, freshly shredded) – Pre-shredded cheese has anti-caking agents that can make your queso grainy. Take the extra two minutes to shred it yourself.
- Monterey Jack cheese (8 ounces, freshly shredded) – This melts like a dream and keeps the dip from getting greasy.
- Cream cheese (4 ounces, softened) – The secret to that luscious, restaurant-style texture. I use full-fat for best results.
- Whole milk (1 cup) – Don’t go lower fat here; the fat content helps the cheese emulsify smoothly.
- Butter (2 tablespoons) – For sautéing the aromatics and adding richness.
- Yellow onion (1/2 medium, finely diced, about 1/2 cup) – Adds a subtle sweetness that balances the heat.
- Garlic (2 cloves, minced) – Because everything is better with garlic.
- Jalapeño (1 small, seeded and minced) – Optional, but I love the extra kick. Leave the seeds in if you’re brave.
- Tomato (1 medium, seeded and diced, about 1/2 cup) – Adds freshness and a little acidity.
- Ground cumin (1/2 teaspoon) – Earthy warmth that complements the roasted chiles.
- Kosher salt (1/2 teaspoon, or to taste)
- Fresh cilantro (2 tablespoons, chopped) – For garnish. I know some people hate it, so feel free to skip or use parsley.
Equipment Needed
You don’t need a fancy kitchen to make this dip. Here’s what I use, along with some alternatives I’ve tested over the years.
- Gas stove burner or grill – For roasting the chiles directly over the flame. If you don’t have gas, a broiler works perfectly too. I’ve even used a toaster oven in a pinch.
- Medium saucepan (3- to 4-quart) – A heavy-bottomed one is ideal for even heat distribution. My go-to is an enameled cast iron pot.
- Wooden spoon or silicone spatula – For stirring. Avoid metal utensils if you’re using a nonstick pan.
- Cutting board and knife – A sharp chef’s knife makes quick work of the chiles and aromatics.
- Mixing bowls – One for holding the roasted chiles and one for the shredded cheese.
- Box grater – For shredding the cheese yourself. It’s a small step that makes a big difference.
- Tongs – For turning the chiles while roasting.
- Plastic or zip-top bag – For steaming the roasted chiles to loosen the skins.
Preparation Method
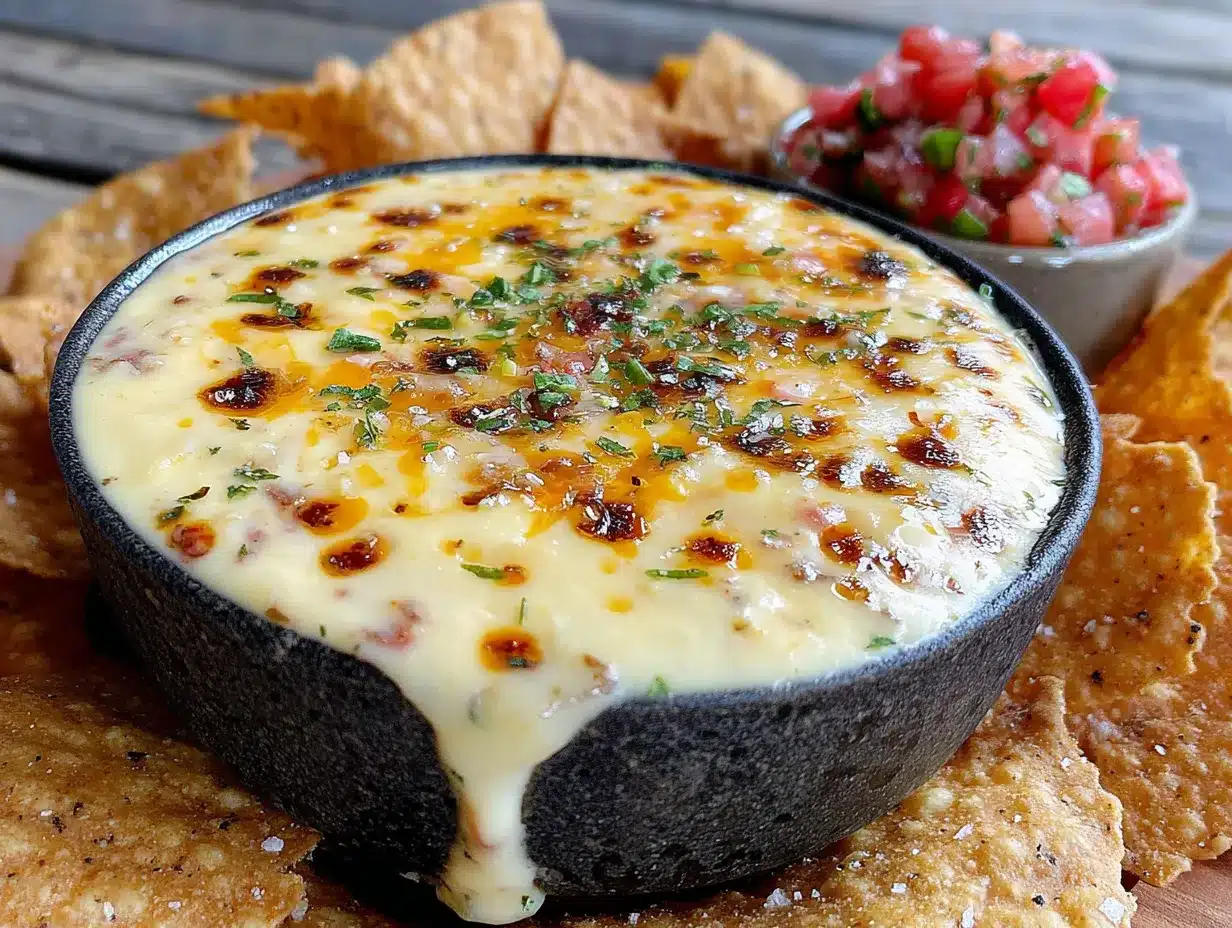
Follow these steps carefully, and you’ll have a dip that rivals any Mexican restaurant version. I’ve included timings and sensory cues so you know exactly what to look for.
- Roast the Hatch chiles (10-15 minutes). Place the chiles directly over a gas flame or under a broiler. Use tongs to turn them every 2-3 minutes until the skin is charred and blistered all over. You want them blackened in spots, not completely burned through. The smell at this stage is incredible—smoky and sweet. Once done, transfer them to a zip-top bag and seal it. Let them steam for 10 minutes. This loosens the skin so it slides off easily.
- Prepare the chiles (5 minutes). After steaming, remove the chiles from the bag. The skins should peel off with minimal effort. Use your fingers or a paper towel to rub off the charred skin. Don’t worry if a few tiny bits remain—they add flavor. Cut off the stems, slice open the chiles, and scrape out the seeds and membranes. Dice the flesh into small pieces. Set aside.
- Sauté the aromatics (5 minutes). In a medium saucepan over medium heat, melt the butter. Add the diced onion and cook, stirring occasionally, until translucent—about 3 minutes. Add the minced garlic and jalapeño (if using) and cook for another minute until fragrant. Don’t let the garlic brown; it turns bitter.
- Build the base (3 minutes). Reduce the heat to low. Add the softened cream cheese to the pan and stir until it’s fully melted and combined with the onions. This creates a creamy foundation that prevents the shredded cheese from clumping later.
- Add the milk and cheese (5-7 minutes). Slowly pour in the milk while stirring constantly. Then add the shredded cheddar and Monterey Jack a handful at a time, stirring after each addition until fully melted. Keep the heat on low—high heat will cause the cheese to seize or become grainy. The mixture should be smooth and glossy. If it looks too thick, add a splash more milk.
- Incorporate the chiles and seasonings (2 minutes). Stir in the diced roasted Hatch chiles, diced tomato (if using), and ground cumin. Add salt to taste. Let everything simmer gently for 1-2 minutes to meld the flavors. Taste and adjust seasoning—you might want a pinch more salt or cumin depending on your preference.
- Serve immediately. Transfer the queso to a serving bowl. Garnish with fresh cilantro. Serve warm with tortilla chips, sliced vegetables, or warm soft pretzels. The dip will thicken as it cools, so if you’re serving it later, keep it warm in a slow cooker on the low setting.
Cooking Tips & Techniques
I’ve made this dip enough times to learn a few hard lessons. Here’s what I wish someone had told me before my first attempt.
- Low and slow is the rule. Cheese is temperamental. High heat breaks the emulsion and leaves you with a greasy, clumpy mess. Keep the burner on low, and be patient. I once cranked the heat because I was in a hurry, and I ended up with something that looked like scrambled eggs swimming in oil. Not pretty.
- Shred your own cheese. I know, I know—it’s an extra step. But pre-shredded cheese is coated with cellulose and starches that prevent it from melting smoothly. The difference is night and day. I learned this the hard way during a Super Bowl party when my dip turned out gritty.
- Roast the chiles well. Don’t be shy with the flame. The charring isn’t just about removing the skin—it’s about developing that deep, smoky flavor. If you under-roast, you’ll miss that signature taste. I like to get the skin about 80% blackened.
- Multitask smartly. While the chiles are steaming in the bag, start sautéing the onions. That way, by the time the chiles are cool enough to handle, your base is ready. It shaves off a good 10 minutes.
- Keep it warm without burning. If you’re making this ahead, transfer it to a small slow cooker set to warm. Stir occasionally. A microwave can also work for reheating, but do it in 30-second bursts, stirring between each.
Variations & Adaptations
This recipe is a fantastic base for experimentation. Here are a few twists I’ve tried and loved.
- Make it spicier. Add a diced serrano pepper along with the jalapeño, or stir in a teaspoon of chipotle in adobo sauce for a smoky heat that lingers. My brother-in-law insists on this version, and I have to admit, it’s addictive.
- Go vegetarian-friendly. It already is vegetarian, but if you want to add protein, try stirring in cooked, crumbled chorizo (use soy chorizo for a meatless option) or black beans. I’ve done both, and the black bean version is surprisingly hearty.
- Dairy-free adaptation. Use a plant-based cream cheese and shredded vegan cheddar or mozzarella. Replace the milk with unsweetened oat or cashew milk. The texture won’t be quite as silky, but it’s still delicious. I tested this for a friend with lactose intolerance, and she gave it two thumbs up.
- Seasonal swap. Not Hatch season? No problem. Roasted poblano peppers or even canned green chiles (drained) work beautifully. Each brings its own personality—poblanos are milder, while canned chiles have a brighter, tangier flavor.
- Add some crunch. Top the finished dip with crispy bacon bits, toasted pepitas, or crushed tortilla chips for texture. It’s a small touch that makes every bite more interesting.
Serving & Storage Suggestions
This dip is at its absolute best served warm, straight from the pot. But life happens, and leftovers are a beautiful thing.
- Serving temperature and presentation: Serve the queso hot in a ceramic or cast-iron bowl to keep it warm longer. I like to set it on a trivet with a pile of tortilla chips, sliced bell peppers, and cucumber rounds for dipping. A sprinkle of cilantro on top makes it look restaurant-ready.
- Complementary dishes: This queso pairs beautifully with slow cooker chicken tacos, a Mexican street corn salad, or simply alongside a bowl of spicy black bean soup. For drinks, a cold Mexican lager or a margarita is the obvious choice.
- Storage instructions: Transfer any leftover queso to an airtight container and refrigerate for up to 4 days. The dip will solidify when cold, but don’t worry—it reheat beautifully.
- Reheating methods: The best way to reheat is in a saucepan over low heat, stirring constantly and adding a splash of milk to loosen it up. You can also use the microwave: heat in 30-second intervals, stirring between each, until smooth. Avoid high heat or prolonged reheating, as it can cause the cheese to separate.
- How flavors develop: Honestly, this dip tastes even better the next day. The roasted chile flavor deepens, and the spices meld together overnight. I’ve been known to make it a day ahead on purpose.
Nutritional Information & Benefits
I’m not a nutritionist, but I can give you a rough estimate based on my usual serving size. A 1/4-cup serving of this queso contains approximately 180 calories, 14 grams of fat, 6 grams of protein, and 4 grams of carbohydrates. The exact numbers will vary based on the cheese brands and milk you use.
On the health front, this dip isn’t exactly a salad, but it does have some redeeming qualities. Hatch chiles are rich in vitamin C and capsaicin, which can boost metabolism and reduce inflammation. Cheese provides calcium and protein, which are essential for bone health and muscle repair. And the onions and garlic offer prebiotic fiber that supports gut health. So, you know, it’s practically a wellness food. In moderation, of course. I like to think of this as a treat that also happens to have a few nutritional perks.
For dietary considerations: This recipe contains dairy (milk, cheese, butter, cream cheese). It’s not suitable for vegans or those with lactose intolerance without modifications (see the dairy-free variation above). It’s naturally gluten-free and low-carb, making it a great option for those on a keto or paleo diet if you use full-fat dairy.
Conclusion
At the end of the day, this Creamy Roasted Hatch Chili Con Queso Dip is the kind of recipe that earns a permanent spot in your rotation. It’s simple enough for a Tuesday night snack, impressive enough for a party, and forgiving enough for a beginner cook. The smoky depth of the roasted chiles, the velvety texture of the melted cheese, and the subtle warmth of cumin come together in a way that feels both familiar and exciting. I love that it starts with a story—a chance encounter at a farmers market—and ends with a bowl of something that brings people together. That’s the magic of cooking, isn’t it?
I encourage you to make this your own. Tweak the heat level, swap in your favorite cheese, or add a topping that makes you smile. And when you do, I’d love to hear about it. Drop a comment below to let me know how it turned out, share a photo of your dip, or tell me about your own unexpected recipe discovery. Your version might just become someone else’s favorite story.
Frequently Asked Questions
Can I use canned Hatch chiles instead of fresh?
Absolutely. If fresh Hatch chiles aren’t in season, canned roasted Hatch chiles are a great substitute. Drain them well before dicing, and you’ll still get that signature flavor. Use about 1 cup of diced canned chiles.
Why did my queso turn out grainy?
Grainy queso usually happens when the heat is too high or the cheese is added too quickly. Always melt cheese over low heat, and add it gradually while stirring constantly. Pre-shredded cheese can also cause graininess due to anti-caking agents.
Can I make this dip in a slow cooker?
Yes! Sauté the onions and garlic on the stovetop first, then transfer everything to a slow cooker. Cook on low for 1-2 hours, stirring occasionally. This method is great for parties because it keeps the dip warm and melty without constant supervision.
How do I tone down the spiciness?
Remove all the seeds and membranes from the chiles and jalapeño before dicing. You can also use fewer chiles or swap in a milder pepper like Anaheim. Adding a little extra cream cheese or milk can also help mellow the heat.
Can I freeze leftover queso?
I don’t recommend freezing this dip. Dairy-based sauces tend to separate and become grainy after thawing. It’s best enjoyed fresh or within a few days of refrigeration. If you need to make it ahead, store it in the fridge and reheat gently.
Pin This Recipe!
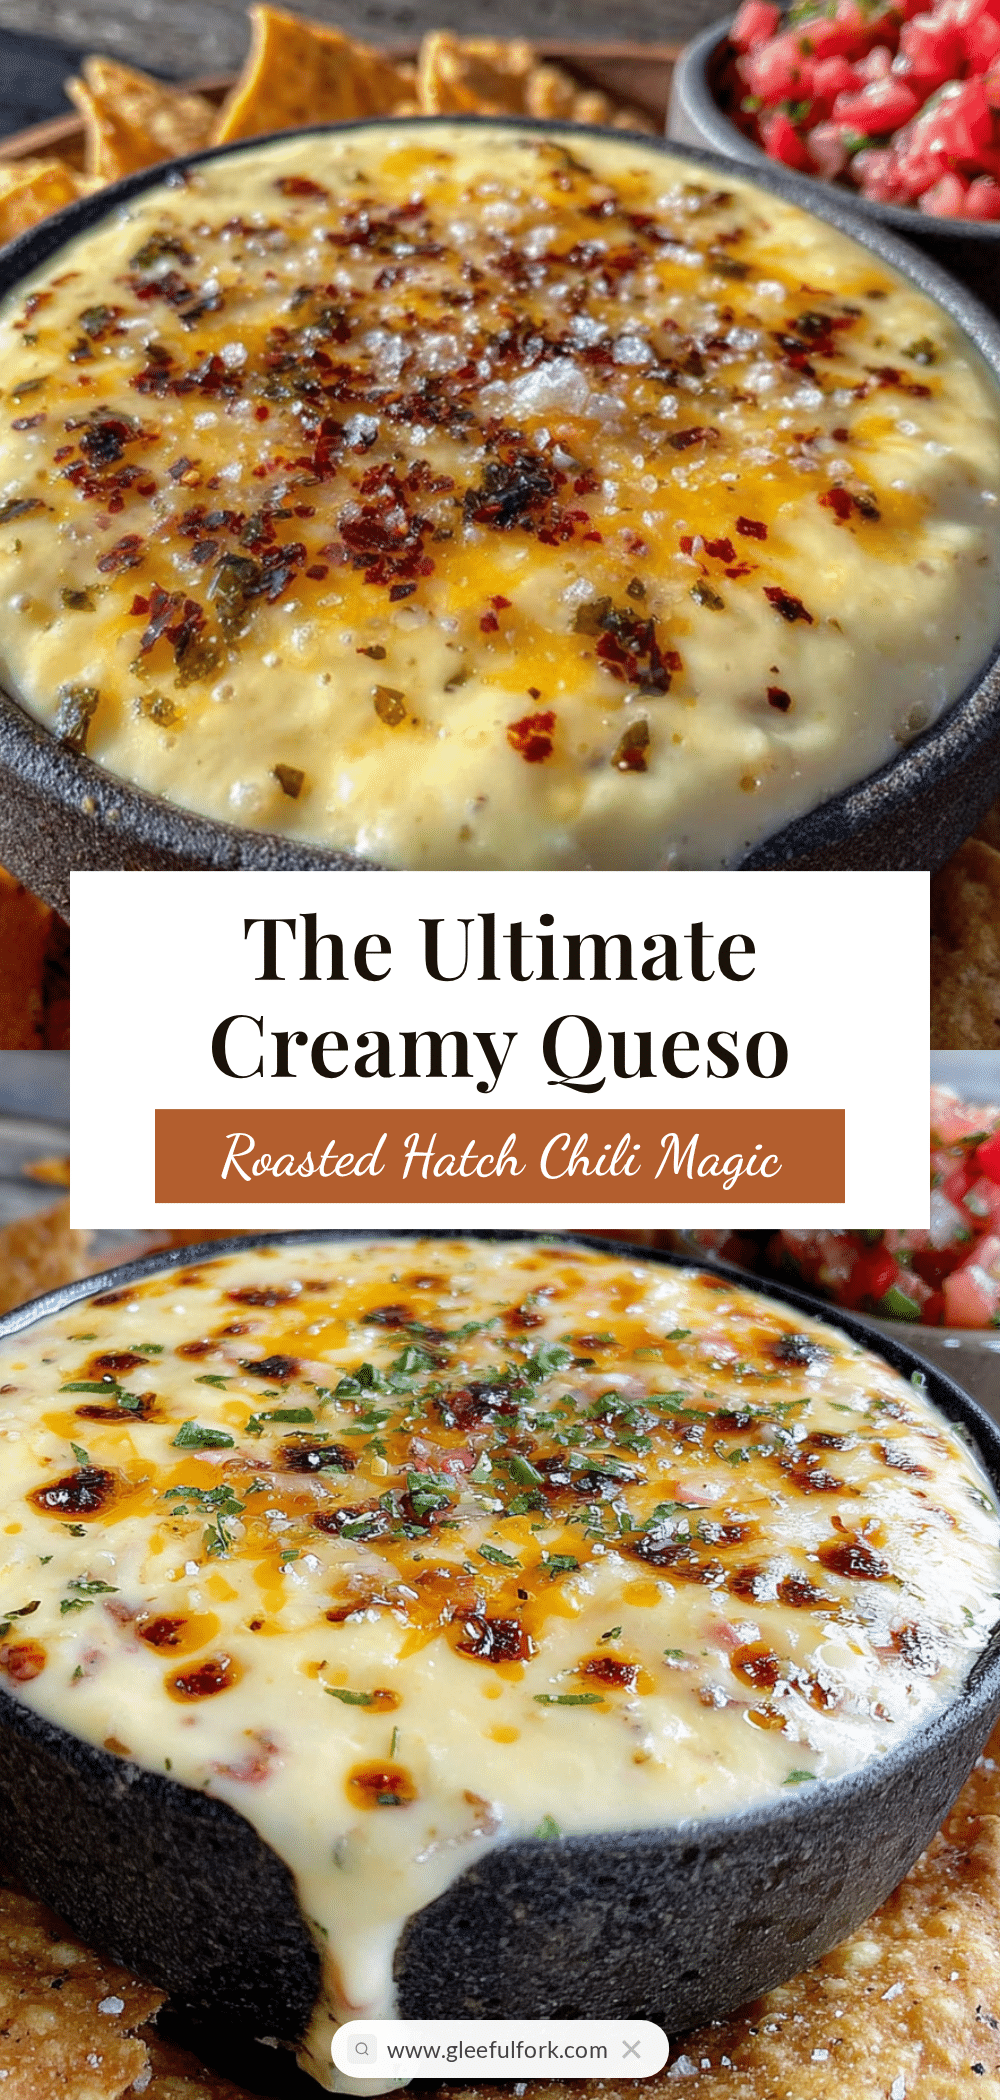
Best Creamy Roasted Hatch Chili Con Queso Dip Recipe

This creamy, smoky Hatch chili con queso dip is unpretentious, forgiving, and absolutely unstoppable at a party. It’s quick to make with simple ingredients and delivers a velvety texture that will ruin all other dips for you.
- Prep Time: 10 minutes
- Cook Time: 20 minutes
- Total Time: 30 minutes
- Yield: 8 servings 1x
- Category: Appetizer
- Cuisine: Mexican
Ingredients
- 4–5 medium fresh Hatch chiles (about 8 ounces total)
- 8 ounces sharp cheddar cheese, freshly shredded
- 8 ounces Monterey Jack cheese, freshly shredded
- 4 ounces cream cheese, softened
- 1 cup whole milk
- 2 tablespoons butter
- 1/2 medium yellow onion, finely diced (about 1/2 cup)
- 2 cloves garlic, minced
- 1 small jalapeño, seeded and minced (optional)
- 1 medium tomato, seeded and diced (about 1/2 cup)
- 1/2 teaspoon ground cumin
- 1/2 teaspoon kosher salt (or to taste)
- 2 tablespoons fresh cilantro, chopped (for garnish)
Instructions
- Roast the Hatch chiles (10-15 minutes): Place the chiles directly over a gas flame or under a broiler. Use tongs to turn them every 2-3 minutes until the skin is charred and blistered all over. Transfer to a zip-top bag and seal. Let steam for 10 minutes to loosen the skins.
- Prepare the chiles (5 minutes): Remove chiles from the bag and peel off the charred skin. Cut off stems, slice open, and scrape out seeds and membranes. Dice the flesh into small pieces. Set aside.
- Sauté the aromatics (5 minutes): In a medium saucepan over medium heat, melt the butter. Add diced onion and cook until translucent, about 3 minutes. Add minced garlic and jalapeño (if using) and cook for another minute until fragrant.
- Build the base (3 minutes): Reduce heat to low. Add softened cream cheese and stir until fully melted and combined with the onions.
- Add the milk and cheese (5-7 minutes): Slowly pour in the milk while stirring constantly. Add shredded cheddar and Monterey Jack a handful at a time, stirring after each addition until fully melted. Keep heat on low. The mixture should be smooth and glossy.
- Incorporate the chiles and seasonings (2 minutes): Stir in diced roasted Hatch chiles, diced tomato, and ground cumin. Add salt to taste. Let simmer gently for 1-2 minutes to meld flavors.
- Serve immediately: Transfer to a serving bowl. Garnish with fresh cilantro. Serve warm with tortilla chips, sliced vegetables, or warm soft pretzels.
Notes
Shred your own cheese for best results; pre-shredded cheese can make the dip grainy. Keep heat on low to prevent the cheese from seizing. The dip thickens as it cools; reheat gently with a splash of milk. For a spicier version, add a diced serrano pepper or chipotle in adobo sauce. Leftovers can be refrigerated for up to 4 days and taste even better the next day.
Nutrition
- Serving Size: 1/4 cup
- Calories: 180
- Sugar: 2
- Sodium: 320
- Fat: 14
- Saturated Fat: 8
- Carbohydrates: 4
- Fiber: 1
- Protein: 6
Keywords: Hatch chili con queso, creamy queso dip, roasted Hatch chiles, cheese dip, game day dip, Mexican appetizer, smoky queso


