Love this? Save it for later!
Share the inspiration with your friends
Introduction
“You won’t believe how easy these pickles are,” my quiet accountant neighbor said one humid Thursday afternoon while we were both waiting for the bus. Honestly, I wasn’t expecting cooking advice from someone who spends their days buried in spreadsheets, but there I was, listening as he described exactly how to make Quick Tangy Garlic Dill Refrigerator Pickles with just a handful of ingredients and about 20 minutes of prep. The idea of whipping up homemade pickles in such a short time felt almost like magic, especially since I’d always thought pickling was a long, fussy process.
The next day, I found myself rummaging through my fridge, trying to remember if I had fresh dill or garlic on hand, half-expecting the whole thing to be a bust. But no — that first bite had this unexpected zing and crunch that made me pause. Maybe you’ve been there, doubting a recipe that sounds too simple, only to be pleasantly surprised. This quick pickle recipe stuck with me because it’s the kind of thing that turns out great even if you’re a bit distracted or forget a step (I once left the garlic cloves out and it still tasted fantastic). Plus, it’s perfect for those moments when you want that tangy, garlicky crunch without waiting weeks.
Since then, I’ve been making these Quick Tangy Garlic Dill Refrigerator Pickles on repeat — they’re perfect for snacks, sandwich toppings, or that unexpected crunch on a salad. Let me tell you, you’ll want to keep a batch ready, just like I do now.
Why You’ll Love This Recipe
After testing this Quick Tangy Garlic Dill Refrigerator Pickles recipe multiple times, I can say it’s a keeper for these reasons:
- Quick & Easy: Ready in under 20 minutes, making it perfect for when you crave a fresh, tangy snack without the wait.
- Simple Ingredients: No need to hunt down specialty items — just cucumbers, garlic, dill, vinegar, and a few basics you probably have already.
- Perfect for Any Occasion: Whether you’re prepping for a casual barbecue, a lunchbox surprise, or a picnic, these pickles bring that classic dill flavor with a zesty twist.
- Crowd-Pleaser: Family, friends, even picky eaters love the crisp texture and balanced tang.
- Unbelievably Delicious: The garlic and dill combo hits just the right notes, with a bright vinegary tang that wakes up your taste buds.
What makes this recipe stand out? It’s the perfect balance of tartness and garlic punch without being overpowering. The quick refrigerator method means you’re skipping the traditional canning fuss but still getting that authentic homemade pickle vibe. I’ve tried other quick pickle recipes before, but this one nails the crunch and flavor every time — thanks to a little tip my neighbor shared about slicing cucumbers thin but not paper-thin.
Honestly, it’s the kind of recipe that makes you close your eyes after the first bite and say, “Yep, this is the real deal.” Whether you’re a seasoned home cook or a newbie, these pickles bring comfort food vibes with no stress.
What Ingredients You Will Need
This recipe uses simple, wholesome ingredients to deliver bold flavor and satisfying crunch without any fuss. Most are pantry staples, and many can be swapped or adjusted depending on what you have on hand.
- Cucumbers — 4 medium Kirby cucumbers or pickling cucumbers, sliced into 1/4-inch rounds (Kirby cucumbers hold their crunch best; avoid large slicing cucumbers that get mushy)
- Fresh dill — 3-4 sprigs (or 2 tablespoons dill seeds if fresh isn’t available; fresh dill adds the best aroma)
- Garlic cloves — 3-4, peeled and smashed (this gives that punchy garlic flavor; feel free to add extra if you’re a garlic lover)
- White vinegar — 1 cup (use distilled white or apple cider vinegar for a slightly fruitier note; I prefer Bragg’s apple cider vinegar for flavor)
- Water — 1 cup (to balance the vinegar and keep acidity in check)
- Granulated sugar — 1 tablespoon (balances the tartness; can reduce or replace with honey for a different sweetness)
- Salt — 1 tablespoon kosher salt or pickling salt (do not use iodized salt, as it can cloud the brine)
- Black peppercorns — 1 teaspoon (adds subtle spice)
- Optional: Red pepper flakes — 1/2 teaspoon for a mild kick (omit for milder pickles)
For a gluten-free version, all ingredients here are naturally gluten-free. You can swap sugar with coconut sugar or erythritol if you want a low-carb twist, though this may slightly alter the flavor.
Equipment Needed
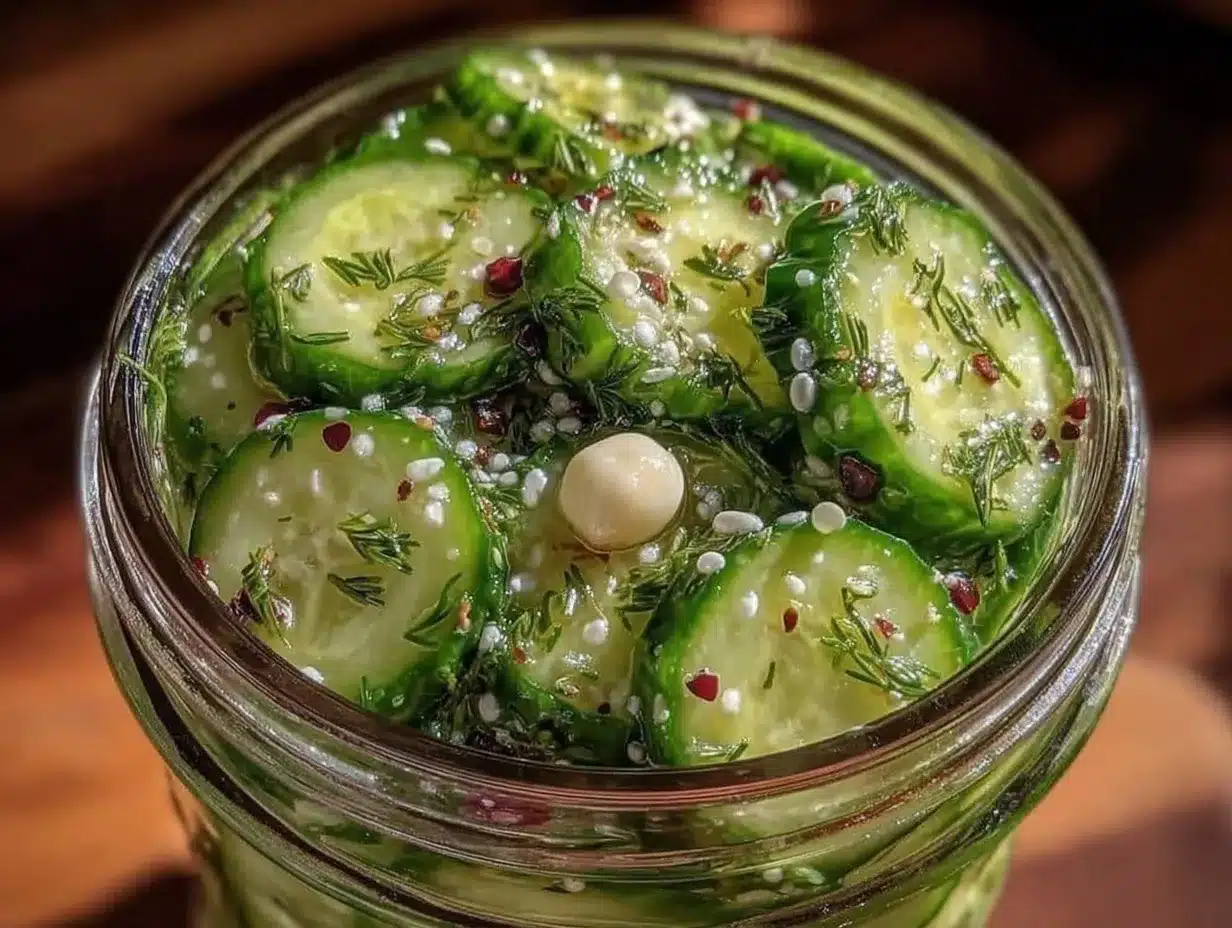
- Large mixing bowl — For tossing the cucumbers with salt and rinsing if needed.
- Measuring cups and spoons — To get accurate amounts of vinegar, water, salt, and sugar.
- Knife and cutting board — A sharp chef’s knife for slicing cucumbers thin but sturdy.
- Glass jars or airtight containers — Quart-sized mason jars work best for storing pickles in the fridge.
- Spoon or tongs — For packing the cucumbers and ingredients into jars.
If you don’t have mason jars, any clean, sealable container will do. I’ve used plastic containers in a pinch, but glass keeps the flavor truest. For quick cleanup, I like using a silicone spatula to scrape out every last bit of brine.
Preparation Method
- Slice the cucumbers: Wash and dry 4 medium Kirby cucumbers. Slice into 1/4-inch thick rounds. Try to keep them uniform for even pickling. (About 10 minutes)
- Salt the cucumbers: Place the cucumber slices in a large bowl. Sprinkle 1 tablespoon kosher or pickling salt over them. Toss to coat evenly. Let sit for 30 minutes to draw out excess moisture. This step is key to keeping your pickles crisp.
- Prepare the brine: In a saucepan, combine 1 cup white vinegar, 1 cup water, 1 tablespoon sugar, and 1 teaspoon peppercorns. Bring to a gentle boil to dissolve sugar and salt, then remove from heat.
- Rinse the cucumbers: After 30 minutes, drain the liquid from the cucumbers and rinse them under cold water to remove excess salt. Drain well and pat dry with a clean towel or paper towels.
- Pack the jars: Tightly pack the cucumber slices into clean quart-sized jars. Add 3-4 smashed garlic cloves, 3-4 sprigs of fresh dill, and optional 1/2 teaspoon red pepper flakes to each jar.
- Pour the brine: Pour the hot brine over the cucumbers to cover them completely, leaving about 1/2 inch of headspace.
- Seal and chill: Close the jars with lids and let them cool to room temperature. Then, refrigerate for at least 4 hours before eating, though overnight or up to 48 hours is best for flavor development.
- Enjoy: Your Quick Tangy Garlic Dill Refrigerator Pickles are ready to crunch and savor. Keep refrigerated and consume within 2 weeks for best freshness.
Pro tip: If your cucumbers seem a bit watery, try salting longer next time or slicing slightly thicker. Also, shaking the jar gently once or twice during the first day helps distribute flavors evenly.
Cooking Tips & Techniques
Getting pickles just right can feel tricky, but some simple tips can make the process smooth and foolproof.
- Use the right cucumbers: Pickling cucumbers or Kirby cucumbers are smaller and have fewer seeds than slicing cucumbers, which helps maintain crunch.
- Don’t skip the salting: Salting draws out moisture, making for crisp pickles instead of soggy ones. If you forget this step, your pickles might turn out limp.
- Keep the brine hot: Pouring hot brine over the cucumbers helps them absorb flavors faster and preserves texture.
- Store in the fridge only: This recipe is for refrigerator pickles, so don’t try to can them at home. They’re meant to be eaten fresh and kept chilled.
- Watch your timing: Though you can eat them after 4 hours, waiting 24-48 hours allows flavors to develop fully. I’ve learned to prepare them a day ahead whenever possible.
- Don’t overcrowd jars: Overpacking can squash cucumbers and make the pickles mushy. Leave some space for brine circulation.
- Experiment with garlic intensity: Smashing garlic releases more flavor, but if you prefer a milder taste, just halve the cloves or add whole instead of smashed.
I remember my first batch was a little bland because I forgot to boil the brine. Lesson learned! Now, I always bring it to a simmer to make sure the salt and sugar dissolve properly, which really lifts the flavor.
Variations & Adaptations
This Quick Tangy Garlic Dill Refrigerator Pickles recipe is super flexible. Here are some ways I’ve switched it up or that you might want to try:
- Spicy Pickles: Add more red pepper flakes or a few sliced jalapeños for a fiery twist.
- Garlic-Free Version: Omit garlic for those sensitive to it, and add extra dill or a few coriander seeds for depth.
- Low-Sodium Option: Cut salt in half and extend salting time to compensate, but keep in mind it changes texture slightly.
- Seasonal Variation: In late summer, add thin slices of fresh fennel or radishes for a colorful crunch.
- Vinegar Swap: Use rice vinegar for a sweeter, milder brine or white wine vinegar for a fruity note.
Once, I made a batch with lemon zest added to the brine — that citrusy brightness brought a fresh pop that my friends loved. Feel free to get creative; the base recipe is forgiving and perfect for experimenting.
Serving & Storage Suggestions
These pickles are best served chilled straight from the fridge. They make a fantastic crunchy topping for sandwiches, burgers, or salads. I love pairing them with homemade potato salad or alongside a rich grilled cheese sandwich for contrast.
Store your pickles in airtight glass jars in the refrigerator. They’ll keep for up to two weeks but honestly, they rarely last that long in my kitchen. For reheating (if you want warm pickles for a recipe), gently warm them in a saucepan for a few minutes, but I usually prefer the crisp cold bite.
Flavor develops as they sit — they start out bright and tangy, then mellow slightly after a day or two while keeping that satisfying snap. I find shaking the jar gently once a day helps keep flavors balanced.
Nutritional Information & Benefits
These Quick Tangy Garlic Dill Refrigerator Pickles are low in calories and carbs, making them a guilt-free snack or condiment. One serving (about 1/4 cup) has roughly:
| Nutrient | Amount |
|---|---|
| Calories | 10-15 kcal |
| Carbohydrates | 2-3 g |
| Fiber | 0.5-1 g |
| Sodium | 300-400 mg |
Garlic provides immune-boosting compounds, and dill is rich in antioxidants. The vinegar in the brine may aid digestion and blood sugar control. These pickles are naturally gluten-free and vegan, fitting many diets. Just watch the sodium if you’re salt-sensitive.
Conclusion
If you’re looking for a quick, tangy, and garlicky pickle recipe that skips the fuss but delivers big on flavor, these Quick Tangy Garlic Dill Refrigerator Pickles should be your go-to. They’re easy to make, use simple ingredients, and bring that classic pickle crunch to your meals in under 20 minutes of prep.
Personally, I love how forgiving this recipe is—you can tweak it to your taste or dietary needs without stress. Plus, it’s a fun conversation starter, especially when you tell folks your quiet accountant neighbor gave you the secret! So go ahead, try making a batch, and don’t hesitate to share how you customized yours—I’m always curious to hear new twists.
Happy pickling, and may your kitchen always have a jar of these tangy delights ready to brighten your day!
FAQs
How long do Quick Tangy Garlic Dill Refrigerator Pickles last?
They keep well in the fridge for up to 2 weeks. For best crunch and flavor, eat within that time frame.
Can I use regular cucumbers instead of Kirby cucumbers?
Yes, but Kirby cucumbers are preferred because they stay crisp longer. Large slicing cucumbers can get mushy faster.
Do I need to boil the brine?
Boiling helps dissolve salt and sugar fully and infuses flavors faster, so it’s recommended for the best taste.
Can I make these pickles without garlic?
Absolutely. You can omit garlic and add extra dill or other spices like coriander seeds for flavor.
Are these pickles fermented?
No, these are quick refrigerator pickles made with vinegar, not fermented. They’re ready to eat much faster and don’t require special fermentation steps.
Pin This Recipe!
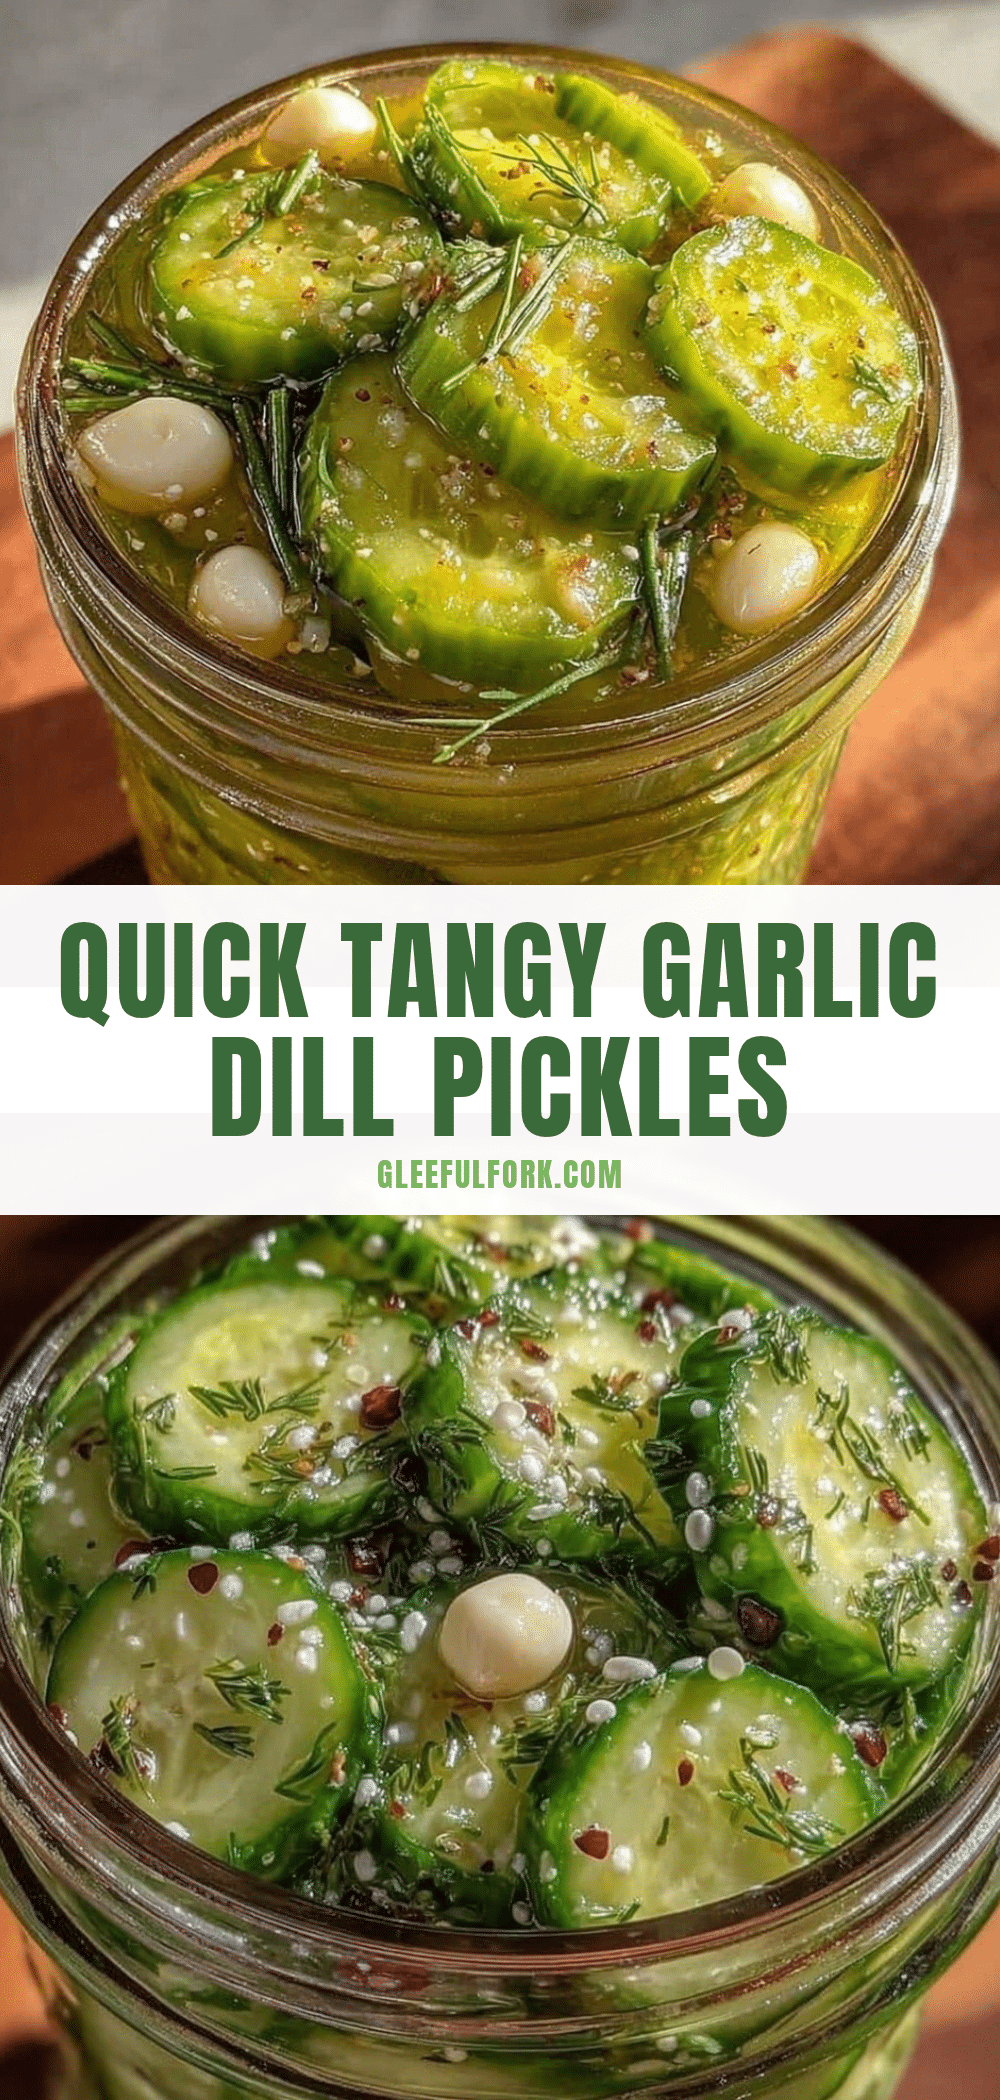
Quick Tangy Garlic Dill Refrigerator Pickles
A quick and easy homemade pickle recipe that delivers tangy, garlicky crunch in under 20 minutes of prep time. Perfect for snacks, sandwich toppings, or salads.
- Prep Time: 15 minutes
- Cook Time: 5 minutes
- Total Time: 20 minutes
- Yield: 4 servings 1x
- Category: Condiment
- Cuisine: American
Ingredients
- 4 medium Kirby cucumbers, sliced into 1/4-inch rounds
- 3–4 sprigs fresh dill (or 2 tablespoons dill seeds)
- 3–4 garlic cloves, peeled and smashed
- 1 cup white vinegar (distilled white or apple cider vinegar)
- 1 cup water
- 1 tablespoon granulated sugar
- 1 tablespoon kosher salt or pickling salt
- 1 teaspoon black peppercorns
- Optional: 1/2 teaspoon red pepper flakes
Instructions
- Wash and dry 4 medium Kirby cucumbers. Slice into 1/4-inch thick rounds, keeping them uniform for even pickling.
- Place cucumber slices in a large bowl. Sprinkle 1 tablespoon kosher or pickling salt over them. Toss to coat evenly. Let sit for 30 minutes to draw out excess moisture.
- In a saucepan, combine 1 cup white vinegar, 1 cup water, 1 tablespoon sugar, and 1 teaspoon peppercorns. Bring to a gentle boil to dissolve sugar and salt, then remove from heat.
- After 30 minutes, drain the liquid from the cucumbers and rinse them under cold water to remove excess salt. Drain well and pat dry with a clean towel or paper towels.
- Tightly pack the cucumber slices into clean quart-sized jars. Add 3-4 smashed garlic cloves, 3-4 sprigs of fresh dill, and optional 1/2 teaspoon red pepper flakes to each jar.
- Pour the hot brine over the cucumbers to cover them completely, leaving about 1/2 inch of headspace.
- Close the jars with lids and let them cool to room temperature. Then refrigerate for at least 4 hours before eating, though overnight or up to 48 hours is best for flavor development.
- Enjoy your Quick Tangy Garlic Dill Refrigerator Pickles. Keep refrigerated and consume within 2 weeks for best freshness.
Notes
Use Kirby cucumbers for best crunch. Salting cucumbers draws out moisture to keep pickles crisp. Pour hot brine over cucumbers to help absorb flavors faster. Refrigerate for at least 4 hours, preferably overnight or up to 48 hours for best flavor. Consume within 2 weeks. Shake jars gently once a day to distribute flavors evenly. Avoid iodized salt to prevent cloudy brine.
Nutrition
- Serving Size: About 1/4 cup
- Calories: 1015
- Sugar: 1
- Sodium: 300400
- Carbohydrates: 23
- Fiber: 0.51
Keywords: quick pickles, refrigerator pickles, garlic dill pickles, homemade pickles, easy pickles, tangy pickles, crunchy pickles


