Love this? Save it for later!
Share the inspiration with your friends
Introduction
“Why can’t we just toss the cucumbers and spices in a jar and call it pickling?” my friend asked me last summer while we were standing in her tiny kitchen, surrounded by a mountain of cucumbers from her garden. I started to explain why that wouldn’t work—then stopped. Honestly, she had a point. I’d spent years fussing over boiling water baths and sterilizing jars for pickles, convinced that nothing would come out right otherwise. But that day, I decided to trust her simpler approach and give it a shot.
What happened next surprised me completely. Those quick refrigerator dill pickles turned out crisp, tangy, and bursting with flavor—without a single canning step. The crunch was there, the dill was fresh, and the best part? No hours of babysitting a bubbling pot. It was almost humbling, realizing that sometimes the easiest way really is the best way. Maybe you’ve been there, stuck between wanting homemade pickles but intimidated by canning. This recipe is exactly for you.
Ever since that day, this quick pickle recipe has become my go-to. I keep a jar in the fridge for last-minute sandwiches or just a crunchy snack. I even forgot to tighten a lid properly once, and the pickles still came out perfectly crisp. Let me tell you, that was a kitchen mess I didn’t mind cleaning up. If you want dill pickles that don’t require a big production but still deliver on taste and texture, this is your recipe.
Why You’ll Love This Recipe
After testing countless pickle recipes—some traditional, some experimental—this easy crisp quick refrigerator dill pickles recipe stands out, hands down. Here’s why I trust it to deliver every single time:
- Quick & Easy: Ready to eat in as little as 24 hours, perfect when you crave pickles but don’t want to wait for weeks.
- Simple Ingredients: No fancy spices or weird additives—just what you find in your pantry or local market.
- No Canning Required: Skip the boiling water baths and sterilization stress; just jar it up, refrigerate, and enjoy.
- Crisp Texture: The secret brine ratio and fresh dill keep the cucumbers satisfyingly crunchy, not soggy.
- Flavorful: Balanced vinegar tang with garlic and dill notes that hit the spot every time.
- Flexible: Works well with smaller or larger cucumbers, and you can tweak the seasoning for your taste.
This isn’t just another quick pickle recipe—I’ve fine-tuned it to make sure the pickles keep their snap and depth of flavor. Honestly, it’s the kind of pickle that makes you pause mid-bite and smile. Whether you’re a seasoned pro or a beginner like my friend, these pickles are a winner for busy kitchens and casual snackers alike.
What Ingredients You Will Need
This recipe uses simple, wholesome ingredients to deliver bold flavor and satisfying crunch without the fuss. You probably have most of these in your kitchen right now.
- Fresh Cucumbers: About 4-5 medium Kirby or pickling cucumbers (approximately 1.5 lbs / 700 g), washed and sliced into spears or rounds. Kirby cucumbers are best for their firmness, but any firm cucumber will work.
- Fresh Dill: 3-4 sprigs of fresh dill or 2 tablespoons of dill seeds. Fresh dill gives that classic, bright flavor, but seeds work well if you don’t have fresh on hand.
- Garlic Cloves: 3-4 cloves, peeled and lightly crushed—adds aromatic depth.
- White Vinegar: 1 cup (240 ml), 5% acidity. This is key to the tang and preservation. I prefer Heinz for consistent results.
- Water: 1 cup (240 ml), filtered if possible to avoid off-flavors.
- Pickling Salt: 1 tablespoon (preferably kosher or sea salt without additives). Table salt can be used but may cloud the brine.
- Optional Spices: 1 teaspoon black peppercorns, 1/2 teaspoon red pepper flakes for a little heat, or a bay leaf for extra aroma.
If you want to customize, you can swap white vinegar for apple cider vinegar for a fruitier note or use less salt for a lower sodium version. For a gluten-free twist, make sure your spices and vinegar are certified gluten-free. I once tried this with coconut vinegar, and while it was interesting, the flavor profile shifted quite a bit—so stick to white or apple cider for the classic taste.
Equipment Needed
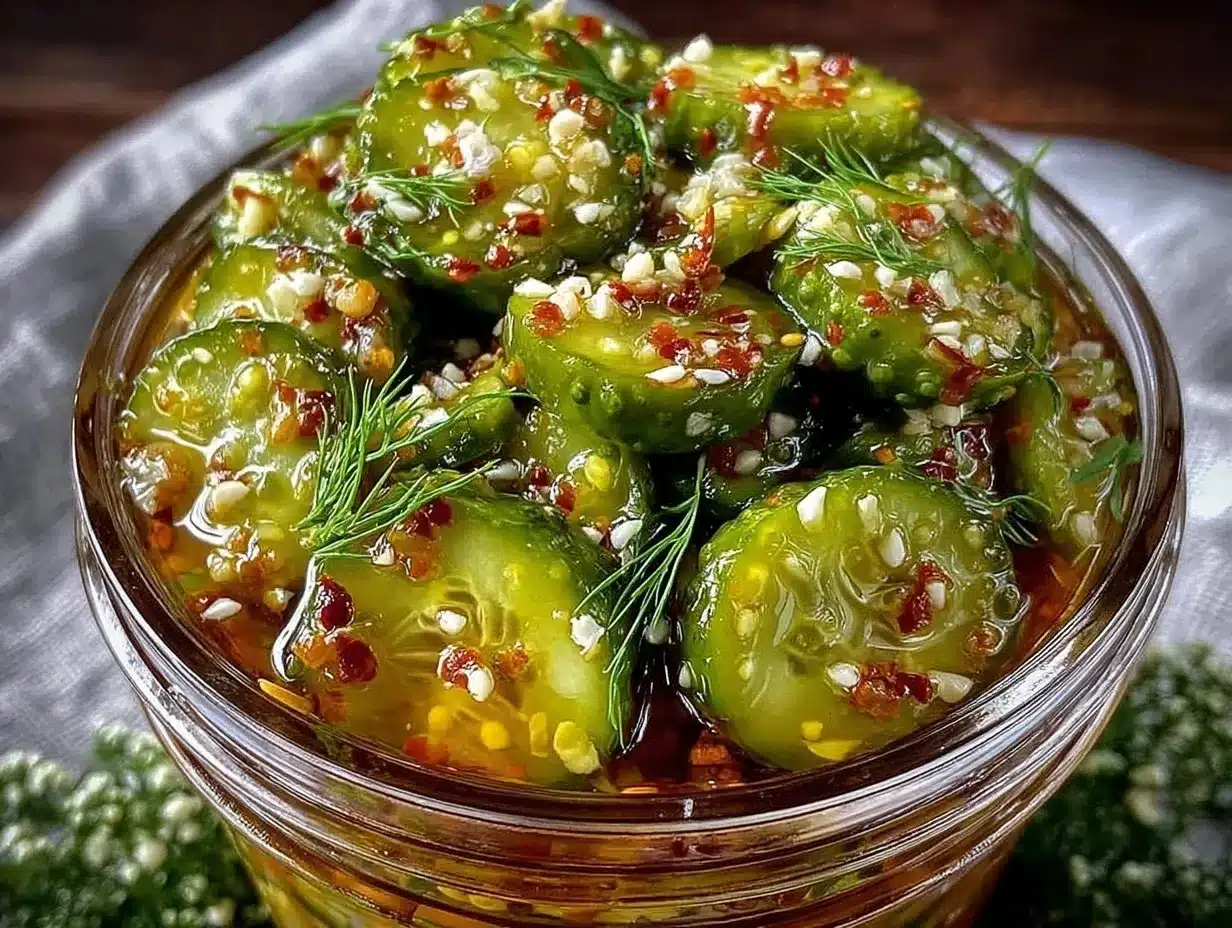
Making these quick refrigerator dill pickles doesn’t call for anything fancy, but a few kitchen tools make the process smoother.
- Glass Jar with Lid: A quart-sized (1 liter) mason jar or any airtight container works perfectly. Avoid metal lids that could rust from vinegar exposure.
- Measuring Cups and Spoons: For precise vinegar and salt measurements—trust me, the balance here is everything.
- Cutting Board and Sharp Knife: For slicing cucumbers into spears or rounds.
- Mixing Bowl: To mix the brine before pouring it over cucumbers.
- Optional: A small saucepan to warm the brine slightly if you prefer, but it’s not necessary.
I’ve tried using plastic containers for pickling, but the glass jars always keep the flavor pure and the pickles crisp. Also, if you’re new to pickling, get a lid that seals tightly but isn’t overly difficult to open—trust me on this one after a few stubborn jars! For budget-friendly options, dollar stores often have suitable jars, just make sure they seal well.
Preparation Method
- Prepare the Cucumbers: Wash 4-5 medium Kirby cucumbers thoroughly to remove any dirt or residue. Trim the ends (the blossom end can cause softness), then slice them into spears or 1/4-inch thick rounds depending on your preference. This should take about 10 minutes.
- Pack the Jar: Place 3-4 sprigs of fresh dill and 3-4 lightly crushed garlic cloves at the bottom of your clean quart-sized jar. Add optional spices like 1 teaspoon black peppercorns or 1/2 teaspoon red pepper flakes if using. Next, pack the cucumber slices tightly but without smashing them. The goal is to fill the jar, leaving about 1/2 inch (1.25 cm) headspace at the top.
- Make the Brine: In a mixing bowl or small saucepan, combine 1 cup (240 ml) white vinegar, 1 cup (240 ml) water, and 1 tablespoon pickling salt. Stir until the salt fully dissolves. Warming the brine slightly helps dissolve the salt faster but is optional. The brine should taste tangy and slightly salty—trust your palate here.
- Pour and Seal: Pour the brine over the packed cucumbers, making sure they are fully submerged. Use a clean utensil like a chopstick to remove any air bubbles trapped inside. Screw the lid on tightly.
- Refrigerate: Place the jar in the fridge for at least 24 hours before tasting. They’ll get more flavorful with time, but the crunch is best fresh. The pickles will keep well refrigerated for up to 2 weeks.
Tip: If you find your pickles aren’t as crisp as you like, try adding a small piece of grape leaf or a pinch of calcium chloride (pickling crisp) next time. Also, avoid overcrowding the jar to ensure even brining. I once packed mine too tightly and ended up with uneven flavor distribution—lesson learned!
Cooking Tips & Techniques
Making crisp, flavorful refrigerator dill pickles can be surprisingly simple, but a few tricks help get it just right every time.
- Choose Firm Cucumbers: Fresh, firm Kirby cucumbers are your best bet. Avoid cucumbers with soft spots or wrinkles—they won’t hold up well during pickling.
- Trim the Ends: The blossom end contains enzymes that can soften pickles, so trimming it helps keep that snap.
- Use Pickling Salt: Regular table salt often contains additives that cloud the brine and affect taste. Kosher or sea salt works best.
- Keep Cucumbers Submerged: Air exposure causes softening and spoilage. If needed, use a small weight or cabbage leaf to keep cucumbers under brine.
- Don’t Skip the Garlic and Dill: These add layers of flavor that make quick pickles taste authentic.
- Patience Pays Off: While you can eat them in 24 hours, waiting 2-3 days intensifies flavors and crunch.
- Watch the Temperature: Store pickles in the coldest part of your fridge to slow spoilage and maintain texture.
Once, I accidentally used too much vinegar in a batch, expecting it to make the pickles more tangy, but it ended up overpowering. The balance is key—you want the vinegar to complement, not dominate. Also, avoiding canning means you must keep these refrigerated and consume within 2 weeks for best quality.
Variations & Adaptations
This basic quick refrigerator dill pickle recipe is a fantastic canvas for customization. Here are some ways to make it your own:
- Spicy Pickles: Add a sliced jalapeño or increase red pepper flakes for heat lovers.
- Garlic Lovers: Double the garlic cloves or add roasted garlic for a mellow twist.
- Herbal Twist: Swap fresh dill with fresh tarragon or add fresh thyme for a different herbal note.
- Low Sodium: Reduce salt by half and extend soaking time a bit to compensate.
- Vegan-Friendly: This recipe is naturally vegan, but use organic sugar if you want a touch of sweetness.
- Smoky Flavor: Add a small smoked paprika pinch or a smoked bay leaf for depth.
I once tried a batch with apple cider vinegar and a cinnamon stick, which gave the pickles a subtle warm sweetness—great for fall snacking. For a different texture, you can slice cucumbers thinner for quick refrigerator dill chips.
Serving & Storage Suggestions
These easy crisp quick refrigerator dill pickles are best served chilled straight from the fridge. They make a fantastic crunchy side for sandwiches, burgers, or a tangy addition to charcuterie boards.
- Try them alongside a crispy garlic chicken dinner for a fresh bite contrast.
- Toss chopped pickles into potato salad for that extra zing.
- Use pickle spears to garnish Bloody Mary cocktails for a fun twist.
Store pickles in the refrigerator in their brine for up to 2 weeks. Over time, the flavors deepen and meld, but the crunch will slowly soften after about 10 days. When reheating dishes that include these pickles, add them fresh afterward to preserve texture. If your pickles get a bit soft, they still make excellent additions to sauces or salads.
Nutritional Information & Benefits
These quick refrigerator dill pickles are naturally low in calories—about 5-10 calories per spear depending on size. They contain no fat and minimal carbs, making them a perfect low-calorie snack or condiment. The vinegar used has acetic acid, which some studies suggest may support digestion and blood sugar control.
Fresh dill contributes antioxidants and vitamins A and C. Garlic adds immune-boosting compounds, and using fresh cucumbers provides hydration and fiber. Just note that the sodium content can be moderate because of the salt in the brine, so enjoy in moderation if watching sodium intake.
This recipe is gluten-free and vegan by default, so it fits many dietary needs. I appreciate having a tangy, crunchy snack option that’s both flavorful and health-conscious.
Conclusion
This easy crisp quick refrigerator dill pickles recipe has truly changed how I think about pickling. No more stress over canning or waiting weeks for flavor. Instead, you get fresh, crunchy, tangy pickles in just a day or two with simple ingredients and minimal effort. I love how customizable it is—you can tweak spices and vinegar types to your liking.
Give it a try, and maybe it will become your new favorite quick pickle method too. I’d love to hear how you make it your own or any creative twists you add. Please leave a comment below sharing your experience or questions. Trust me, once you make these, you’ll want to keep a jar in the fridge at all times!
Happy pickling—and enjoy that satisfying crunch!
FAQs
How long do quick refrigerator dill pickles last?
They keep well in the refrigerator for up to 2 weeks. After that, they may lose crunch and flavor intensity.
Can I use regular cucumbers instead of Kirby cucumbers?
Yes, but choose firm, fresh cucumbers. Kirby cucumbers are preferred for their crispness, but any firm variety works.
Do I have to boil the brine?
No, boiling is not necessary for refrigerator pickles. Just dissolve the salt in vinegar and water, and pour over cucumbers.
Can I make this recipe vegan and gluten-free?
Absolutely. The recipe is naturally vegan and gluten-free as long as you use gluten-free vinegar and spices.
What if my pickles aren’t crunchy?
Make sure to trim cucumber ends, use pickling salt, and keep cucumbers fully submerged in brine. Adding a grape leaf or calcium chloride can also help maintain crispness.
Pin This Recipe!
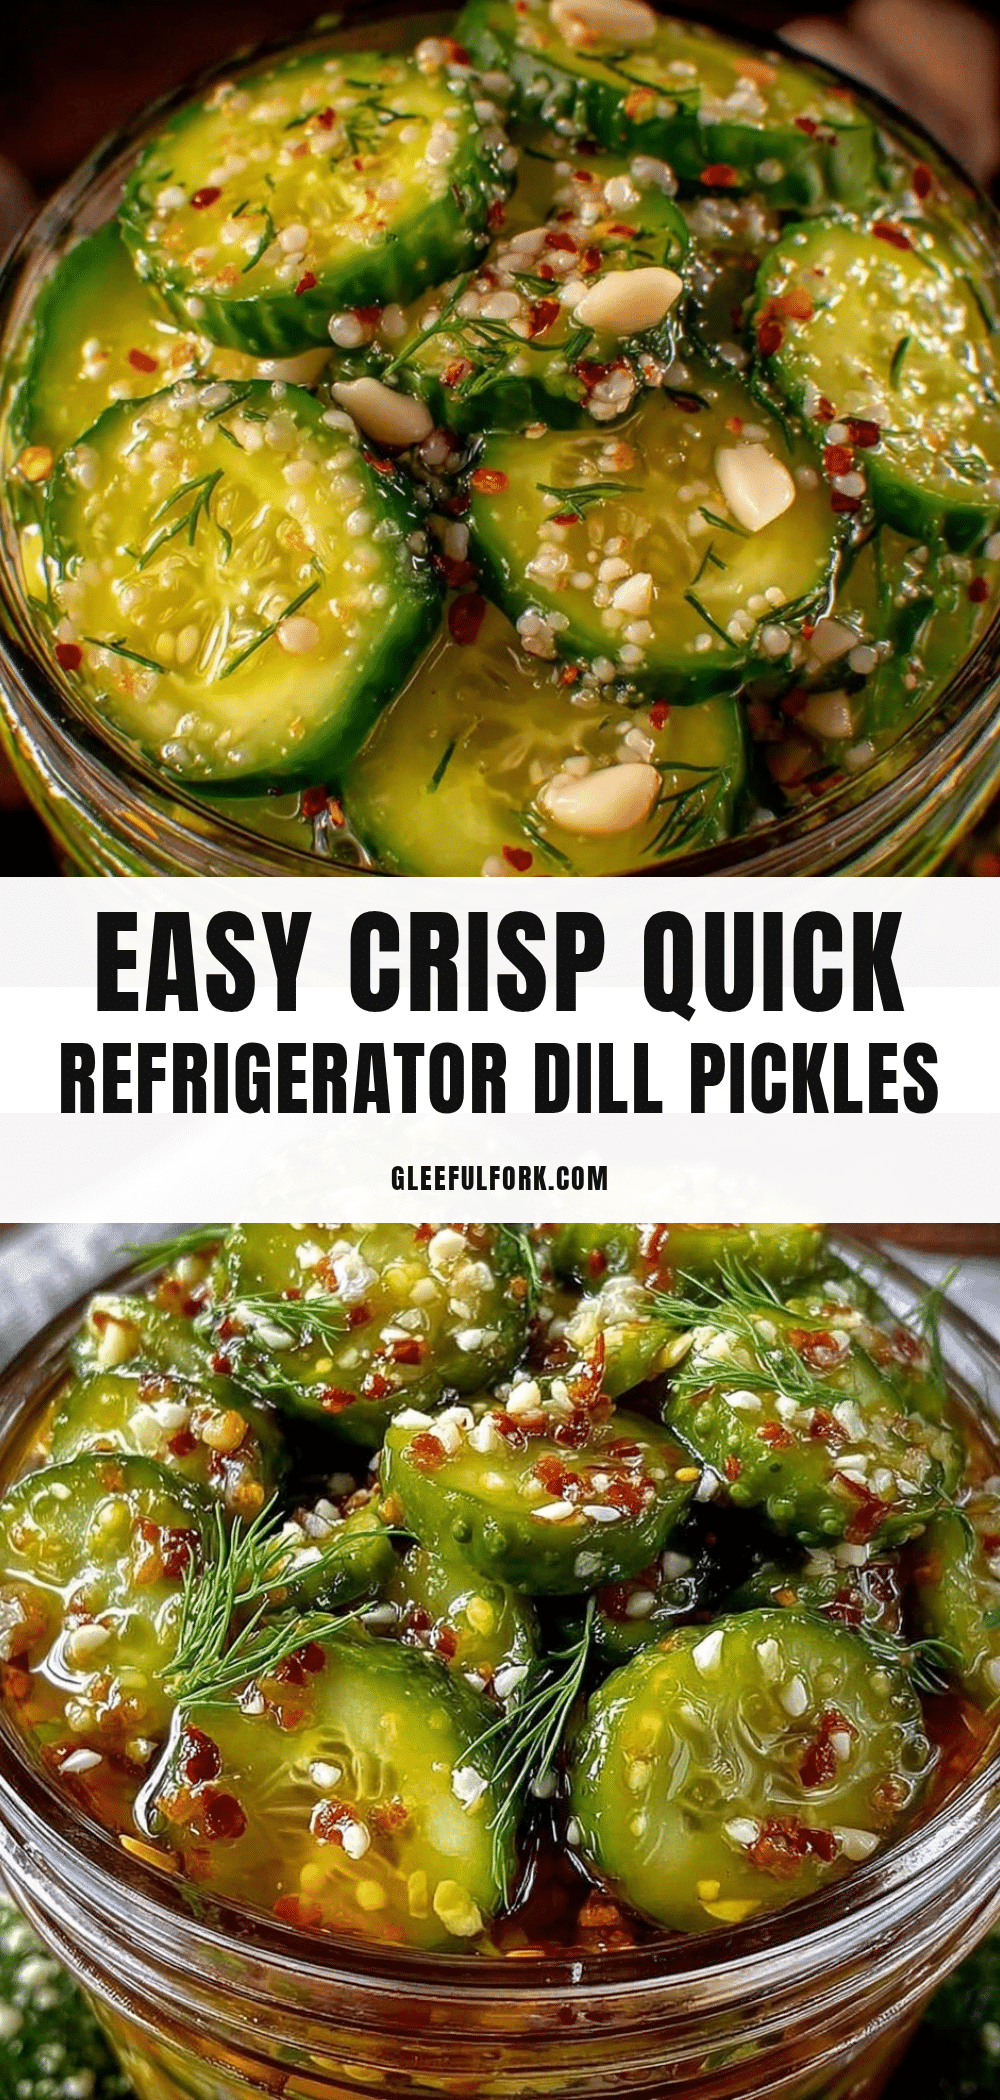
Easy Crisp Quick Refrigerator Dill Pickles Recipe No Canning Needed
A simple and quick recipe for crisp, tangy dill pickles that require no canning and are ready to eat in as little as 24 hours. Perfect for a crunchy snack or sandwich addition.
- Prep Time: 10 minutes
- Cook Time: 0 minutes
- Total Time: 24 hours
- Yield: 1 quart jar (about 4 servings) 1x
- Category: Condiment
- Cuisine: American
Ingredients
- 4–5 medium Kirby or pickling cucumbers (approximately 1.5 lbs / 700 g), washed and sliced into spears or rounds
- 3–4 sprigs fresh dill or 2 tablespoons dill seeds
- 3–4 garlic cloves, peeled and lightly crushed
- 1 cup (240 ml) white vinegar, 5% acidity
- 1 cup (240 ml) water, filtered if possible
- 1 tablespoon pickling salt (kosher or sea salt preferred)
- Optional spices: 1 teaspoon black peppercorns, 1/2 teaspoon red pepper flakes, or 1 bay leaf
Instructions
- Wash 4-5 medium Kirby cucumbers thoroughly to remove any dirt or residue. Trim the ends and slice into spears or 1/4-inch thick rounds. This should take about 10 minutes.
- Place 3-4 sprigs of fresh dill and 3-4 lightly crushed garlic cloves at the bottom of a clean quart-sized jar. Add optional spices if using.
- Pack the cucumber slices tightly into the jar, leaving about 1/2 inch headspace at the top.
- In a mixing bowl or small saucepan, combine 1 cup white vinegar, 1 cup water, and 1 tablespoon pickling salt. Stir until salt dissolves. Warming the brine slightly is optional.
- Pour the brine over the cucumbers, ensuring they are fully submerged. Remove air bubbles with a clean utensil and screw the lid on tightly.
- Refrigerate the jar for at least 24 hours before tasting. Pickles keep well refrigerated for up to 2 weeks.
Notes
Use firm Kirby cucumbers and trim the blossom ends to maintain crispness. Keep cucumbers fully submerged in brine to avoid softening. Adding a grape leaf or calcium chloride can help maintain crunch. Store pickles in the coldest part of the fridge and consume within 2 weeks for best quality.
Nutrition
- Serving Size: Approximately 1/4 of
- Calories: 510
- Sugar: 1
- Carbohydrates: 12
- Fiber: 0.5
Keywords: quick pickles, refrigerator pickles, dill pickles, no canning, easy pickles, crisp pickles, homemade pickles


