Love this? Save it for later!
Share the inspiration with your friends
Introduction
The whir of the supermarket freezer aisle was just background noise last Saturday when suddenly the sweet scent of caramel drifted past—a quick breeze from the nearby bakery section. That smell hit me like a flashback, and suddenly I was ten again, standing at the kitchen counter in my aunt’s tiny apartment, watching her drizzle golden caramel over a bowl of homemade ice cream. It wasn’t just the taste I remembered; it was the way the caramel ribbons glistened, thick and sticky, catching the light as they slowly sank into the creamy swirl beneath.
Honestly, I’d forgotten how much that moment stuck with me until this week, when I tried to recreate that exact feeling with this creamy no-churn salted caramel swirl ice cream. Let me tell you, chasing that memory wasn’t about nailing a perfect recipe—it was about capturing the texture, the warmth of the caramel against the cool cream, and that hint of salt that made the whole thing sing. I made a mess on the counter, forgot to stir the caramel once, and almost gave up halfway, but somehow, this recipe nailed it.
Maybe you’ve been there—trying to hold onto a fleeting taste or smell that feels like a secret treasure from childhood. This ice cream isn’t just dessert; it’s a little time machine. And I keep making it not just because it’s delicious, but because it brings back that exact moment, that exact feeling, every time.
Why You’ll Love This Recipe
This creamy no-churn salted caramel swirl ice cream recipe is one of those rare treats that’s both unbelievably easy and deeply satisfying. I say that as someone who’s spent years tinkering with ice cream recipes—trust me, this one hits all the right notes.
- Quick & Easy: Comes together in under 20 minutes, perfect for those spontaneous sweet cravings or last-minute dinner parties.
- Simple Ingredients: No fancy gadgets or hard-to-find items needed—just staples you probably have on hand.
- Perfect for Any Occasion: Whether it’s a summer BBQ, a cozy night in, or a birthday celebration, this ice cream fits right in.
- Crowd-Pleaser: The salted caramel swirl is always a hit, balancing sweetness with a subtle saltiness that surprises and delights.
- Unbelievably Delicious: The texture is luxuriously creamy without an ice cream maker, and the caramel ribbons add that perfect gooey touch.
What really sets this recipe apart is the no-churn method—no waiting for hours or fiddling with machines. Plus, I’ve fine-tuned the caramel to have just the right amount of salt, so it’s not overpowering but perfectly complements the creamy base. It’s the kind of ice cream you close your eyes for after the first bite, savoring every silky spoonful. Honestly, if you want to impress guests without the fuss or just treat yourself, this recipe is a must-try.
What Ingredients You Will Need
This recipe uses simple, wholesome ingredients to deliver bold flavor and satisfying texture without the fuss. Most are pantry staples, and the salted caramel can be whipped up in a flash. If you want to switch things up a bit, I’ve included substitution notes below.
- Heavy Whipping Cream – 2 cups (480 ml), cold (this creates the creamy base)
- Sweetened Condensed Milk – 1 can (14 oz/396 g) (adds sweetness and creaminess without extra sugar)
- Vanilla Extract – 1 teaspoon (for warmth and depth)
- Sugar – 1 cup (200 g), granulated (for the caramel)
- Unsalted Butter – 6 tablespoons (85 g) (adds richness to the caramel)
- Heavy Cream – ½ cup (120 ml), for caramel (use the same brand as for the base)
- Sea Salt – 1 teaspoon, flaky if possible (balances the sweetness perfectly)
Ingredient Tips: For the best results, I recommend using a trusted brand like Land O’Lakes for butter and heavy cream, and Eagle Brand for the sweetened condensed milk. If you’re avoiding dairy, swap the heavy cream with coconut cream and the butter with coconut oil, but keep in mind the texture will be a little different.
Seasonal Variation: In fall, try adding a pinch of cinnamon or nutmeg to the caramel for a cozy twist. Or mix in chopped toasted pecans for some crunch.
Equipment Needed
- Mixing Bowls: One large for whipping cream, another for folding ingredients
- Hand Mixer or Stand Mixer: Essential for whipping the cream to stiff peaks (a whisk can work but takes longer)
- Saucepan: Medium size, preferably heavy-bottomed for making the caramel evenly
- Wooden Spoon or Heatproof Spatula: For stirring caramel
- Loaf Pan or Freezer-Safe Container: To freeze the ice cream in
- Measuring Cups and Spoons: For accuracy
If you don’t have a stand mixer, a good hand mixer will get the job done just fine. I once tried whipping the cream by hand (because the mixer broke mid-recipe) and honestly, it was a workout! If you’re on a budget, old-fashioned glass bowls and a sturdy wooden spoon work great and last forever.
Preparation Method
- Make the Salted Caramel: In a medium saucepan over medium heat, add 1 cup (200 g) of granulated sugar. Stir constantly with a wooden spoon as the sugar melts and turns a deep amber color—about 8-10 minutes. Don’t walk away; sugar burns fast! When it’s all melted and golden, quickly stir in 6 tablespoons (85 g) unsalted butter until melted and combined.
- Add Cream and Salt: Remove from heat and slowly pour in ½ cup (120 ml) heavy cream, whisking constantly. The mixture will bubble vigorously, so be careful. Stir in 1 teaspoon sea salt. Let the caramel cool to room temperature while you prepare the ice cream base. This step usually takes about 20 minutes.
- Whip the Cream: In a large chilled mixing bowl, whip 2 cups (480 ml) cold heavy cream with an electric mixer on medium-high speed until stiff peaks form. This takes about 3-5 minutes. You want it thick and fluffy—think cloud-like texture.
- Combine Sweetened Condensed Milk and Vanilla: In a separate bowl, mix 1 can (14 oz/396 g) sweetened condensed milk with 1 teaspoon vanilla extract.
- Fold Ingredients Together: Gently fold the whipped cream into the condensed milk mixture using a spatula. Be careful not to deflate the cream—fold until just combined and smooth.
- Swirl in the Salted Caramel: Pour half of the ice cream mixture into your freezer-safe container. Drizzle half of the cooled salted caramel over the top. Using a butter knife or skewer, swirl the caramel through the ice cream gently. Repeat with the remaining ice cream and caramel. The goal is pretty ribbons, not full mixing.
- Freeze: Cover the container tightly with plastic wrap or a lid and freeze for at least 6 hours or overnight. The ice cream will be firm and scoopable after this time.
Pro tips: If your caramel starts to harden before swirling, warm it slightly to make it pourable. Don’t over-swirl or your ice cream will lose those beautiful contrasting ribbons. And don’t skip chilling your bowl before whipping the cream—it makes a huge difference in texture.
Cooking Tips & Techniques
Whipping heavy cream to the perfect stiffness is the heart of this no-churn recipe. I’ve found that chilling your bowl and beaters beforehand helps you get fluffy peaks faster. If your cream isn’t cold enough, it just won’t whip properly. You’ll know you’re done when the peaks hold their shape without collapsing.
Making caramel can be intimidating, but patience is key. Stir the sugar constantly and watch for color changes carefully; burnt caramel tastes bitter. If you miss the perfect amber window, it’s better to start over than risk a burnt batch. When adding cream, go slow to prevent splattering.
Folding is where many people mess up—if you overdo it, the air you whipped out of the cream makes the ice cream dense. Use gentle motions, scraping the sides and folding the mixture over itself rather than stirring vigorously.
Finally, freezing time matters: rush it and your ice cream will be icy, not creamy. I usually freeze overnight because it gives the best texture. If you’re in a hurry, a good 6 hours minimum will do, but check texture before serving.
Variations & Adaptations
- Vegan Version: Substitute coconut cream for heavy cream and use sweetened condensed coconut milk or a mixture of coconut milk and maple syrup. Use coconut oil instead of butter in the caramel.
- Pecan Caramel Swirl: Add toasted pecans to the caramel swirl before freezing for a delightful crunch and nutty flavor.
- Chocolate Twist: Drizzle melted dark chocolate instead of caramel or swirl in chocolate chips for a salted caramel mocha vibe.
- Spiced Caramel: Add a pinch of cinnamon or cayenne to your caramel for a warm, spicy kick that’s unexpected and delicious.
- Low-Sugar Option: Use sugar-free caramel sauce or reduce the sugar in the caramel and increase salt slightly to balance.
Personally, I once tried a version with a bourbon caramel swirl, which added a boozy warmth that was perfect for adult gatherings. Just add 1 tablespoon bourbon to the cooled caramel before swirling.
Serving & Storage Suggestions
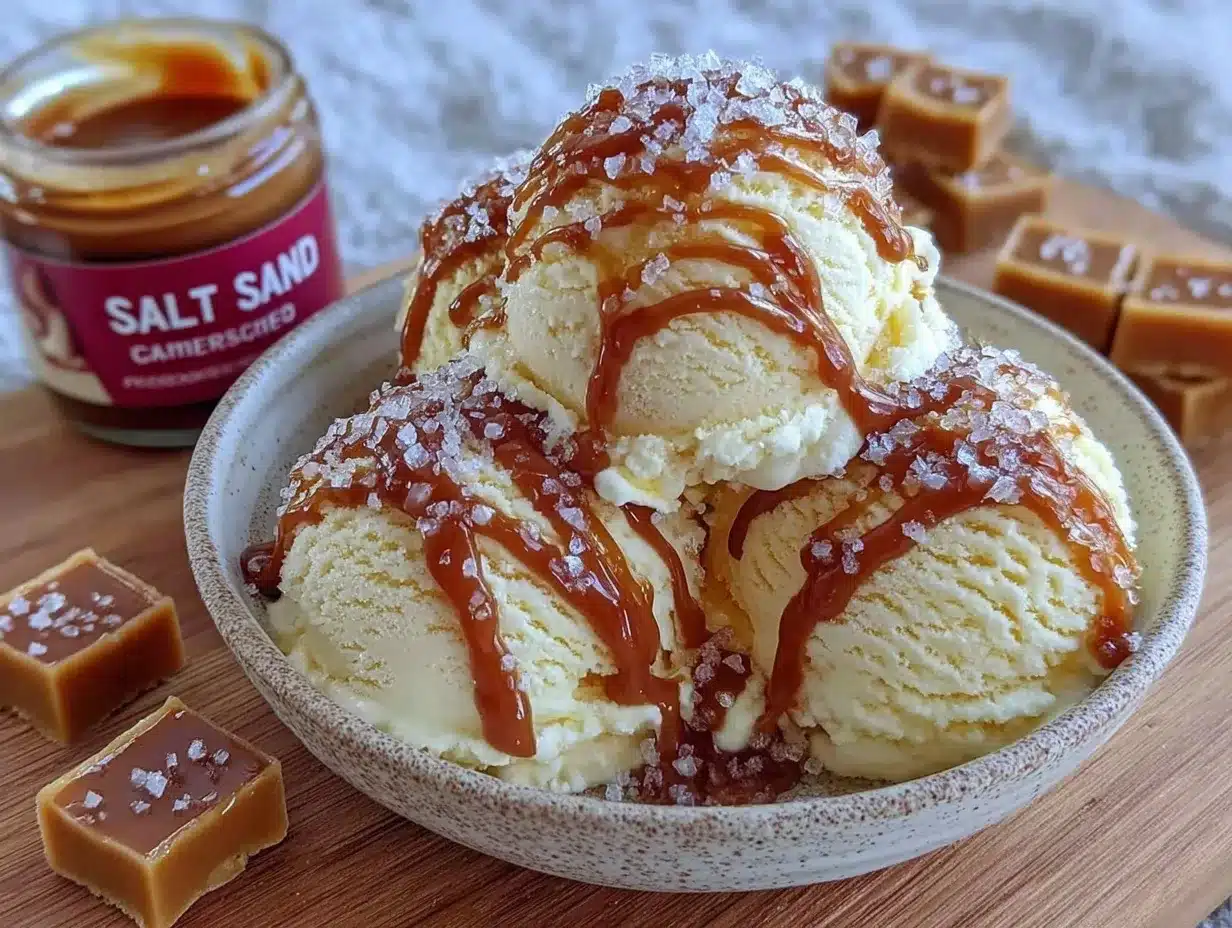
Serve this creamy no-churn salted caramel swirl ice cream slightly softened for the best texture—about 5 minutes out of the freezer. Scoop into bowls or cones and garnish with extra sea salt flakes or a drizzle of warm caramel sauce if you’re feeling fancy.
This ice cream pairs wonderfully with warm apple pie, chocolate brownies, or even alongside crispy garlic chicken for a fun sweet-and-savory contrast. For drinks, a rich espresso or a glass of cold milk works beautifully.
Store leftovers tightly wrapped or in an airtight container in the freezer. It keeps well for up to 2 weeks, though honestly, it rarely lasts that long in my house! To reheat slightly, let it soften at room temperature for 10 minutes before scooping.
Flavors actually deepen after a day or two in the freezer, so if you can wait, the caramel notes get even more pronounced.
Nutritional Information & Benefits
One serving (about ½ cup or 125 ml) of this creamy no-churn salted caramel swirl ice cream contains approximately:
| Calories | 320 kcal |
|---|---|
| Fat | 22 g (14 g saturated) |
| Carbohydrates | 30 g |
| Sugar | 28 g |
| Protein | 3 g |
This recipe is rich and indulgent, but the use of simple ingredients means no preservatives or artificial flavors. The sea salt helps balance blood sugar spikes from the sweetness, and caramel made from scratch avoids the added chemicals found in store-bought sauces.
For those watching carbs, swapping heavy cream with a low-carb alternative and reducing sugar in the caramel can make this recipe more keto-friendly. It’s naturally gluten-free and can be adapted for dairy-free diets as well.
Conclusion
So, if you’re looking for a creamy, dreamy ice cream that’s fuss-free but full of flavor, this creamy no-churn salted caramel swirl ice cream recipe will quickly become a favorite. It’s perfect for those times you want to impress without stress or just need a little homemade comfort.
Feel free to tweak it to your tastes—add nuts, spices, or chocolate—and make it your own. I love this recipe because it brings back a little piece of my past with every spoonful and makes a simple dessert feel truly special.
Give it a try, and I’d love to hear how you customize your swirl. Drop a comment below or share your version with friends and family — it’s the kind of recipe that’s meant to be shared and savored.
Frequently Asked Questions
- Can I make this ice cream without an electric mixer?
Yes, but whipping the cream by hand takes longer and requires some muscle—about 10-15 minutes. Chill your bowl well to help. - How long does the homemade caramel keep?
Store caramel in an airtight container in the fridge for up to 2 weeks. Warm gently before using if it hardens. - Can I use light cream instead of heavy cream?
Heavy cream is best for whipping and texture. Light cream won’t whip properly, so the ice cream will be less creamy. - Is this recipe freezer-friendly for longer storage?
Yes, store in an airtight container for up to 2 weeks. For best taste and texture, consume sooner. - How do I avoid ice crystals in no-churn ice cream?
Whipping the cream well and folding gently helps incorporate air. Also, don’t over-swirl the caramel; it helps maintain smoothness.
Pin This Recipe!
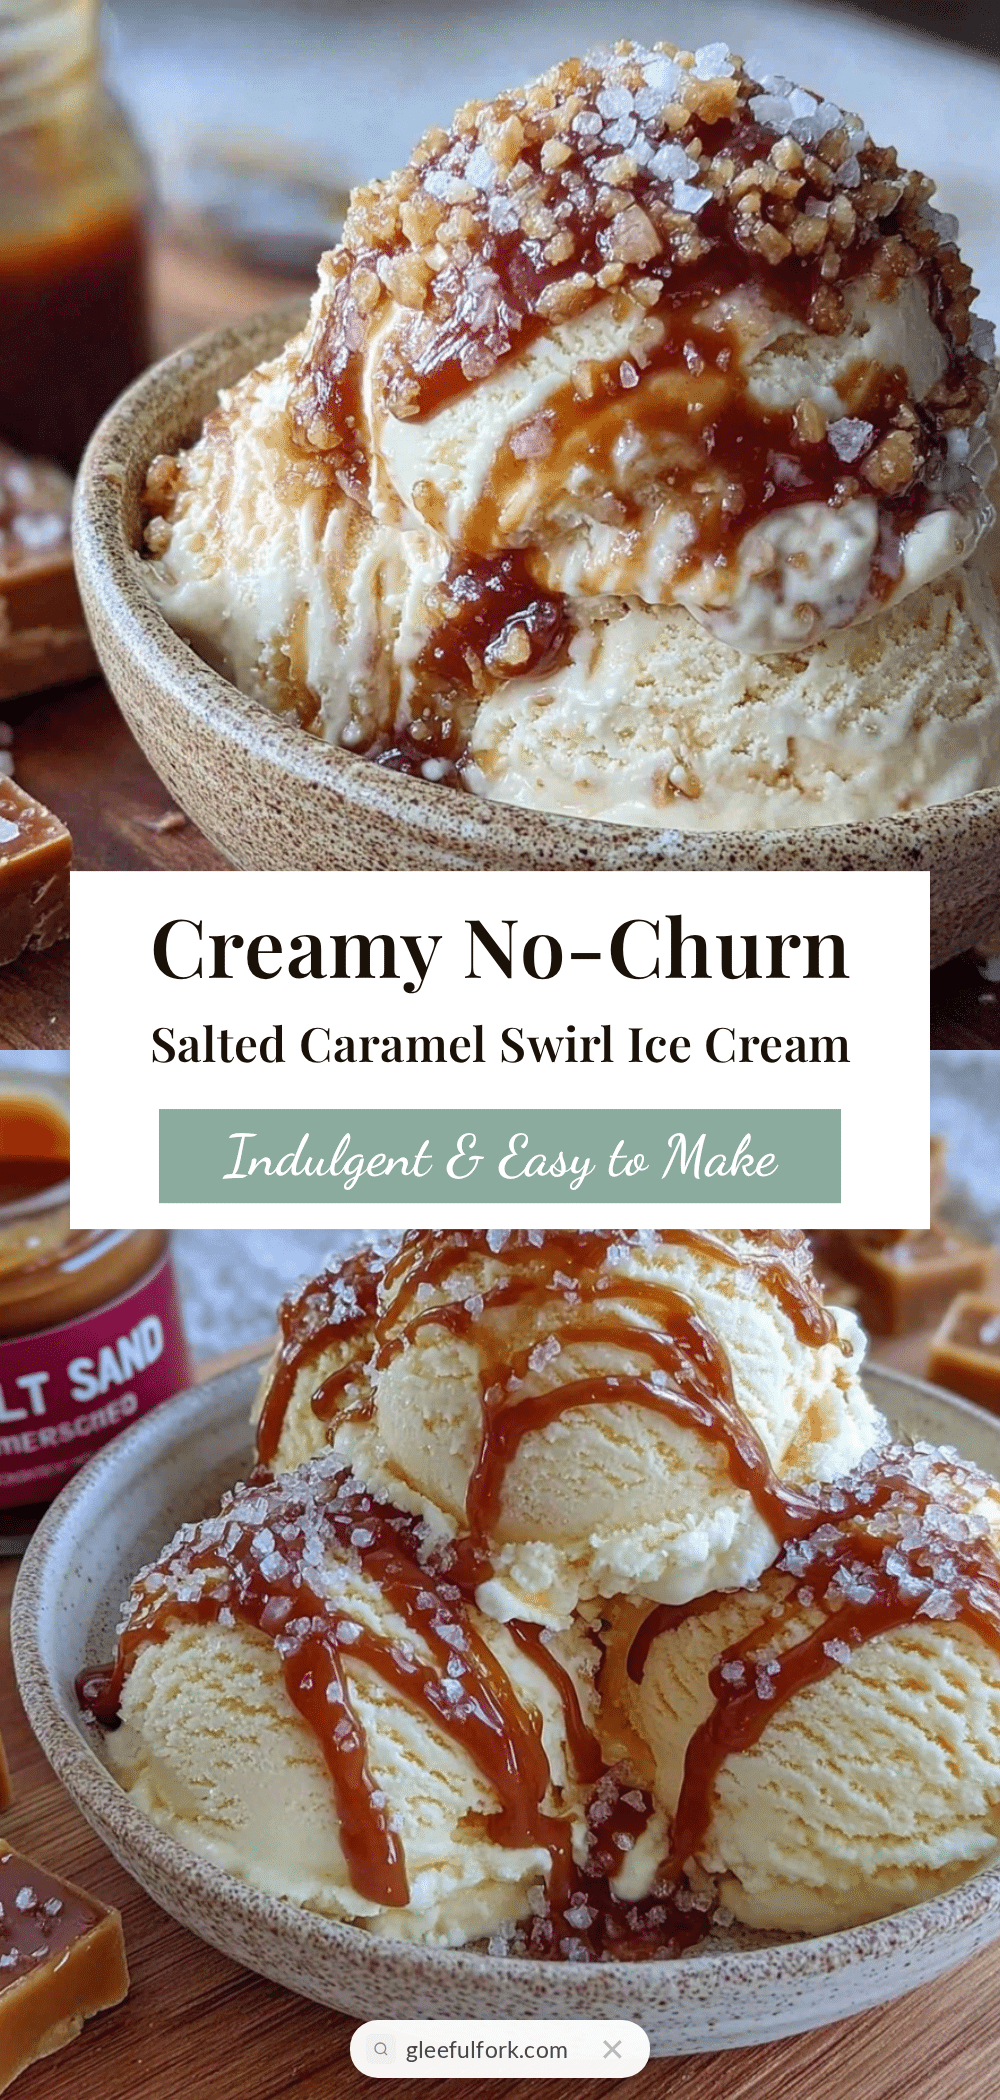
Creamy No-Churn Salted Caramel Swirl Ice Cream
A quick and easy no-churn ice cream recipe featuring a creamy base with luscious salted caramel swirls, perfect for any occasion and requiring no ice cream maker.
- Prep Time: 20 minutes
- Cook Time: 10 minutes
- Total Time: 6 hours 30 minutes
- Yield: 8 servings 1x
- Category: Dessert
- Cuisine: American
Ingredients
- 2 cups (480 ml) heavy whipping cream, cold
- 1 can (14 oz / 396 g) sweetened condensed milk
- 1 teaspoon vanilla extract
- 1 cup (200 g) granulated sugar
- 6 tablespoons (85 g) unsalted butter
- ½ cup (120 ml) heavy cream (for caramel)
- 1 teaspoon sea salt, flaky if possible
Instructions
- Make the Salted Caramel: In a medium saucepan over medium heat, add 1 cup (200 g) of granulated sugar. Stir constantly with a wooden spoon as the sugar melts and turns a deep amber color—about 8-10 minutes. Don’t walk away; sugar burns fast! When it’s all melted and golden, quickly stir in 6 tablespoons (85 g) unsalted butter until melted and combined.
- Add Cream and Salt: Remove from heat and slowly pour in ½ cup (120 ml) heavy cream, whisking constantly. The mixture will bubble vigorously, so be careful. Stir in 1 teaspoon sea salt. Let the caramel cool to room temperature while you prepare the ice cream base. This step usually takes about 20 minutes.
- Whip the Cream: In a large chilled mixing bowl, whip 2 cups (480 ml) cold heavy cream with an electric mixer on medium-high speed until stiff peaks form. This takes about 3-5 minutes. You want it thick and fluffy—think cloud-like texture.
- Combine Sweetened Condensed Milk and Vanilla: In a separate bowl, mix 1 can (14 oz / 396 g) sweetened condensed milk with 1 teaspoon vanilla extract.
- Fold Ingredients Together: Gently fold the whipped cream into the condensed milk mixture using a spatula. Be careful not to deflate the cream—fold until just combined and smooth.
- Swirl in the Salted Caramel: Pour half of the ice cream mixture into your freezer-safe container. Drizzle half of the cooled salted caramel over the top. Using a butter knife or skewer, swirl the caramel through the ice cream gently. Repeat with the remaining ice cream and caramel. The goal is pretty ribbons, not full mixing.
- Freeze: Cover the container tightly with plastic wrap or a lid and freeze for at least 6 hours or overnight. The ice cream will be firm and scoopable after this time.
Notes
Chill your mixing bowl and beaters before whipping cream for best results. Stir sugar constantly when making caramel to avoid burning. Warm caramel slightly if it hardens before swirling. Do not over-swirl caramel to maintain distinct ribbons. Freeze overnight for best texture but a minimum of 6 hours is acceptable.
Nutrition
- Serving Size: ½ cup (125 ml)
- Calories: 320
- Sugar: 28
- Fat: 22
- Saturated Fat: 14
- Carbohydrates: 30
- Protein: 3
Keywords: no-churn ice cream, salted caramel, homemade ice cream, easy dessert, no ice cream maker, creamy ice cream, caramel swirl


