Love this? Save it for later!
Share the inspiration with your friends
Introduction
“You know that moment when a craving hits so hard, it jolts you awake at 2 AM? Well, last Thursday was one of those nights for me. I wasn’t exactly planning to reinvent chili at that hour, especially a Whole30-friendly version without beans. But there I was, rummaging through my pantry, half-asleep, thinking, ‘How do I get that deep, smoky Texas chili flavor without breaking the rules or waiting hours?’
Honestly, I never expected this hearty Texas Whole30 chili no beans recipe to come from a late-night kitchen scramble, but it did. The funny part? I forgot to add the usual spice blend on my first try—total facepalm moment. Yet, somehow, the result was so comforting and rich that it quickly became a staple in my repertoire. Maybe you’ve been there, juggling a strict diet while still craving that bold, meaty chili that sticks to your ribs.
Let me tell you, this isn’t your typical beanless chili. It’s got that satisfying Texas vibe without the guilt or fuss. Perfect for anyone following Whole30 or just wanting an easy, protein-packed dinner that warms you from the inside out. And if you’re like me, juggling busy days and craving wholesome comfort food, this recipe will stick with you just as much as it did with me—beanless but never boring.
Why You’ll Love This Recipe
After countless trials in my kitchen, this hearty Texas Whole30 chili no beans recipe truly stands out. Here’s why it’s become my go-to for busy nights and cozy dinners:
- Quick & Easy: Ready in under an hour, this chili fits perfectly into weeknight routines or last-minute dinner plans.
- Simple Ingredients: No need for exotic spices or hard-to-find items—you probably already have these in your pantry.
- Perfect for Comfort Food Cravings: It hits that warm, hearty spot without the heaviness or bean guilt.
- Crowd-Pleaser: Family, friends, or even picky eaters tend to go back for seconds (and thirds!).
- Unbelievably Delicious: The rich, smoky flavor and tender meat make it feel like a restaurant-quality meal at home.
What makes this recipe different? It’s all about balancing robust Texan spices with Whole30 compliance—no beans, no sugar, just pure, comforting flavor. I blend chili powder, smoked paprika, and a few secret touches to mimic that classic Texas chili punch. Plus, slow-simmering the meat just right gives it a melt-in-your-mouth texture that you won’t find in other beanless chili recipes. Honestly, it’s the kind of dish that makes you close your eyes after the first bite.
For me, this chili is more than just a meal; it’s a reminder that dietary restrictions don’t mean sacrificing soul food. Whether you’re new to Whole30 or just want a satisfying, compliant dinner, this recipe will become a reliable favorite.
What Ingredients You Will Need
This recipe uses straightforward, wholesome ingredients that bring bold flavor and a satisfying texture without any fuss. Most of these are pantry staples, and you can swap a few items if needed to suit your taste or dietary needs.
- Ground beef (80/20 or 85/15), 1.5 pounds (680g): I prefer grass-fed beef for richer flavor and better fat balance.
- Beef broth, 2 cups (480ml): Look for Whole30-approved, no-added sugar broth brands.
- Tomato paste, 2 tablespoons: Adds depth and richness without overpowering.
- Yellow onion, 1 medium, finely chopped: Provides that essential savory base.
- Garlic, 4 cloves, minced: Fresh is best, but jarred works in a pinch.
- Green bell pepper, 1 medium, diced: Adds a subtle sweetness and texture contrast.
- Chili powder, 2 tablespoons: Choose a good-quality brand like McCormick for consistent heat.
- Smoked paprika, 1 tablespoon: The secret to achieving that smoky Texas flavor.
- Cumin, 1 teaspoon: Earthy warmth that rounds out the spice profile.
- Oregano, 1 teaspoon, dried: Adds a herbal note that complements the chili spices.
- Sea salt, 1 teaspoon (or to taste): Enhances all the flavors.
- Black pepper, ½ teaspoon: Freshly ground preferred for better aroma.
- Olive oil, 1 tablespoon: For sautéing veggies; avocado oil works well, too.
- Optional: Red pepper flakes, ¼ teaspoon: For those who like an extra kick.
If you want to adjust for seasonal availability, you can swap the green bell pepper with poblano or Anaheim peppers for a milder or smokier touch. For a Whole30-compliant twist, I avoid any sugar or beans, which usually sneak into chili recipes. If you prefer, you can add diced zucchini or mushrooms to bulk it up without beans, keeping it hearty and compliant.
Equipment Needed
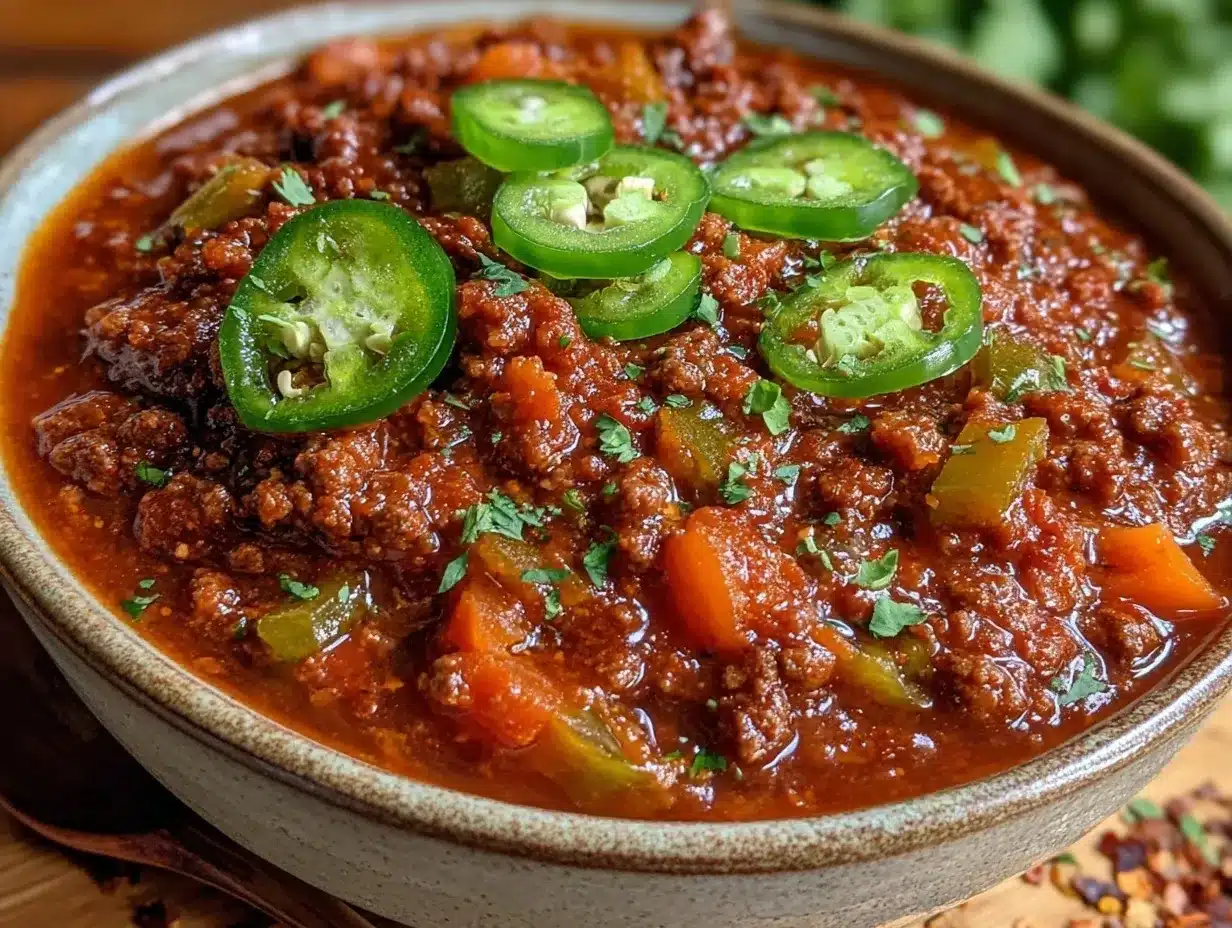
For this chili recipe, you’ll need just a few basic kitchen tools:
- Large heavy-bottomed pot or Dutch oven: Ideal for even heat distribution and slow simmering. I personally love using my 5-quart Dutch oven because it retains heat so well.
- Wooden spoon or heat-resistant spatula: For stirring without scratching your cookware.
- Sharp chef’s knife and cutting board: To prep your veggies quickly and safely.
- Measuring spoons and cups: Accuracy is key for balanced seasoning.
- Optional: Immersion blender: If you want a slightly thicker chili texture, blending part of it helps, but it’s not a must.
If you don’t own a Dutch oven, a large heavy skillet with a lid can work, but watch the heat carefully to prevent burning. For those on a budget, a sturdy saucepan will do in a pinch, though the chili might need more frequent stirring. Just remember to clean and dry your tools promptly to keep them in good shape—especially wooden spoons, which I swear by for this recipe.
Preparation Method
- Heat the oil: Place your Dutch oven over medium heat and add 1 tablespoon of olive oil. Let it warm for about 1 minute until shimmering but not smoking.
- Sauté the onions and peppers: Add the chopped onion and diced green bell pepper. Cook for 5-7 minutes, stirring occasionally, until softened and fragrant. You want them tender but not browned.
- Add garlic and spices: Stir in the minced garlic, chili powder, smoked paprika, cumin, oregano, salt, black pepper, and optional red pepper flakes. Cook for 1-2 minutes, stirring constantly to toast the spices and release their flavors. Be careful not to burn the garlic.
- Brown the beef: Push the veggies to the side and add the ground beef. Break it up with your spoon and cook for 6-8 minutes until no pink remains and the meat starts to brown. Stir occasionally to mix with the veggies and spices.
- Add tomato paste and broth: Stir in 2 tablespoons of tomato paste until well combined. Then, pour in 2 cups of beef broth. Scrape the bottom of the pot to lift any browned bits (that’s flavor gold!).
- Simmer the chili: Bring the mixture to a gentle boil, then reduce heat to low. Cover partially with a lid and let it simmer for 35-40 minutes. Stir every 10 minutes to prevent sticking. The chili should thicken and develop a rich aroma.
- Taste and adjust: After simmering, taste your chili. Add more salt, pepper, or chili powder if desired. If it’s too thick, stir in a splash of broth; too thin, simmer uncovered for a few more minutes.
- Serve warm: Ladle into bowls and enjoy immediately. Letting it rest for 10 minutes off the heat helps flavors meld beautifully.
Pro tip: If you notice the chili drying out too quickly, lower the heat and cover more tightly. Also, stirring gently helps keep the meat tender, preventing it from clumping. I once had a batch get too salty because I added salt too early—lesson learned is to season gradually and taste often.
Cooking Tips & Techniques
Cooking this chili right comes down to a few key techniques that I’ve picked up through trial and error:
- Brown the meat thoroughly: Don’t rush this step. Browning adds that deep caramelized flavor essential for hearty chili. I like to brown in batches if my pot is crowded to avoid steaming the meat.
- Toast the spices: Adding spices directly to hot oil or sautéed veggies for a minute or two unlocks their full flavor potential. It’s a step that many skip but makes a huge difference.
- Simmer low and slow: Keeping the chili at a low simmer lets flavors marry without toughening the meat. High heat dries it out fast.
- Don’t skip tasting: The chili’s flavor can shift as it cooks. Adjust seasoning gradually and don’t be shy to add a pinch more chili powder or salt at the end.
- Use fresh garlic and onion: They’re the backbone of your flavor here. I find that pre-minced garlic can dull the bright notes I want.
A common mistake is overcooking or rushing the simmering phase—your chili might taste flat or have a grainy texture. I once got impatient and turned up the heat to speed things up; the chili ended up tough and dry. Slow and steady wins the race here.
Variations & Adaptations
This chili recipe is quite flexible, and I’ve tried a few variations to keep things interesting or tailor it to different needs:
- Spicy kick: Add diced jalapeños or chipotle peppers in adobo for a smoky heat boost.
- Veggie boost: Toss in chopped mushrooms or diced zucchini to add volume and texture without beans.
- Slow cooker version: Brown the meat and sauté veggies as usual, then transfer everything to a slow cooker. Cook on low for 6-8 hours or high for 3-4 hours.
- Ground turkey or chicken: Use lean ground poultry for a lighter take, but reduce simmer time to prevent dryness.
- For a thicker chili: Stir in a small grated carrot or two during cooking to naturally thicken and add subtle sweetness.
One of my favorite tweaks is adding a splash of apple cider vinegar at the end—it brightens the chili without compromising the hearty vibe. For those avoiding nightshades, this recipe can be adapted using roasted squash and alternative spices, but the classic chili flavor might shift.
Serving & Storage Suggestions
This chili is best served warm, ideally with a garnish that complements its bold flavor. I like topping mine with fresh cilantro, sliced green onions, or a dollop of compliant avocado crema for added creaminess.
Pair it with a simple side like cauliflower rice or a crisp green salad to balance the richness. For drinks, a sparkling water with lime or a chilled herbal iced tea works nicely.
To store, let the chili cool completely before transferring to airtight containers. It keeps well in the refrigerator for up to 4 days. For longer storage, freeze in portioned containers for up to 3 months. When reheating, warm gently over low heat to maintain tenderness and prevent drying out.
Flavors often deepen after a day or two in the fridge, so leftovers can taste even better. Just give it a quick stir and add a splash of broth if it thickens too much.
Nutritional Information & Benefits
This hearty Texas Whole30 chili no beans recipe is packed with protein and healthy fats, making it a satisfying meal that fuels your body. Per serving (about 1.5 cups), you can expect roughly:
- Calories: 350-400
- Protein: 30-35 grams
- Fat: 20-25 grams (mostly from beef and olive oil)
- Carbohydrates: 8-10 grams (mostly from veggies)
- Fiber: 2-3 grams
Key health benefits come from the grass-fed beef, which provides essential omega-3 fatty acids and iron. The spices like chili powder and cumin offer anti-inflammatory properties, while the veggies add vitamins and antioxidants. This recipe is naturally gluten-free, grain-free, and dairy-free, fitting well within Whole30 guidelines.
Conclusion
This hearty Texas Whole30 chili no beans recipe proves that comfort food and clean eating can happily coexist. It’s simple, satisfying, and packed with flavor without relying on beans or processed ingredients. Whether you’re tackling a busy weeknight or craving something soulful on a chilly evening, this chili holds its own.
Feel free to play with the spice levels or add your favorite compliant toppings to make it truly yours. Honestly, I keep coming back to this recipe because it’s forgiving, delicious, and reminds me that eating well doesn’t have to be complicated.
Give it a try, and if you make your own tweaks or have questions, drop a comment below—I’d love to hear how your chili turned out!
Frequently Asked Questions
Can I make this chili in a slow cooker?
Yes! Brown the beef and sauté veggies first, then transfer everything to a slow cooker. Cook on low for 6-8 hours or high for 3-4 hours for tender, flavorful chili.
Is this recipe really Whole30 compliant?
Absolutely. It uses Whole30-approved ingredients without beans, sugar, or processed additives, making it perfect for the program.
Can I use ground turkey or chicken instead of beef?
Yes, but reduce the simmer time to prevent dryness. Ground turkey or chicken will create a lighter chili with a different texture.
What can I serve with this chili for a complete meal?
Try cauliflower rice, roasted vegetables, or a crisp green salad. These sides complement the chili without adding beans or grains.
How do I store and reheat leftovers?
Store in airtight containers in the fridge up to 4 days or freeze up to 3 months. Reheat gently over low heat, adding broth if needed to keep it moist.
Pin This Recipe!
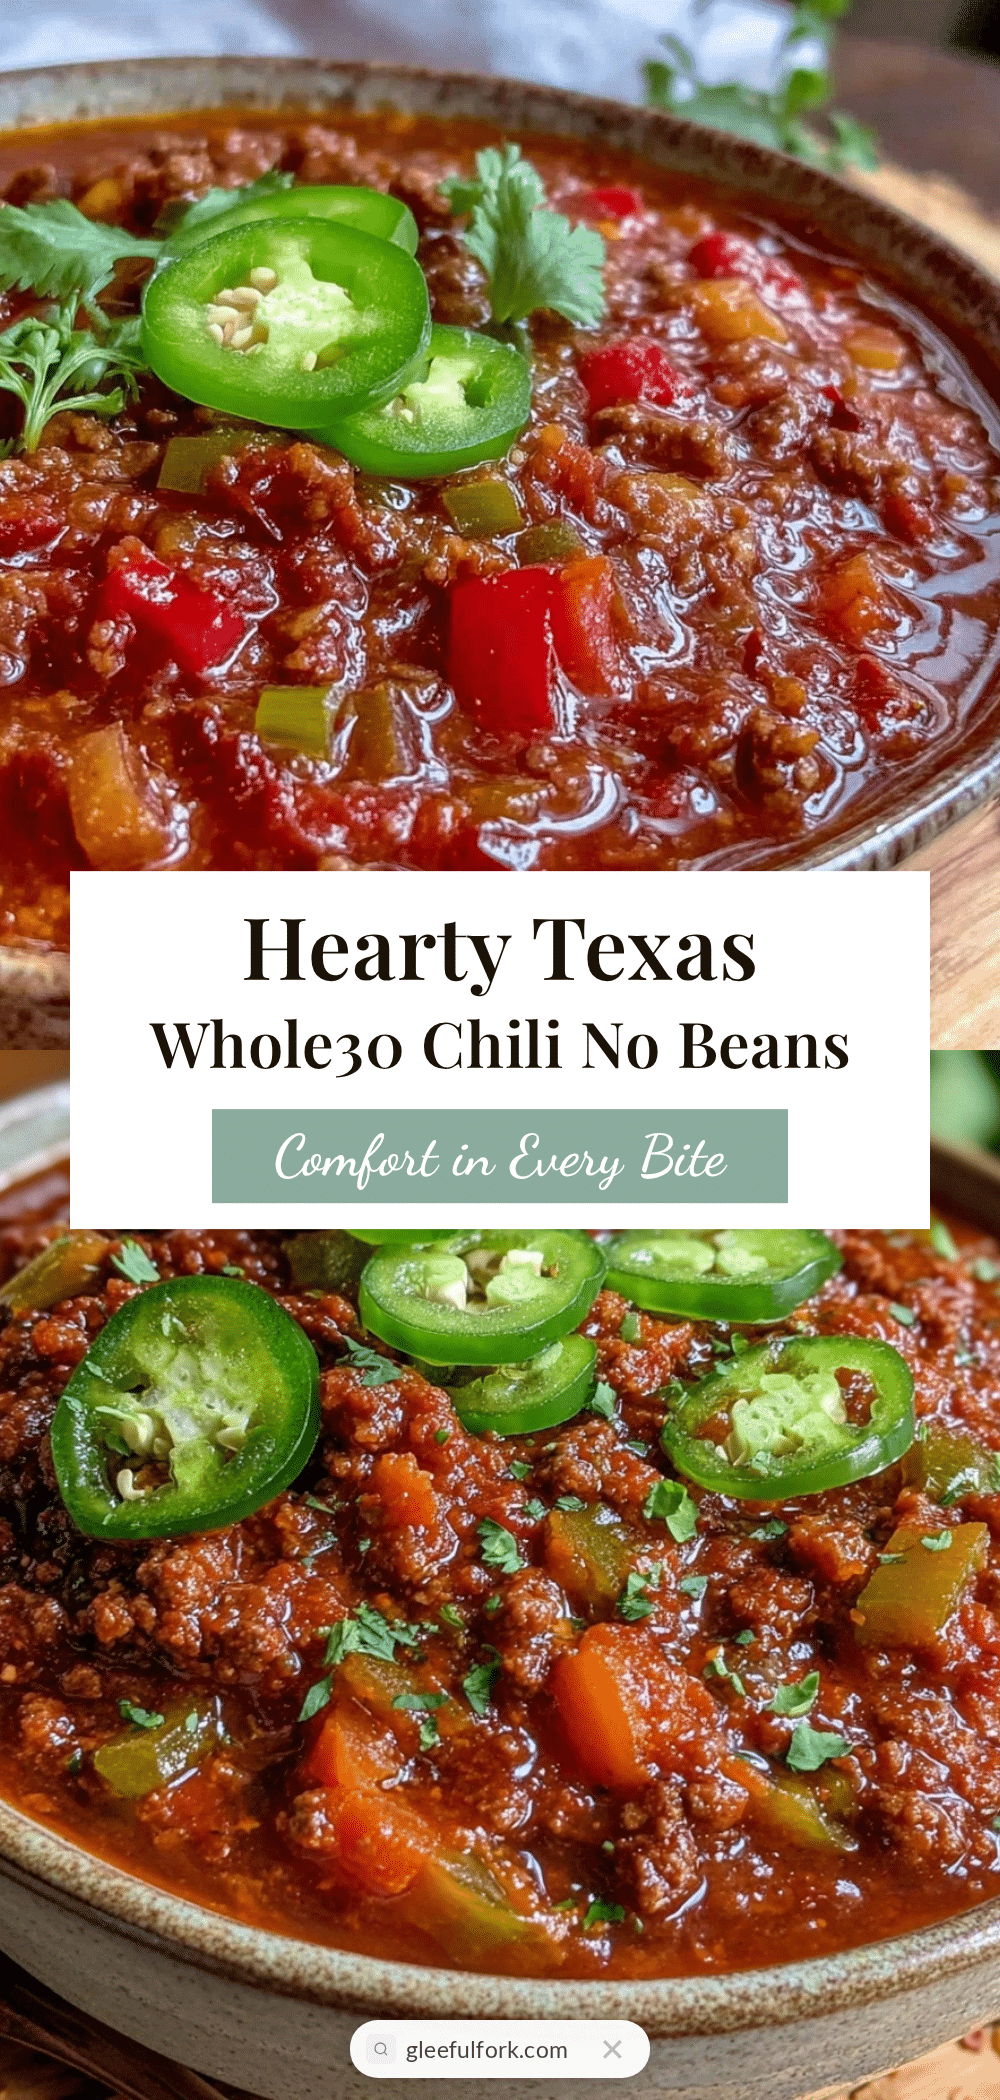
Hearty Texas Whole30 Chili No Beans Recipe Easy Comforting Dinner

A hearty, beanless Texas-style chili that is Whole30 compliant, packed with bold smoky flavors and tender meat, perfect for a comforting and protein-packed dinner.
- Prep Time: 15 minutes
- Cook Time: 45 minutes
- Total Time: 1 hour
- Yield: 6 servings 1x
- Category: Main Course
- Cuisine: Texan, American
Ingredients
- 1.5 pounds ground beef (80/20 or 85/15), preferably grass-fed
- 2 cups beef broth (Whole30-approved, no added sugar)
- 2 tablespoons tomato paste
- 1 medium yellow onion, finely chopped
- 4 cloves garlic, minced
- 1 medium green bell pepper, diced
- 2 tablespoons chili powder
- 1 tablespoon smoked paprika
- 1 teaspoon cumin
- 1 teaspoon dried oregano
- 1 teaspoon sea salt (or to taste)
- ½ teaspoon black pepper, freshly ground
- 1 tablespoon olive oil (or avocado oil)
- Optional: ¼ teaspoon red pepper flakes
Instructions
- Heat 1 tablespoon olive oil in a large heavy-bottomed pot or Dutch oven over medium heat until shimmering but not smoking.
- Add chopped onion and diced green bell pepper; sauté for 5-7 minutes until softened and fragrant, stirring occasionally.
- Stir in minced garlic, chili powder, smoked paprika, cumin, oregano, salt, black pepper, and optional red pepper flakes; cook for 1-2 minutes, stirring constantly to toast spices without burning garlic.
- Push veggies to the side and add ground beef; break it up with a spoon and cook for 6-8 minutes until no pink remains and meat starts to brown, stirring occasionally to mix with veggies and spices.
- Stir in 2 tablespoons tomato paste until well combined, then pour in 2 cups beef broth; scrape bottom of pot to lift browned bits.
- Bring mixture to a gentle boil, then reduce heat to low; partially cover with lid and simmer for 35-40 minutes, stirring every 10 minutes to prevent sticking and allow chili to thicken and develop aroma.
- Taste and adjust seasoning with more salt, pepper, or chili powder if desired; if too thick, add a splash of broth; if too thin, simmer uncovered a few more minutes.
- Serve warm, ladled into bowls; let rest 10 minutes off heat to meld flavors.
Notes
Brown the meat thoroughly for deep flavor; toast spices in oil to unlock full flavor; simmer low and slow to keep meat tender; season gradually and taste often; fresh garlic and onion provide best flavor; if chili dries out, lower heat and cover more tightly; stirring gently prevents meat clumping.
Nutrition
- Serving Size: About 1.5 cups per s
- Calories: 375
- Sugar: 3
- Sodium: 600
- Fat: 22
- Saturated Fat: 8
- Carbohydrates: 9
- Fiber: 2.5
- Protein: 32
Keywords: Whole30 chili, beanless chili, Texas chili, healthy chili, low carb chili, gluten-free chili, paleo chili, easy chili recipe, comforting dinner


