Love this? Save it for later!
Share the inspiration with your friends
“You know that moment when you’re digging through your fridge late at night and stumble upon something unexpected that just hits the spot?” That’s exactly how I found myself experimenting with this healthy lacto-fermented dill pickles recipe for gut health. It was a Thursday evening, and honestly, I was kind of restless—too tired to cook but craving something tangy and crunchy. I had a jar of cucumbers sitting forgotten in the crisper, and a vague memory of a fermentation class I once took nudged me to give pickling a try. The kitchen was a mess, I forgot to grab the salt at first, and there was this hilarious moment where I realized I’d packed the garlic cloves upside down (don’t ask!).
But here’s the thing—what came out of that little late-night chaos was something surprisingly delicious and brimming with probiotics. Since then, these lacto-fermented dill pickles have become a staple, not just because they taste amazing, but because they truly support gut health in a way that store-bought varieties just can’t touch. Maybe you’ve been there, hunting for a snack that’s both satisfying and nourishing? If so, this recipe will speak your language—and maybe even spark your own kitchen experiments.
Let me tell you, this is not your typical vinegar-based pickle. The magic is all in the natural fermentation process, which is both old-school and wonderfully simple. And while it might sound intimidating, I promise it’s as easy as tossing cucumbers, dill, garlic, and salt in a jar and walking away for a week. Honestly, once you get the hang of it, you might start thinking about what to ferment next!
Why You’ll Love This Recipe
This healthy lacto-fermented dill pickles recipe is one of those kitchen victories that feels like a small win every time you bite into one. Over the years, I’ve tweaked it based on countless trials—some better than others—and I’m confident this version is the one to keep on your recipe list. Here’s why it’s a keeper:
- Quick & Easy: While fermentation takes time, the hands-on part is under 15 minutes. Perfect for busy days when you want healthy snacks without fuss.
- Simple Ingredients: No exotic items needed—just fresh cucumbers, dill, garlic, non-iodized salt, and water. I trust Diamond Crystal kosher salt for consistent results.
- Perfect for Gut Health: Naturally packed with probiotics thanks to lacto-fermentation, these pickles support digestion and overall wellness.
- Crowd-Pleaser: The crisp, tangy flavor is a hit at potlucks and family dinners alike. I’ve seen skeptics turn into pickle fans after just one bite!
- Unbelievably Delicious: The crunchy texture and fresh dill aroma combine for an irresistible snack that’s both refreshing and satisfying.
This isn’t just another pickle recipe; it’s the kind of fermentation that brings something alive in your kitchen. The balance of garlic and dill is just right, and the slow natural process creates layers of flavor that store-bought jars can’t match. Whether you want to add a probiotic punch to your meals or simply enjoy a tangy treat, this recipe fits the bill.
What Ingredients You Will Need
This recipe uses simple, wholesome ingredients to deliver bold flavor and satisfying crunch without the fuss. Most are pantry staples, and if you’re lucky, you might have fresh dill from your garden or farmer’s market to really make these pickles sing.
- Cucumbers: 2 pounds (about 900g) of small pickling cucumbers, washed and trimmed. I prefer Kirby cucumbers for their firmness and crunch.
- Fresh Dill: 4-6 sprigs of fresh dill (or 1 tablespoon dried if fresh is unavailable). The dill gives that classic flavor and aromatic punch.
- Garlic Cloves: 4 cloves, peeled and lightly crushed. Garlic adds depth and a little zing.
- Non-Iodized Salt: 3 tablespoons (about 45g) of kosher salt or sea salt, like Diamond Crystal. Avoid iodized salt as it can inhibit fermentation.
- Filtered or Spring Water: 4 cups (960ml). Chlorine or chloramine in tap water can interfere with fermentation, so use bottled or filtered water if possible.
- Optional Spices: 1 teaspoon black peppercorns or mustard seeds for a subtle spice layer.
Substitution tips: If you want a garlic-free version, try adding a few slices of fresh ginger instead. For a gluten-free and low-carb diet, this recipe already fits perfectly. You can swap fresh dill for dill seeds, but the flavor won’t be as vibrant.
Equipment Needed
- Glass Mason Jars: 1 or 2 quart-sized (950ml) jars with lids. I prefer wide-mouth jars—they’re easier to pack and clean.
- Fermentation Weights or a Small Ziplock Bag: To keep cucumbers submerged under the brine. If you don’t have weights, a clean, small plastic bag filled with extra brine works well.
- Mixing Bowl: For making the brine and tossing cucumbers.
- Measuring Spoons and Cups: For precise salt and water measurements.
- Optional: A fermentation lid or airlock lid to allow gases to escape without letting air in (great for beginners, but not mandatory).
I’ve tried using plastic containers, but glass jars give the best results and don’t hold onto smells. Also, a little tip: avoid metal lids or utensils that can react with the salt brine and affect flavor.
Preparation Method
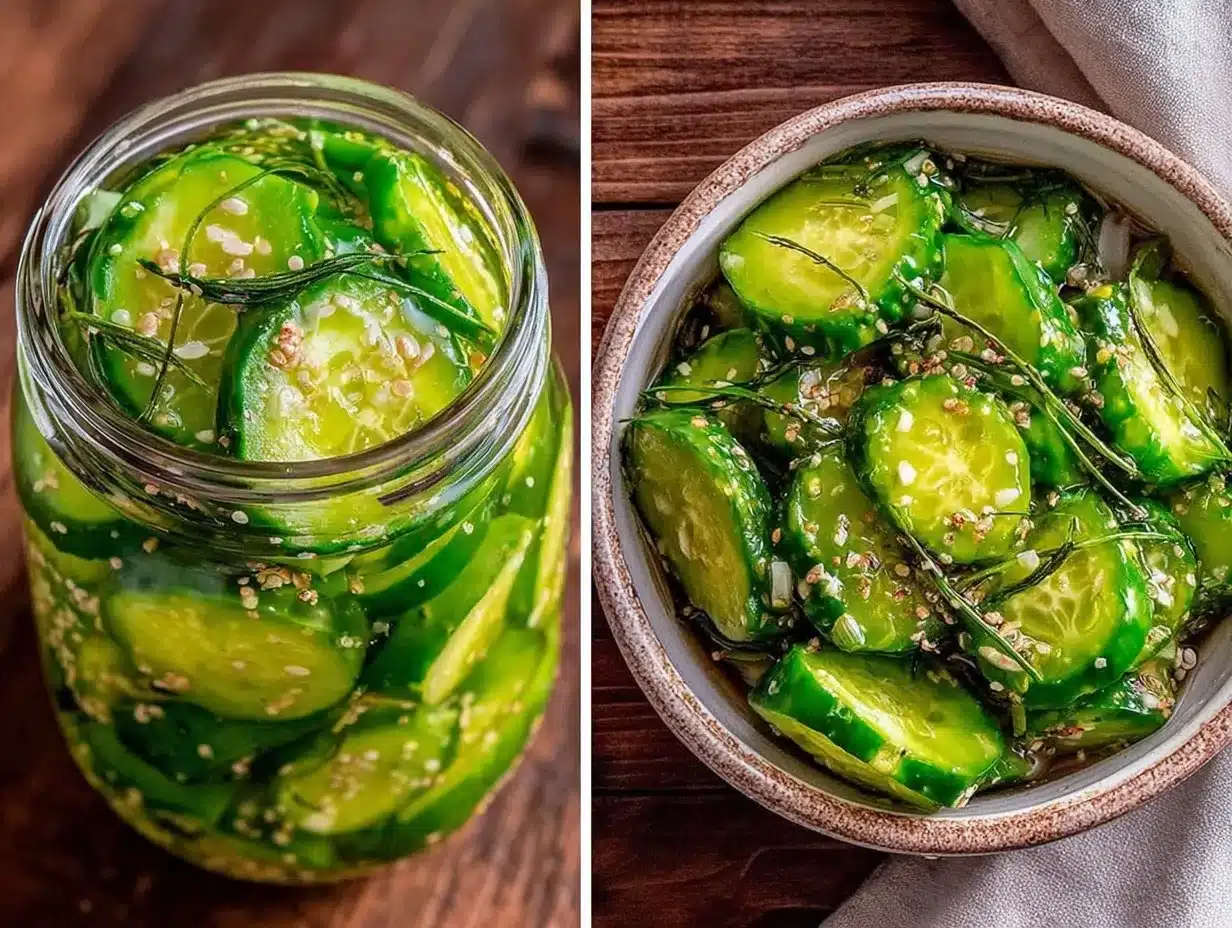
- Prepare the Brine: In a mixing bowl, dissolve 3 tablespoons (45g) of non-iodized salt into 4 cups (960ml) of filtered water. Stir until fully dissolved. This salty water is what encourages the good bacteria to grow while keeping bad ones at bay. (5 minutes)
- Pack the Cucumbers: Into your clean, wide-mouth mason jar(s), tightly pack the cucumbers vertically. You want to fit them snugly but without crushing. Add the dill sprigs and crushed garlic cloves evenly among the cucumbers. For extra flavor, add black peppercorns or mustard seeds if using. (10 minutes)
- Add the Brine: Pour the saltwater brine over the cucumbers, leaving about 1 inch (2.5 cm) of headspace at the top. Make sure cucumbers are fully submerged under the brine to prevent mold—use fermentation weights or a small plastic bag filled with brine to keep them underwater. (5 minutes)
- Seal and Store: Screw on the lid without tightening too much to allow gases to escape. Place the jar on a small plate or bowl to catch any overflow during fermentation. Store the jar at room temperature (65–75°F / 18–24°C) away from direct sunlight. (1 minute)
- Ferment: Let the pickles ferment for 5-7 days. Check daily to ensure cucumbers remain submerged. You might see bubbles or cloudiness—that’s normal and a good sign! After 5 days, start tasting daily until you reach your preferred sourness. (5-7 days)
- Refrigerate: Once fermented to your liking, tighten the lid and move the jar to the fridge. This slows fermentation and keeps the pickles crisp and delicious for up to 2 months. (1 minute)
Pro tip: If you notice any white scum on the surface, skim it off—it’s harmless yeast. Also, if the pickles turn soft or smell off, discard. Better safe than sorry! Over the years, I’ve learned that keeping cucumbers submerged is the key to success. I once lost a whole batch to mold because I got distracted and forgot to weight them down!
Cooking Tips & Techniques
Making lacto-fermented pickles is as much an art as it is a science. Here are some nuggets from my kitchen trials that might save you some headaches and boost your success rate:
- Salt Matters: Always use non-iodized salt. Iodine and anti-caking agents can disrupt fermentation. If you’re unsure, kosher salt like Diamond Crystal is a safe bet.
- Water Quality: Chlorine in tap water can halt fermentation. Filtered or bottled water keeps the process smooth and reliable.
- Submerge, Submerge, Submerge: Cucumbers must stay underwater. Use fermentation weights or a small sealed bag filled with brine. I once used a clean stone that cracked my jar—don’t do that!
- Temperature Control: Keep your jars in a spot that stays between 65°F and 75°F (18°C and 24°C). Too warm, and pickles get mushy; too cold, and fermentation slows.
- Patience is Key: Fermentation takes time. Resist the urge to open the jar constantly; every peek lets oxygen in which can affect flavor and texture.
- Watch for Signs: Bubbling and cloudiness are good. Off smells or mold are not. Trust your senses.
Honestly, I’ve lost a few batches to impatience and poor brine ratios, but each failure taught me something new. Now, I set reminders and keep a fermentation journal—helps you track what works best!
Variations & Adaptations
One of the best things about lacto-fermented pickles is how adaptable they are. Here are some variations I’ve played with that you might enjoy:
- Spicy Dill Pickles: Add a sliced jalapeño or a pinch of red pepper flakes for a kick.
- Garlic-Free Version: Swap garlic for fresh ginger slices or horseradish root for a different heat profile.
- Seasonal Twist: In summer, try adding fresh herbs like tarragon or thyme along with dill for a garden-fresh flavor.
- Different Veggies: Try fermenting green beans or carrot sticks with the same brine and dill for variety.
- Low-Sodium Option: Reduce salt slightly but keep at least 2 tablespoons to maintain safe fermentation.
Personally, I once threw in some leftover fresh lemon zest and it added a bright, citrusy note that was unexpectedly delightful. Feel free to experiment but always keep the basic salt-to-water ratio consistent for safety.
Serving & Storage Suggestions
These lacto-fermented dill pickles are best enjoyed chilled straight from the fridge. Their crisp texture and tangy flavor make them a perfect snack on their own or alongside sandwiches, grilled meats, and charcuterie boards. I like pairing them with a creamy dip or even adding chopped pickles to potato salad for a probiotic punch.
For storage, keep your pickles refrigerated once fermented. They stay fresh and crunchy for up to 2 months, though I have to admit, they rarely last that long in my house! If you want to keep them longer, ensure they’re fully submerged and sealed tightly, but flavor and texture might slowly change over time.
Reheating isn’t necessary—these pickles shine cold. However, if you’re adventurous, try chopping them into warm dishes like creamy dill pasta salad to add zest and texture. The flavors also deepen over time, so if you find them too mild at first, give them a few more days to develop.
Nutritional Information & Benefits
These healthy lacto-fermented dill pickles are not only low in calories (about 10 calories per medium pickle) but offer a probiotic boost that supports digestion and gut flora balance. The fermentation process increases beneficial bacteria, which can aid in nutrient absorption and immune function.
Cucumbers provide hydration and small amounts of vitamins K and C. Garlic adds antioxidants and anti-inflammatory compounds, while dill contributes vitamins and minerals like calcium and manganese.
They are naturally gluten-free, low-carb, and vegan-friendly. Just be aware of sodium content if you’re monitoring salt intake—each serving does contain salt from the brine.
From my experience, incorporating these pickles into meals has helped with digestion comfort, especially during stressful weeks or after heavier meals. It’s a tasty way to support your gut without supplements.
Conclusion
Healthy lacto-fermented dill pickles aren’t just a snack; they are a little jar of kitchen magic that brings flavor, crunch, and gut-friendly benefits all in one. I love how easy this recipe is to follow and how rewarding the results can be, even if you’re new to fermentation. It’s perfect for anyone wanting to add natural probiotics to their diet without complicated ingredients or special equipment.
Give this recipe a try, tweak it to your taste, and watch how something so simple can transform your meals and wellness. I’d love to hear how your pickles turn out or any fun variations you create—drop a comment below and share your fermenting adventures!
Here’s to crunchy, tangy, and healthy snacking that feels like a warm kitchen hug.
FAQs
How long do lacto-fermented dill pickles take to ferment?
Typically, they ferment for 5 to 7 days at room temperature. You can taste them after 5 days and let them go longer if you prefer a stronger tang.
Can I use regular table salt for fermentation?
It’s best to avoid iodized table salt because additives can interfere with fermentation. Use kosher salt or sea salt without additives instead.
What if my pickles turn out soft?
Soft pickles usually mean the fermentation temperature was too high or cucumbers weren’t fresh. Keep them cool and use firm pickling cucumbers for best crunch.
Do I need special lids for fermenting?
Not necessarily. Regular mason jar lids work if you loosen them slightly to let gases escape. Fermentation lids or airlocks make it easier but aren’t required.
Are lacto-fermented pickles safe for everyone?
Generally, yes. However, if you have a compromised immune system or specific health concerns, check with your doctor before adding fermented foods to your diet.
Pin This Recipe!
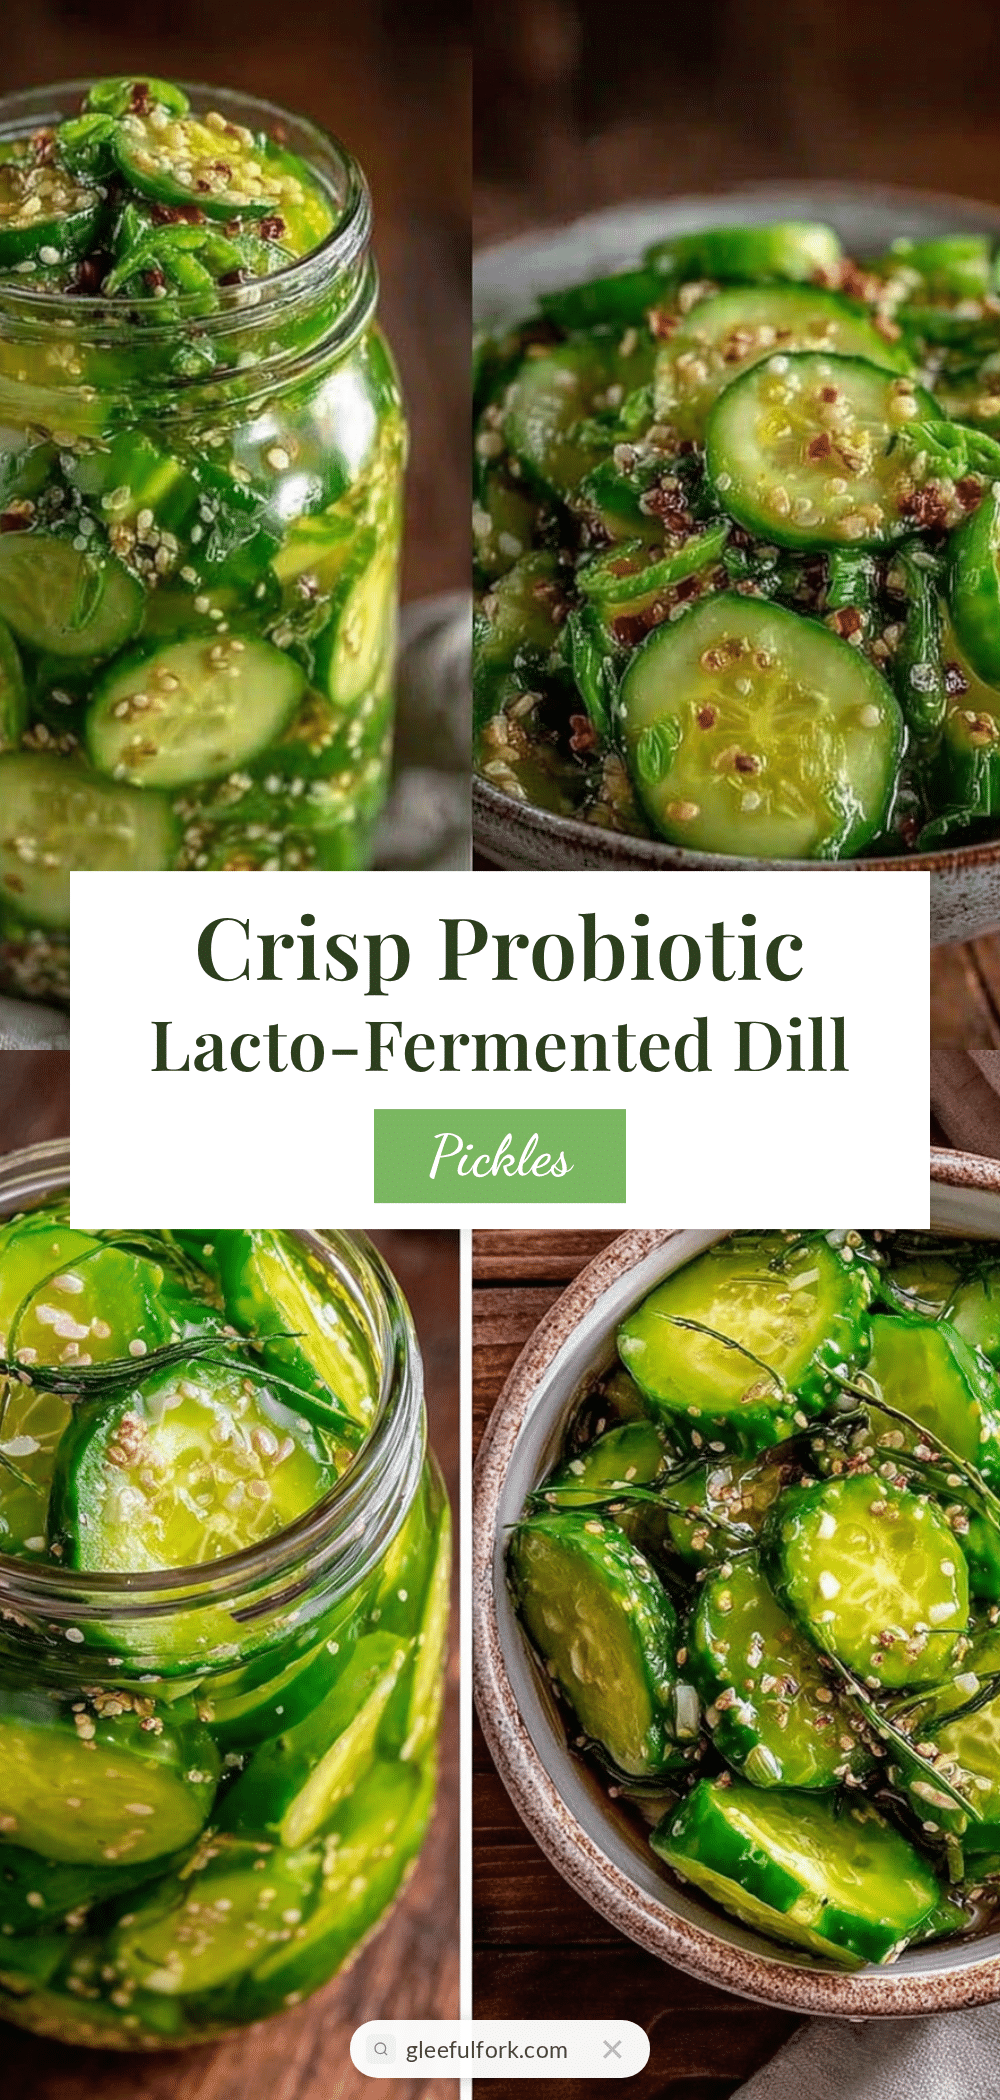
Healthy Lacto-Fermented Dill Pickles Recipe for Gut Health Detox
A simple and delicious lacto-fermented dill pickles recipe that supports gut health with natural probiotics. Perfect for a tangy, crunchy snack made with fresh cucumbers, dill, garlic, and salt.
- Prep Time: 15 minutes
- Cook Time: 5-7 days (fermentation time)
- Total Time: 5-7 days and 15 minutes
- Yield: About 2 quart jars (approximately 8-10 servings) 1x
- Category: Snack
- Cuisine: American
Ingredients
- 2 pounds (about 900g) small pickling cucumbers, washed and trimmed
- 4–6 sprigs fresh dill (or 1 tablespoon dried dill)
- 4 garlic cloves, peeled and lightly crushed
- 3 tablespoons (about 45g) non-iodized kosher salt or sea salt
- 4 cups (960ml) filtered or spring water
- Optional: 1 teaspoon black peppercorns or mustard seeds
Instructions
- Prepare the brine by dissolving 3 tablespoons of non-iodized salt into 4 cups of filtered water. Stir until fully dissolved.
- Pack the cucumbers tightly but without crushing into clean, wide-mouth mason jar(s). Add dill sprigs and crushed garlic cloves evenly among the cucumbers. Add optional black peppercorns or mustard seeds if using.
- Pour the saltwater brine over the cucumbers, leaving about 1 inch of headspace at the top. Ensure cucumbers are fully submerged using fermentation weights or a small plastic bag filled with brine.
- Screw on the lid without tightening too much to allow gases to escape. Place the jar on a plate or bowl to catch overflow. Store at room temperature (65–75°F) away from direct sunlight.
- Let the pickles ferment for 5-7 days. Check daily to ensure cucumbers remain submerged. Taste after 5 days and continue fermenting until preferred sourness is reached.
- Once fermented to liking, tighten the lid and refrigerate. Pickles will keep fresh and crunchy for up to 2 months.
Notes
Use non-iodized salt to avoid disrupting fermentation. Keep cucumbers fully submerged under brine to prevent mold. Store jars at 65–75°F for best results. Skim off any harmless white scum. Discard if pickles turn soft or smell off. Avoid metal lids or utensils that react with salt brine.
Nutrition
- Serving Size: 1 medium pickle
- Calories: 10
- Sugar: 1
- Carbohydrates: 2
- Fiber: 1
Keywords: lacto-fermented pickles, dill pickles, gut health, probiotic snack, fermented vegetables, homemade pickles, healthy snack


