Love this? Save it for later!
Share the inspiration with your friends
Introduction
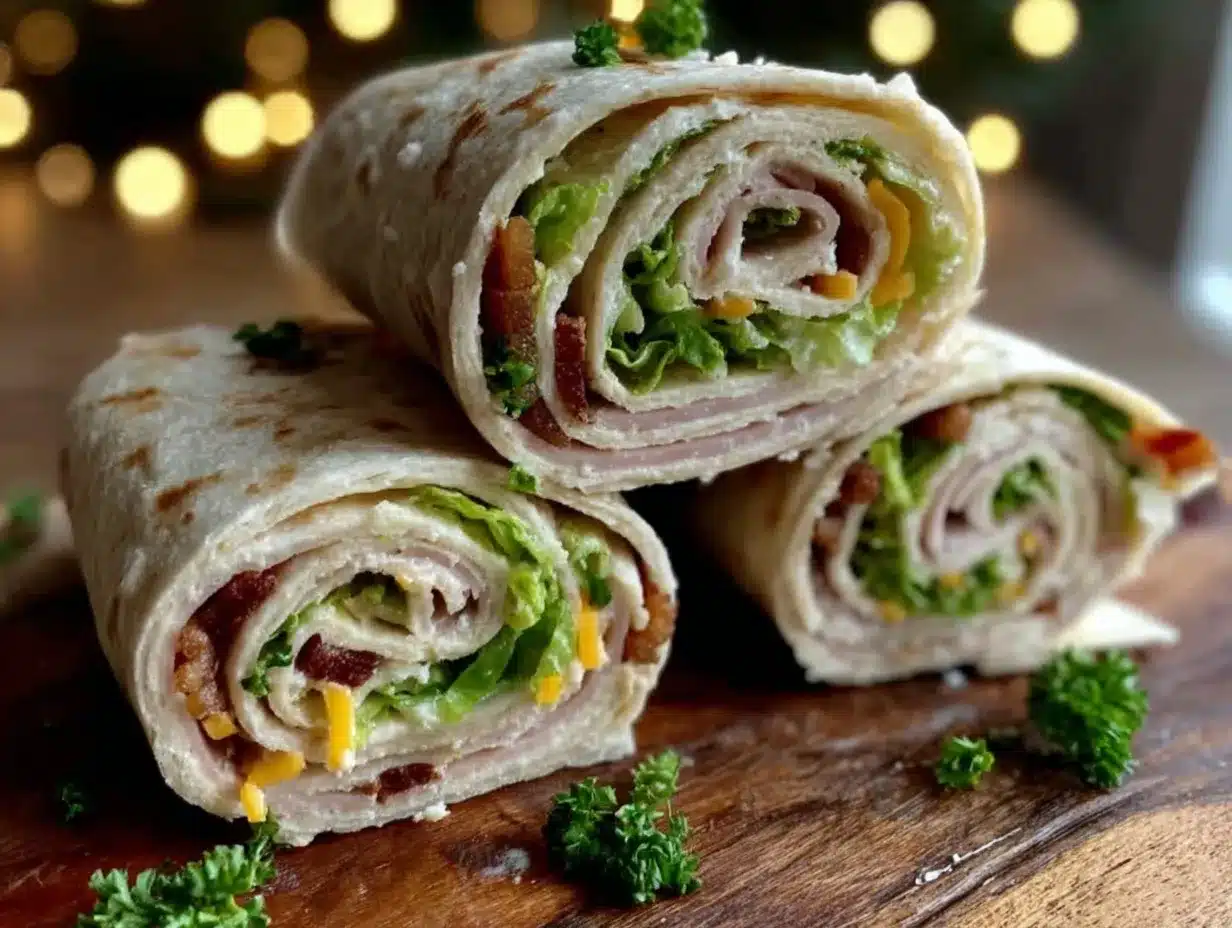
“I wasn’t supposed to be making lunch that day,” I remember telling myself as I rummaged through the fridge, half-distracted by an overdue conference call buzzing in the background. It was a Wednesday afternoon—busy, chaotic, and honestly, I had zero energy for anything complicated. What I found instead were some forgotten packets of store-brand lunchmeat, a slightly limp tortilla pack, and a handful of random veggies. I wasn’t expecting much, but hey, I figured I’d throw something together. Turns out, those easy budget-friendly store-brand lunchmeat wraps became my go-to quick fix for days when time and money both felt tight.
You know that feeling when you’re staring at the clock, realizing you need to eat but don’t want to spend forever in the kitchen? Maybe you’ve been there, juggling work and life, and just wanting something simple but satisfying. Honestly, these wraps hit that sweet spot—fast, affordable, and surprisingly tasty. Plus, no fancy ingredients required. Just the kind of no-fuss meal that feels like a small victory in a busy day.
What makes these wraps linger in my rotation isn’t just how easy they are. It’s the little moments—like accidentally grabbing a jalapeño instead of a bell pepper and loving the kick, or realizing that the plain store-brand lunchmeat can taste just as good as the pricier stuff when paired right. Let me tell you, this recipe stayed with me because it’s honest and flexible, just like the kitchen in those hectic afternoons. So, if you’re looking for a quick healthy meal without breaking the bank or spending too much time, you’re in the right place.
Why You’ll Love This Recipe
After trying countless quick lunch options over the years, I can say these easy budget-friendly store-brand lunchmeat wraps stand out for a bunch of reasons:
- Quick & Easy: Comes together in under 10 minutes—perfect when you’re short on time but still want something filling.
- Simple Ingredients: No need to hunt for specialty items. You probably have most of these in your pantry or fridge already.
- Perfect for Lunch or Light Dinner: Great for workdays, school lunches, or those casual evenings when you want something light yet satisfying.
- Crowd-Pleaser: Kids, partners, roommates—they all seem to enjoy these, which is a win in any household.
- Unbelievably Delicious: The combination of creamy spreads, crisp veggies, and savory lunchmeat makes every bite enjoyable.
What sets this recipe apart? It’s not just about convenience. I’ve tested different store-brand options, and honestly, the secret lies in balancing textures and flavors—adding a bit of crunch with fresh greens and a slight tang with mustard or pickles. This recipe isn’t just another wrap; it’s the kind that makes you pause and appreciate how something simple can still be so satisfying. It’s the kind of healthy meal that doesn’t feel like a compromise.
What Ingredients You Will Need
This recipe uses simple, wholesome ingredients to deliver bold flavor and satisfying texture without the fuss. Most are pantry staples or easy supermarket finds, making it a go-to anytime.
- Store-brand lunchmeat: Choose your favorite—turkey, ham, chicken, or even roast beef slices. Opt for low-sodium versions if possible.
- Large flour tortillas: Soft and pliable wraps that won’t tear easily. Whole wheat or spinach wraps work well too.
- Leafy greens: Romaine, spinach, or spring mix for fresh crunch and nutrients.
- Cheese slices: American, cheddar, or Swiss—whatever your taste. Use dairy-free cheese if preferred.
- Condiments: Mustard, mayonnaise, or hummus for spread and moisture. I like French’s classic yellow mustard for a little zing.
- Fresh veggies: Sliced tomatoes, cucumbers, bell peppers, or shredded carrots add color and texture.
- Pickles or banana peppers: Optional, but they add a nice tang and crunch.
- Salt and pepper: To taste, especially if your lunchmeat is lightly seasoned already.
Tip: In summer, swapping fresh tomatoes for sun-dried ones can add a sweet depth. For a gluten-free option, try corn tortillas or gluten-free wraps. I’ve also swapped the cheese for avocado slices to keep it dairy-free and creamy.
Equipment Needed
- Cutting board and sharp knife: Essential for slicing veggies thinly and evenly.
- Mixing bowl (optional): Handy if you want to mix spreads or toss greens with a bit of lemon juice.
- Measuring spoons: For precise spreading of condiments, especially if you’re watching calories.
- Non-stick skillet or grill pan (optional): If you like your wraps warmed or slightly toasted.
- Plastic wrap or parchment paper: Useful for wrapping leftovers or packing lunches.
If you don’t have a grill pan, a regular skillet works perfectly fine. I’ve even warmed wraps in a dry microwave-safe plate for 20 seconds when I’m in a rush. For budget-friendly options, basic kitchen knives and cutting boards from local stores work just as well as pricier brands.
Preparation Method
- Prepare your workspace: Lay out all your ingredients. Wash and dry leafy greens and fresh veggies thoroughly. This usually takes about 5 minutes.
- Slice veggies thinly: Cut tomatoes, cucumbers, bell peppers, or carrots into thin, even slices for easier rolling and better texture. Use a sharp knife to avoid squishing soft veggies.
- Lay out the tortilla: Place one large tortilla flat on a clean surface or plate. If you prefer warm wraps, quickly heat it in a skillet or microwave for 10-15 seconds—it makes rolling easier.
- Spread your condiments: Use about 1 tablespoon (~15 ml) of mayonnaise, mustard, or hummus evenly over the tortilla, leaving a small border around the edges to prevent overflow when rolling.
- Add the lunchmeat: Layer 3-4 slices (about 85-113 grams) of your chosen store-brand lunchmeat evenly over the spread. Try to cover most of the wrap but avoid piling too thickly to prevent tearing.
- Layer cheese slices: Place 1-2 slices of cheese on top of the lunchmeat. This helps bind the ingredients once rolled.
- Add veggies and greens: Arrange a handful of leafy greens and sliced veggies across the center. Add pickles or banana peppers if using for a flavor boost.
- Season lightly: Sprinkle a pinch of salt and freshly cracked black pepper over the veggies to enhance flavor.
- Roll tightly: Starting from one edge, roll the tortilla firmly but gently to avoid tearing, folding in sides as you go to keep fillings secure.
- Slice and serve: Using a sharp knife, cut the wrap diagonally in half. Serve immediately or wrap in plastic wrap for later.
Pro tip: If your wrap feels loose or falls apart, try warming the tortilla a bit more next time and don’t overload fillings. Also, letting the wrap rest wrapped in parchment for 5 minutes helps ingredients meld better.
Cooking Tips & Techniques
When making these easy budget-friendly store-brand lunchmeat wraps, a few tricks make all the difference. First, always choose tortillas that are fresh and flexible. Stale or dry wraps tend to crack or tear, which is frustrating when you’re in a hurry. I learned this the hard way after a dozen failed lunch attempts.
Another tip: balance moisture. Too much mayo or watery veggies like tomatoes can make the wrap soggy quickly. Pat sliced tomatoes or cucumbers dry with a paper towel before adding. This little step is a game-changer, trust me.
When it comes to layering, think about texture contrast. Soft lunchmeat paired with crisp lettuce and crunchy peppers keeps each bite interesting. From experience, stacking cheese between meat and veggies helps hold everything together better.
Finally, don’t rush the rolling. A firm yet gentle roll prevents spills. If you get interrupted mid-roll (been there!), pause and adjust the fillings before continuing. This recipe is forgiving but benefits from a little care.
Variations & Adaptations
These wraps are super adaptable to different tastes and dietary needs:
- Vegetarian twist: Swap lunchmeat for grilled tofu slices or roasted chickpeas. Use hummus or avocado as the spread.
- Low-carb option: Replace tortillas with large lettuce leaves or low-carb wraps for a lighter meal.
- Spiced up: Add a dash of hot sauce or sliced jalapeños if you like some heat. I once tried this with chipotle mayo for a smoky kick that was unforgettable.
For different cooking methods, try grilling the whole wrap briefly on a panini press for a warm, melty version. Or wrap tightly and slice into bite-sized pinwheels for snack parties. Allergy concerns? Substitute dairy cheese with plant-based options and choose gluten-free wraps easily available at most stores.
Serving & Storage Suggestions
Serve these wraps fresh and slightly warm or at room temperature. They pair well with crunchy side salads, kettle-cooked chips, or a simple fruit cup for balance. For beverages, iced tea or sparkling water complements the lightness perfectly.
To store, wrap tightly in plastic wrap or place in an airtight container. Keep refrigerated and consume within 24 hours for best freshness. If prepping in advance for school or work lunches, keep condiments separate and add just before eating to prevent sogginess.
Reheat wrapped in parchment paper on a skillet for a couple of minutes if you prefer a warm wrap, but avoid microwaving too long as tortillas can get rubbery. Flavors develop nicely when ingredients rest together briefly, so letting the wrap sit for 5-10 minutes after rolling can enhance taste.
Nutritional Information & Benefits
This recipe is a balanced mix of protein, fiber, and healthy fats, making it a sensible choice for a quick meal. Each wrap typically contains around 300-400 calories depending on ingredient brands and portion sizes. The store-brand lunchmeat provides lean protein, while fresh veggies add vitamins and fiber. Using whole grain or spinach tortillas boosts dietary fiber further.
For those watching sodium intake, choosing low-sodium lunchmeat and limiting added salt helps keep it heart-friendly. The option to swap dairy cheese for plant-based alternatives caters to lactose intolerance or vegan preferences. Overall, this recipe supports a wholesome, budget-friendly diet without sacrificing flavor or convenience.
Conclusion
Easy budget-friendly store-brand lunchmeat wraps are one of those simple recipes that stick with you for good reason. They’re fast, affordable, and flexible enough to fit just about any taste or dietary need. I love how this recipe turns humble ingredients into a satisfying meal that feels both fresh and comforting.
Give it a try and make it your own by mixing up veggies, spreads, and meats—or even going meatless. I’d love to hear how you customize your wraps or what quick meals help you on busy days. Drop a comment below and share your thoughts!
Remember, cooking doesn’t have to be complicated to be delicious. Sometimes, the easiest recipes are the best company on hectic days. Keep wrapping and enjoy every bite!
FAQs
Can I use any type of lunchmeat for these wraps?
Absolutely! Turkey, ham, chicken, roast beef—whatever you prefer or find on sale works great. Just pick low-sodium if you want a healthier option.
How long can I store these wraps in the fridge?
It’s best to eat them within 24 hours for freshness. If you need to prep ahead, keep condiments separate and add just before serving to avoid sogginess.
Can I freeze these wraps?
Freezing isn’t recommended because the veggies and tortilla texture don’t hold up well. They’re best fresh or refrigerated.
What are some good side dishes to serve with these wraps?
Try crunchy salads, fresh fruit, chips, or veggie sticks. A light soup also pairs nicely for a fuller meal.
How can I make these wraps vegan?
Replace lunchmeat with grilled tofu or chickpeas and swap cheese and spreads for plant-based versions like vegan mayo or hummus. Load up on veggies for flavor and texture.
Pin This Recipe!
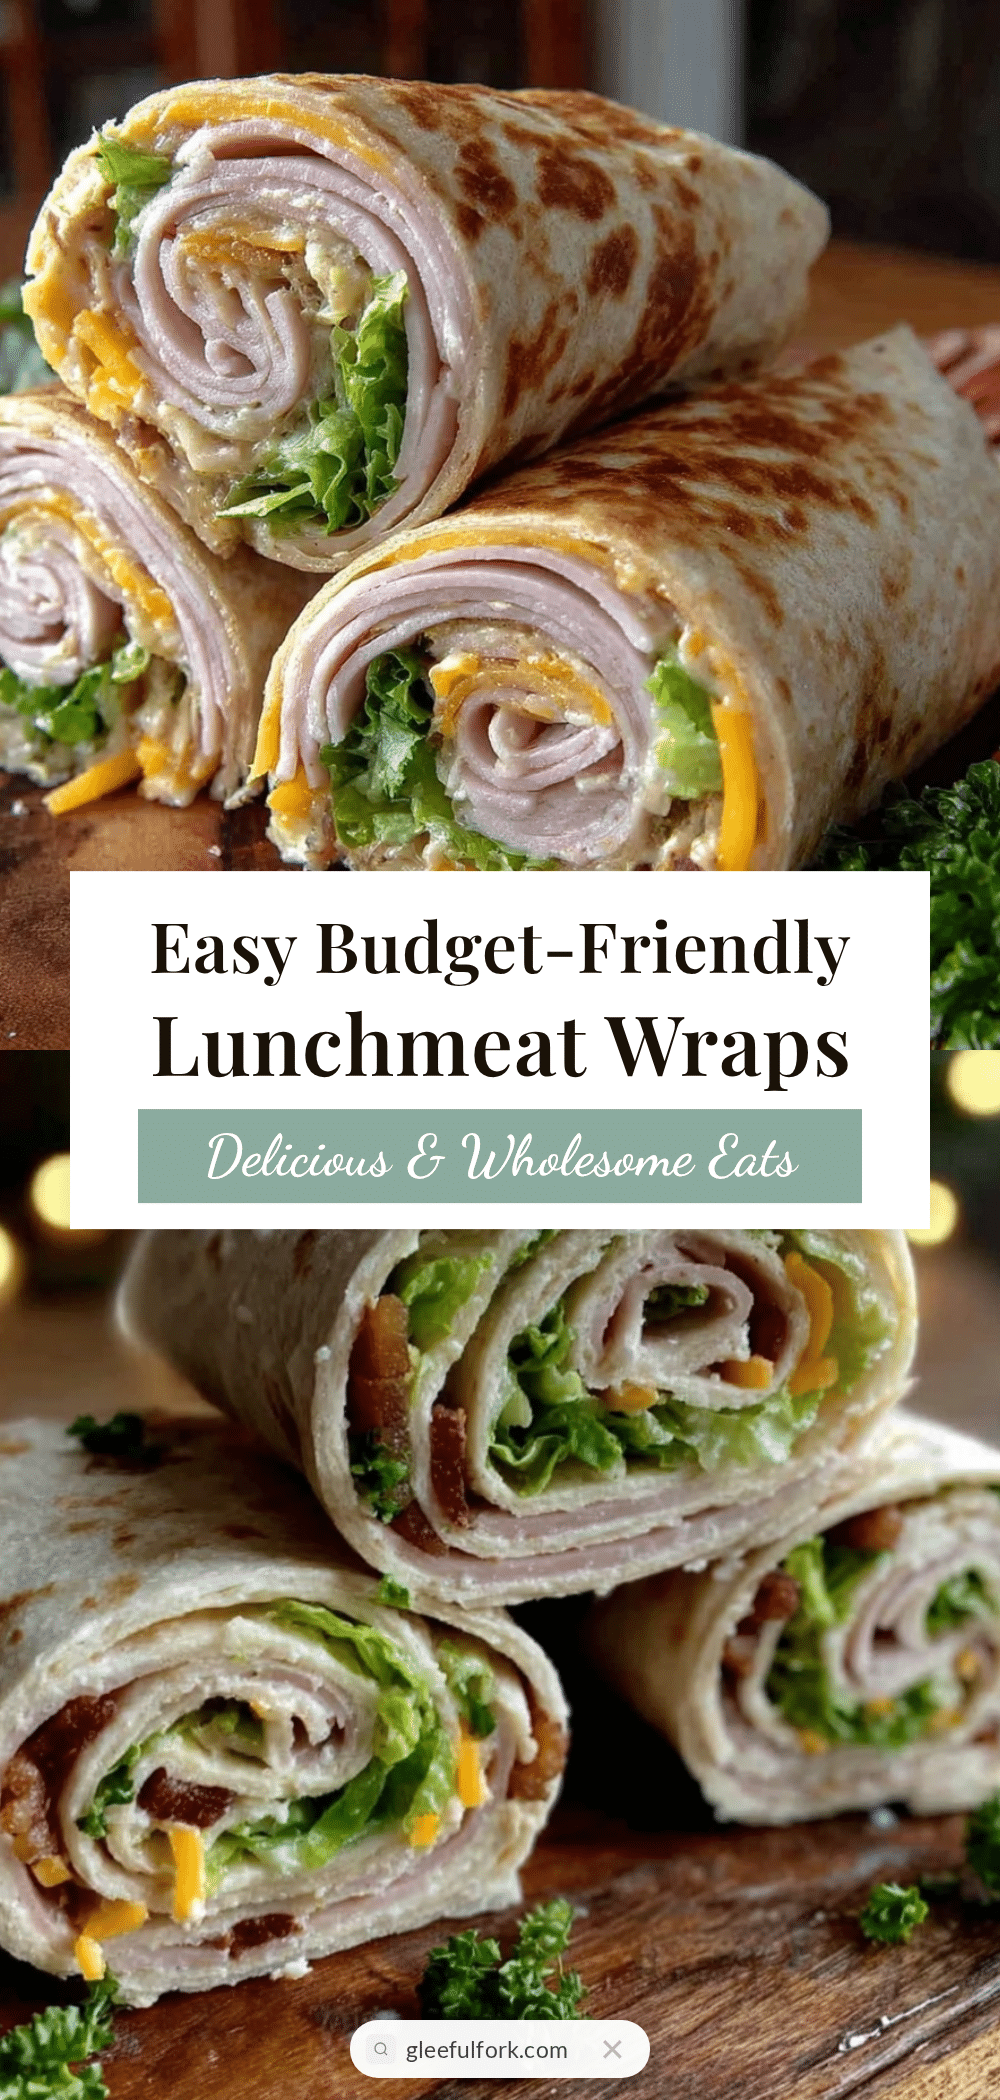
Easy Budget-Friendly Store-Brand Lunchmeat Wraps Recipe for Quick Healthy Meals

A quick, affordable, and flexible wrap recipe using store-brand lunchmeat and simple ingredients, perfect for busy days when you want a healthy meal without fuss.
- Prep Time: 5 minutes
- Cook Time: 0 minutes
- Total Time: 5 minutes
- Yield: 1 wrap 1x
- Category: Main Course
- Cuisine: American
Ingredients
- 3–4 slices (about 3–4 oz) store-brand lunchmeat (turkey, ham, chicken, or roast beef; low-sodium preferred)
- 1 large flour tortilla (whole wheat or spinach wraps can be used)
- A handful of leafy greens (romaine, spinach, or spring mix)
- 1–2 slices cheese (American, cheddar, Swiss, or dairy-free alternative)
- 1 tablespoon mayonnaise, mustard, or hummus
- Sliced fresh veggies (tomatoes, cucumbers, bell peppers, or shredded carrots)
- Pickles or banana peppers (optional)
- Salt and pepper to taste
Instructions
- Prepare your workspace: Lay out all ingredients. Wash and dry leafy greens and fresh veggies thoroughly (about 5 minutes).
- Slice veggies thinly: Cut tomatoes, cucumbers, bell peppers, or carrots into thin, even slices.
- Lay out the tortilla flat on a clean surface or plate. Optionally, warm it in a skillet or microwave for 10-15 seconds to make rolling easier.
- Spread about 1 tablespoon of mayonnaise, mustard, or hummus evenly over the tortilla, leaving a small border around the edges.
- Layer 3-4 slices (about 3-4 oz) of store-brand lunchmeat evenly over the spread.
- Place 1-2 slices of cheese on top of the lunchmeat.
- Add a handful of leafy greens and sliced veggies across the center. Add pickles or banana peppers if using.
- Sprinkle a pinch of salt and freshly cracked black pepper over the veggies.
- Roll the tortilla tightly from one edge, folding in the sides to keep fillings secure.
- Slice the wrap diagonally in half and serve immediately or wrap in plastic wrap for later.
Notes
Warm the tortilla slightly before rolling to prevent tearing. Pat fresh veggies dry to avoid sogginess. Layer cheese between meat and veggies to help hold the wrap together. Let the wrap rest wrapped in parchment for 5 minutes to meld flavors. For gluten-free, use corn or gluten-free tortillas. For dairy-free, substitute cheese with avocado slices or plant-based cheese.
Nutrition
- Serving Size: 1 wrap
- Calories: 350
- Sugar: 3
- Sodium: 600
- Fat: 15
- Saturated Fat: 5
- Carbohydrates: 30
- Fiber: 3
- Protein: 20
Keywords: lunchmeat wraps, budget-friendly wraps, quick lunch, healthy wraps, store-brand lunchmeat, easy wraps, quick meals