Love this? Save it for later!
Share the inspiration with your friends
Introduction
“I never thought my midnight kitchen mess would turn into a summer staple,” I confessed to my friend as I scooped the last bit of creamy no-churn banana ice cream from the freezer. It all started one lazy Sunday when I found myself staring at a bunch of overripe bananas that had sadly outstayed their welcome on the counter. You know that feeling when you want to toss them but hate wasting food? Well, that night, I grabbed a mixing bowl, a few simple ingredients, and my stubborn little electric mixer, determined to save those bananas from the compost pile.
The power blinked mid-blend—typical, right?—and I had to finish by hand, which honestly made it all the more satisfying. The result? A silky, dreamy banana ice cream that needed no fancy ice cream maker, no endless churning, just a quick whip and a little patience. Maybe you’ve been there, standing in front of your fridge, wondering what to do with those squishy bananas that no one will touch. This recipe is for that moment.
It stuck with me because, well, it’s honest food made from what’s on hand, and it tastes like a frozen cloud of banana goodness. Plus, it’s a no-fuss way to keep summer vibes alive all year round. Let me tell you, this creamy no-churn banana ice cream has become my go-to whenever I’m craving something sweet, satisfying, and guilt-free. It’s that simple hack that turns overripe fruit into pure joy.
Why You’ll Love This Recipe
- Quick & Easy: Comes together in under 15 minutes—perfect for those last-minute cravings or busy weeknights when you want dessert without the hassle.
- Simple Ingredients: Uses just overripe bananas, cream, and a few pantry staples you likely already have—no complicated trips to specialty stores.
- Perfect for Using Up Overripe Fruit: No more wasting bananas! This recipe gives those brown-speckled fruits a delicious second life.
- Crowd-Pleaser: Kids and adults alike love this ice cream’s natural sweetness and creamy texture—always a hit at summer gatherings.
- Unbelievably Delicious: The rich banana flavor combined with the smooth, creamy texture feels like indulgence without the guilt.
This isn’t just another homemade banana ice cream. What sets this creamy no-churn banana ice cream apart is the easy hack of blending the bananas first to make the texture ultra-smooth and then folding in softly whipped cream for that luscious mouthfeel. No freezing trays, no stirring every hour—just fold, freeze, and enjoy. Honestly, it’s the kind of dessert that makes you close your eyes after the first bite and smile.
Whether you want a refreshing treat for a summer afternoon or a cozy comfort dessert that feels special but requires zero stress, this recipe hits the mark. It’s the perfect way to impress guests or treat yourself without standing over a hot stove or fiddling with complicated machines.
What Ingredients You Will Need
This recipe keeps things simple with a handful of wholesome ingredients that come together to create bold flavor and a satisfyingly creamy texture without fuss. Most of these are pantry staples or easy swaps if you want to tweak it.
- Overripe bananas (3 medium, peeled and sliced, frozen if possible) – the star ingredient that brings natural sweetness and creaminess.
- Heavy cream (1 cup / 240 ml, cold) – whipped to soft peaks for that rich, airy texture. I prefer organic brands like Horizon for the best creaminess.
- Sweetened condensed milk (1/2 cup / 120 ml) – adds sweetness and helps keep the ice cream scoopable without ice crystals. You can swap with coconut condensed milk for a dairy-free twist.
- Vanilla extract (1 teaspoon) – enhances the banana’s natural flavor and adds warmth.
- Lemon juice (1 teaspoon) – optional but highly recommended to brighten the banana flavor and prevent browning.
Substitution tips: Use coconut cream in place of heavy cream for a dairy-free version, and swap sweetened condensed milk with a mixture of maple syrup and a bit of coconut milk if you want less processed sugar. If you don’t have frozen bananas handy, fresh overripe ones work fine but freeze them for an hour or two before blending to get that ice cream texture.
Equipment Needed
- Mixing bowl – a medium-sized bowl is best for folding the cream into the banana base.
- Electric hand mixer or stand mixer – to whip the heavy cream until soft peaks form. If you don’t have one, a sturdy whisk and some elbow grease will do (took me longer, but it works!).
- Food processor or blender – to puree the bananas into a smooth base. A high-speed blender like Vitamix works wonders, but a standard blender or even a potato masher can suffice if you don’t mind a slightly chunkier texture.
- Freezer-safe container – choose a shallow container to speed up freezing and make scooping easier.
- Spatula – for gentle folding to keep the airy texture intact.
Honestly, I used a cracked mixing bowl years ago when I made this on a whim, and it still tasted amazing (though not recommended for long-term use!). Budget-friendly alternatives like handheld beaters or even a mason jar blender can work if you’re just starting out. Just remember to keep everything cold for the best texture.
Preparation Method
- Prepare the bananas: Peel and slice 3 medium overripe bananas, then freeze for at least 2 hours or overnight for best results. This step helps achieve that creamy ice cream texture without ice crystals.
- Puree the bananas: Place the frozen banana slices into a food processor or blender. Add 1 teaspoon of lemon juice and blend until smooth and creamy, about 2-3 minutes. You might need to scrape down the sides once or twice. The mixture should look like thick banana pudding.
- Whip the cream: In a chilled mixing bowl, whip 1 cup (240 ml) cold heavy cream with an electric mixer until soft peaks form—this usually takes about 3-5 minutes. Be careful not to overwhip; the cream should be light and fluffy but still hold shape.
- Combine sweetened condensed milk and vanilla: Gently fold 1/2 cup (120 ml) sweetened condensed milk and 1 teaspoon vanilla extract into the banana puree. This adds sweetness and depth.
- Fold in whipped cream: Carefully fold the whipped cream into the banana mixture using a spatula. Do this gently and slowly to keep the airiness—this step is key for creamy texture.
- Freeze the mixture: Transfer the combined mixture into a freezer-safe container, smoothing the top with a spatula. Cover with a lid or plastic wrap and freeze for at least 4 hours or until firm.
- Serving: Remove the ice cream from the freezer about 5 minutes before scooping to soften slightly. Use a warm spoon or ice cream scoop for best results.
Tip: If your bananas aren’t fully frozen, the texture may be softer and less scoopable. Also, folding is crucial—rushing it can deflate the cream, resulting in icy texture. Take your time, and trust the process.
Cooking Tips & Techniques
Making creamy no-churn banana ice cream might sound simple, but a few pro tips can make all the difference:
- Freeze bananas fully: The secret to creamy texture is well-frozen bananas. Fresh bananas will produce a mushy mixture instead of ice cream.
- Soft peaks, not stiff: When whipping cream, stop as soon as soft peaks form. Overwhipping turns it grainy and butter-like, ruining the texture.
- Gently fold, don’t stir: Mixing whipped cream into the banana base requires patience. Rough stirring deflates the cream and leads to icy ice cream.
- Use lemon juice: It’s a small addition, but it brightens the banana flavor and keeps the ice cream looking fresh instead of dull brown.
- Watch freezer time: Freeze long enough to firm up, but if frozen too long, let it thaw a bit before scooping to avoid hardness.
I learned the hard way that skipping the folding step made my first batch icy and dense. Honestly, that was a learning moment I still chuckle about. Also, multitasking helps—start whipping the cream while the bananas are blending to save time. Trust me, the payoff is a scoop-worthy, creamy treat that tastes like it took hours to make but really doesn’t.
Variations & Adaptations
This creamy no-churn banana ice cream recipe is a fantastic base that you can tweak for different tastes and dietary needs. Here are some of my favorite adaptations:
- Nut Butter Swirl: Fold in 2-3 tablespoons of peanut or almond butter for a nutty twist that complements the banana beautifully.
- Chocolate Chip: Add 1/3 cup of mini chocolate chips or chopped dark chocolate before freezing for a classic combo everyone loves.
- Vegan/Dairy-Free: Use coconut cream instead of heavy cream and coconut condensed milk or maple syrup as a sweetener. The texture is just as creamy—trust me, I’ve tested it!
- Spiced Banana: Mix in 1/2 teaspoon cinnamon and a dash of ground nutmeg for a cozy, warming flavor profile.
For a summer berry variation, swap half the bananas with frozen strawberries or blueberries. I once added a handful of toasted shredded coconut, which gave a delightful tropical vibe to the ice cream. Feel free to customize according to what’s in your pantry or what you’re craving that day.
Serving & Storage Suggestions
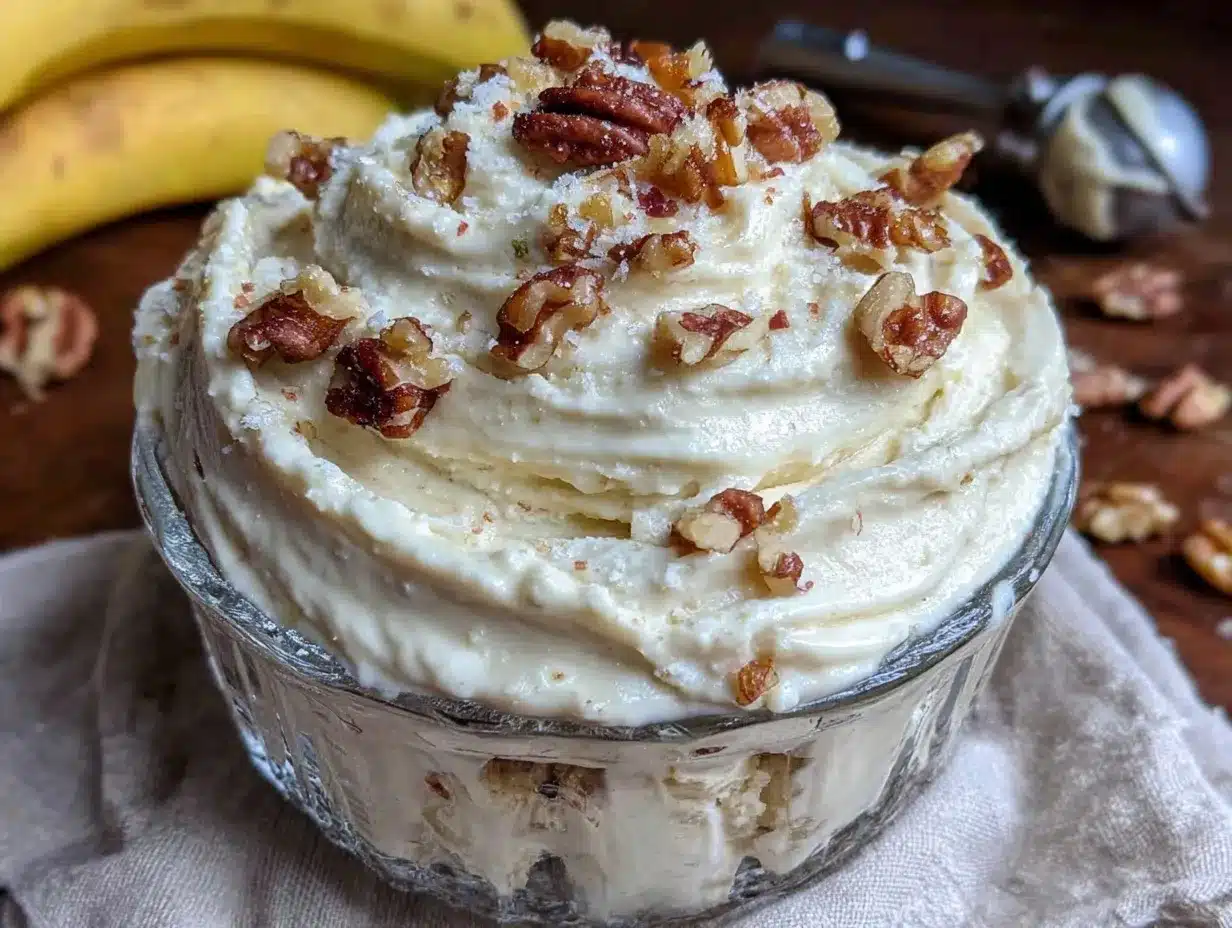
This banana ice cream tastes best slightly softened, so take it out of the freezer 5-10 minutes before serving. Scoop into bowls or cones and garnish with fresh banana slices, chopped nuts, or a drizzle of honey for extra flair. It pairs wonderfully with warm desserts like apple crisps or crispy garlic chicken for a sweet finish after a savory meal.
Store leftovers in an airtight container in the freezer for up to 2 weeks. To re-soften, let sit at room temperature for 10 minutes before scooping. The flavor tends to deepen the longer it sits, which makes the ice cream even more satisfying.
Nutritional Information & Benefits
Each serving of this creamy no-churn banana ice cream (about 1/2 cup or 125 ml) roughly contains:
| Calories | 210 |
|---|---|
| Fat | 12g |
| Carbohydrates | 25g |
| Protein | 2g |
Key ingredients like bananas provide potassium, vitamin B6, and fiber, while the heavy cream offers calcium and vitamin A. Using overripe bananas means natural sweetness with less added sugar. For those watching carbs or dairy intake, swapping ingredients as mentioned earlier works well.
From a wellness perspective, this recipe is a way to enjoy a treat that feels indulgent but is made from real food without artificial additives. It’s a guilt-free hack for satisfying sweet tooth cravings while reducing food waste.
Conclusion
This creamy no-churn banana ice cream is honestly one of those recipes that make you wonder why you ever bought store-bought versions. It’s simple, quick, and turns those sad overripe bananas into a luscious frozen treat that’s pure joy in every bite. I love that it’s forgiving, easy to customize, and requires minimal equipment.
Give it a try, and don’t hesitate to make it your own with your favorite mix-ins. I’d love to hear how you adapt it or what your favorite variations are—drop a comment below! Remember, great recipes are as much about sharing and experimenting as they are about following instructions.
Here’s to sweet, creamy, banana goodness without the fuss. Happy scooping!
FAQs
Can I use fresh bananas instead of frozen?
Yes, but freezing the bananas first is what gives the ice cream its creamy texture. If you use fresh bananas, freeze the mixture after blending for a few hours and stir occasionally to break up ice crystals.
How long does the banana ice cream keep in the freezer?
Stored in an airtight container, this ice cream lasts up to 2 weeks. For best texture, consume within that time frame.
Can I make this recipe without sweetened condensed milk?
You can substitute with maple syrup or honey, but the texture might be a bit softer. Sweetened condensed milk helps with creaminess and scoopability.
Is this recipe suitable for vegans?
Yes! Use coconut cream instead of heavy cream and coconut condensed milk or a sweetener like maple syrup for a vegan-friendly version.
What’s the best way to scoop this no-churn banana ice cream?
Let it sit at room temperature for 5-10 minutes before scooping. Using a warm spoon or an ice cream scoop dipped in hot water makes scooping much easier.
Pin This Recipe!
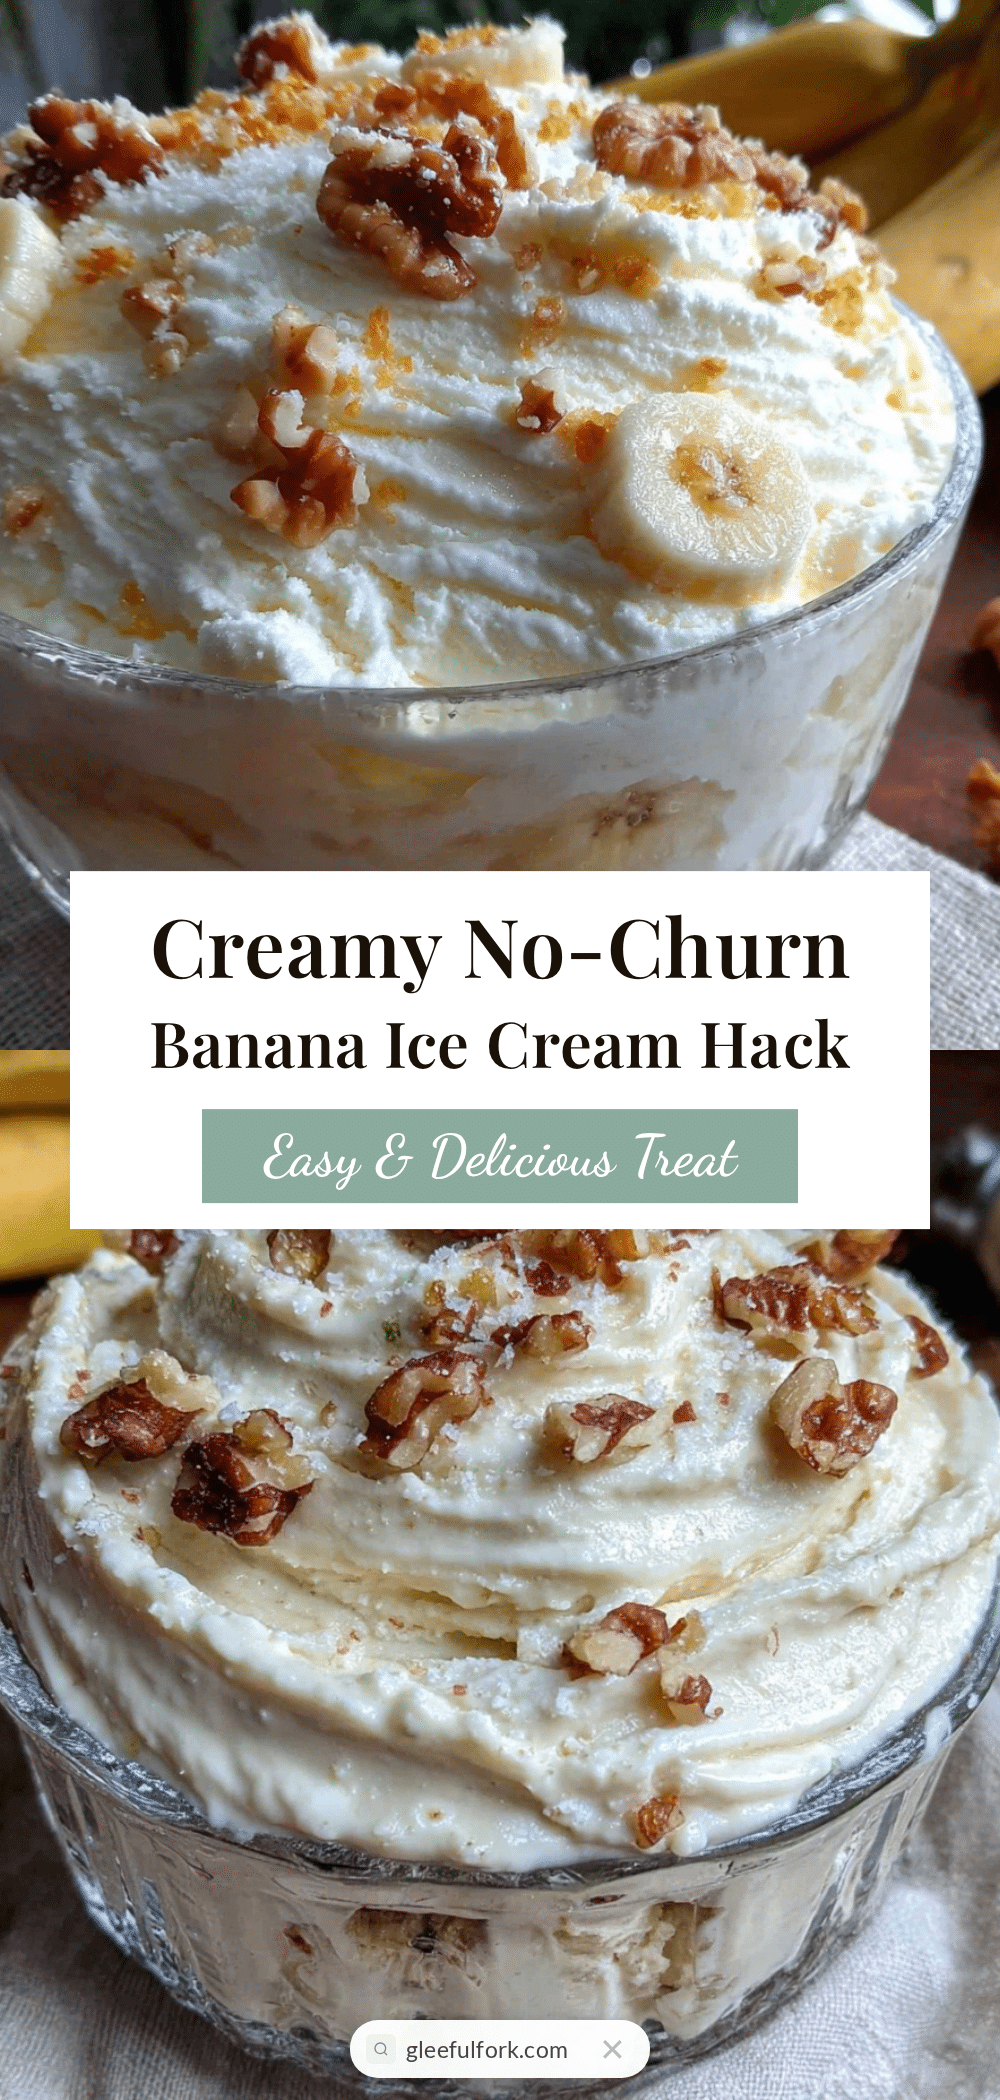
Creamy No-Churn Banana Ice Cream
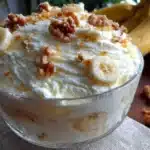
A quick and easy no-churn banana ice cream recipe that uses overripe bananas and simple ingredients to create a creamy, dreamy frozen treat without an ice cream maker.
- Prep Time: 10 minutes
- Cook Time: 4 hours (freezing time)
- Total Time: 4 hours 10 minutes
- Yield: 6 servings 1x
- Category: Dessert
- Cuisine: American
Ingredients
- 3 medium overripe bananas, peeled and sliced, frozen if possible
- 1 cup (240 ml) cold heavy cream
- 1/2 cup (120 ml) sweetened condensed milk
- 1 teaspoon vanilla extract
- 1 teaspoon lemon juice (optional)
Instructions
- Peel and slice 3 medium overripe bananas, then freeze for at least 2 hours or overnight for best results.
- Place the frozen banana slices into a food processor or blender. Add 1 teaspoon of lemon juice and blend until smooth and creamy, about 2-3 minutes, scraping down the sides as needed.
- In a chilled mixing bowl, whip 1 cup (240 ml) cold heavy cream with an electric mixer until soft peaks form, about 3-5 minutes.
- Gently fold 1/2 cup (120 ml) sweetened condensed milk and 1 teaspoon vanilla extract into the banana puree.
- Carefully fold the whipped cream into the banana mixture using a spatula, gently and slowly to keep the airiness.
- Transfer the combined mixture into a freezer-safe container, smooth the top, cover, and freeze for at least 4 hours or until firm.
- Remove the ice cream from the freezer about 5 minutes before scooping to soften slightly. Use a warm spoon or ice cream scoop for best results.
Notes
Freeze bananas fully for best creamy texture. Stop whipping cream at soft peaks to avoid grainy texture. Gently fold whipped cream into banana mixture to keep airiness. Use lemon juice to brighten flavor and prevent browning. Let ice cream soften 5-10 minutes before scooping for easier serving.
Nutrition
- Serving Size: 1/2 cup (125 ml)
- Calories: 210
- Fat: 12
- Carbohydrates: 25
- Protein: 2
Keywords: banana ice cream, no-churn ice cream, overripe banana recipe, easy banana dessert, dairy-free banana ice cream, summer dessert