Love this? Save it for later!
Share the inspiration with your friends
“I can’t believe I forgot the cake!” I blurted out as I pulled into the parking lot of my niece’s graduation party. The whole afternoon had been a whirl—helping set up decorations, juggling calls from relatives, and chasing after my hyperactive nephew. Honestly, I thought I had everything covered until that sudden panic hit me. No cake. None. The dessert table was looking suspiciously empty, and the guests were starting to arrive.
So there I was, standing in my tiny kitchen with just 20 minutes on the clock and a plain, store-bought cake staring back at me. You know that feeling when time is slipping away and you have to pull off something impressive at the last second? Yeah, that was me. Instead of succumbing to stress, I rolled up my sleeves and whipped up what I now call the Easy Graduation Celebration Cake Decorated in 20 Minutes. The secret? Simple ingredients, a dash of creativity, and a sprinkle of patience.
That cracked mixing bowl, smudged frosting on my sleeve, and the frantic dash to the grocery store for fresh berries all add to the charm of this story. This cake isn’t about perfection—it’s about making a memorable moment without breaking a sweat. Maybe you’ve been there too, needing a quick and stunning cake that looks like you spent hours on it. Well, this recipe is your new best friend, promising to become your go-to for any graduation or last-minute celebration that sneaks up on you.
Why You’ll Love This Recipe
After countless rushed celebrations and impromptu get-togethers, I can honestly say this Easy Graduation Celebration Cake has saved the day more times than I can count. It’s not just a cake; it’s a reliable plan B that feels like plan A every time.
- Quick & Easy: Comes together in under 45 minutes total—with only 20 minutes needed for decorating—making it perfect for last-minute celebrations or unexpected guests.
- Simple Ingredients: No need for specialty stores. You probably have most of these pantry staples on hand already.
- Perfect for Graduations: The festive yet elegant look suits any graduation party, whether it’s a casual backyard bash or a formal gathering.
- Crowd-Pleaser: Kids and adults alike rave about the moist texture and balanced sweetness. It’s a hit every time.
- Unbelievably Delicious: The combination of fluffy cake layers with rich frosting and fresh fruit creates a harmony of texture and flavor that truly comforts the soul.
This recipe stands out because it doesn’t rely on complicated piping or fancy decorations. Instead, it uses a straightforward frosting technique and colorful toppings to make a big statement with minimal effort. Honestly, it’s the kind of cake that makes you close your eyes after the first bite and smile, knowing you pulled it off.
What Ingredients You Will Need
This recipe uses simple, wholesome ingredients to deliver bold flavor and satisfying texture without the fuss. Most of these are pantry staples, and the fresh fruit adds a seasonal touch that brightens the whole cake.
- For the Cake:
- All-purpose flour – 2 ½ cups (320g), sifted for a light texture
- Granulated sugar – 1 ¾ cups (350g)
- Baking powder – 2 ½ teaspoons (10g) for perfect rise
- Salt – ½ teaspoon (3g)
- Unsalted butter – ½ cup (115g), softened (I prefer Land O’Lakes for smoothness)
- Whole milk – 1 cup (240ml), room temperature
- Large eggs – 3, room temperature (helps with batter consistency)
- Vanilla extract – 2 teaspoons (10ml), real vanilla makes a difference
- For the Frosting:
- Unsalted butter – 1 cup (230g), softened
- Powdered sugar – 4 cups (480g), sifted to avoid lumps
- Whole milk or heavy cream – 3 tablespoons (45ml), to adjust consistency
- Vanilla extract – 1 ½ teaspoons (7.5ml)
- Pinch of salt – to balance sweetness
- For Decoration:
- Fresh berries (strawberries, blueberries, raspberries) – about 1 ½ cups (225g total), washed and patted dry
- Edible gold stars or sprinkles – optional, for that graduation sparkle
- Fresh mint leaves – a few sprigs (optional, adds color contrast)
For a gluten-free twist, substitute the all-purpose flour with a trusted gluten-free blend like Bob’s Red Mill. If dairy-free, swap butter and milk for plant-based alternatives such as coconut oil and almond milk. The fresh berries can be switched out for any seasonal fruit you love—peaches in summer or pomegranate seeds in winter.
Equipment Needed
- Two 9-inch (23 cm) round cake pans – non-stick preferred for easy release
- Mixing bowls – medium and large sizes
- Electric mixer or stand mixer – to cream butter and sugar efficiently
- Rubber spatula – for folding and scraping batter
- Wire cooling rack – allows cakes to cool evenly and quickly
- Offset spatula or butter knife – for smooth frosting application
- Measuring cups and spoons – accurate ingredient portions matter
If you don’t have two cake pans, you can bake the batter in one pan and slice it horizontally once cooled. I’ve done this on a lazy Sunday with a single pan and it worked just fine. For budget-friendly options, silicone spatulas and non-stick pans work beautifully and are easy to clean. Keep your electric mixer’s beaters clean and dry to prevent sugar clumps—it’s a little tip I learned the hard way!
Preparation Method
- Preheat your oven to 350°F (175°C). Grease and flour your two 9-inch cake pans. This step is crucial to avoid sticking and keep your layers intact.
- Cream the butter and sugar: In a large mixing bowl, beat ½ cup softened unsalted butter with 1 ¾ cups granulated sugar on medium speed for about 3-4 minutes until fluffy and pale. This aerates the batter, helping the cake rise evenly.
- Add eggs and vanilla: Crack in the 3 large eggs one at a time, mixing well after each addition. Stir in 2 teaspoons vanilla extract. The batter may look a bit curdled here, but don’t worry—that’s normal.
- Combine dry ingredients: In a separate bowl, whisk together 2 ½ cups sifted all-purpose flour, 2 ½ teaspoons baking powder, and ½ teaspoon salt.
- Alternate adding dry ingredients and milk: Add the dry mix and 1 cup of room temperature milk in three batches, beginning and ending with the dry ingredients. Mix gently on low speed just until combined. Overmixing can make the cake dense, so stop as soon as you don’t see flour.
- Divide and bake: Pour the batter evenly into the prepared pans. Smooth the tops with a spatula. Bake for 25-30 minutes, or until a toothpick inserted in the center comes out clean. Ovens vary, so start checking at 25 minutes.
- Cool completely: Let the cakes cool in the pans for 10 minutes, then turn them out onto wire racks to cool fully. Don’t frost warm cake or the frosting will melt!
- Prepare the frosting: Beat 1 cup softened unsalted butter until creamy. Gradually add 4 cups sifted powdered sugar, mixing on low. Add 3 tablespoons milk or cream, 1 ½ teaspoons vanilla extract, and a pinch of salt. Beat on medium-high for 3 minutes until light and fluffy. Adjust consistency with more milk or sugar as needed.
- Assemble the cake: Place one cake layer on your serving plate. Spread about 1 cup of frosting evenly on top. Add a layer of fresh berries. Place the second cake layer on top and cover the entire cake with a thin crumb coat of frosting. Chill 10 minutes.
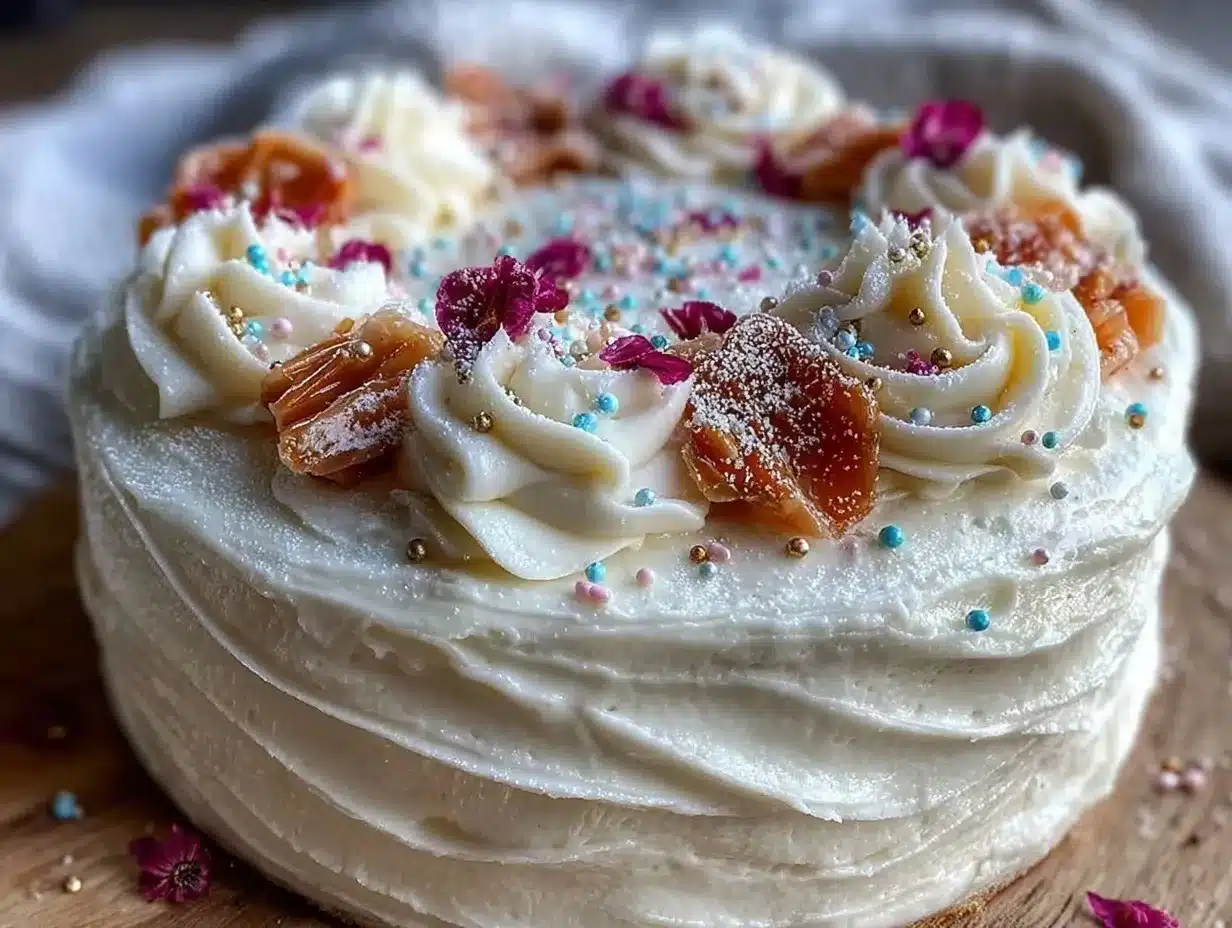
- Final decoration: Apply a smooth final layer of frosting. Arrange fresh berries and mint leaves on top. Sprinkle edible gold stars for a festive touch. Voila! You’re done in under 20 minutes of decorating.
Keep an eye on your oven temperature, and if you notice the cakes browning too fast, tent with foil. When spreading frosting, use gentle, even strokes to avoid tearing the cake. I learned the hard way that a chilled crumb coat helps the final layer go on smoothly—trust me, it’s worth the wait.
Cooking Tips & Techniques
The key to this cake’s success lies in a few simple tricks I’ve picked up after a handful of mishaps. First, always use room temperature ingredients. Cold eggs or milk can cause your batter to seize or not mix properly, resulting in a dense cake.
When creaming butter and sugar, patience is your friend. Beat them long enough to trap air, helping your cake rise with a tender crumb. Don’t rush this step!
Folding the dry ingredients carefully is crucial. I usually sift the flour to avoid lumps and then gently mix it in, stopping as soon as it’s combined. Overmixing can make your cake tough, and honestly, nobody wants that.
For frosting, I recommend beating for a full 3 minutes after adding the milk and powdered sugar. This gives a light, airy texture that spreads beautifully. If it feels too stiff, add a splash more milk; too runny, add more powdered sugar. It’s a bit of an art, but you’ll get the hang of it fast.
Timing is everything, especially if you’re multitasking. I suggest baking the cake layers early so they can cool properly. While they bake, whip up the frosting and prep your berries. Efficiency makes the decorating stage less stressful and more fun.
Variations & Adaptations
This Easy Graduation Celebration Cake is a flexible canvas waiting for your personal touch. Here are a few ways to make it your own:
- Dietary: Swap all-purpose flour for a 1:1 gluten-free blend. Use coconut oil and almond milk to turn it dairy-free. I did this for a friend with allergies, and nobody guessed!
- Seasonal: Replace fresh berries with sliced peaches, mangoes, or pomegranate seeds depending on the season. Each brings a unique flavor and color palette.
- Flavor Twist: Add zest of lemon or orange to the batter for a bright citrus note. Alternatively, fold in a handful of mini chocolate chips for a kid-friendly surprise.
- Decoration: Instead of fresh fruit, try edible flowers or colorful sprinkles for a playful look. Piping a simple border with the frosting adds a polished finish if you have extra time.
Once, I swapped out the berries for chopped roasted nuts and a drizzle of caramel sauce for a fall-inspired version. It was unexpected but delicious—proof that small tweaks can make this cake fit any occasion.
Serving & Storage Suggestions
This cake shines best served at room temperature. Pull it out of the fridge about 30 minutes before serving to let the frosting soften slightly—this brings out the flavors perfectly. It pairs wonderfully with a cup of freshly brewed coffee or a sparkling berry lemonade for a festive touch.
Store leftovers in an airtight container in the refrigerator for up to 4 days. If you want to freeze it, wrap tightly in plastic wrap and aluminum foil—freeze for up to 2 months. Thaw overnight in the fridge before serving.
Reheat slices gently in the microwave for 10-15 seconds to revive the soft texture if chilled. Over time, the flavors meld beautifully, so if you can resist, a day-old slice is sometimes even better.
Nutritional Information & Benefits
Each slice of this cake (assuming 12 servings) contains approximately 350 calories, with 16 grams of fat, 45 grams of carbohydrates, and 4 grams of protein. The fresh berries add a boost of antioxidants, fiber, and vitamins, making this celebration treat a little more balanced.
Using real butter and whole milk provides richness but also essential fat-soluble vitamins. For those watching sugar intake, you can reduce the powdered sugar in frosting slightly without sacrificing too much sweetness.
This recipe can be adapted for gluten-free or dairy-free diets, making it accessible to a wide range of guests. I’ve found that celebrating with food that feels wholesome but indulgent adds to the joy of the moment.
Conclusion
This Easy Graduation Celebration Cake Decorated in 20 Minutes has become my secret weapon for stress-free celebrations. It combines simplicity and elegance in a way that feels like you put in hours, even when you’re running on a tight schedule.
Feel free to tweak the decorations or flavors to suit your style—after all, that’s part of the fun. I love this cake because it brings people together without the fuss, letting the moment and the joy of graduation shine.
Give it a try and let me know how your version turns out. I’d love to hear your stories, creative spins, or even those tiny kitchen mishaps that make every bake memorable. Here’s to celebrating milestones with delicious, no-fuss cake!
FAQs
- Can I make the cake layers ahead of time?
Yes! You can bake the layers up to 2 days in advance. Wrap them tightly in plastic wrap and keep refrigerated until ready to frost. - What if I don’t have fresh berries?
Frozen berries work too, but thaw and drain them well to avoid soggy cake. Alternatively, use seasonal fruit like sliced peaches or canned mandarins. - How do I prevent the frosting from melting?
Use room temperature cake layers and apply frosting in a cool environment. Refrigerate the cake for 10-15 minutes between crumb coat and final frosting to set it. - Can I double this recipe for a larger cake?
Absolutely. Just double the ingredients and bake in larger pans or more pans. Adjust baking time accordingly and test doneness with a toothpick. - Is this recipe suitable for beginners?
Definitely! The steps are straightforward, and the decorating is beginner-friendly with simple fruit and sprinkles. It’s a great starting cake to build confidence.
Pin This Recipe!
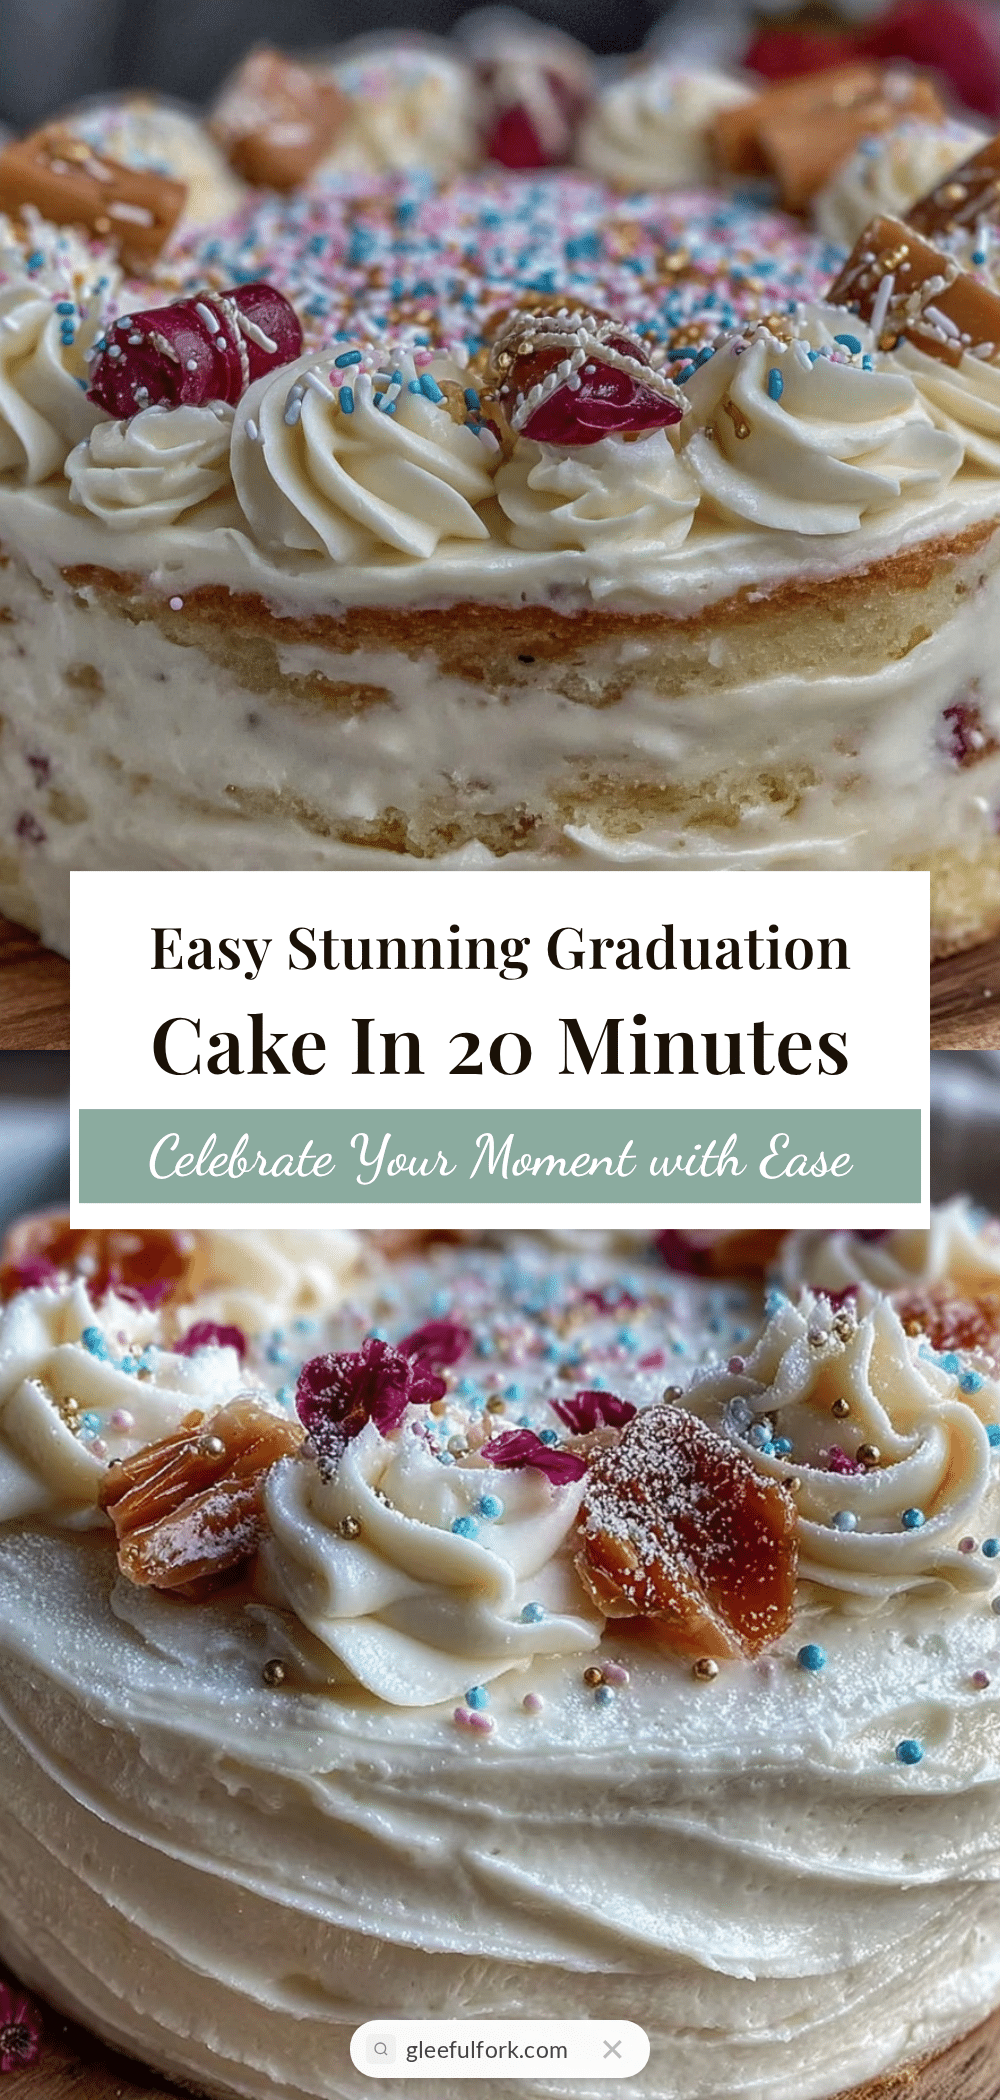
Easy Graduation Celebration Cake

A quick and easy cake recipe perfect for last-minute graduation celebrations, featuring simple ingredients, a moist texture, and a beautiful fresh berry decoration.
- Prep Time: 15 minutes
- Cook Time: 30 minutes
- Total Time: 45 minutes
- Yield: 12 servings 1x
- Category: Dessert
- Cuisine: American
Ingredients
- 2 ½ cups (320g) all-purpose flour, sifted
- 1 ¾ cups (350g) granulated sugar
- 2 ½ teaspoons (10g) baking powder
- ½ teaspoon (3g) salt
- ½ cup (115g) unsalted butter, softened
- 1 cup (240ml) whole milk, room temperature
- 3 large eggs, room temperature
- 2 teaspoons (10ml) vanilla extract
- 1 cup (230g) unsalted butter, softened (for frosting)
- 4 cups (480g) powdered sugar, sifted
- 3 tablespoons (45ml) whole milk or heavy cream
- 1 ½ teaspoons (7.5ml) vanilla extract (for frosting)
- Pinch of salt (for frosting)
- 1 ½ cups (225g) fresh berries (strawberries, blueberries, raspberries), washed and patted dry
- Edible gold stars or sprinkles (optional)
- Fresh mint leaves (optional)
Instructions
- Preheat oven to 350°F (175°C). Grease and flour two 9-inch cake pans.
- In a large bowl, beat ½ cup softened unsalted butter with 1 ¾ cups granulated sugar on medium speed for 3-4 minutes until fluffy and pale.
- Add eggs one at a time, mixing well after each addition. Stir in 2 teaspoons vanilla extract.
- In a separate bowl, whisk together 2 ½ cups sifted all-purpose flour, 2 ½ teaspoons baking powder, and ½ teaspoon salt.
- Add dry ingredients and 1 cup room temperature milk alternately in three batches, beginning and ending with dry ingredients. Mix gently on low speed until just combined.
- Divide batter evenly into prepared pans and smooth tops. Bake for 25-30 minutes or until a toothpick inserted in the center comes out clean.
- Cool cakes in pans for 10 minutes, then turn out onto wire racks to cool completely.
- For frosting, beat 1 cup softened unsalted butter until creamy. Gradually add 4 cups sifted powdered sugar, mixing on low speed.
- Add 3 tablespoons milk or cream, 1 ½ teaspoons vanilla extract, and a pinch of salt. Beat on medium-high for 3 minutes until light and fluffy. Adjust consistency as needed.
- Place one cake layer on serving plate. Spread about 1 cup frosting evenly on top. Add a layer of fresh berries.
- Place second cake layer on top and cover entire cake with a thin crumb coat of frosting. Chill for 10 minutes.
- Apply a smooth final layer of frosting. Arrange fresh berries and mint leaves on top. Sprinkle edible gold stars if desired.
Notes
Use room temperature ingredients for best results. Avoid overmixing batter to keep cake tender. Chill crumb coat before final frosting to prevent tearing. Frozen berries can be used if thawed and drained well. For gluten-free, substitute flour with a gluten-free blend; for dairy-free, use coconut oil and almond milk.
Nutrition
- Serving Size: 1 slice (1/12 of cak
- Calories: 350
- Fat: 16
- Carbohydrates: 45
- Protein: 4
Keywords: graduation cake, easy cake recipe, quick cake, celebration cake, fresh berry cake, simple frosting, last-minute cake