Love this? Save it for later!
Share the inspiration with your friends
“I have exactly four hours to get snacks ready for twenty people, and my budget is tighter than my old jeans after quarantine,” I muttered to myself last Saturday afternoon. You know that feeling when the clock’s ticking, your guests are on their way, and the grocery list looks like a novel? Yeah, that was me. Honestly, I was halfway convinced I’d have to resort to chips and dip from the gas station. But then, inspiration hit while I was juggling a cracked mixing bowl in one hand and scrolling through my fridge with the other (classic me). I figured, why not throw together an Easy Graduation Party Snack Board for 20 that wouldn’t break the bank—under $30, to be exact?
Turns out, pulling together a snack board that’s as eye-catching as it is wallet-friendly isn’t just possible, it’s downright fun! I mean, you don’t need fancy cheeses from a boutique shop or imported olives to impress a crowd. It’s all about smart choices, simple flavors, and a little bit of creativity. Plus, I keep thinking about how this snack board saved me from last-minute panic and still got everyone chatting and snacking happily. Maybe you’ve been there—hosting a last-minute get-together and wondering how to feed a crowd without emptying your wallet.
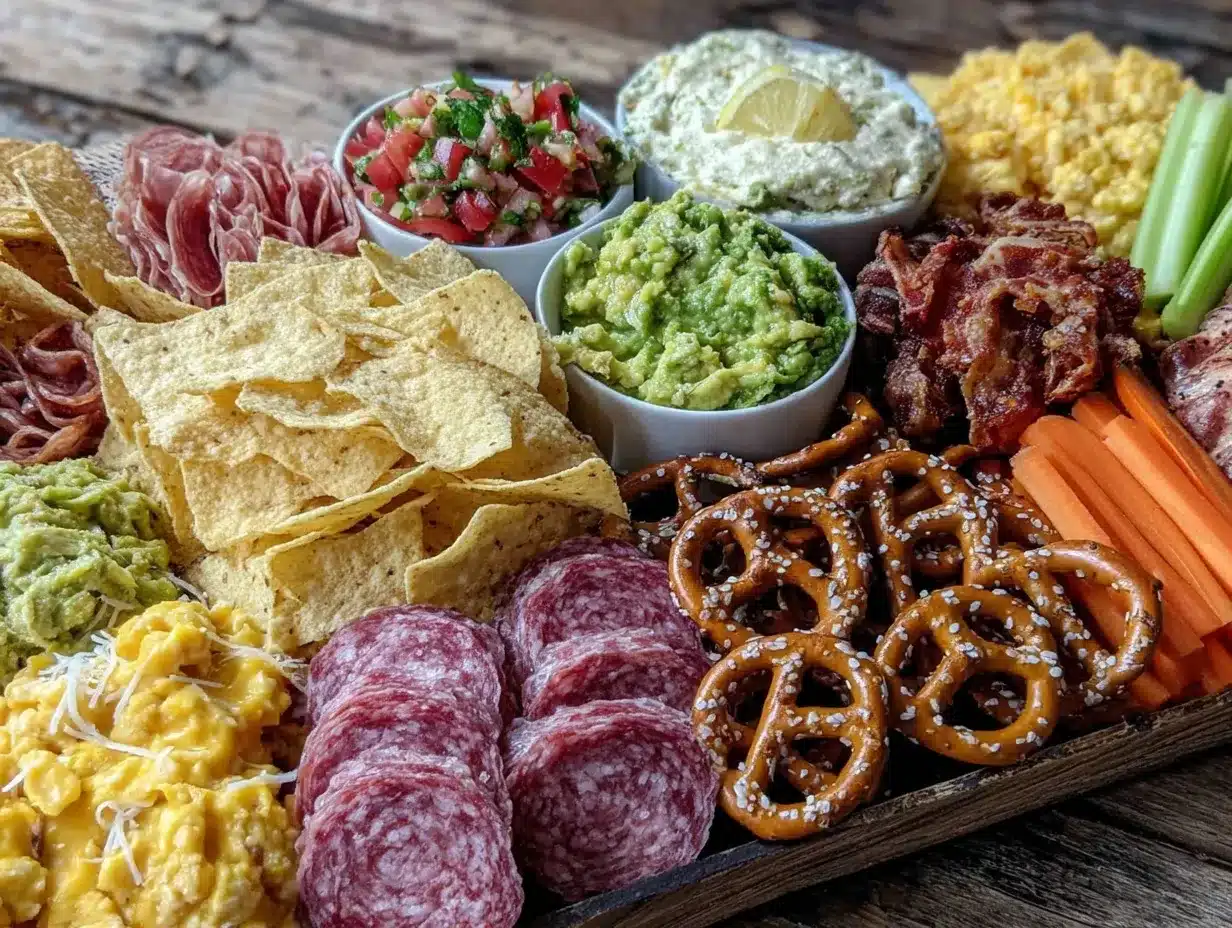
So, why does this snack board stick with me? It’s the way the colors popped on the platter, the crunchy, salty, and sweet bits that balanced effortlessly, and the fact that I didn’t have to stress over complicated recipes. If you’re planning a graduation party or any casual gathering, let me tell you—this easy snack board will be your new best friend. I keep making it, and honestly, it never gets old.
Why You’ll Love This Recipe
Having hosted a few parties myself, I’ve tested this snack board multiple times to make sure it’s foolproof. The magic is in its simplicity and the way it brings people together without fuss. Here’s why this Easy Graduation Party Snack Board for 20 Under $30 will quickly become your go-to:
- Quick & Easy: Comes together in under 30 minutes — perfect for busy party prep or last-minute hosting.
- Simple Ingredients: No exotic or pricey items here; you’ll find everything at your local grocery store or even your pantry.
- Perfect for Any Occasion: Whether it’s a graduation, casual get-together, or weekend hangout, this snack board fits right in.
- Crowd-Pleaser: Offers a variety of flavors and textures that appeal to all ages, from crunchy to creamy.
- Unbelievably Delicious: The combination of salty, sweet, and fresh ingredients creates a balanced, crave-worthy snack experience.
What sets this snack board apart is the clever way ingredients are paired and arranged to create a look that’s way more sophisticated than the price tag suggests. I’ve even added a few budget-friendly tips I learned from my own trial-and-error, like using seasonal fruits and swapping in homemade dips for store-bought ones. Honestly, it’s the kind of recipe where you can close your eyes after the first bite and smile—comfort food vibes without the hassle.
What Ingredients You Will Need
This snack board uses simple, wholesome ingredients to deliver bold flavors and satisfying textures without the fuss. Most are pantry staples or easily found in any grocery store. Here’s what you’ll need:
- For the Base & Crunch:
- Assorted crackers (about 4 cups) – I prefer whole grain or multigrain for extra flavor
- Pretzel sticks or mini pretzels (2 cups) – adds a nice salty crunch
- Popcorn, lightly salted (3 cups) – a light, airy texture that balances denser bites
- For the Cheeses:
- Sharp cheddar cheese, cubed (8 oz / 225 g) – packs a punch without costing a fortune
- Colby jack cheese, sliced (8 oz / 225 g) – creamy and mild, everyone loves it
- For the Meats:
- Thinly sliced pepperoni or salami (8 oz / 225 g) – buy from deli for freshness
- Fresh & Dried Fruits:
- Seedless grapes (1 cup) – fresh and juicy, a natural sweet contrast
- Dried apricots or cranberries (1 cup) – chewy and tangy for flavor variety
- Veggies & Extras:
- Baby carrots (1 cup) – adds crunch and color
- Cherry tomatoes (1 cup) – juicy bursts of freshness
- Roasted nuts, like almonds or cashews (1/2 cup) – toasted for extra flavor
- Dips & Spreads:
- Hummus (1 cup) – homemade or store-bought (I trust Sabra for smooth texture)
- Ranch dressing or Greek yogurt dip (1 cup) – simple and cooling
Feel free to swap grapes for berries when in season or use dairy-free cheese and dips for allergies. These options keep your board flexible and crowd-friendly.
Equipment Needed
Gathering the right tools makes assembling your snack board a breeze. Here’s what I used and recommend:
- Large serving platter or wooden board: Big enough to hold all ingredients—mine’s a 20×14 inch wooden charcuterie board. If you don’t have one, a couple of baking sheets lined with parchment work fine.
- Small bowls or ramekins: For dips and loose items like nuts or dried fruit.
- Sharp knife: To slice cheese and meats neatly.
- Cutting board: Essential for prep.
- Spoons or spreaders: For dips, making it easy for guests to serve themselves.
If you’re shopping on a budget, thrift stores often have great boards and bowls. I’ve had my wooden board for years; just a quick wipe with mineral oil keeps it looking fresh. No fancy tools required, which is perfect when you’re juggling party prep and life!
Preparation Method
- Prep your ingredients (15 minutes): Wash grapes, cherry tomatoes, and baby carrots thoroughly. Pat dry to avoid sogginess. Slice cheeses into cubes and strips, and arrange sliced pepperoni or salami on a plate.
- Set up dips (5 minutes): Spoon hummus and ranch dressing into small bowls or ramekins. Place spreaders or small spoons inside for easy serving. If you want, sprinkle paprika or chopped herbs on top of hummus for a pop of color.
- Arrange the base (10 minutes): Start by placing your crackers and pretzels around the edges of your board. This creates a sturdy frame. Next, add popcorn in small piles to fill gaps without crushing delicate crackers.
- Add cheeses and meats (10 minutes): Distribute cheese cubes and slices evenly across the board. Fold or roll your pepperoni slices and tuck them in clusters between cheeses and crackers for visual interest.
- Place fruits and veggies (10 minutes): Scatter grapes in small bunches, and tuck dried fruits next to cheeses or dips. Add cherry tomatoes and baby carrots in colorful groups. They add brightness and freshness that guests will appreciate.
- Fill in gaps (5 minutes): Use roasted nuts and leftover crackers or popcorn to fill empty spaces. This makes the board look full and inviting, avoiding lonely gaps that can happen when laying out snacks.
- Final touches (2 minutes): Step back and adjust any piles for balance. A little shuffle here and there makes the board look professionally styled but still approachable.
Pro tip: If you’re prepping ahead, keep cheeses and meats wrapped tightly in the fridge until serving time. Assemble the fresh fruits and veggies last to keep everything crisp and vibrant. And hey, if you accidentally drop a cracker or two during assembly (I definitely did), just eat it—no harm done!
Cooking Tips & Techniques
Though this snack board is mostly no-cook, a few techniques help you nail the presentation and flavor balance every time.
- Choose variety in texture and color: Balancing crunchy, creamy, juicy, and chewy keeps your guests interested. Don’t overload on one type (like just crackers) or it gets boring fast.
- Cut cheese thoughtfully: Mix cubes with thin slices or strips to offer easy grab-and-go bites. Big blocks are intimidating and slow down snacking.
- Keep dips chilled: Place bowls on small ice packs if your party’s outside or lasts several hours. Nobody wants warm hummus in July!
- Layer thoughtfully: Avoid piling everything in one spot. Spread ingredients evenly around the board for balance and easy access.
- Don’t overcrowd: It’s tempting to cram everything on, but leaving some breathing room makes the board look inviting and lets guests pick easily.
One time, I forgot to slice the cheese before guests arrived—major scramble! Lesson learned: prepping everything ahead saves stress. Also, multitasking by prepping dips while washing produce speeds things along. These little hacks have saved me more than once.
Variations & Adaptations
This snack board is a great base for creativity. Here are some ways you can tweak it:
- Dietary swaps: Use vegan cheese and plant-based pepperoni for dairy-free and vegetarian guests. Swap ranch dip for guacamole or salsa for a fresh twist.
- Seasonal variations: In summer, add fresh berries or sliced peaches for sweetness. In fall, incorporate spiced nuts or dried figs for warmth.
- Flavor boosts: Add marinated olives or pickles to introduce tangy, briny flavors. A drizzle of honey over cheese clusters is a simple, elegant touch.
One variation I love is swapping out the pretzels for pita chips and adding a small bowl of tzatziki. It gives the board a Mediterranean vibe and makes it feel a little fancier without extra work. Feel free to adapt based on your guests’ tastes and what’s in season!
Serving & Storage Suggestions
Serve your snack board at room temperature to get the best flavors from cheeses and dips. I usually set it out about 15 minutes before guests arrive, giving everything time to settle.
Pair it with refreshing beverages like iced tea, lemonade, or a sparkling water with fresh fruit slices. If you want to keep things casual, beer or light wines also work well.
Leftovers? No problem. Wrap any leftover cheese and meats tightly in plastic wrap or store in airtight containers. Fresh fruits and veggies can be refrigerated separately to keep crispness. Dips should be refrigerated promptly.
To reheat popcorn or crackers, a quick 2-minute zap in the oven at 300°F (150°C) revives their crunch. Just avoid reheating cheese or meats—best enjoyed cold.
Flavors tend to mellow and blend if you prep a few hours ahead, so assembling closer to serving time gives the freshest taste. But honestly, this snack board holds up well for hours, which is great for long celebrations.
Nutritional Information & Benefits
This snack board balances indulgence with wholesome ingredients. Here’s a rough estimate per serving (serves 20):
| Calories | ~250 |
|---|---|
| Protein | 8g |
| Fat | 15g |
| Carbohydrates | 18g |
| Fiber | 3g |
Key health perks come from fresh fruits and nuts providing vitamins, antioxidants, and healthy fats. Cheese and meat offer protein and calcium, supporting energy for party fun. Using whole grain crackers adds fiber, too.
This board is naturally gluten-friendly if you pick gluten-free crackers and pretzels, and dairy-free adaptations are easy with plant-based cheeses and dips. Just watch out for nut allergies and adjust accordingly.
Personally, this board strikes a nice balance: satisfying and nourishing without overdoing it. Great for keeping energy up during celebrations without the post-snack slump.
Conclusion
So there you have it—an Easy Graduation Party Snack Board for 20 that’s affordable, simple, and crowd-pleasing. Whether you’re scrambling last minute like I was or planning ahead, this snack board brings people together over good food and easy conversation.
Feel free to tweak it to fit your tastes, swap ingredients, or add your flair. I love this recipe because it’s flexible, approachable, and honestly, who doesn’t love grazing over a colorful spread? It’s the kind of snack board that makes hosting feel less like work and more like a celebration.
Try it out, and if you do, I’d love to hear how you made it your own! Drop a comment, share your variations, or tell me about your favorite party hacks. Here’s to stress-free hosting and tasty moments with friends and family!
FAQs
How far in advance can I prepare the snack board?
Prepare all ingredients except fresh fruits and veggies up to a day ahead. Assemble the fresh items and arrange the board about 30 minutes before guests arrive for best quality.
Can I make this snack board gluten-free?
Absolutely! Just choose gluten-free crackers and pretzels. Most fresh fruits, veggies, cheeses, and meats are naturally gluten-free.
What’s a good budget-friendly cheese option for this board?
Sharp cheddar and Colby jack are great affordable choices that taste delicious and have good texture for snacking.
Can I substitute the meats for a vegetarian option?
Yes! Skip the pepperoni and add extra nuts, olives, or roasted chickpeas for protein and flavor.
How do I keep the dips fresh during outdoor parties?
Place dips in small bowls over ice packs or in a cooler to keep them chilled, especially on warm days.
For more easy party snacks, you might enjoy my crispy garlic chicken recipe that’s always a hit, or check out the easy holiday appetizers collection for quick bites that impress. Planning a brunch? The classic eggs benedict recipe is foolproof for any occasion.
Pin This Recipe!
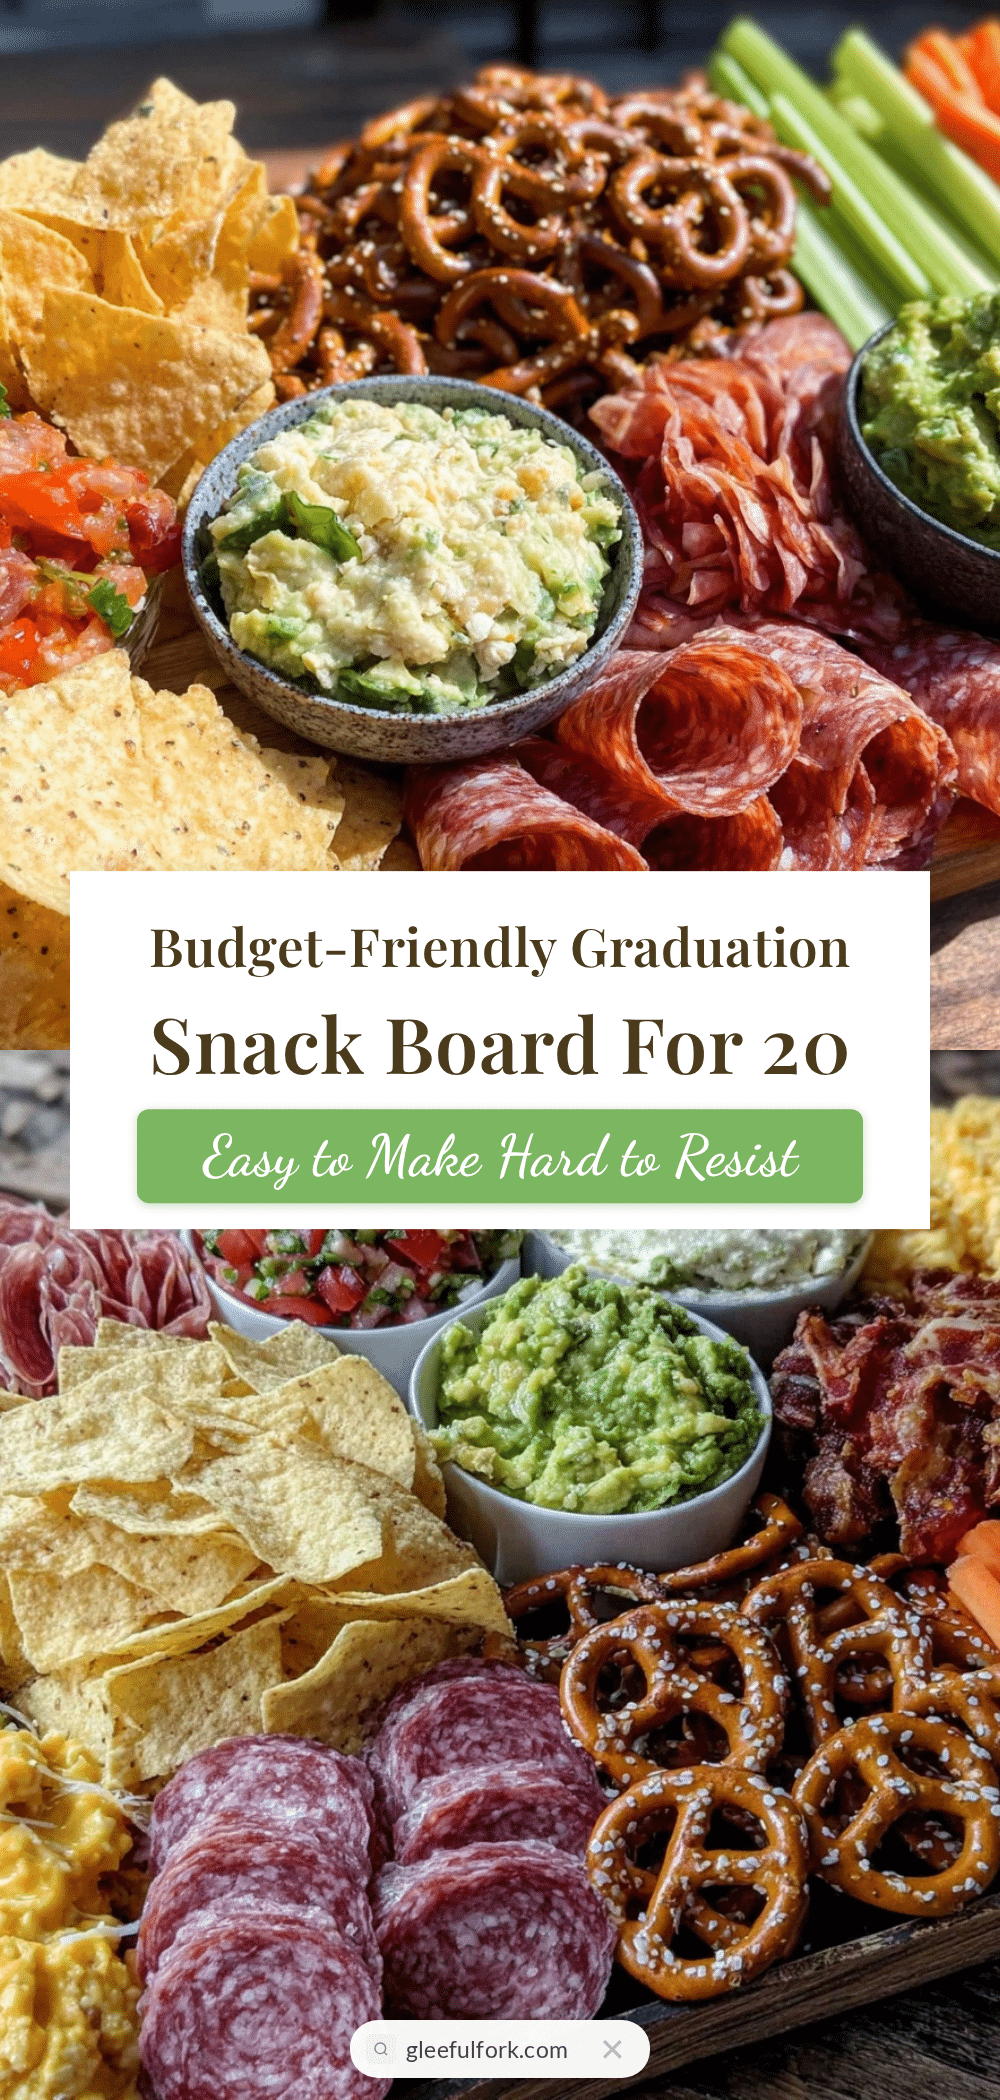
Easy Graduation Party Snack Board for 20 Guests Under 30 Dollars

A budget-friendly and easy-to-assemble snack board perfect for graduation parties or casual gatherings, serving 20 guests with a variety of flavors and textures.
- Prep Time: 15 minutes
- Cook Time: 0 minutes
- Total Time: 30 minutes
- Yield: 20 servings
- Category: Snack
- Cuisine: American
Ingredients
- Assorted crackers (about 4 cups) – whole grain or multigrain preferred
- Pretzel sticks or mini pretzels (2 cups)
- Popcorn, lightly salted (3 cups)
- Sharp cheddar cheese, cubed (8 oz / 225 g)
- Colby jack cheese, sliced (8 oz / 225 g)
- Thinly sliced pepperoni or salami (8 oz / 225 g)
- Seedless grapes (1 cup)
- Dried apricots or cranberries (1 cup)
- Baby carrots (1 cup)
- Cherry tomatoes (1 cup)
- Roasted nuts, like almonds or cashews (1/2 cup)
- Hummus (1 cup)
- Ranch dressing or Greek yogurt dip (1 cup)
Instructions
- Prep your ingredients (15 minutes): Wash grapes, cherry tomatoes, and baby carrots thoroughly. Pat dry to avoid sogginess. Slice cheeses into cubes and strips, and arrange sliced pepperoni or salami on a plate.
- Set up dips (5 minutes): Spoon hummus and ranch dressing into small bowls or ramekins. Place spreaders or small spoons inside for easy serving. Optionally sprinkle paprika or chopped herbs on top of hummus for color.
- Arrange the base (10 minutes): Place crackers and pretzels around the edges of your board to create a sturdy frame. Add popcorn in small piles to fill gaps without crushing crackers.
- Add cheeses and meats (10 minutes): Distribute cheese cubes and slices evenly across the board. Fold or roll pepperoni slices and tuck them in clusters between cheeses and crackers.
- Place fruits and veggies (10 minutes): Scatter grapes in small bunches and tuck dried fruits next to cheeses or dips. Add cherry tomatoes and baby carrots in colorful groups.
- Fill in gaps (5 minutes): Use roasted nuts and leftover crackers or popcorn to fill empty spaces, making the board look full and inviting.
- Final touches (2 minutes): Adjust any piles for balance and shuffle ingredients to create a professionally styled but approachable look.
Notes
Keep cheeses and meats wrapped tightly in the fridge until serving time. Assemble fresh fruits and veggies last to keep them crisp. Use ice packs to keep dips chilled during outdoor parties. Swap ingredients for dietary needs or seasonal availability. Reheat popcorn or crackers briefly in the oven to revive crunch if needed.
Nutrition
- Serving Size: Approximate serving
- Calories: 250
- Fat: 15
- Carbohydrates: 18
- Fiber: 3
- Protein: 8
Keywords: graduation party, snack board, budget-friendly, easy snacks, party food, crowd-pleaser, cheese board, appetizer